Header

Tag Archives | Westcott

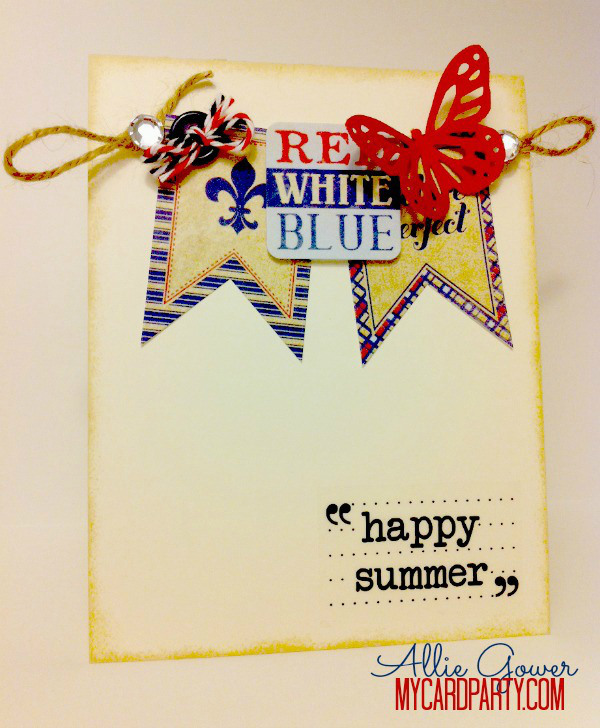
Red White and Blue Card

Create a quick Red White and Blue card to celebrate Summer

Hi, it’s Allie here from My Card Party. I had some extra patriotic stickers from Authentique, and lots of patriotic cardstock from DiscountCardstock.com so I thought I’d make a summery card.

Red, White, and Blue

Happy Summer to you!

Red White and Blue Happy Summer to You


Shopping at Buttons Galore is always fun. There are so many categories and styles. My favorite thing to do is Shop by Color. I had so much red, white and blue going on in this card that black buttons seemed to be the way to go. There are many choices in the Black and White category.  I settled on a package of Cookies and Cream Buttons.

Supplies for creating Red White and Blue Card

  • Cookies and Cream Buttons
  • Ivory Smooth Cardstock #80 and Currant Red Cardstock (Discount Cardstock)
  • Bulk Bling (Want2Scrap)
  • Stickers (Authentique, Sentiment – SRM)
  • Twine and Baker’s Floss (Jo-Anne’s Fabrics)

Tools

  • Other – Martha Stewart Butterfly Punch, Martha Stewart Score Board
  • Hot Glue (AdTech)
  • Scissors (Westcott Brand)
  • Desert Sand Ink and Ink Sponge (Tsukineko)

Instructions

  1. Create a card base 4.25 x 11 and fold in half.
  2. Ink edges of card front with Tsukineko Desert Sand Memento Dew Drop.
  3. Tie multiple colors of floss through Cookies and Cream Button.
  4. Add twine and embellishments. Finish with sentiment and bling.

Thanks for joining me today. I’ll see you next Sunday.

See more of my creations at My Card Party.

0

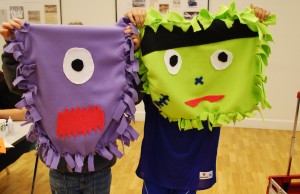
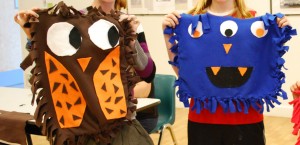
DIY No-Sew Fleece Pillow -Fall Themed

Hi there!  I have a quick no-sew fleece pillow idea for you.  It’s quick it’s easy and so festive! You will want to make a  no-sew fleece pillow  for each season

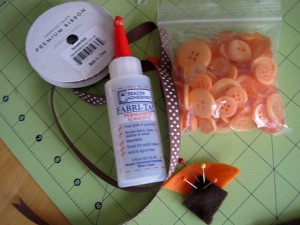
Supplies for a no-sew fleece pillow :

Directions for a no-sew fleece pillow :

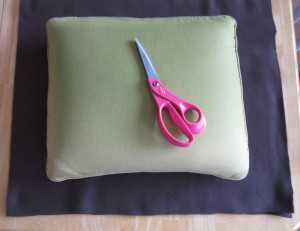
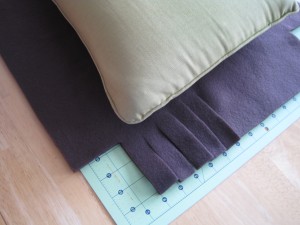
Cut two layers of polar fleece material approximately 3-4″ wider then the pillow you plan to cover.  No need to be exact, this project is really forgiving

Cut away the corners of the fabric and cut strips all the way round the outside edge approximately one inch thick.

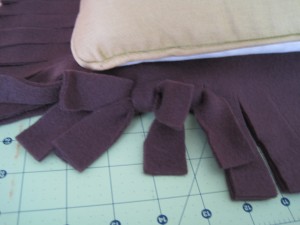
Once everything is cut, tie the top and bottom matching strips together in a double knot creating the fun fringe look.  Don’t forget to insert your pillow before you tie your pillowcase closed.

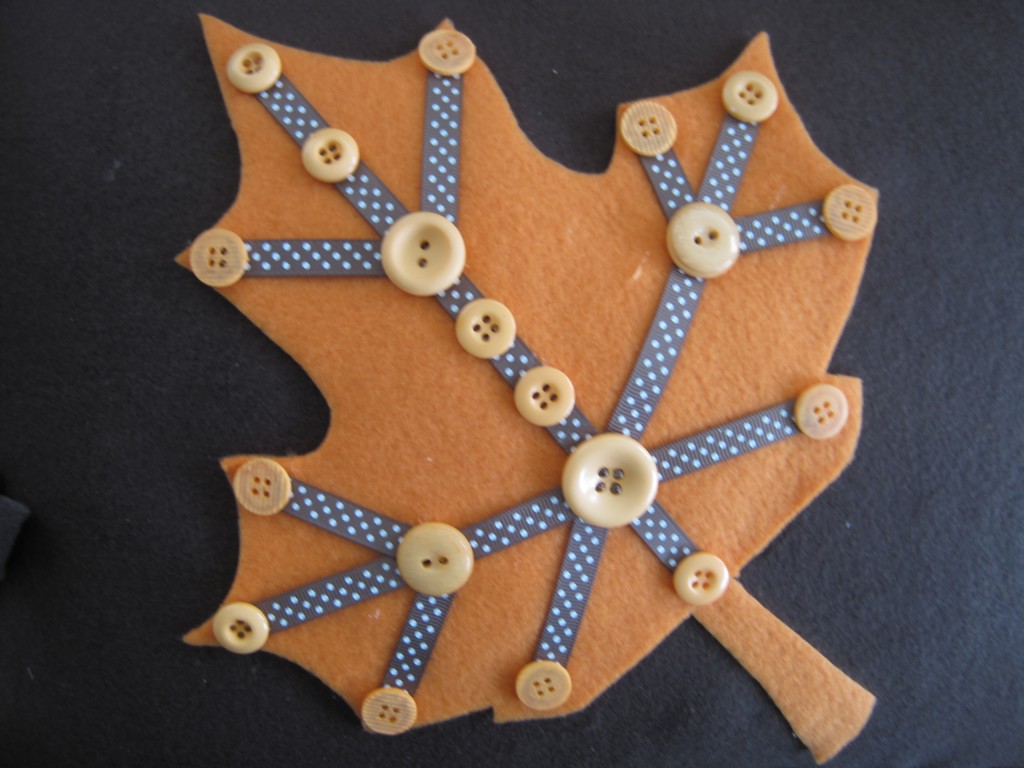
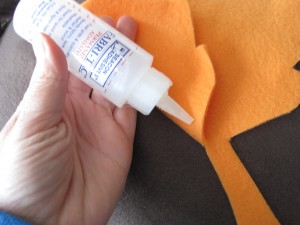
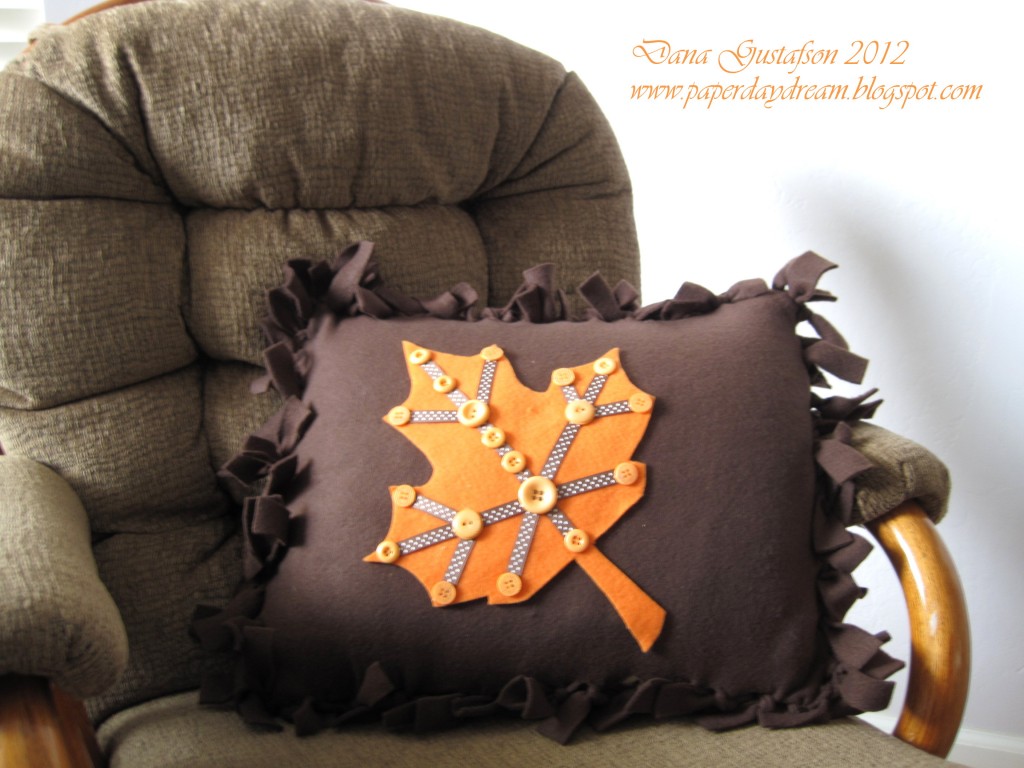
Embellish your pillow front with fleece scraps cut into shapes representing your theme.  I free-handed a maple leaf shape for fall.  Glue on fleece shapes and other embellishments like ribbon and buttons to complete the no-sew fleece pillow.

Enjoy your new festive pillow!  Not only is it fun to look at but it’s cozy too!

This is a great project for kids!

Thanks for stopping by!

2

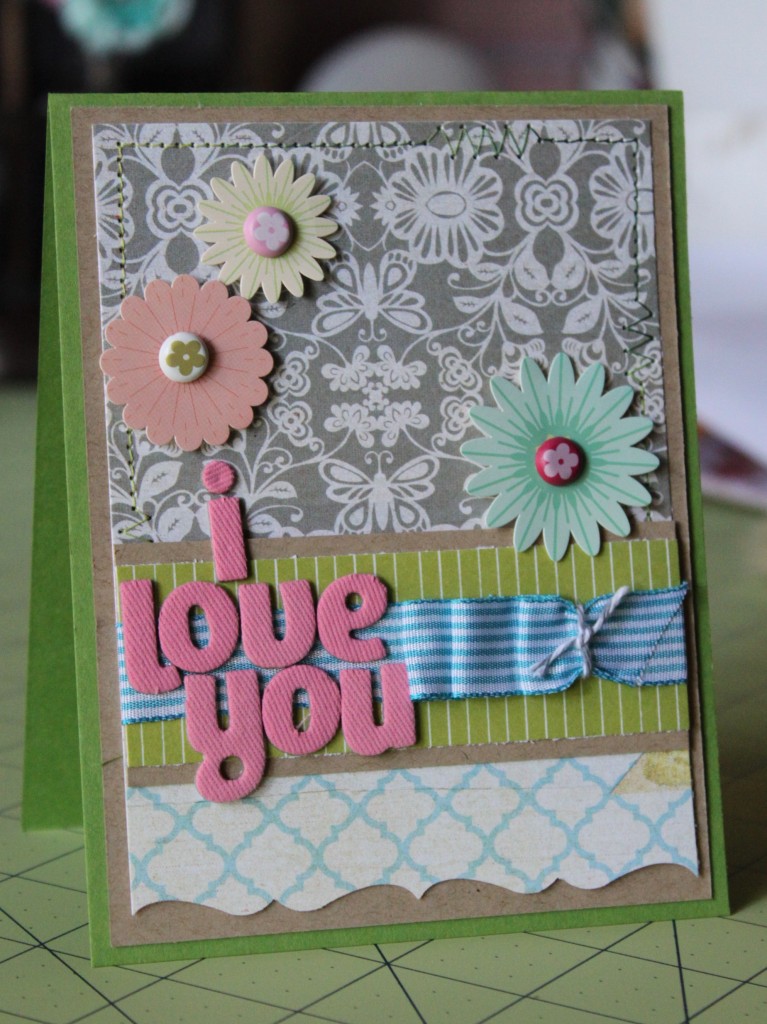
Handmade ‘i love you’ Card Idea with flowers

I can’t believe it’s August! I feel like the summer has really flown by. I haven’t had time to enjoy any summer festivities this year being in school the whole time, but it’s finally coming to an end. I can’t wait to get a few days off before the next semester starts. I don’t know about you, but I love it when all the kiddos go back to school. My tot is only two, but I do love those rare days when I get the house all to myself. I can actually make something! Today was one of those days, so let me take you through my design process…

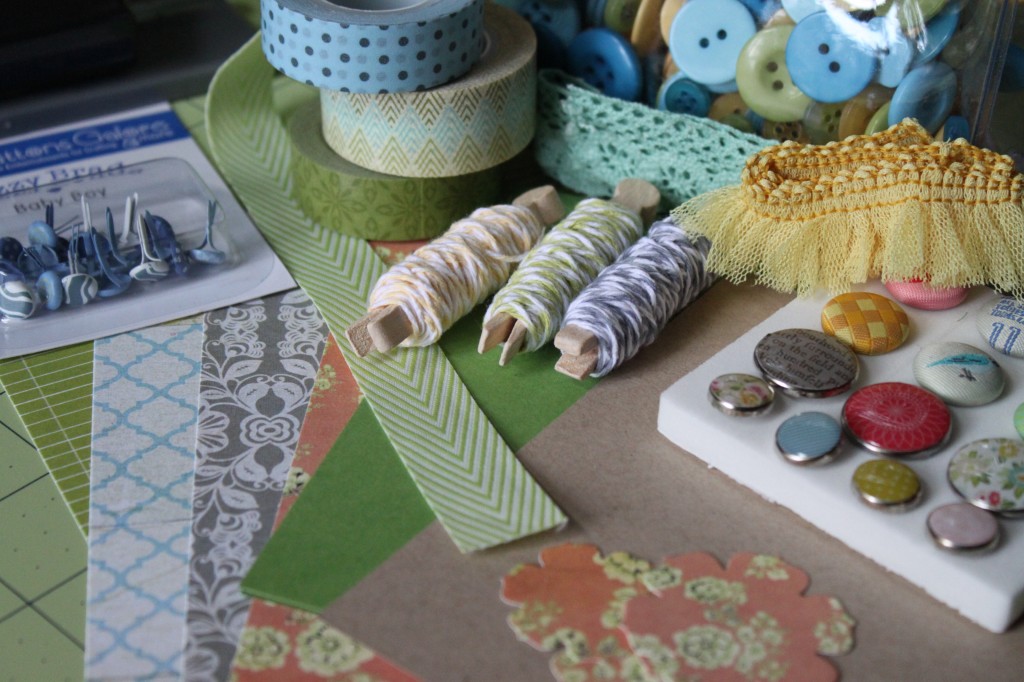
As usual, the first thing I do when I start a project is to create a palette. This is what I laid out…

…and here’s what I ended up using on my project:

  • Studio Calico Take Note 6×6 Paper Pad
  • Jazzy Brads
  • Alphabet Stickers
  • Aqua Striped Ribbon
  • Baker’s Twine
  • Cardstock
  • Flower Stickers
  • Foam Adhesive Dots
  • Baby Powder
  • Small Brush
  • Sewing Machine & Thread
  • Westcott Paper Trimmer
  • Adhesive 

Assembly Instructions:

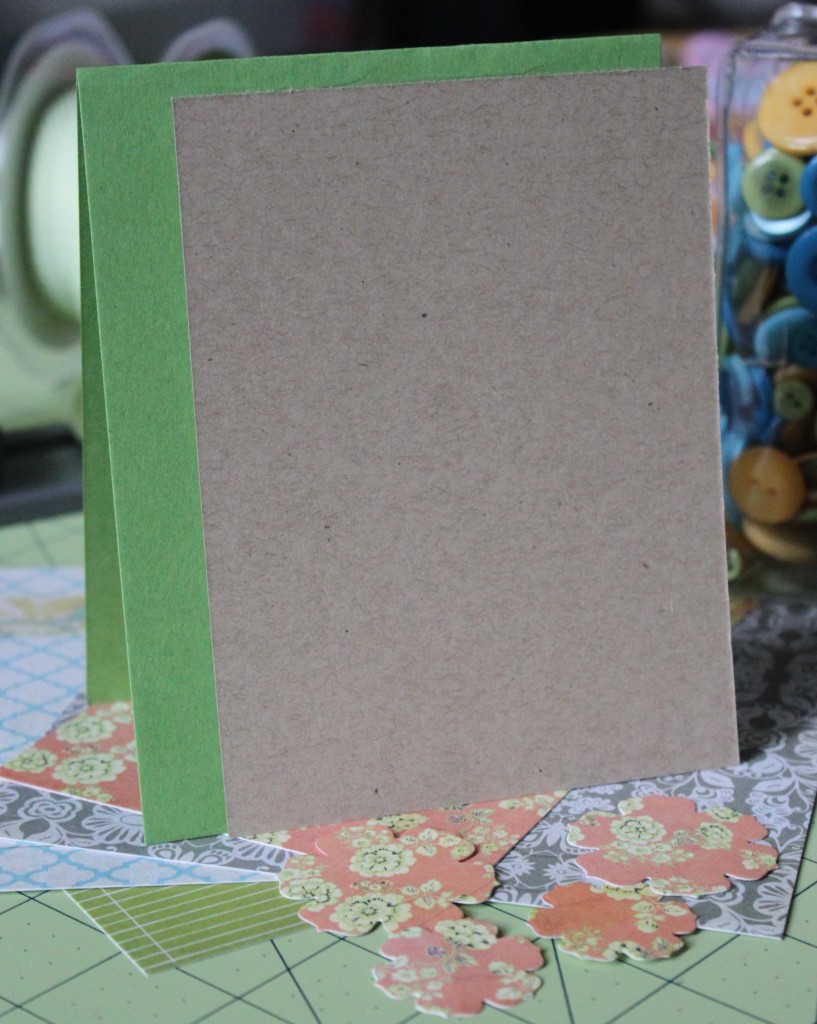
1. Trim Caterpillar green cardstock to 8.5″x4.25″ and fold in half for card base. Trim Kraft cardstock to 4″x5.25″.

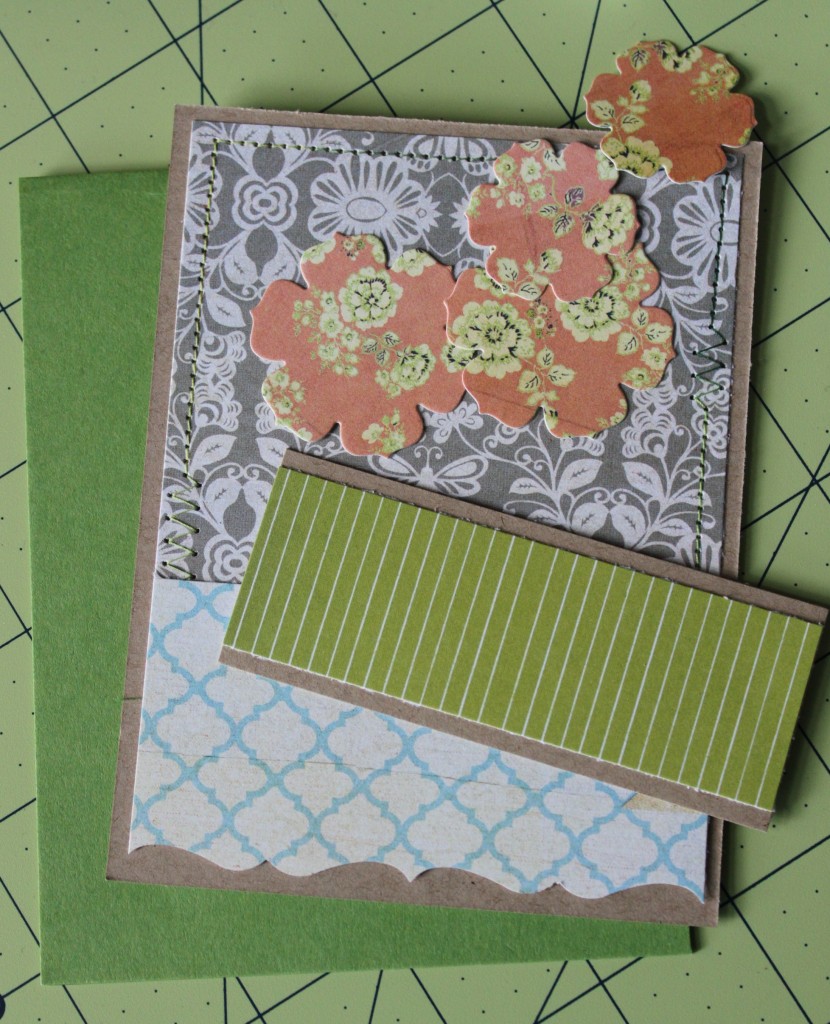
2. Trim Grey floral patterned paper to 3.75″ square and scantly secure to upper portion of Kraft piece. Trim blue/white quatrefoil tp 3.75″ x 2.75″ and use border punch along the bottom edge before securing to bottom edge of Kraft cardstock. Use sewing machine for decorative edge.

2. Next, trim a 2.25″ wide strip of Kraft and layer on top of it a 2
wide strip of green stripe paper. Wrap a strip of ribbon around this piece before securing to card front.

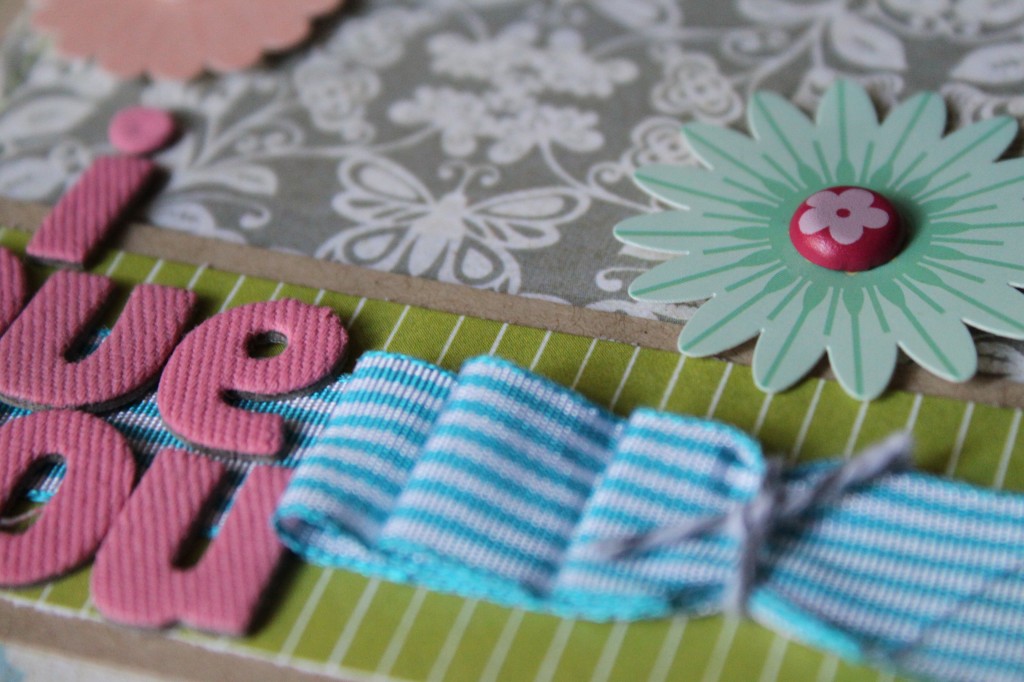
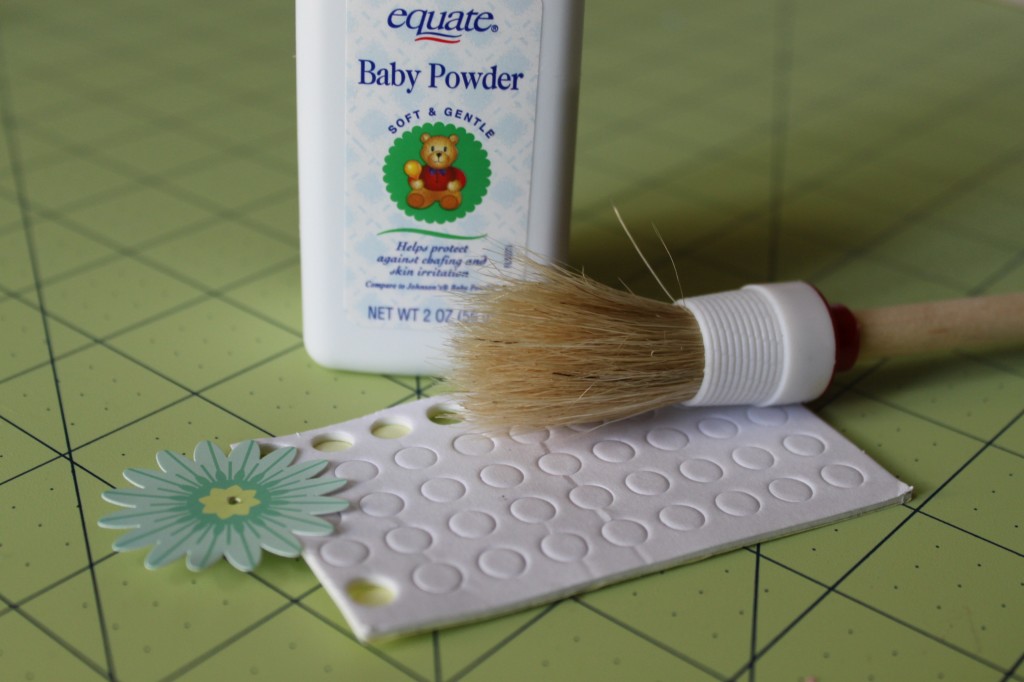
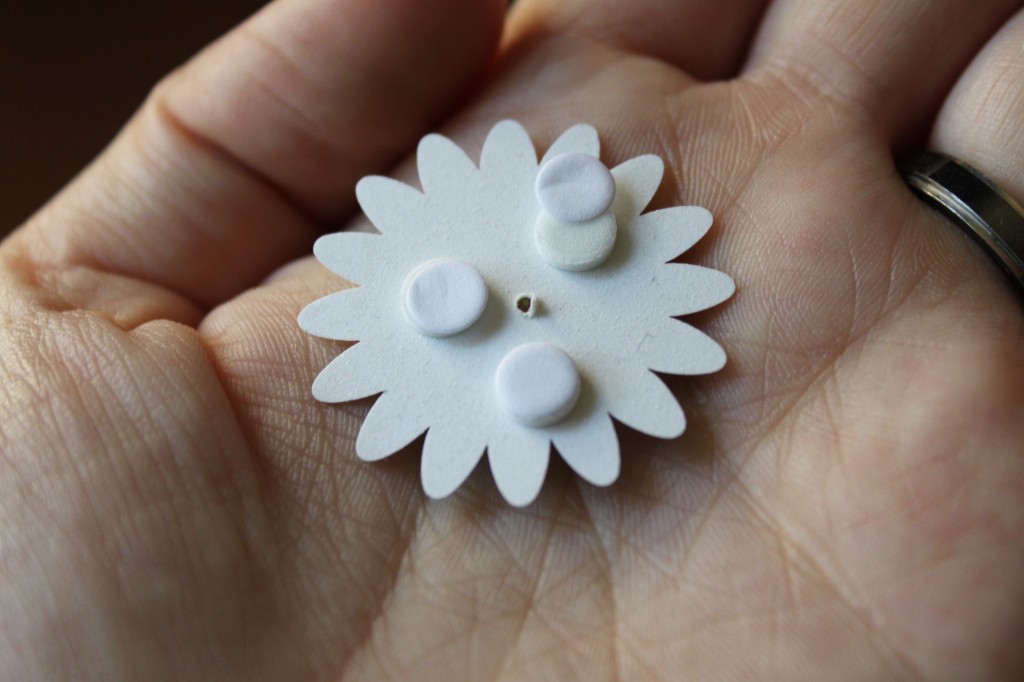
3. At this point I decided to leave out the punched flowers and go with some cardstock stickers I found in my stash. I wanted them to pop off the card, so I put foam adhesive on the back.

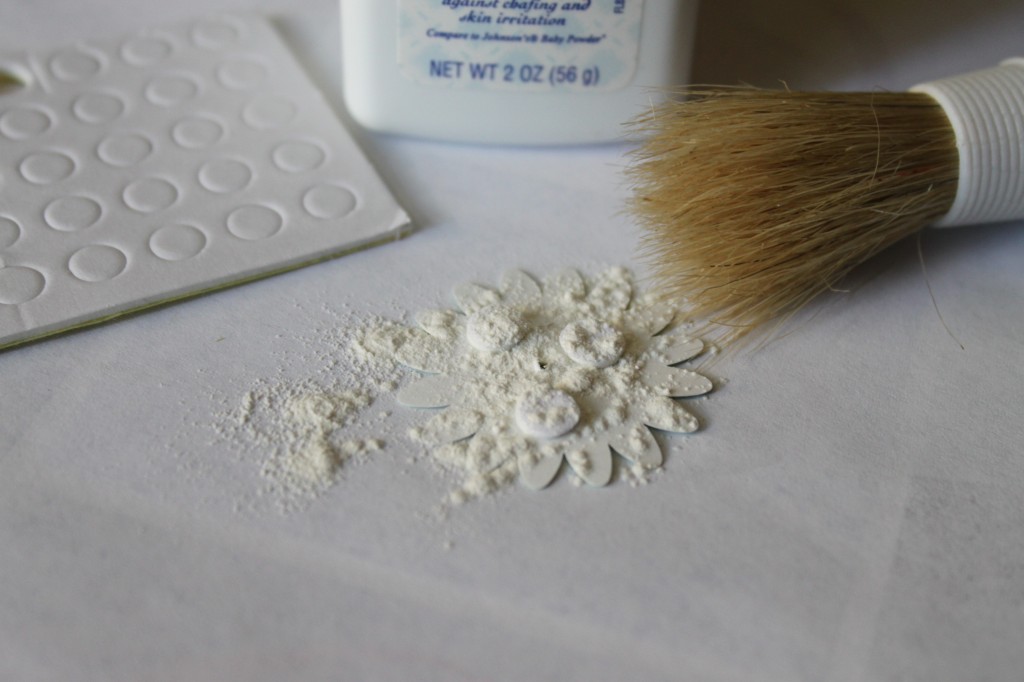
I left on the second sticker backing, so that I could then brush baby powder on the back of the sticker without getting powder on my foam dots. I still want to use that part of the adhesive to stick the flowers to my card, but I didn’t want the actual sticker to be sticky, so it wouldn’t catch stuff and end up looking weird.

4. I poked a hole in my flowers here with a sharp point and added brads. The brads will push through most paper alright, but to keep the cardstock from buckling and wrinkling, you should always use a small hole punch, paper piercer, or even a tack or needle.

5. The final step is to assemble all of your embellishements and sentiment where you like it. I hope you enjoyed this project today.

Here’s the finished card all ready to give to your special loved one… 

1

Create Personalized Monogram Home Decor using Buttons, Brads & Beads

It’s time to get busy making something to freshen up the house! We have been busy all summer and as the Autumn season fast approaches having a few handy tutorials on how to make personalized gifts and hand made home decor just seems fitting. So today I have a Personalized Monogram Home Dec project to share with you. Enjoy!

Supplies Needed: Buttons, Brads, Micro Beads, Gem Tac (R), Scrapbook Paper, Hot Glue Gun, Scissors, Frame


Print letter of your choice as large as you would like finished monogram to be. Place beneath paper and put against a well lit window to serve as a light box. Then trace onto scrapbook paper.


Outline one third of the traced letter with Gem Tac.

Fill in the area fully with Gem Tac.


Place as many buttons as fit onto the glue covered area.


Quickly cover the entire surface with micro beads.


Remove excess beads before moving onto next step.


Continue covering the entire traced area a bit at a time following the steps above.


Cut the prongs off of the brads using strong sharp scissors.


See how much flatter brads lie once the prongs have been removed?


Hot glue the altered brads to the surface of the monogram randomly. Here I chose to hide "barren spots" with the brads. :)

Once your piece has fully dried, place in a frame and you are ready to enjoy your brand new PERSONALIZED home decor!!!


I would love to see what you make! Please leave a comment with a link to your personalized home decor projects! :) I will be sure to pop over and leave you some love on your project!! :)


1

Make a DIY Gift bag rosettes…

dress up that kraft bag with burlap and buttons!

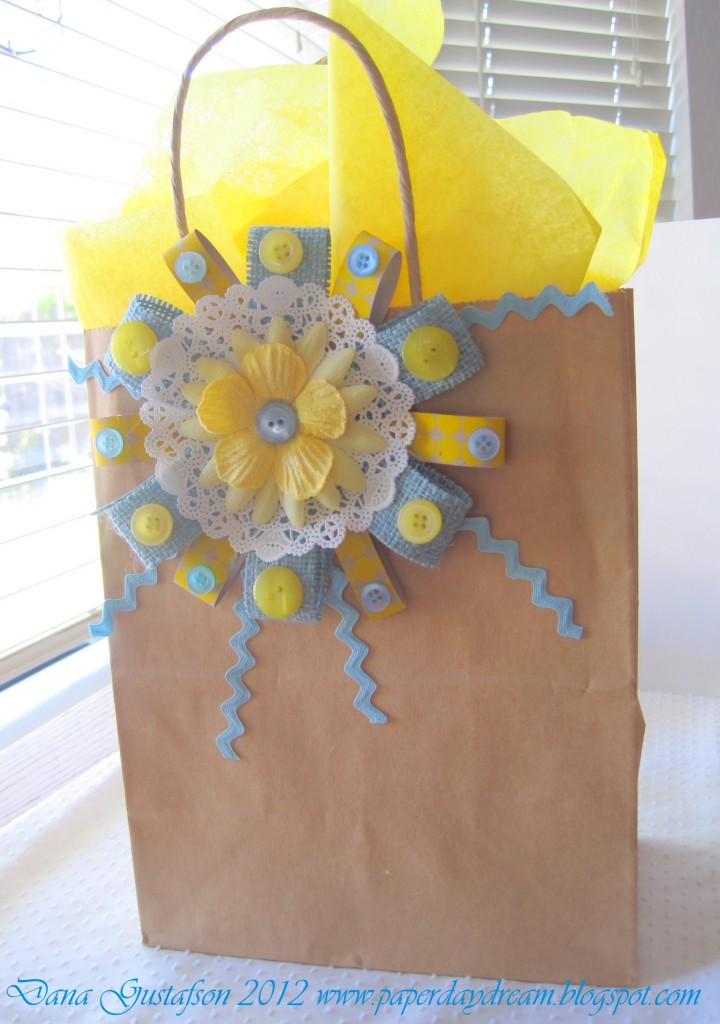
I love the blank canvas of a brown kraft gift bag!  While keeping it simple is a great way to go with the brown bag, going a little fancy and fabulous is pretty fun too!  Follow me as I upcycle a brown gift bag by adding a fun handmade rosette to add a punch of color to this gift wrapping staple!

Nothing like the summer skies to inspire a bright pop of yellow and blue!  Today’s project uses the following supplies:

Let’s get started!

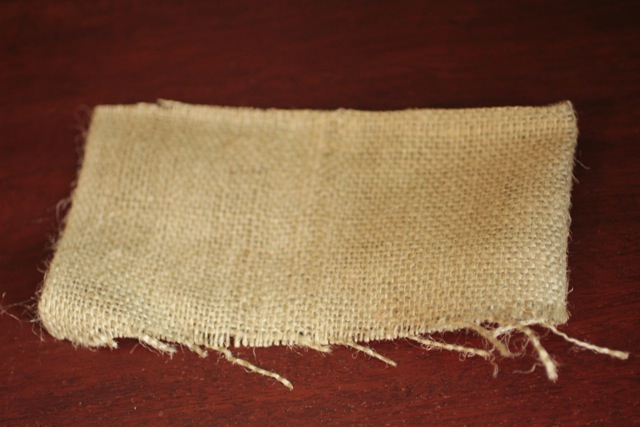
I began with a piece of burlap, approximately 5×10 inches.

Cut burlap with a metal ruler and rotary cutter into 1×5 inch strips.

Loop and glue strips of burlap around a scrap of paper that will serve as the base for our rosette.  Continue gluing and layering paper strip, doily, flowers, ric rac and buttons until you get a fun rosette that can be added to your brown bag like this….

Hello sunshine!  We just went from drab to fab with a very simple addition to this bag!

Thanks so much for joining me!  I hope you’ll try fancy-ing up your gift bags with burlap, buttons and other craft supplies!

2

Button-embellished ~ GLAMOUR~ Keepsake Frame

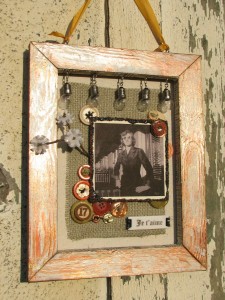
Taking a little break from our “Christmas in July” theme we have a delightful project of Mixed Media Art in this great Keepsake Frame by Elise! :)

Glamor, art and intrigue – a perfect recipe to play with buttons!
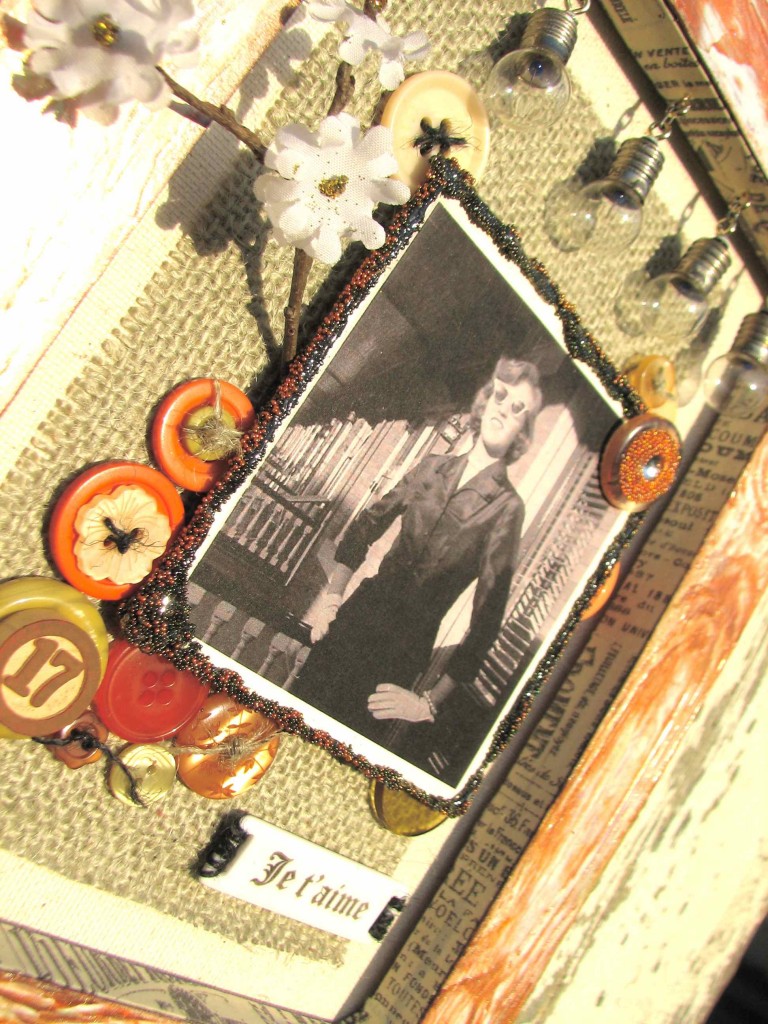
Teaming up with some HEAVENLY materials, including burlap, Lumiere Dimensional Paint by Jacquard, Glitter, Ink and Smooch Accent ink by Clearsnap, MICRO PEARLS {Yes!  Micro pearls!} and a whole lot of GORGEOUS buttons form Buttons Galore and More, I was COMPLETELY inspired to alter this simple “value” artist canvas to become “priceless” in no time!
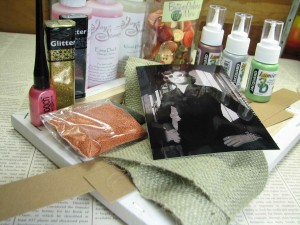
Supplies:

Button Tote Bag Assortment – Cornucopia

Mixed Rectangular Sliders

Lumiere 3D Metallic Paint and Adhesive

Glitter, Smooch and Ink – Clearsnap

Trimmer, Knife, Ruler & Mat – Westcott

Adhesive – Beacon via Buttons Galore and More

Acrylic Paint – Eco Green Crafts

Burlap

Micro pearls

Tissue Tape

Faux Wood Grain tool (Local Hardware supply)

Other – Vintage light bulbs, twigs and fabric flowers (Misc. stash)


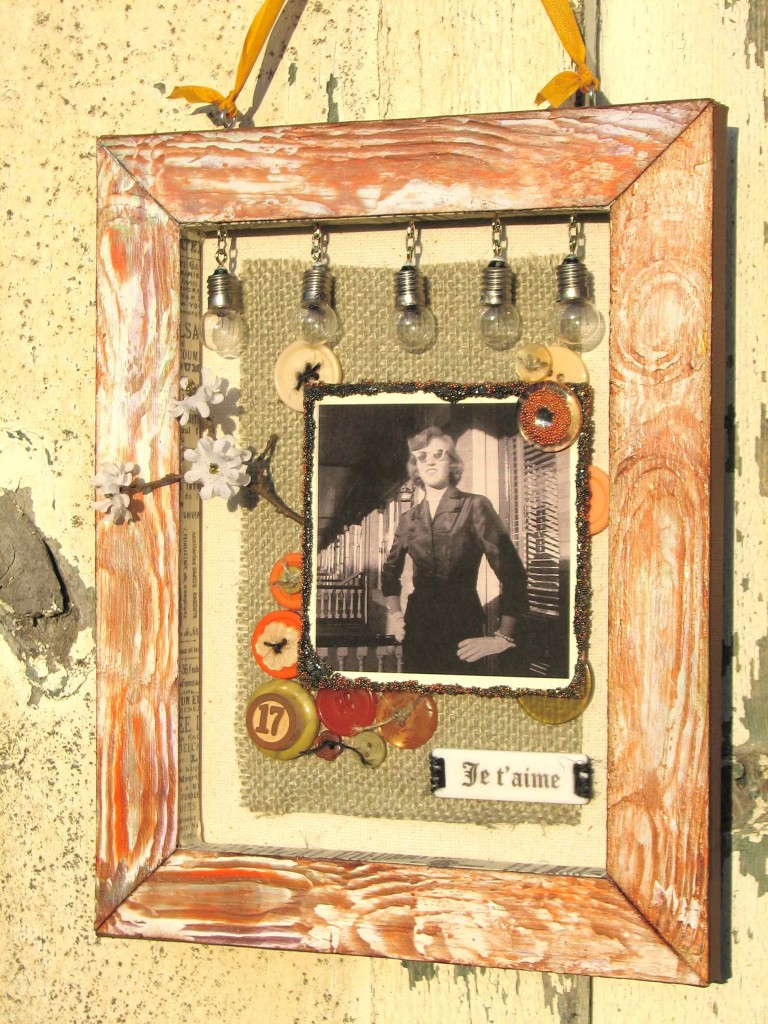
To begin, select a glamor shot of your choosing, to feature in finished frame. {I chose a cool, black and white shot of my sweet Mama at the wee-age of 17!  Wasn’t SHE a dish!}
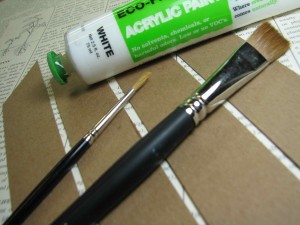
By accessing the back side of a traditional canvas, there is a whole wealth of crafty potential to play with.  To customize the “frame” of this look, I created faux wood grain with a simple wood grain tool (available at most hardware stores!), Lumiere 3D paint, as well as regular acrylic paint and some strips of chipboard, cut and sized to metier together to match the stretcher bar framework of the canvas.  Start by applying an acrylic base to the chipboard.
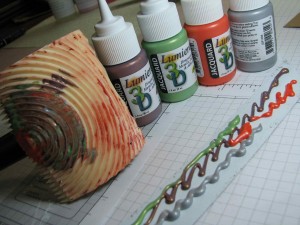
For rich wood grain effect, the MORE color, the better…  I used FOUR different Lumiere colors for this look!  In case you’ve never dabbled in faux wood grain – it’s TOTALLY easy and addicting…  Apply Lumiere on top of dried, painted (with regular acrylic paint) chipboard strips, then pull and rock the tool to create the MOST amazing effects!  If you don’t like how it looks, keep working!  The 3D quality of the Lumiere gives you some decent working time – you’ll see!  (G’head – TRY it!)  Once you get all four strips done, set to the side to dry.
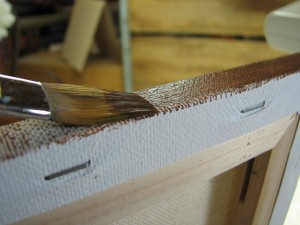
Paint the outside edge of canvas with color of your choosing.
Line the INSIDE of the frame edge with printed tissue tape.
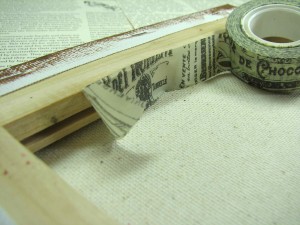
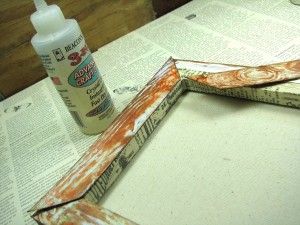
Glue faux wood grain strips to frame.  I love, love, LOVE how beautifully Beacon 3 in 1 works for an assignment like this!
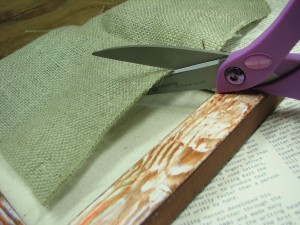
Westcott fabric scissors cut burlap, flawlessly!  Cut burlap to size of your choosing.  I decided to let some canvas frame the edge of the burlap, just because it looked YUMMY!  So many textures!  What’s a girl to DO!?!
Arrange picture and embellishments to your liking.  For this project, I mounted the photograph on chipboard, mixed micropearls and glitter and then adhered with Beacon 3 in 1 adhesive for a luscious, tactile effect.  Having TOO much fun to stop there, I added micro pearls to button centers, as well…  OMG!  {My middle name is DANGER!}
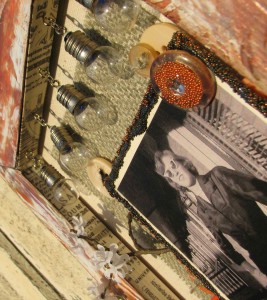
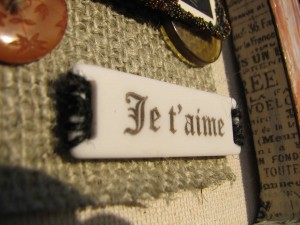
If you’ve never ventured, I can’t recommend HOARDING, uh, I mean, collecting some of our Blank Craft Shapes, in every size!  Love the mood that can be created with theses!  Easy to stamp and beautiful to behold – Je t’aime!  {See what I’m sayin’!}
YOU can get your glamor on, too!  Just pick up a selection (or TWO/FIFTEEN!) of some lovely button assortments from Buttons Galore and More, toss in some HEAVENLY crafty supplies, a canvas and old picture or two…  I guarantee you’ll beat the heat if you spend a few hours crafting away on a cool keepsake, like this!  I hope so!
Thanks for visiting!  Here’s to a glorious, button-craft filled day!  Keep CALM and BUTTON onnnnnnn!


1

Bib Tank Tutorial

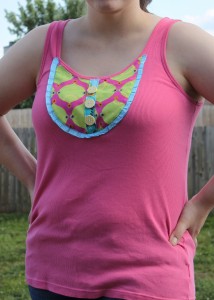
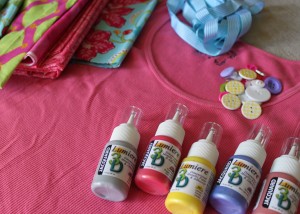
I keep seeing adorable clothes for little girls, but never for us “big girls” like me. I want cute clothes too! So… I decided to see what I could do with my sparse sewing skills.  After rummaging through my tank top drawer and fabric scrap bin, I came up with a plan to work up a cute little bib tank.

LauraEvangeline

Supplies:

Tank Top or T-Shirt

Fabric Scraps

Aqua Striped Ribbon

Plaid Round Buttons

Scrap Paper

Fabric Marker

Scissors

Sewing Machine/Kit

Iron

Fusible Web/Stabilizer

Lumiere 3D

MicroBeads

LauraEvangeline

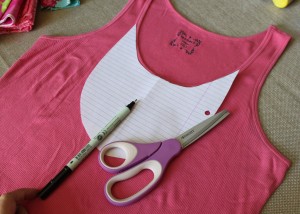
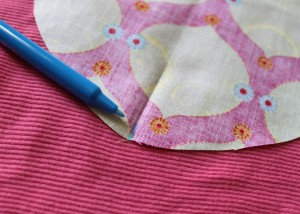
1. Take a scrap piece of paper and draw out a template that suits you and trim it out. This is your pattern. I sketched my design, folded it in half, and then cut it out to ensure it was symmetrical.

2. Once you’ve come up with a pattern that you like, cut out your pattern in a fun fabric. The fabric I chose was an old drawstring bag used to keep shoes nice when traveling.

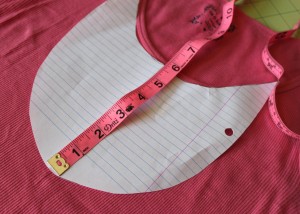
3. To make the center strip, measure the top of your pattern to the bottom and add an extra inch to fold over later. You can create the strip as wide as you’d like, but I made mine 1.5″ wide keeping in mind that I’d be folding over 1/4″ on each long side to hide my raw edges.

4. For the outside ruffle, measure around the bib of your pattern and double it. This is about how much fabric or ribbon you’ll end up using once you ruffle or pleat it. You can also purchase a trim that is already ruffled if you like. If you’re using ribbon, you may want to consider the materials to ensure it can be washed (won’t bleed or melt). All of your cut pieces should end up looking like this:

5. To ensure that my center piece would be mid-line, I took a washable fabric marker and drew a line to mark the center of my bib.

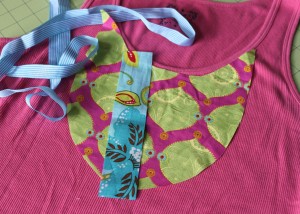
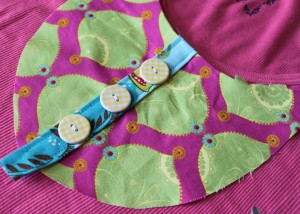
6. You’ll then want to fold and iron the top edge of your bib down about 1/4″. I snipped the fabric in a bit about every 1/2″ so there would be less bulk and puckering. Fold and press over 1/4″ on each long side of your center strip fabric and apply a strip of fusible web 1/2″ narrower than the width of your fabric strip to the back before ironing to the bib. You’re then ready to sew the strip to your bib and attach the buttons. It should look something like this…

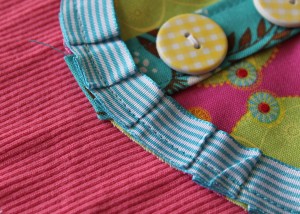
7. Sew the ribbon on top of the bib around the bottom 1/4″ from the edge. (If the material you choose to make a ruffle or pleat is single sided, you’ll want to ensure that is facing down for this portion.)

8. Carefully iron your ruffle/pleat out flat, add fusible webbing to the back, and iron on to your tank top.

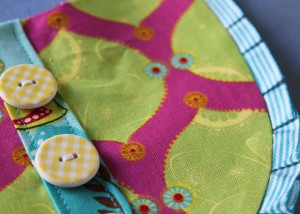
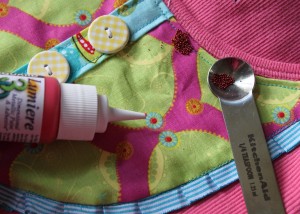
9. Sew the bib to the tank top ensuring you don’t sew all the way through to the back (like I did). Now for bling… Use the Lumiere 3D to embellish the existing pattern on your chosen fabric and sprinkle on microbeads. I pressed the beads in lightly with the back of the measuring spoon once a hefty amount was sprinkled over each dot. Once the Lumiere dries for 72 hours it’s completely washable.

10.  And… that’s it! Wear it, enjoy it, and maybe even make a few more!

LauraEvangeline

I hope you’re feeling inspired, and have a crafty kinda day!

0

Upcycled Spring Floral Bouquet – An Earth Day Project

Upcycled Spring Floral Bouquet

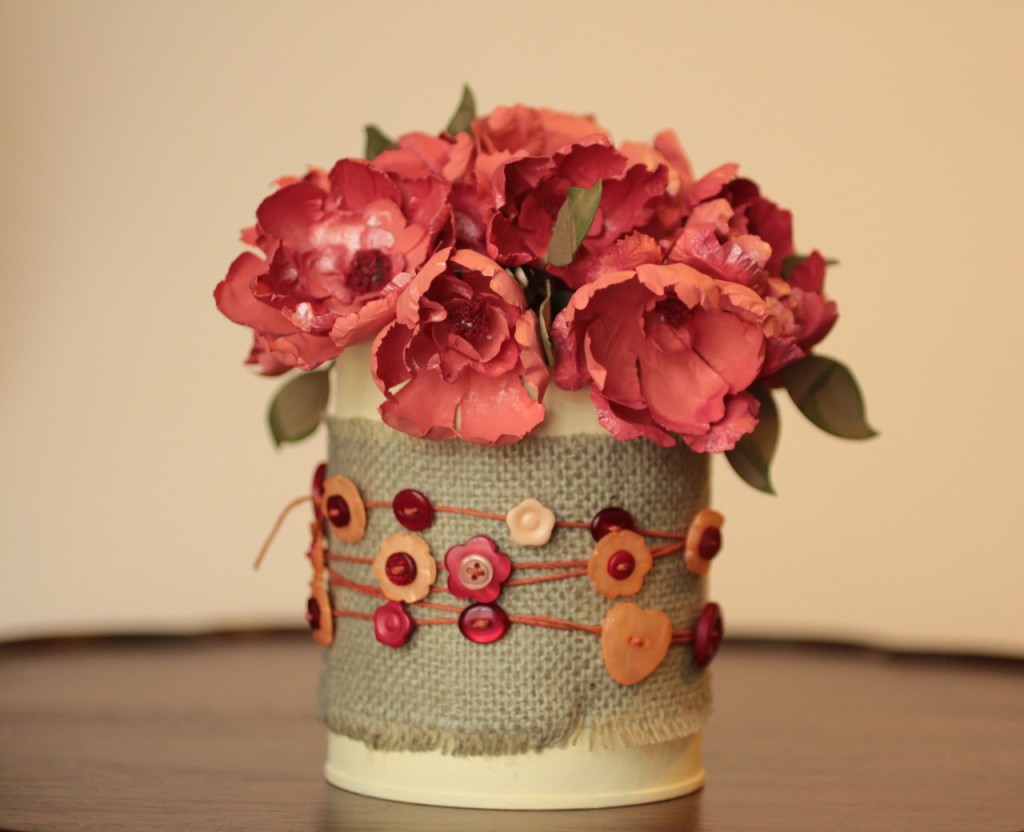
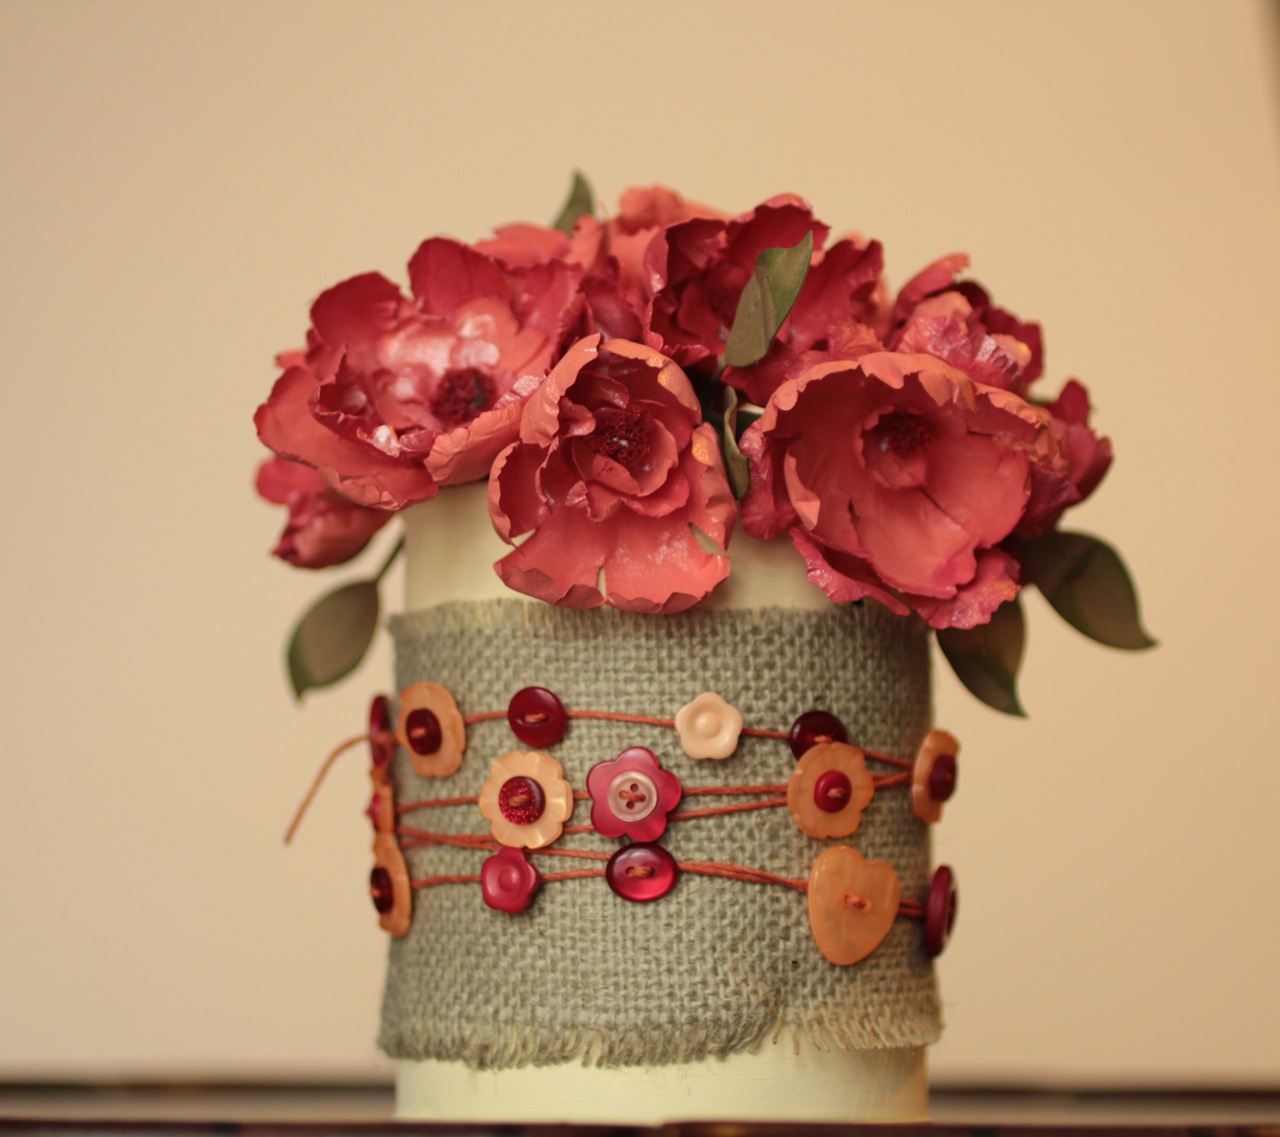
Burlap and buttons make a great wrap for a bouquet that will last longer than a week. I love fresh flowers, but they do not love my budget. A more budget friendly idea is the tin can that I repurposed.

Tools and Materials:

Sizzix Tattered Florals and Leaf  Die Cut

Beacon Adhesive – FabriTac

Jute Cording,  Burlap, Styrofoam, Krylon Spray paint, Westcott Scissors and kraft knife.

Buttons – Tangerine Tango, Class

Directions:

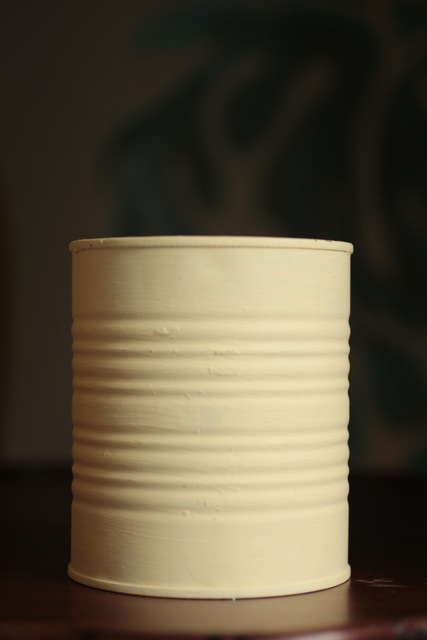
Clean and dry tin can. Spray paint can. Let dry and repeat.

Use Krylon to Paint Can

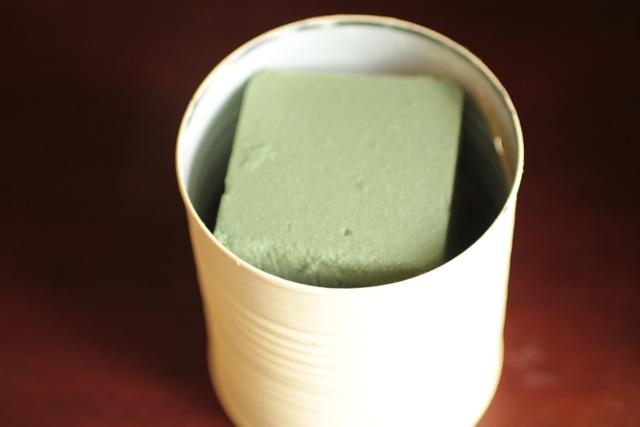
Place floral foam inside can.

Place Floral Foam inside

Cut burlap to fit. Adhere burlap with Quick Grip.

Cut Burlap to Fit Can

Slide buttons on to jute cording. Wrap cording around container. Adhere buttons into place. Add a second layer of buttons where desired and glue into place.

Recycled Can - Earth Day Project

Add flowers into container.

This recycled tin can vase will work for any type of flowers, fresh or hand made.

3

Powered by WordPress. Designed by WooThemes