Header

Tag Archives | tutorial

Sunday Card Tutorial: Make a Window Card

Window Cards are cool.  Have you ever wanted to make a window card? Have you ever had to make a BUNCH and wanted them all to be the same?

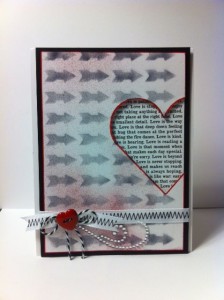
Window Card by Allie Gower


Materials to make Window card:

I have a Grand Calibur from Spellbinders, but this should work in any machine. You need repositionable tape – I use Tissue Tape – as you can see! You will also need two post it notes.

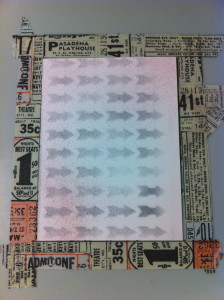
Start by making an outline of your card, so that you know where to place each card front.

Making the Perfect Cut


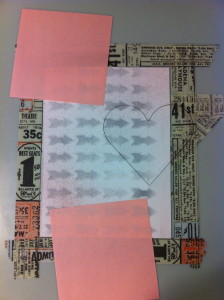
You also want to tape down the die. You will cut through the tape – no worries, just put tape all over it and really rub it down. Then, you are ready to die cut your panels. Use some post it notes to hold it in place. These will really stick after running through your machine, but won’t leave any residue.

Making the Perfect Cut


Rinse. Lather. Repeat. Just kidding. Keep going, just line up your panel  and secure with post – its. Before you know it, you’ll have a nice neat stack of card fronts.

Making the Perfect Cut


My card fronts were created with an arrow stencil. This is a new stencil that Donna Salazar designed for Want2Scrap. It worked great. I used my trust post its to hold it in place, and airbrushed some black ink. Afterwards, I sprayed on a little red ink, and outlined the card.

I finished the card off with ribbon, a Red Heart Button and some twine, and a rhinestone flourish.

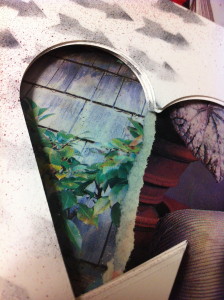
Behind the opening is some cardstock. I raised up the card front with some dimensional adhesive. The card front is matted on black, and then adhered to the card base.

If you have to make several cards, or even just one – this easy technique will help you get it right – the first time, and every time.

Buttons Galore Supplies Used to Make the Window Card:


Additional Supplies Used to Make the Window Card:

  • Cardstock – My Favorite Things Replenishments
  • Patterned Paper – Canvas Corp.
  • Stencil and Flourish – Want2Scrap
  • Die – Classic Heart from Spellbinders
  • Ink and Airbrush System – Copic
  • Ribbon – American Crafts
  • Twine – Doodlebug Design

Would you like me to send this card to you? I will be sending it to one lucky winner.

Simply leave a comment and Pin this card!


Thanks for joining me, I’ll be back next Sunday with a fun Card Making Tutorial for you featuring, of course, fabulous BUTTONS!


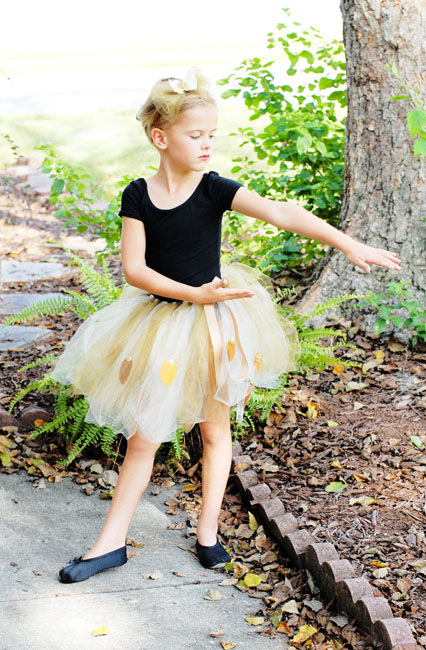
A DIY on How to Make a No Sew Tutu Tutorial Embellished With Felt Leaves & Buttons

 no sew tutu tutorial

Good Morning! Today I have a stepped up version of a no sew tutu tutorial from a great DIY blog called – Skip To My Lou. I followed all of her steps but where she stops is where I picked up to make this fun and oh so seasonally perfect button embellished tutu! Here’s how I just kicked her’s up a notch – Enjoy!

 no sew tutu tutorial Autumn Forest Nymph Tutu

Find an adorable little girl who you can transform into an Autumn Forest Nymph!!


Direction to make a  no sew tutu tutorial/ Autumn Forest Nymph Tutu


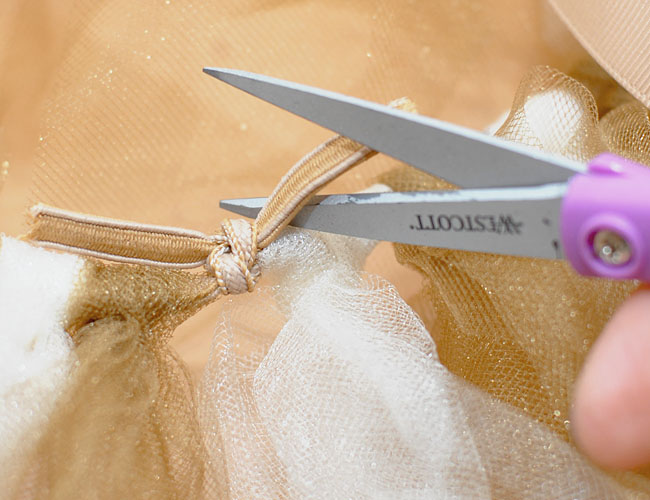
Follow tutorial found on Skip To My Lou’s Blog (http://www.skiptomylou.org/2011/11/01/no-sew-tutu-tutorial/) but cut away the excess elastic.


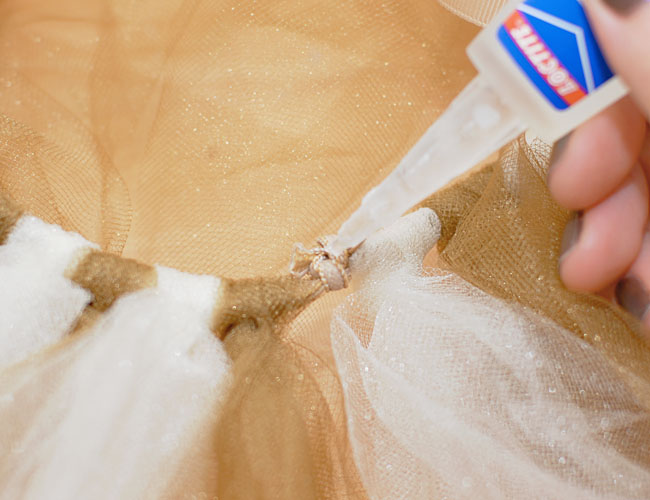
Add a bit of superglue to the knot to be sure it is held securely.


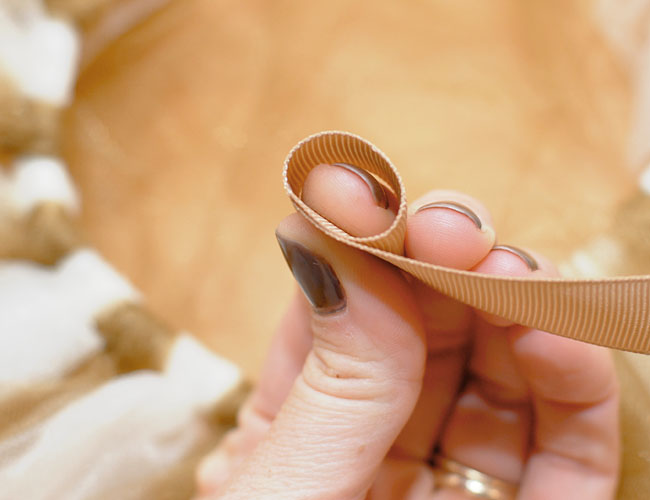
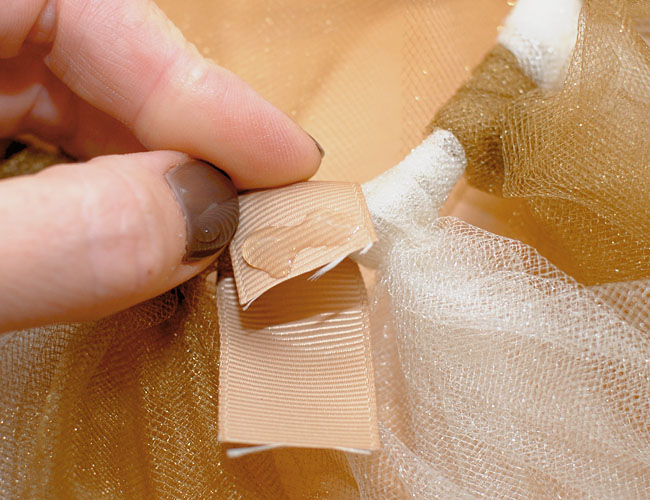
Wrap the ribbon around your finger to measure out how much ribbon will be needed to fit round the knot and still have plenty of room to pass the other length of ribbon through.


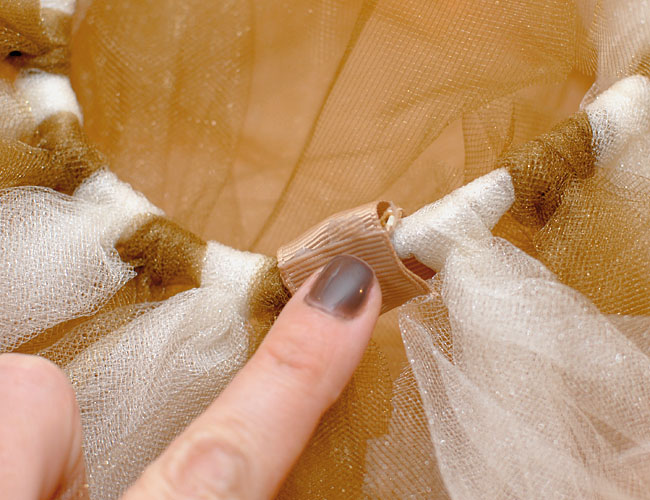
Wrap the ribbon around the knot and hot glue in place.


Be sure to keep edges of ribbon even and hold end of ribbon in glue until glue cools.


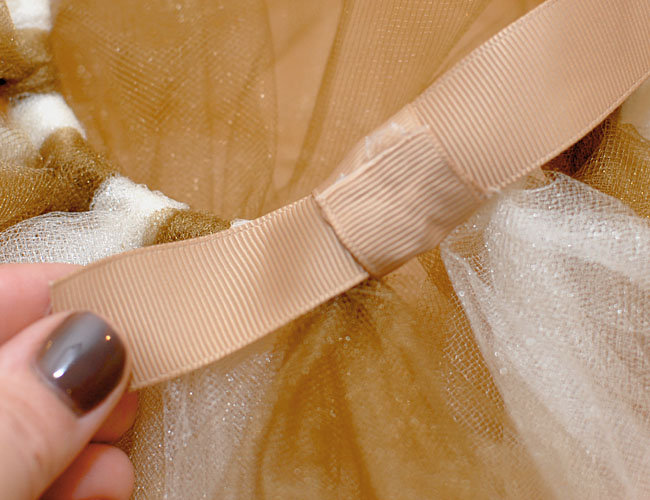
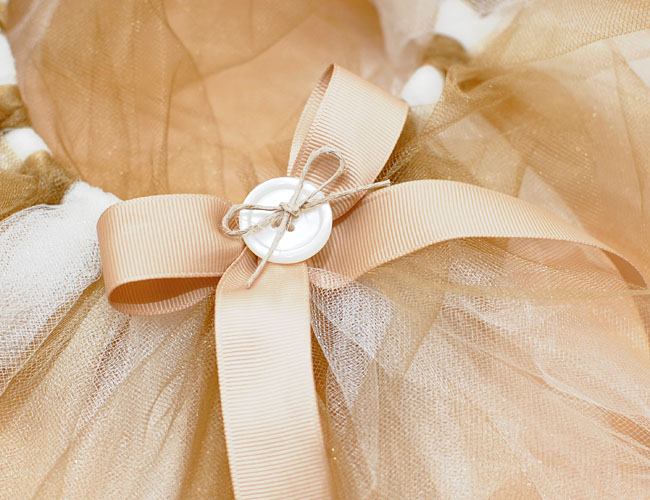
Pass the ribbon through the loop and tie into a perky little bow.


Embellish the center of the bow with a large button that has a bow of hemp tied through the center.


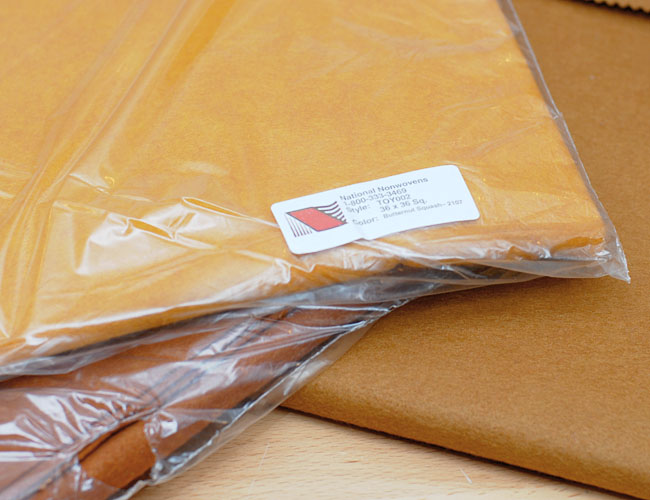
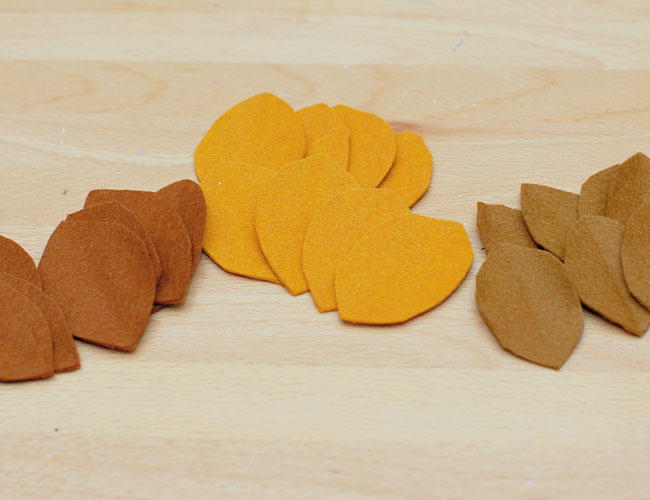
Gather a few different colors of Autumn colored felts.


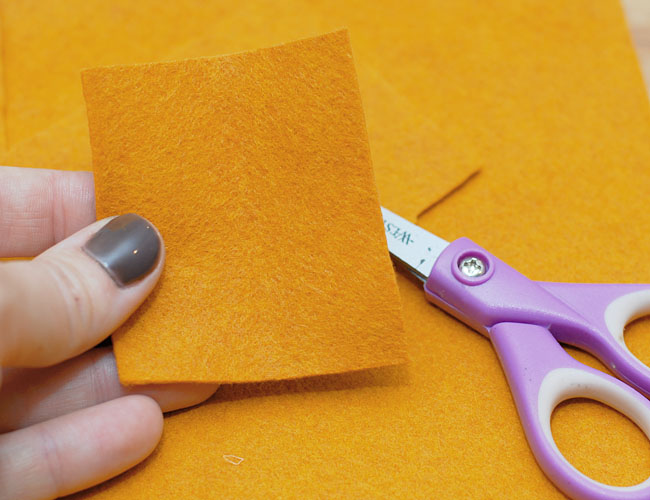
Cut felt into approximately 2″ x 3″ rectangles.


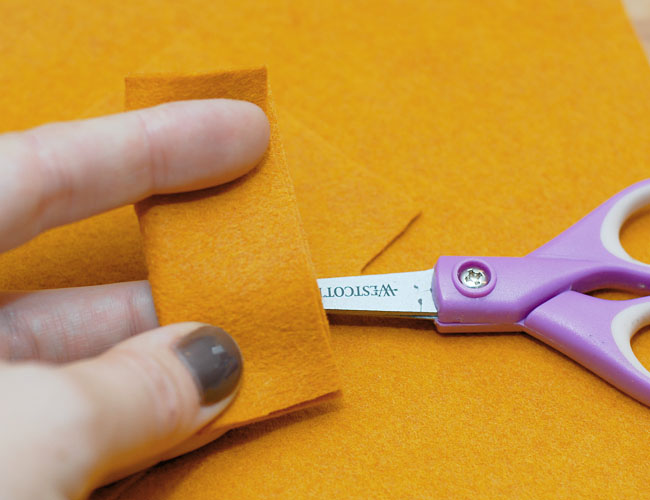
Fold rectangle in half and cut a half leaf shape on fold.


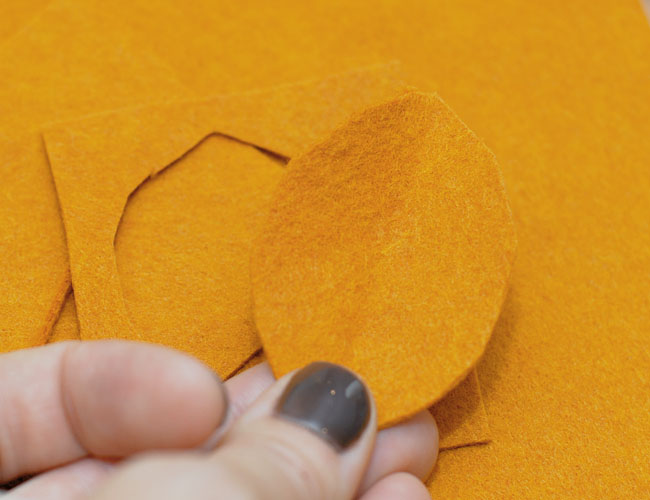
Open to reveal leaf shape.


Repeat with additional colors of felt until you have a good assortment of felt leaves.


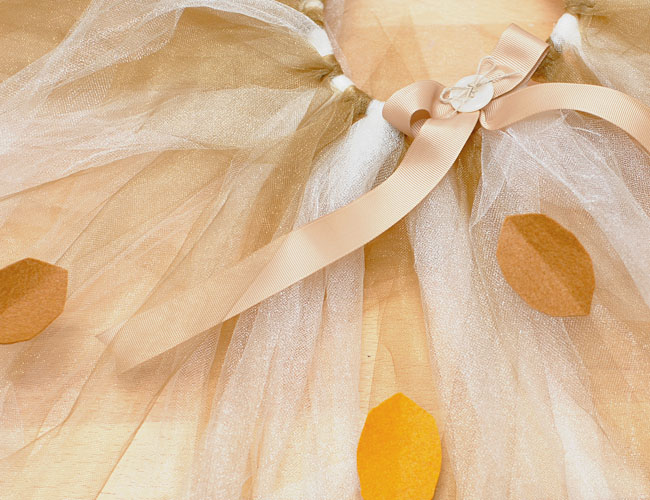
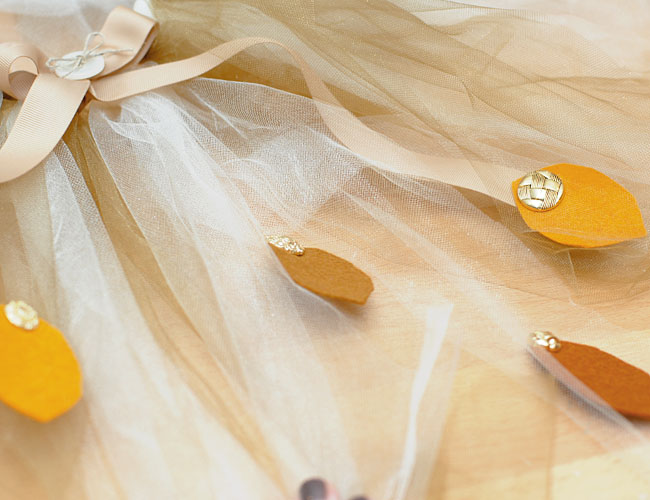
Place leaves all over tutu before gluing into place to be sure you have a good mix of colors and spacing.


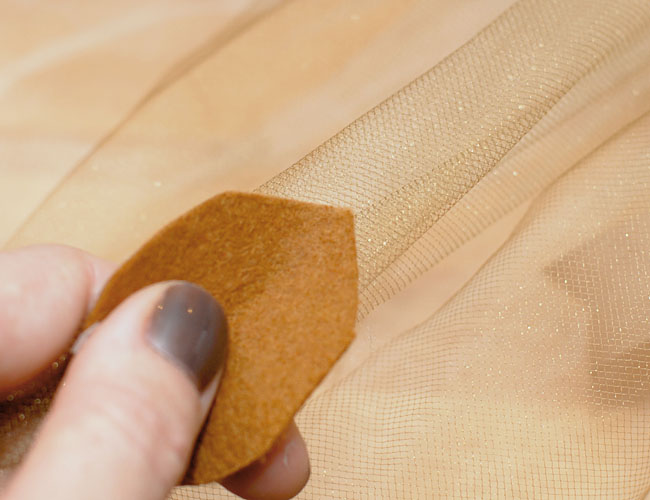
CAREFULLY adhere using hot glue. Be careful as the glue will go right through the tulle if you aren’t careful!


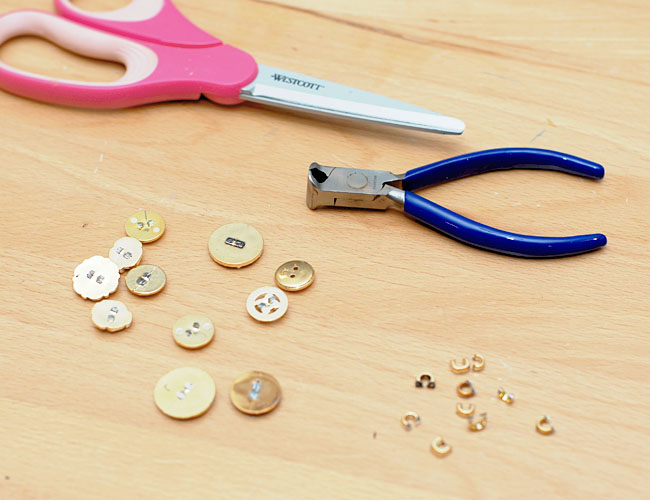
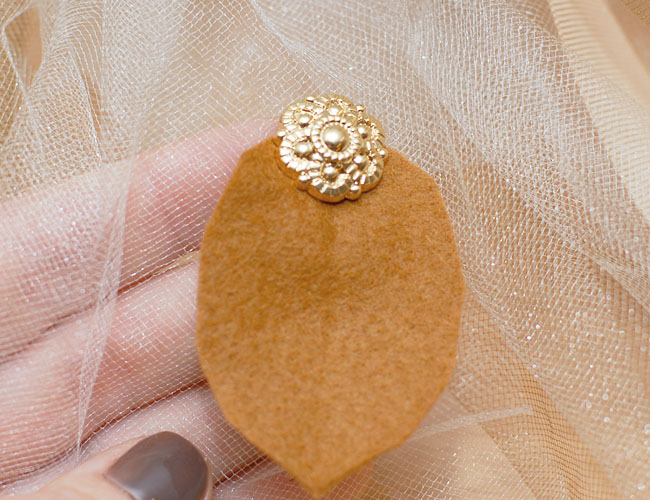
Using either heavy duty scissors or a button shank remover tool, remove the button shanks from as many buttons as you glued leaves.


Carefully adhere a button to the top of each leaf on the tutu.


Finish gluing a button to each leaf to finish embellishing the entire tutu.


Find an adorable little girl who you can transform into an Autumn Forest Nymph!!


I hope you have enjoyed this  no sew tutu tutorial /Autumn Forest Nymph Tutu.  It was fun and easy to make and my daughters love it.

4

Fifteen Minute Fashion: How to create these adorable Button & Burlap Rosette Hair Bows

Hi there and welcome back!!! Today I have alot of info to share so get comfy! :) First I wanted to tell you about our June theme, then I have a really cute tutorial for you on how to make these delightful burlap & button rosette hair bows.

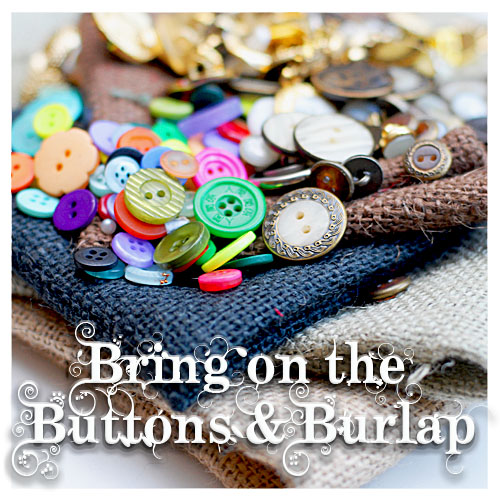
Our theme this month if you didn’t guess by my intro project is Buttons & Burlap!


Keep any eye out for our Buttons & Burlap Challenge Contest coming later in the month...if you don't have any burlap or buttons you may just want to go get some...just thinking out loud here. ;)


So this month we were given  a theme where we as designers have been challenged to work with Buttons & Burlap. I think you will really enjoy what the  design team has cookin’ for you! And today, I have the first project and it comes with a FULL STEP BY STEP PHOTO TUTORIAL!!! Yay!!! Who doesn’t love a good tutorial? So let’s get started. The supplies I have used are:

Buttons – I think my two came from various Button Jar assortments.
Burlap – you can find this at most big box craft stores and it’s CHEAP!
Westcott Brand Rotary Trimmer, Cutting Mat, Steel Ruler & Tiny Thread Snips
Large Needle
Twine or Yarn
Sharpie Oil Based Paint Pens
Ribbons & Trims
Hot Glue Gun & Hot Melt Glue


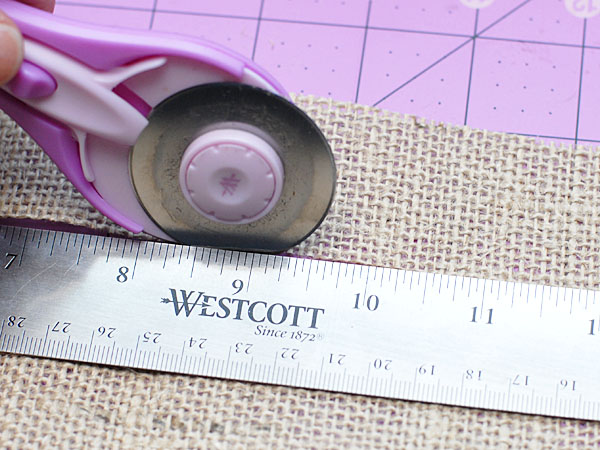
Begin by cutting a 1.5" strip of burlap in your choice of color...length is not all that important but these were approximately 12" long.


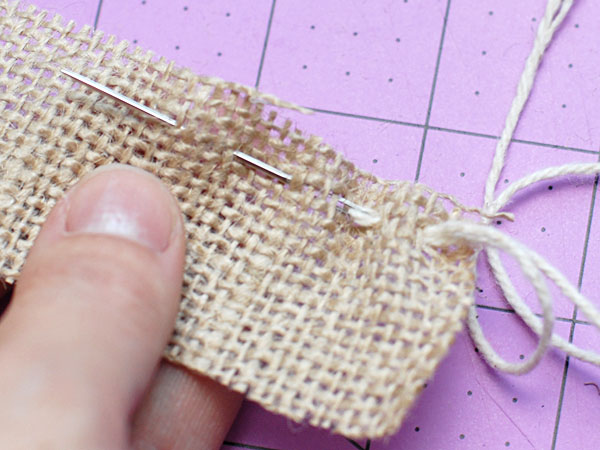
Use a large needle threaded with twine or yard and sew a large basting stitch about .25" from one edge.

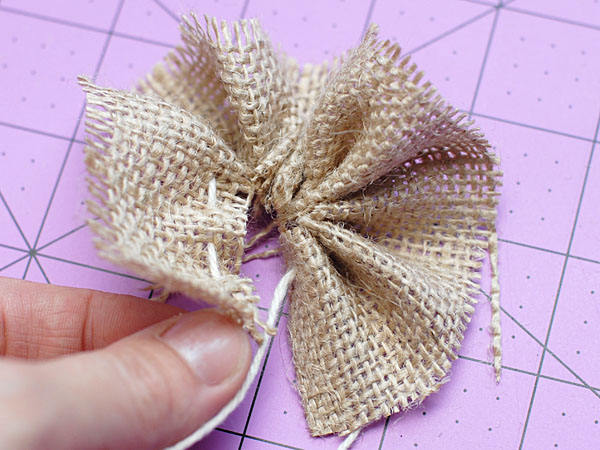
Pull on the ends of the twine used to create a gather. Tie a knot to the back of the rosette and spread the ruffles so that they are evenly spaced along the tied circle of twine.


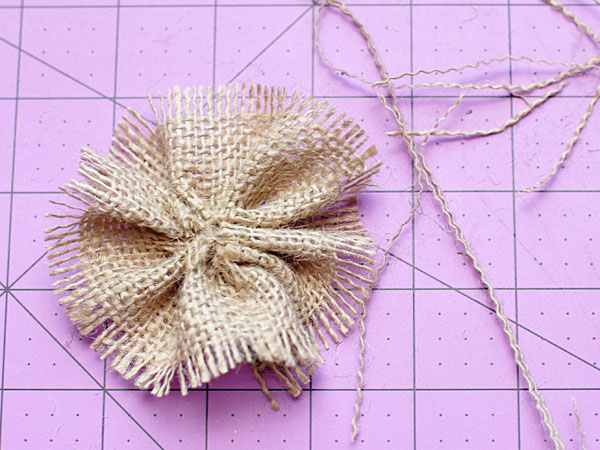
Remove outer few bands of burlap to create distressed edges


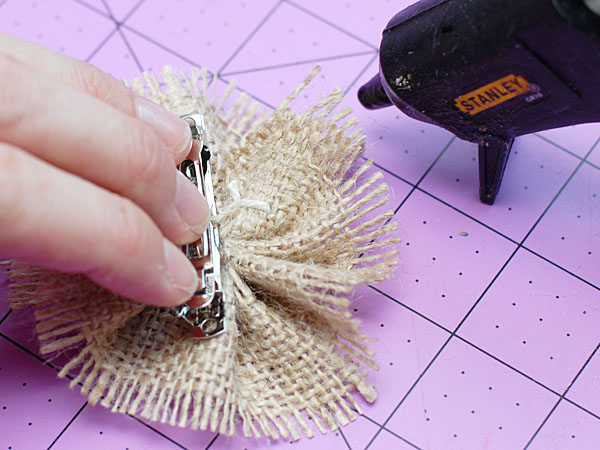
Use hot glue to attach hair clip to back side of rosette


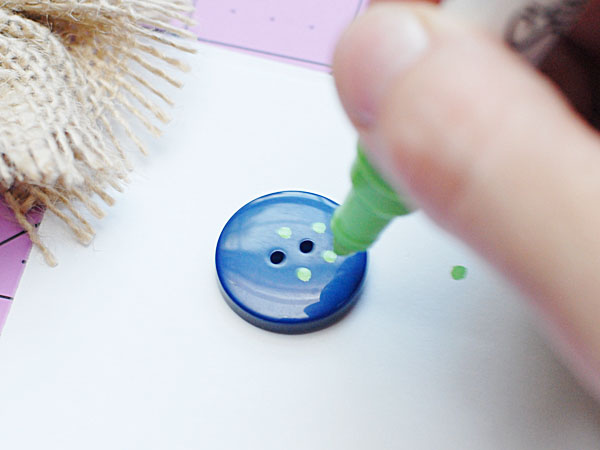
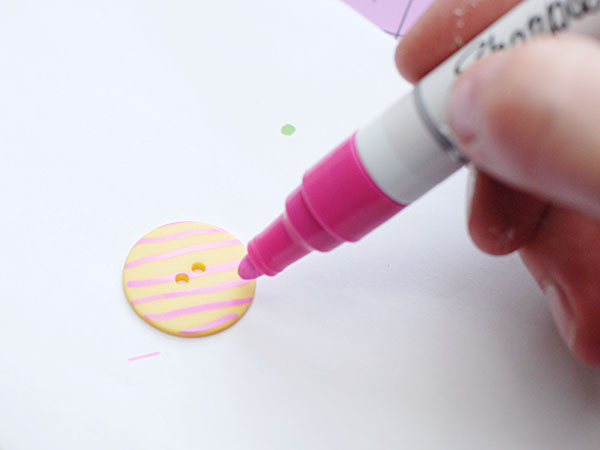
Create polka dots on surface of button using Sharpie paint pen


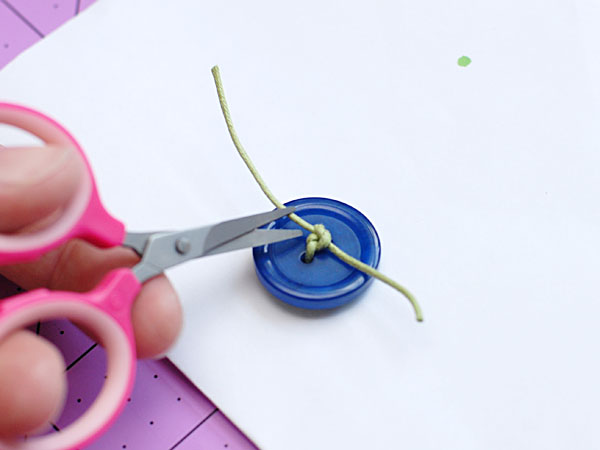
Tie a length of green twine through the buttons and tie in a knot on the under side trim ends with sharp snips


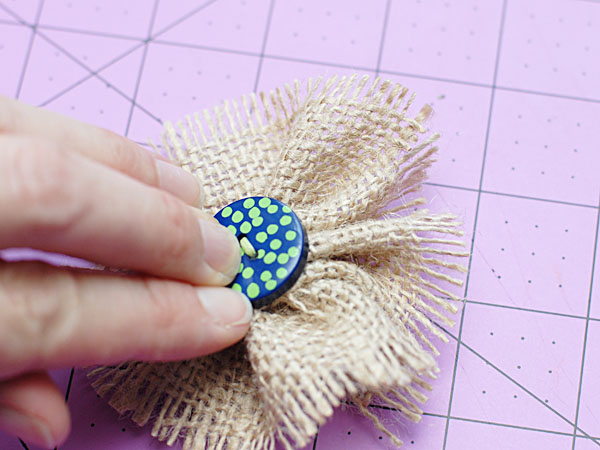
Liberally cover entire knot with hot glue


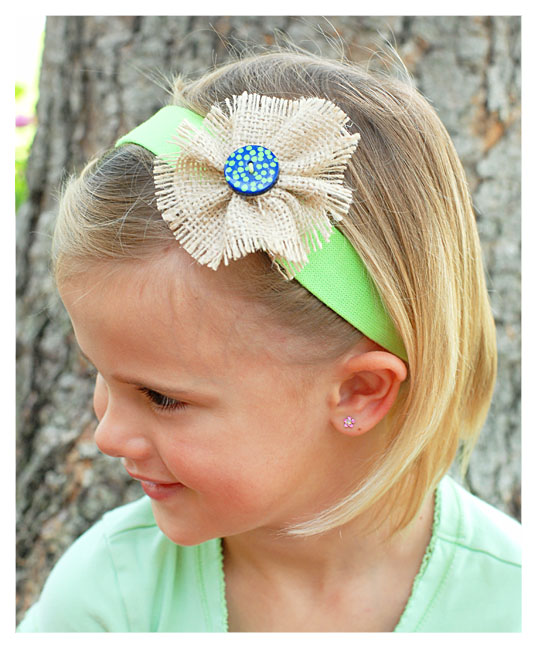
Press onto front center of rosette to finish hair bow


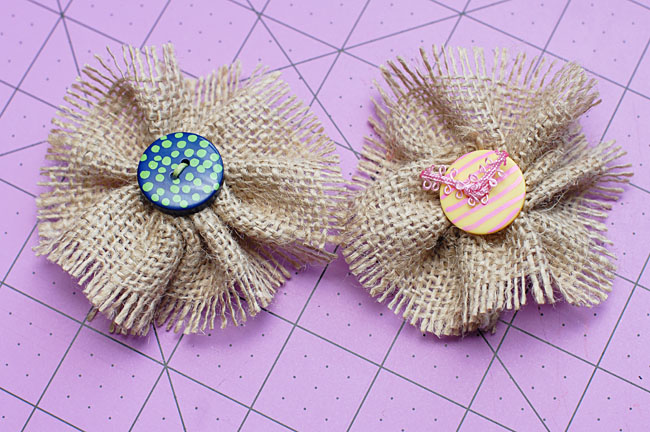
Alternate button idea - try out all the various color/pattern themes you can think of! Get creative!!!


Just a quick shot of the two side by side.

And finally my adorable little model (my daughter :) ) who was just over the moon to be getting such “high fashion hair bows” today when Momma was done working…. :)


2

Super Simple – Super Chic Napkin Rings

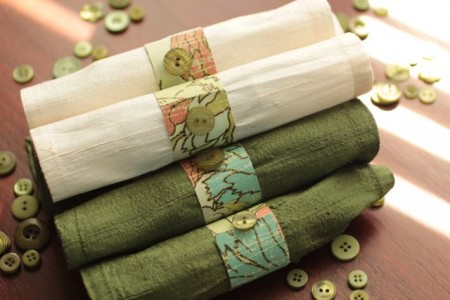
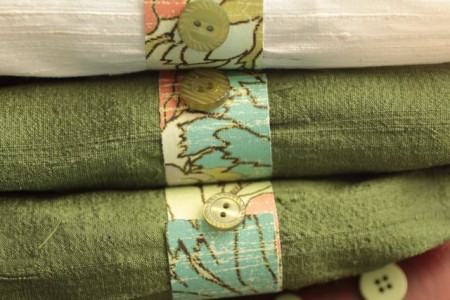
Button embellished napkin rings

Button embellished napkin rings


I am helping a friend plan and prepare for her wedding and all of the events surrounding it.  The project today is one of the napkin ring ideas I proposed to her.  It is simple enough that her kids can help, not expensive, and very pretty all at the same time.  She wants to go with shades of olive ( his favorite color), peach ( her favorite color, coral and turquoise (mine).  Not that my colors matter at all.  By adding shades of the four colors it helps to expand our options and stretches our budget even further.  By limiting the colors it allows us to many things that we already own.

To make the napkin rings I used scrapbooking paper that had all of her colors.  I buttons I used are Avacado and adhered with a glue dot.


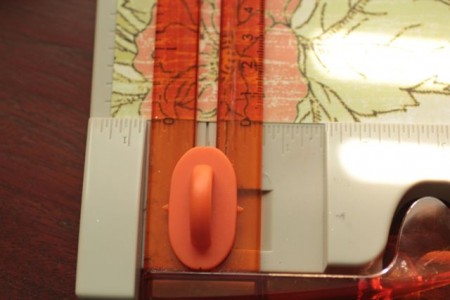
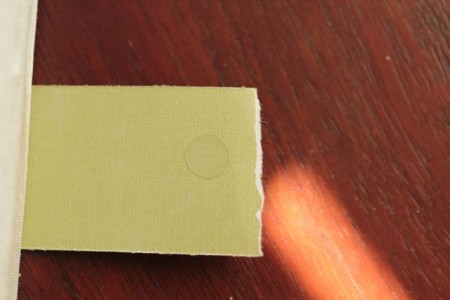
Cut 1.5 inch strips

Cut 1.5 inch strips

Add a glue dot to one end

Add a glue dot to one end

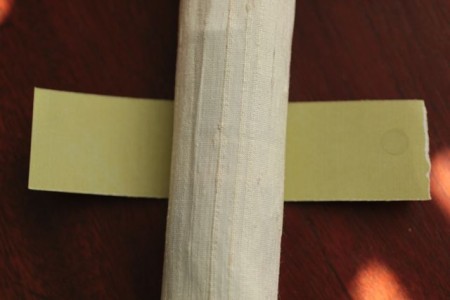
Wrap around napkin

Wrap around napkin

Viola!  Super Chic Napkin Rings

Add buttons with a glue dot and VIOLA!

1

Powered by WordPress. Designed by WooThemes