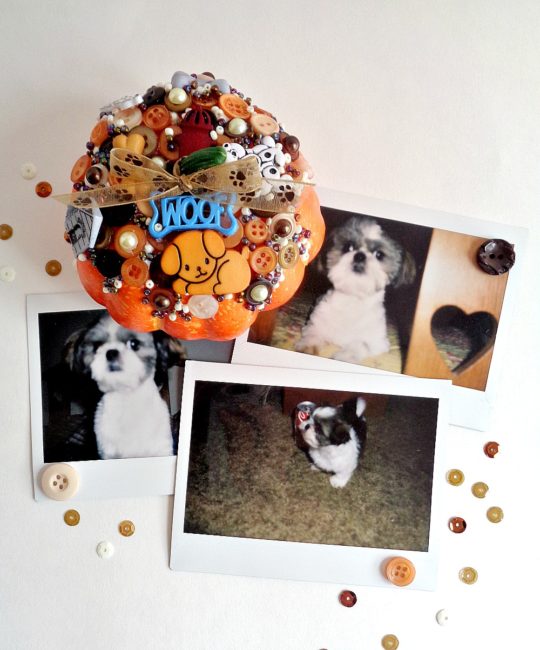
Hello Everyone! This is Katie from the Buttons Galore & More Design Team and today I have a cute pumpkin decorating project that involves your furry four-legged friend! Continue Reading →

Hello Everyone! This is Katie from the Buttons Galore & More Design Team and today I have a cute pumpkin decorating project that involves your furry four-legged friend! Continue Reading →
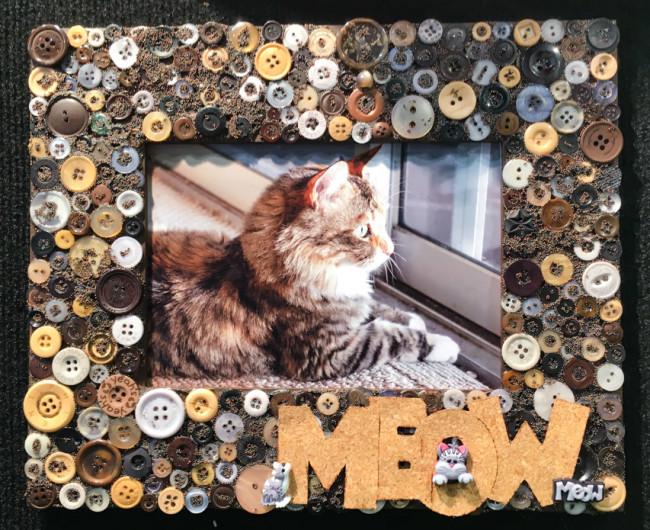
Saturday is National Love Your Pet Day, and what better crafty way to celebrate your pet than by creating a pet button frame to display your favorite photo of them?
Supplies:
This frame could easily become a dog themed frame just by changing the cork word to “woof” and using some of the dog buttons from our Pets & Pals collection.
To begin, paint the frame with the FolkArt chalk paint in Java. You may want to use some sandpaper first to prepare the frame’s surface for the paint. Don’t forget to paint the edges of the frame that will be visible!
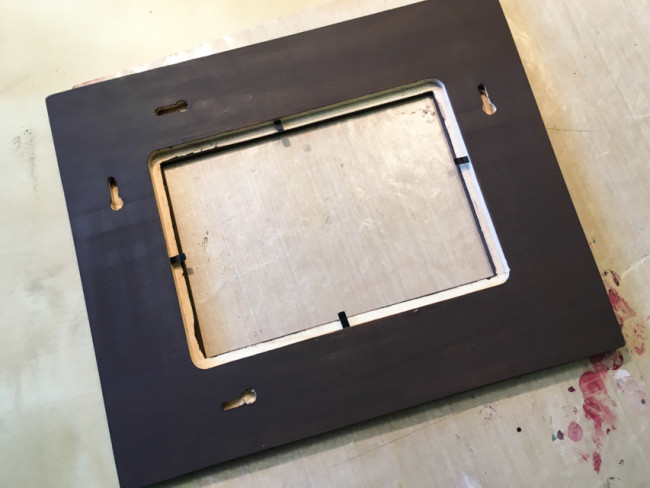
After the chalk paint is dry, buff the painted surface with the Plaid FolkArt Home Decor Wax to finish it.
While you wait for the paint and wax to dry, mix the microbeads to create a variegated mix that is half brown and half black. Make sure to thoroughly mix the beads together to get a random distribution of color.
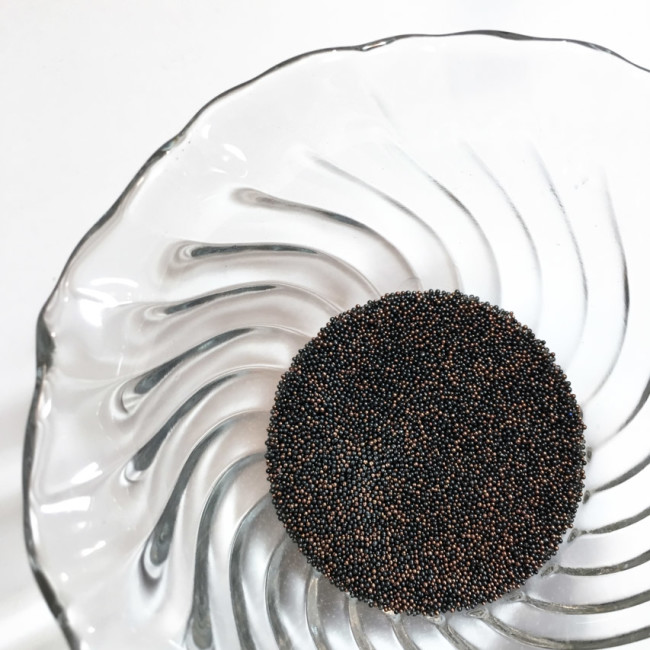
Next it is time to apply the buttons! Working one small section at a time, spread a thick coat of clear-drying white glue on the front of the frame. Position a mix of buttons to fill in the frame. After you are certain that the buttons are in their final position for that section – and before the glue has dried – sprinkle some of the microbead mix on top of any gaps between the buttons.
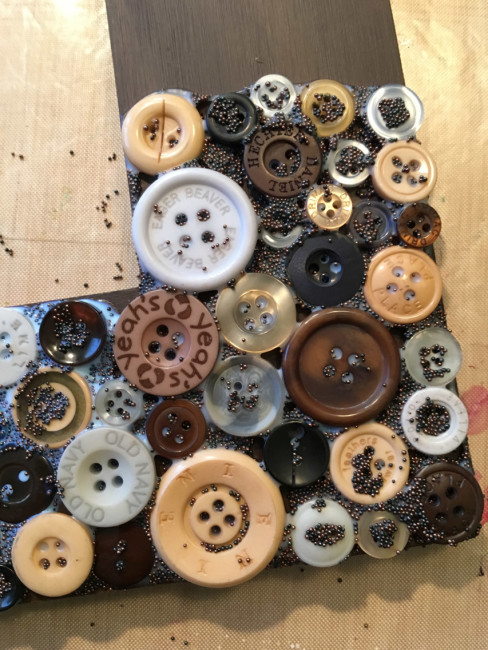
The benefit of using the white glue (versus say a hot glue gun) is that its invisibility and dry time gives room for adjustment as you build each section of the collage. You can nudge a button or move it completely if necessary to make your “puzzle without a correct answer” fit together in a way that satisfies you. You aren’t committed until the glue dries, which takes quite awhile.
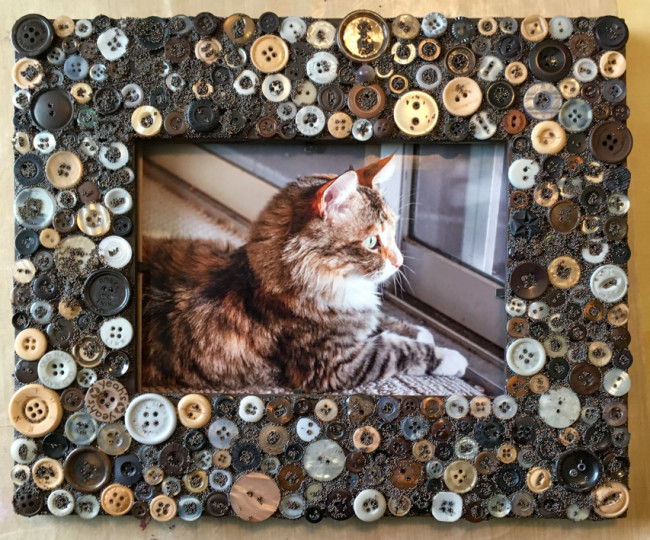
I recommend letting one section dry before beginning another. While the dry time on the glue method allows for error, it also creates error – making it easy to accidentally nudge an entire section out of place while trying to wedge a button into a tight spot. Working with only a small wet section at a time minimizes the damage that sort of incident can do.
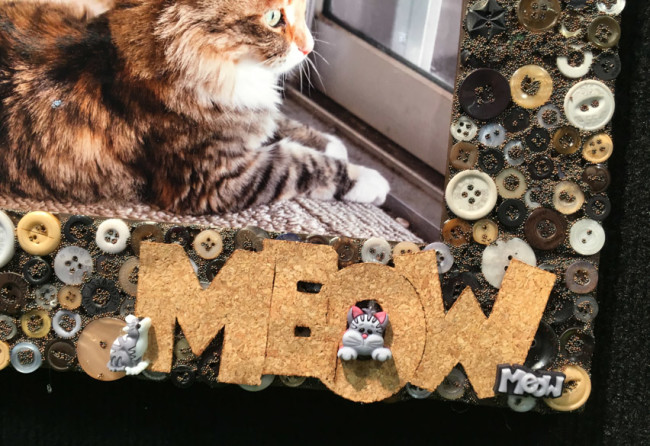 The title is a simple addition to the frame – it’s the materials that make it look fancy!
Cut the cork sheet on a Cricut Explore machine, and then ink the edges with Distress ink to create a nice shadow on it. Because the surface of the buttons is really uneven, you’ll need to adhere the cork with a glue gun even though the cork is self-adhesive.
Once the cork title is on, cut the shanks off of the buttons and use the hot glue gun to adhere them in place as well.
And that is it – your beautiful pet frame is complete! Now you can find the perfect photo memory to enjoy of your furry family member!
It’s time for the Fall Quilt Market trade show, and that means new products from Buttons Galore!
This fall, we’re debuting products that fit perfectly with one of the hottest trends in the craft world: pet-themed projects. Buttons Galore is going to the dogs – and cats – with our new “Pets & Pals” collection!
These buttons come in a variety of assortments and individual design packs.
With shank backs, these fun 3D buttons are perfect for sewing projects or craft projects!
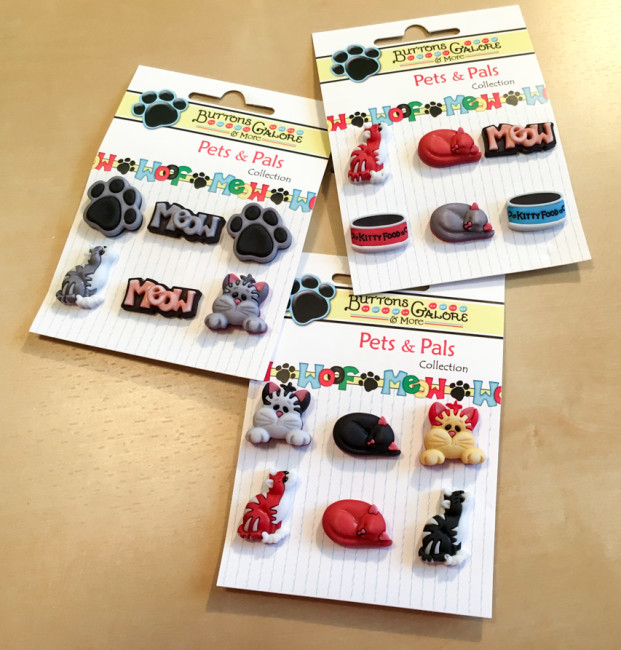 These new products can be seen now on our website, or if you are at Quilt Market in Houston this weekend you can stop by our booth #562 to check them out in person!
