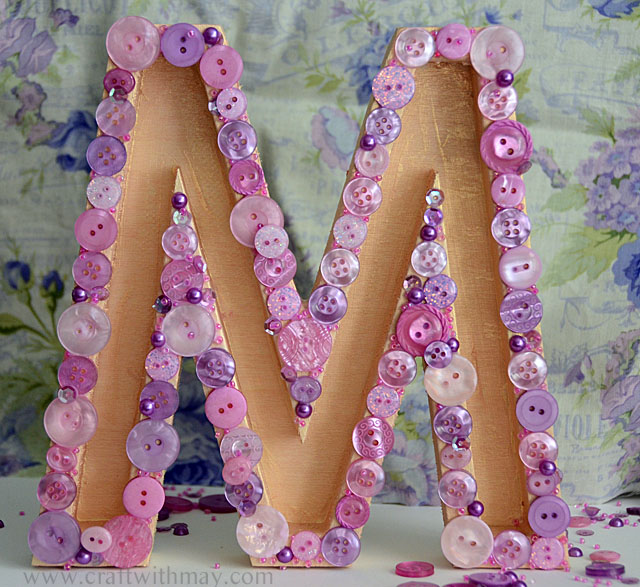
Simply gluing buttons to a wooden monogram is a fantastic project for so many reasons: It’s fun to do, it is easy and makes a great family craft, and it will look fantastic displayed in your home! Today I am sharing a video showing how I created the letter M for my studio with the “On Lilac Lane” bottle. Not to be biased – but this is my favorite bottle and color so it was the perfect choice for this project. From holiday or seasonal décor to bedroom décor creating not just button monograms but shapes of all kinds decorated with buttons and embellishments is a lot of fun.
Tag Archives | monogram
Button Monogram Wall Art
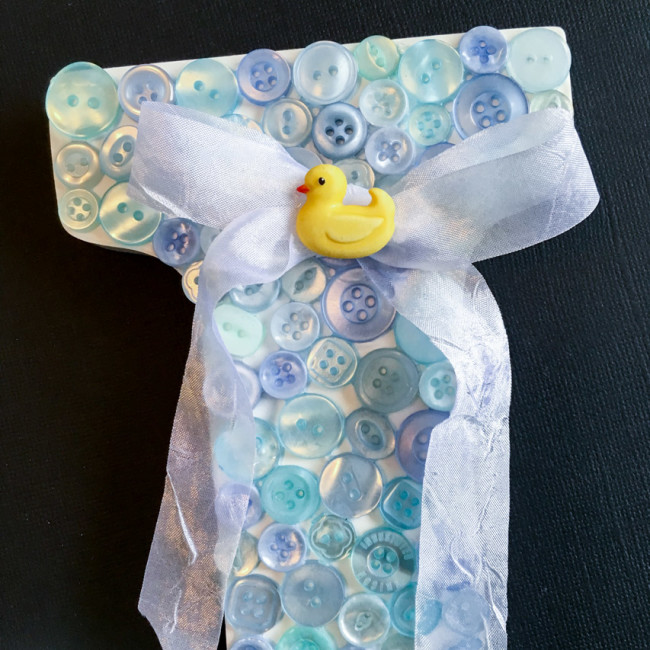
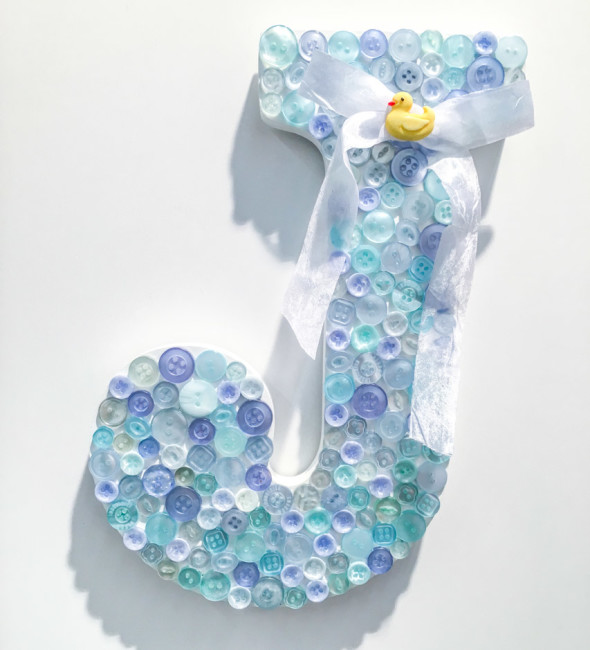
A new baby, whether it is yours or someone else’s, is always a great reason to make something! And what could be cuter than button monogram wall art?
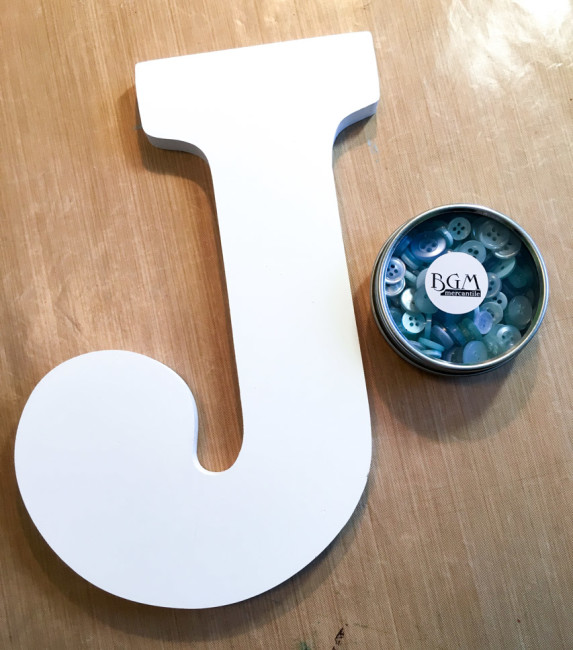
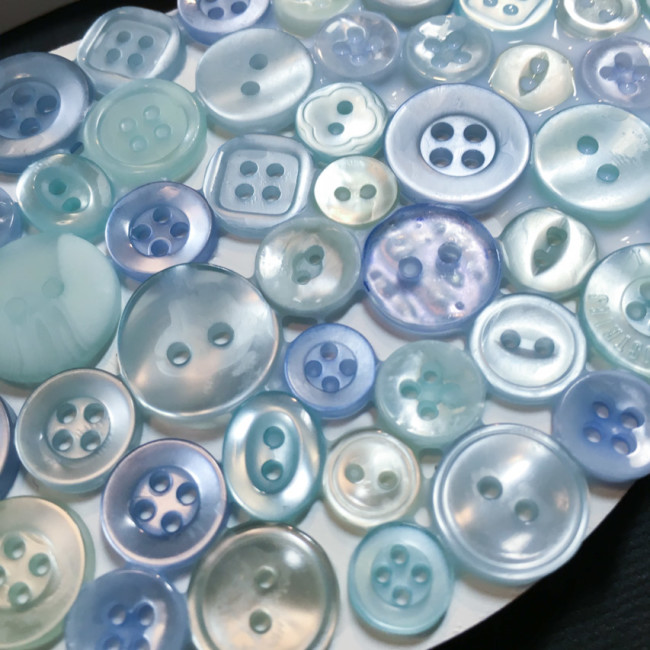
This fun project uses two key components – a wood monogram letter like the kind available at most craft stores, and two tins of our beautiful Sea Glass buttons. I really love these buttons – their beautiful blue/green translucence really makes me want to go down to the shore and hunt for glass!
Supplies:
- White Wood Letter “J”
- Sea Glass buttons Tin x 2
- Baby Hugs specialty buttons (Ducky)
- White Ribbon
- White Clear Drying Glue
- Hot glue gun
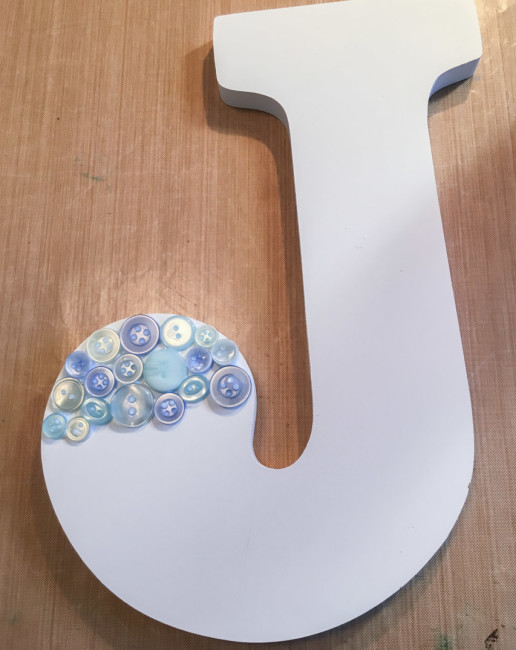
Lay down areas of glue in sections, and fill the letter in with buttons. Don’t be afraid to lay down a nice thick layer of glue so the glue will come up the button holes when the buttons are pressed down into it. When the glue is dry, this creates “prongs” that grab onto the buttons and help hold them in place more securely.
The areas between the buttons don’t need to be even or really tiny. While it looks uneven viewed very close up, unless a gap is extremely large it won’t look awkward when viewed from a reasonable viewing distance.
For the finishing touch (and to add the baby theme to the button monogram), tie a nice large bow out of the white ribbon. Attach it on top of the buttons on the button monogram using hot glue. Cut the stem off of a Ducky button, and hot glue that on top of the bow.
This button monogram project can be made in any color, and would make a great gift or baby shower decor. Hang it on a nursery wall, a bedroom door, or prop it up on a dresser top!
mini composition notebook with buttons
Personalize a mini-composition notebook with buttons. With the recent beginning of the school year, composition notebooks are featured prominently in grocery and office supply stores. After the first few weeks of school they are often deeply discounted. It is a great time to stock up on these notebooks, which make a great surface for embellishing with buttons.
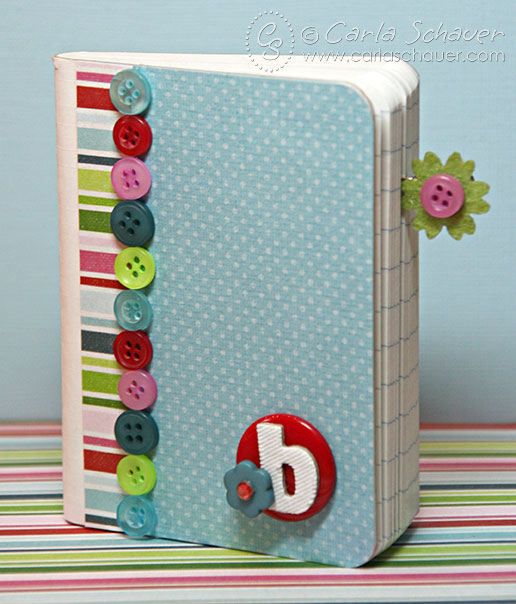
This button covered mini composition notebook happens to be one of the mini-sized versions. This size is fun for kids to pop into backpacks without a lot of extra weight to carry around. My daughter likes to use them as entertainment on her bus ride.
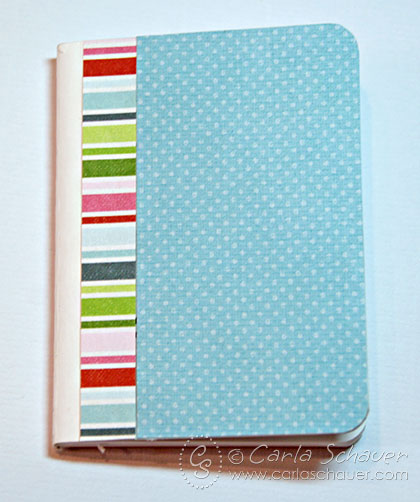
Directions for a Personalize a mini-composition notebook with buttons
First, cover the notebook with patterned paper, including a contrasting border along the side next to the binding.
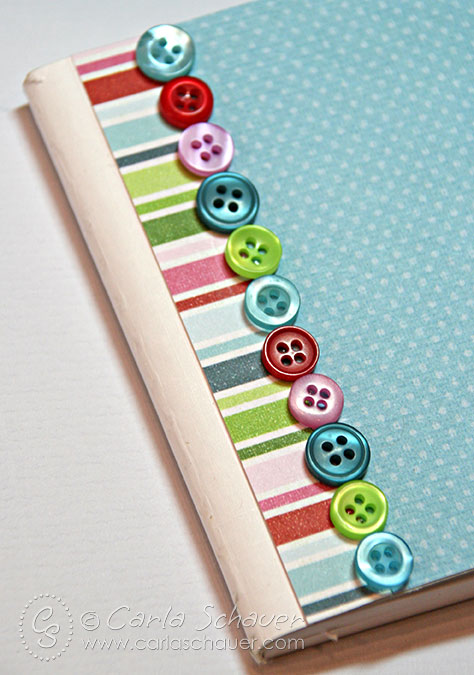
Then, use an all-purpose thick glue to attach small coordinating buttons in a pattern to cover the seam. I used buttons from the Citrus Splash Grab Bag and Juke Box Button Bonanza from Buttons Galore and More.
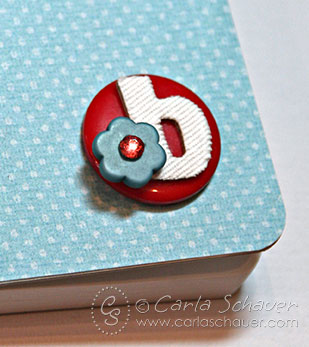
I added a fabric sticker letter to the top of a 7/8″ red button, and accented the monogram with a flower button from the Juke Box Button Bonanza (shank removed).
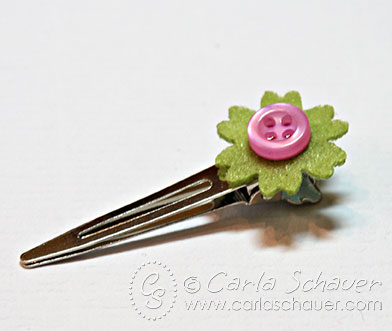
I created a fun bookmark using a premade felt flower and pink button glued to a metal, pinch-style hair clip. The clips are easily moved, and don’t easily slip out of the book, making them easy for littler hands to use.
Bookmark for a mini-composition notebook with buttons
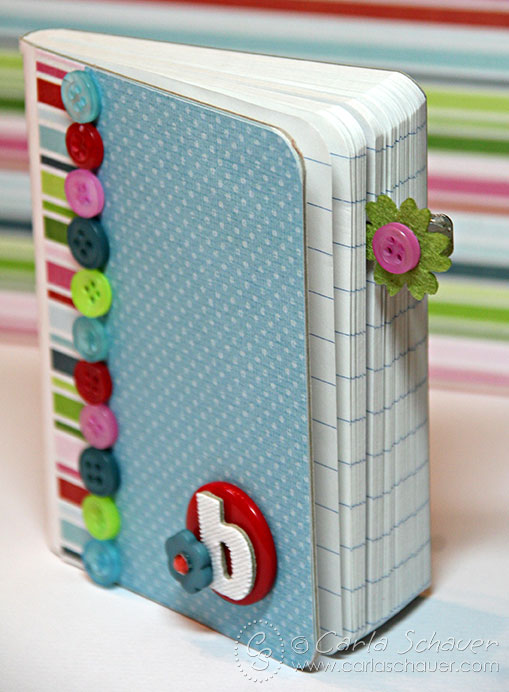
Small and easily portable, button-embellished composition notebooks are a wonderful way to encourage writing and imagination in children, and are also easy to place in a purse or diaper bag for parents. Personalize one for someone you know!
Thanks for stopping by!
Carla