Halloween wall art? Buttons Galore & More buttons and supplies make Halloween SO much fun, it’s spooky!
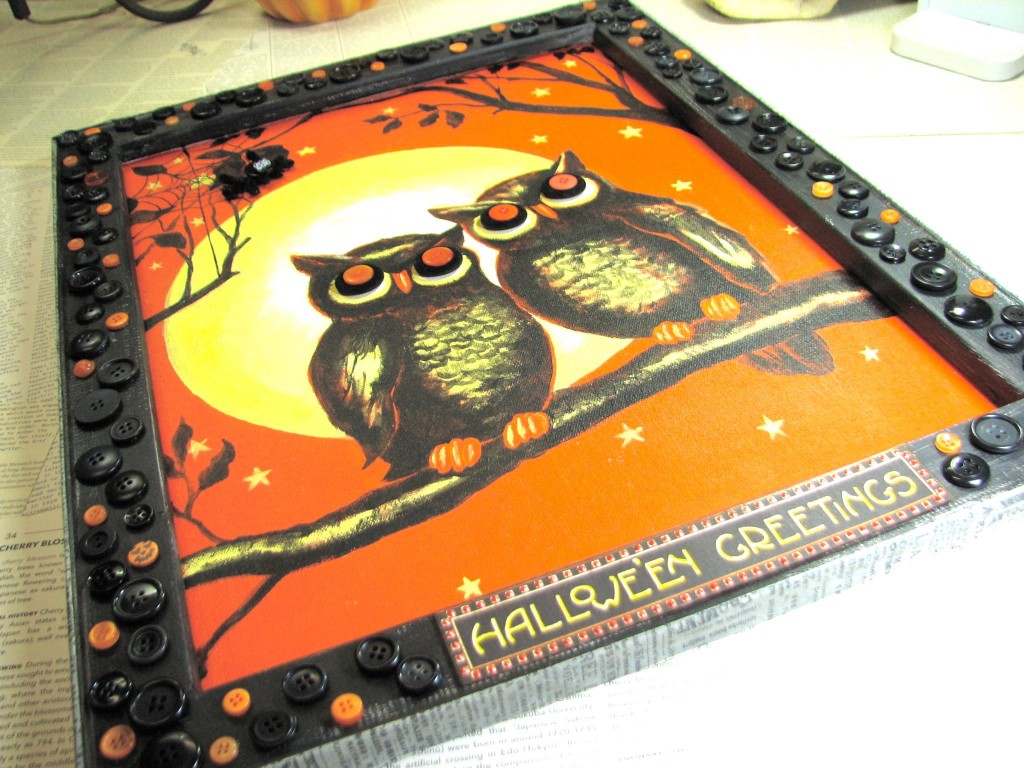
Autumn is the PERFECT time to get crafty, and I couldn’t help but be influenced by the most wonderful inventory of buttons from BG & M and the subtle changing of light and shadow as the days are becoming shorter… So HERE I go, sharing with you a technique rich, button festooned project, to get your inner hoot owl, hooting! Let’s make halloween wall art with buttons.
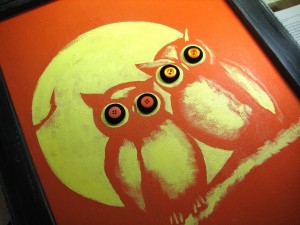
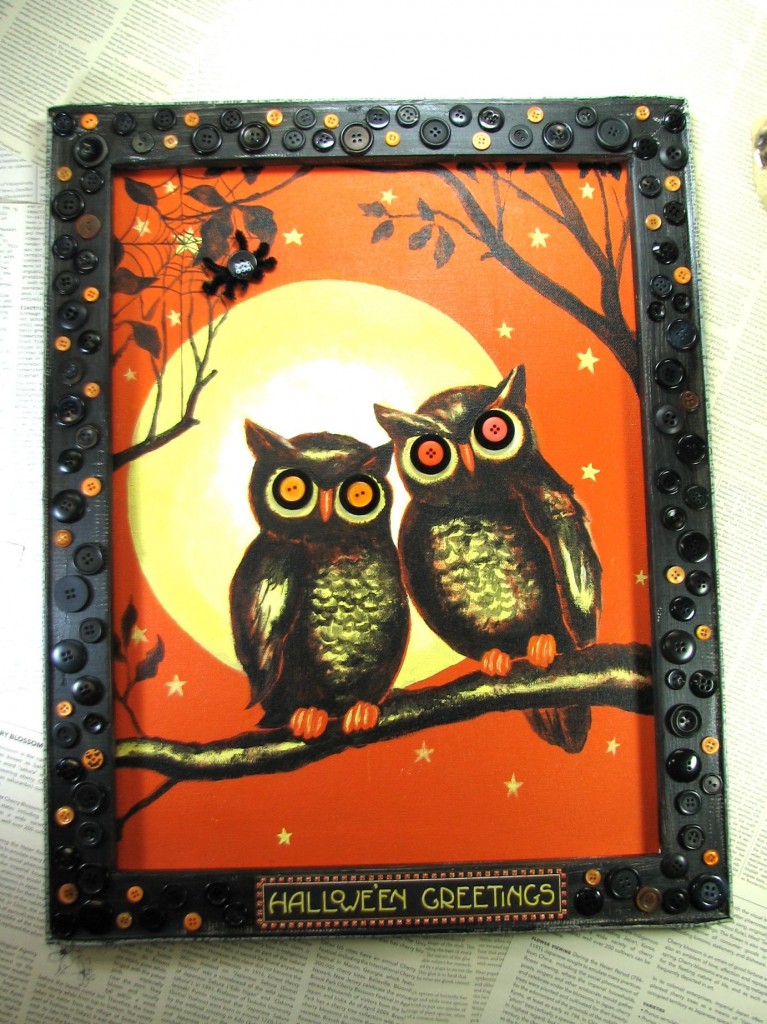
halloween wall art embellished with buttons from Buttons Galore & More:
Suggested supply list –
1. Artist (value) canvas
2. Inspirational graphics of your choosing (i.e. scrapbook paper, free digital images, old print ads, etc.)
3. Acrylic paint/ Gesso/ Artist Paste
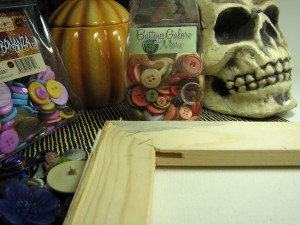
4. Seasonally colored buttons from Buttons Galore & More
6. Decorative tissue tape
7. Pipe cleaners
8. Google eyes
9. Jacquard Lumiere 3D acrylic paint
10. Sharpie Markers
halloween wall art directions:
This project is shared for YOUR inspiration – I hope you’ll create something specific to your needs for fun and holiday decor! What follows is a guideline to assist you in your creative travels. Enjoy make halloween wall art with buttons.
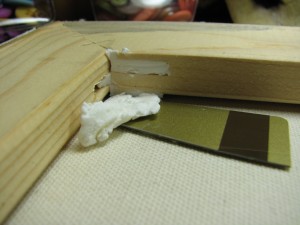
Remove packaging materials from value canvas, flip to the backside. Fill support gaps in stretcher bars with Artist 3D medium (spackle!) using tool of your choosing.
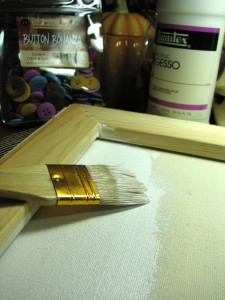
Prepare the raw canvas with gesso, so that acrylic paint can be applied. Let dry. Paint the wooden frame in a complimentary color for your project. Finish the OUTSIDE edge of the frame with decorative tape.
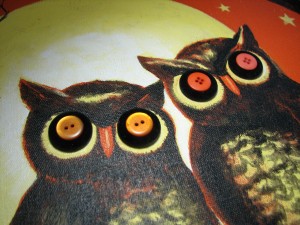
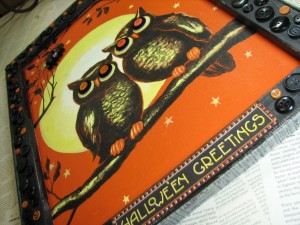
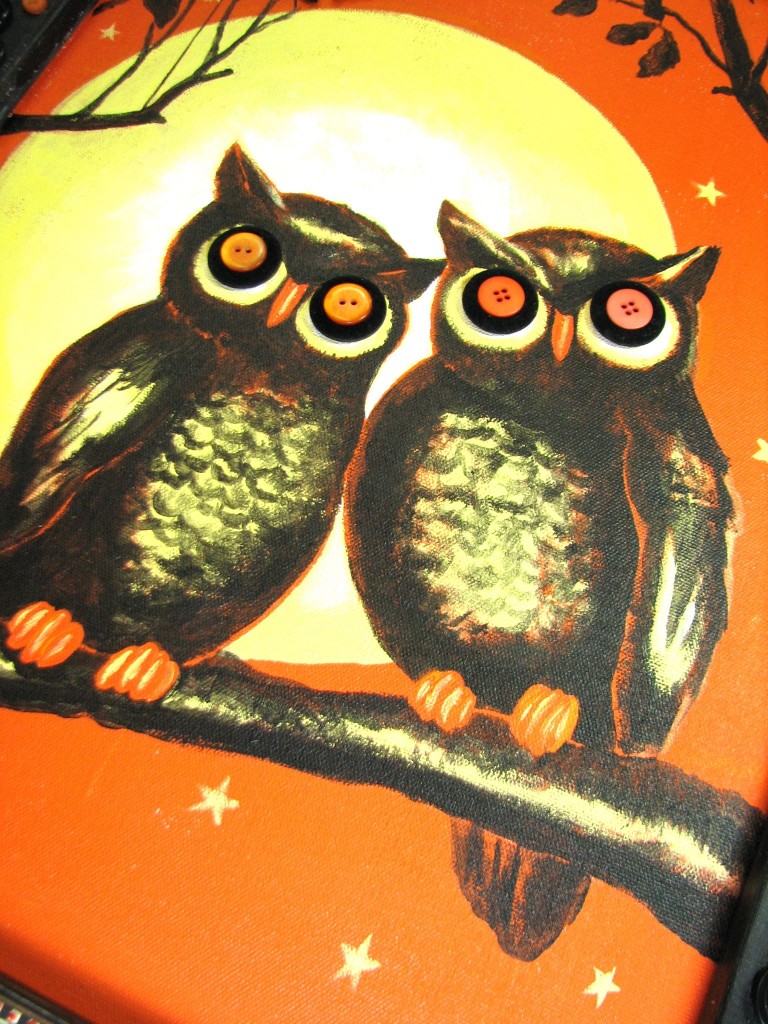
Since buttons were the inspiration for MY project, I sought a design that could feature buttons as eyeballs! A pair of spooky, Halloween owls were the next logical choice for my decorative canvas. By placing the buttons on the canvas, I sketched out owls at a scale that would really make the buttons stand out! If you are not comfortable with sketching freehand, you can get beautiful results by blowing up a printed image and then using graphite transfer paper BEHIND the artwork, trace the image from the front and then have our lines appear, similar to this drawing.
By painting in the highlights, first, I could confirm the scale, but mistakes could be easily covered with leftover background paint. Using a limited palette makes this SO easy! (And SUPER spooky!)
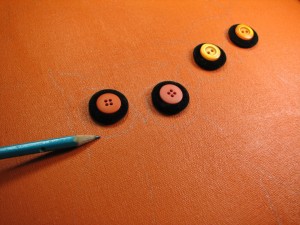
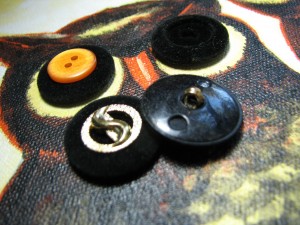
For this project, I immersed myself with buttons! While Buttons Galore & More is a wealth of seasonal themed, as well as EVERY color and shape of buttons imaginable, I was searching for classic buttons, to create a spooky, vintage look. In a FAT bag of miscellaneous goodies from a BG & M grab bag, I found a wealth of these snazzy, faux velvet and gold buttons. It was easy to snap the shank off the back, remove the gold, and then fit a SCRUMPTIOUS orange button into the recess.
I LOVE the character that was created with these stunning buttons! Beacon 3 in 1 craft glue makes for easy and secure button festooning… (Plus, it’s FUN!)
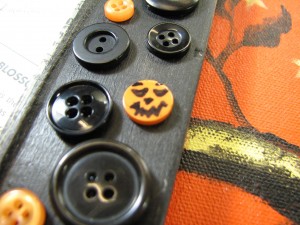
A button WITHOUT holes was a perfect, pumpkiny surprise for this craft-addicted girl… Add SHARPIE marker = PUMPKIN FACE! Trick OR Treat, babies! It’s ON!
Did I mention, I LOVE HALLOWEEN CRAFTS!?!
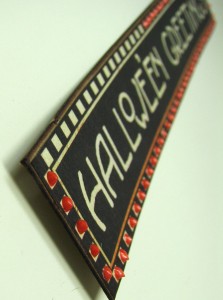
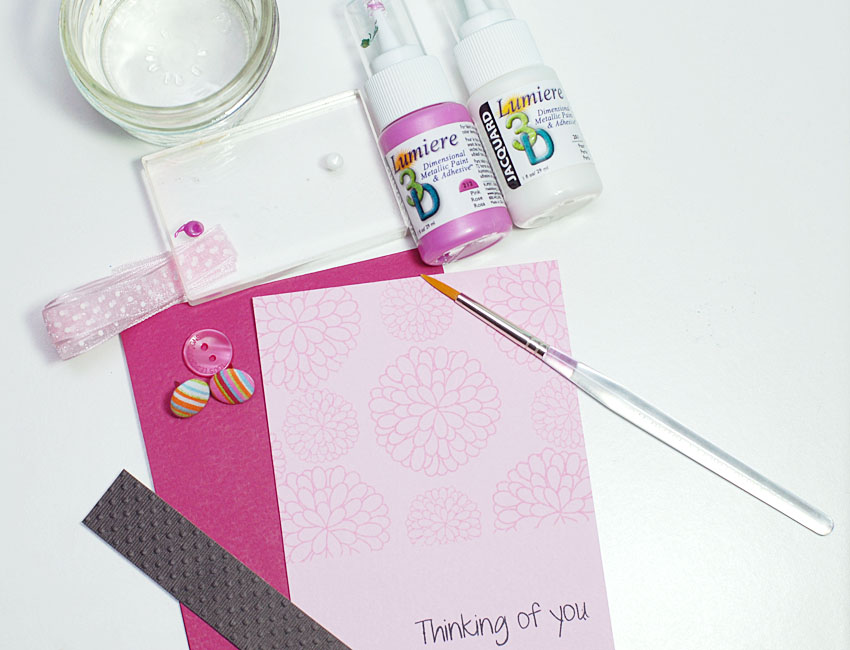
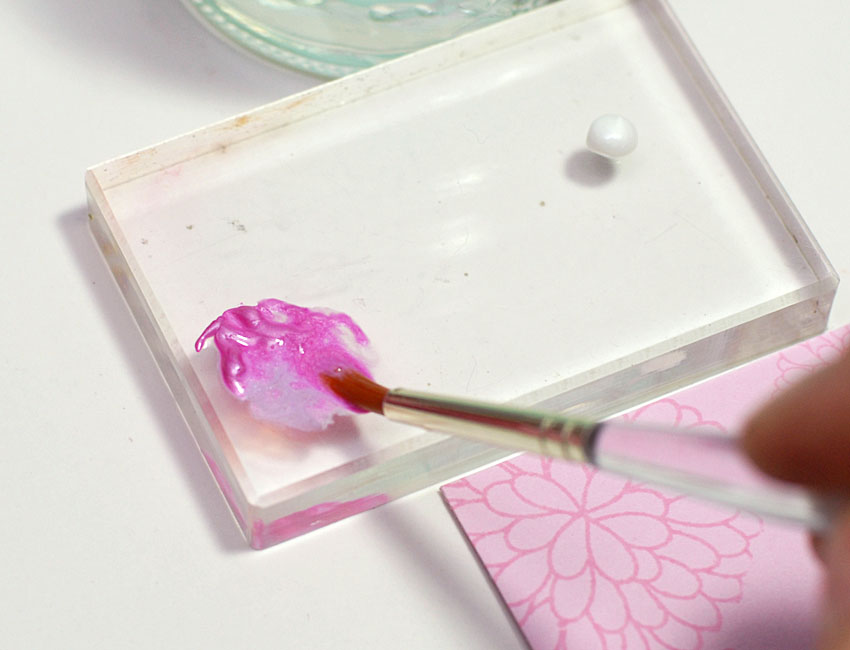
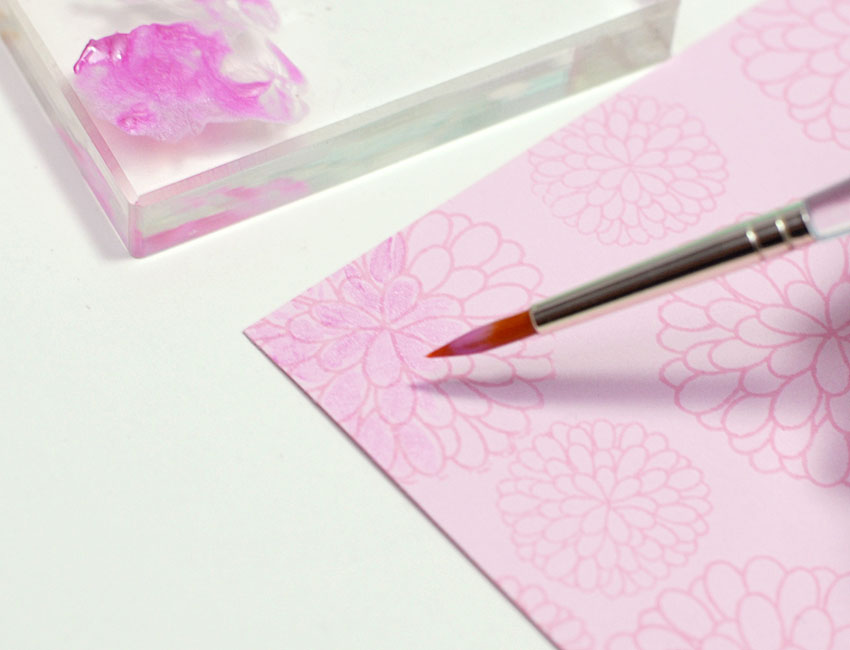
… And GREAT materials! Look how this gorgeous Lumiere 3D paint from Jacquard and some Sharpie marker brought this sentiment up a few zillion watts!
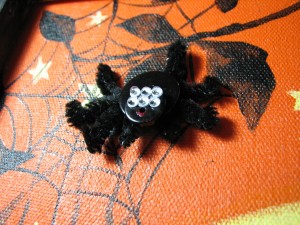
Oh, gawsh… And did I forget to mention, SPIDERS?
No need to shriek… This one’s perfectly tame! Pipe cleaners, buttons and GOOGLY eyes…! Give the exterminator the day off, buttons BUGS are fun to make!
Thanks for taking this eerily creative and crafty journey with me! I hope you’ll be inspired to make halloween wall art with buttons and supplies from Buttons Galore & More! Have FUN!


