
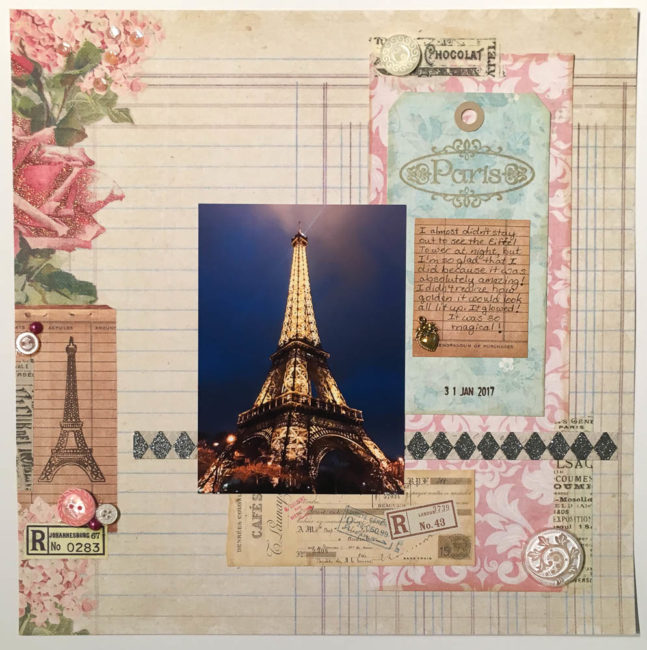
There’s many papers available for scrapbooking that are pre-designed to look already partially “done” as a layout. But how do you take those from looking flat to looking fantastic? The secret to fabulous scrapbook layouts is embellishing pre-designed paper with your 28 Lilac Lane embellishment kits! And I’m going to show you exactly how to do it with this easy scrapbook layout from my recent trip to Paris.
Supplies:
- 28 Lilac Lane “Love Story” embellishment kit
- 28 Lilac Lane “Attic Findings” embellishment kit
- Button Shank Remover
- clear drying glue such as PPA Matte
- DCWV “The Primrose” Paper Stack
- Paper Wizard “Stamp Magic – Paris” clear stamps
- dark brown pigment ink
- Susan Weckesser “Shimmer” Color Pop ink
- Tim Holtz idea-ology Tissue Tape
- Sizzix Tim Holtz Alterations “Tag & Bookplate” die
- kraft cardstock
- Ranger Tim Holtz “Antique Linen” Distress Ink
- American Crafts Shimelle Date Stamp
- Black Pen
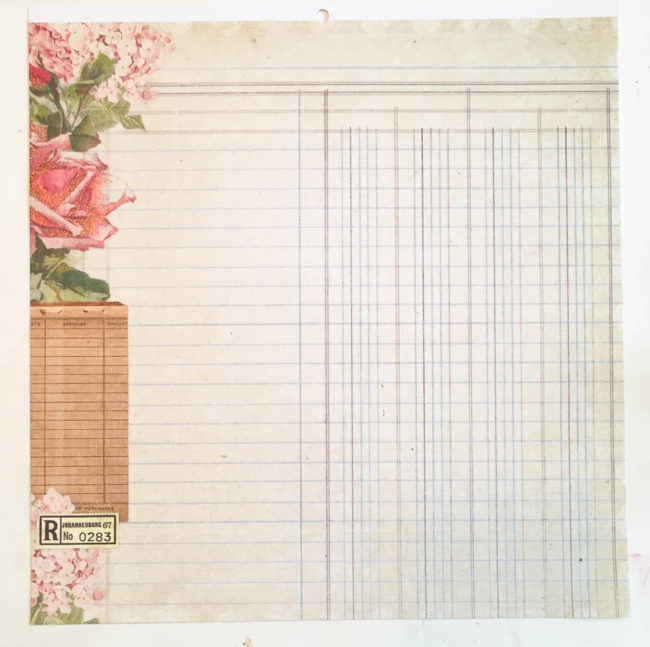
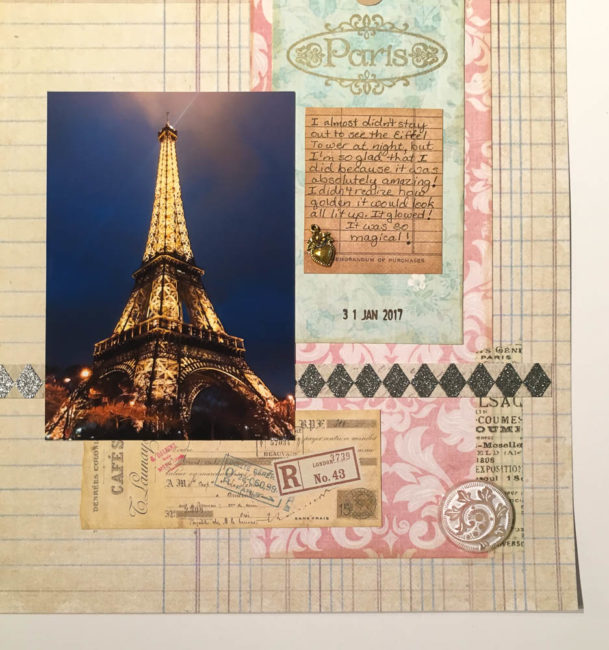
I started with a pre-designed background paper from DCWV. It is designed to look like a piece of ledger paper that has florals and several vintage elements layered on top of the left edge to frame it.
Because this paper comes from a paper stack, I was able to create practically the entire layout using pre-coordinated items from the stack. All of the paper items on the layout are cut from sheets in the same stack.
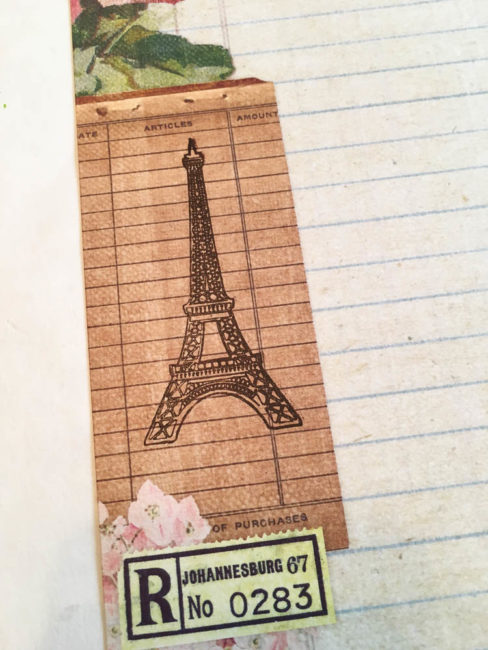
That large brown vintage receipt ephemera was white space that was just begging to be filled! It was the perfect place to put my Eiffel Tower stamp, stamped in dark brown pigment ink to continue the vintage theme.
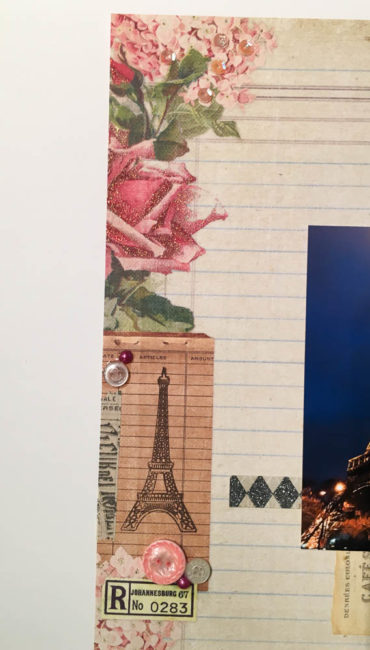
But of course, a stamp is still flat – and I wanted to add some dimension to this area. So I grabbed my 28 Lilac Lane embellishment kits, which are perfect for embellishing pre-designed paper! A few buttons and flat back pearls from the “Love Story” embellishment kit (along with a strip of tissue tape) were the perfect addition to finish off the area where I’d just stamped my Eiffel Tower.
At the very top edge of the page, I dabbed clear glue in the center of a few of the pink flowers and dropped a few pearl sequins on them to add a bit of shine and dimension to the flowers.
On the other side of the layout, I cut and arranged all of the paper elements. I stamped the Paris stamp with Shimmer ink, and used black pen to write my journaling (leaving room to put the charm on).
Once all the paper elements and the photo were in place, I tore and stuck down two pieces of tissue tape along the edges of the large pink block. These pieces served as grounding for my buttons.
I used button shank removers to cut the shank off of the large white filigree button from the Attic Findings kit, and glued it in place at the bottom of the layout. Then I selected a cream colored button from the same kit and adhered it at the top of the layout. Finally, I glued the heart charm from the “Love Story” kit onto the journaling block.
Having a selection of 28 Lilac Lane embellishment kits on hand makes it so easy to scrapbook by embellishing pre-designed paper. Select a paper, grab the kit in the coordinating color scheme, and in minutes you can have a beautiful layout!
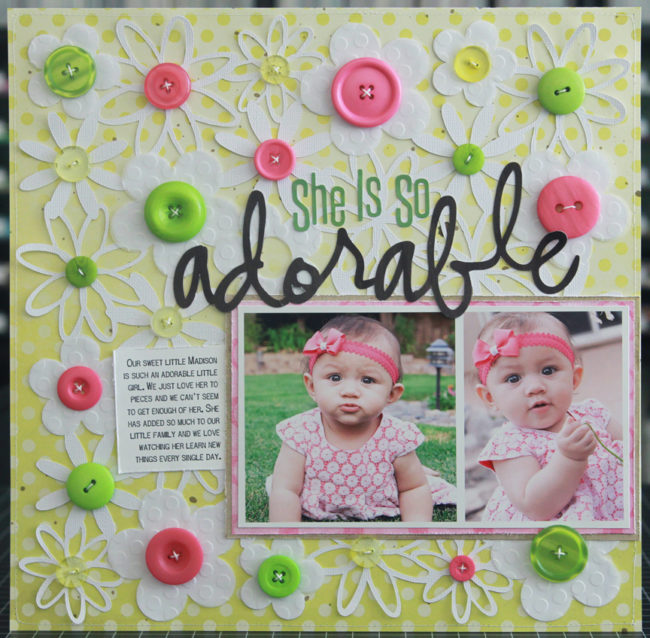
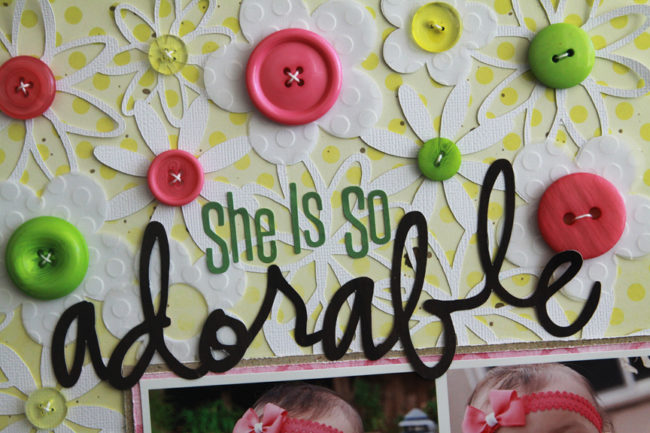
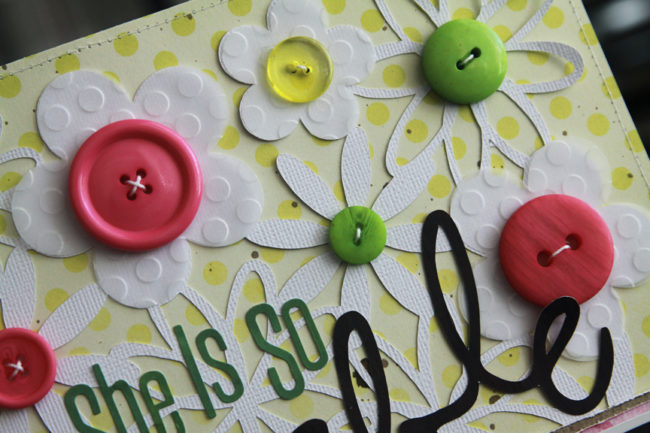
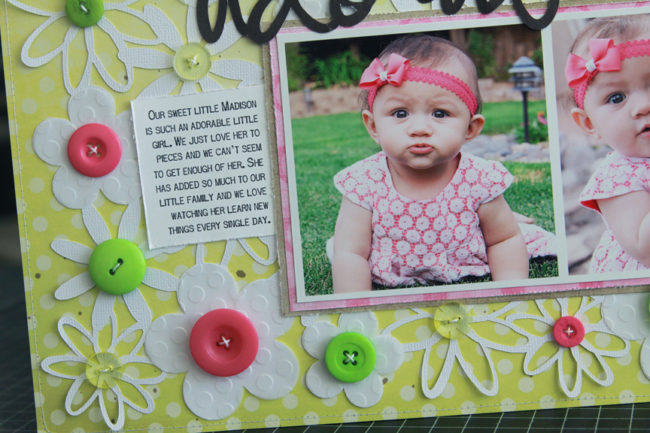


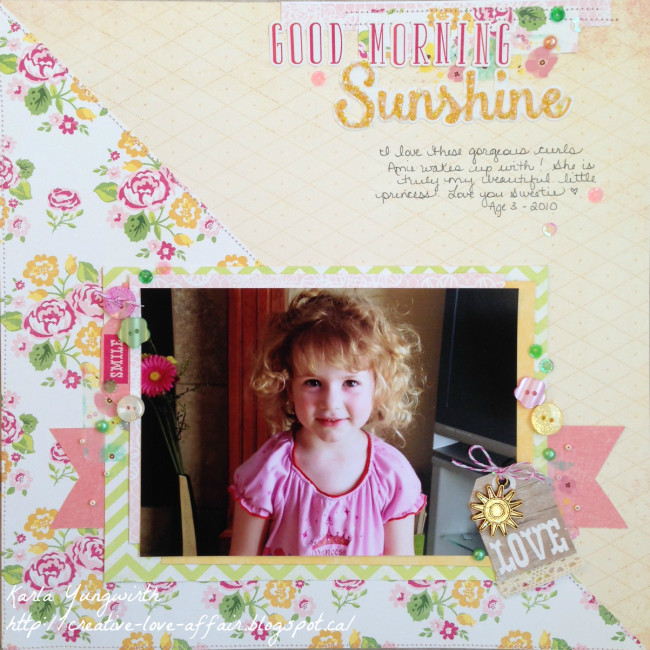
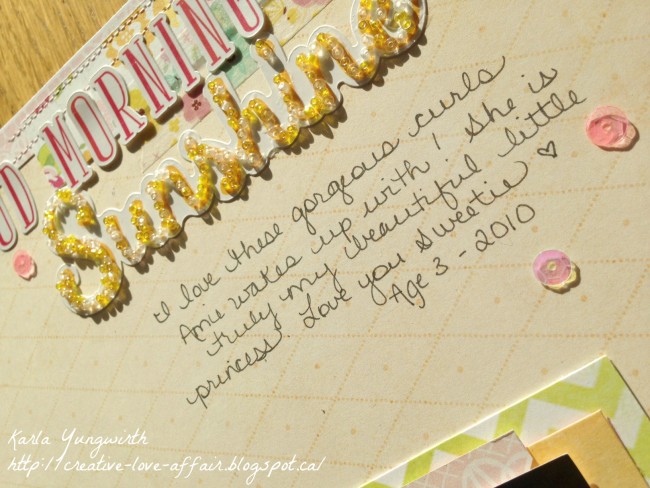 I wanted to create a light, spring-like look to my page, so I started off by using some of the white and yellow beads over my Sunshine title sticker, gluing them on with matte medium liquid adhesive. They give such a cool effect over the sticker!
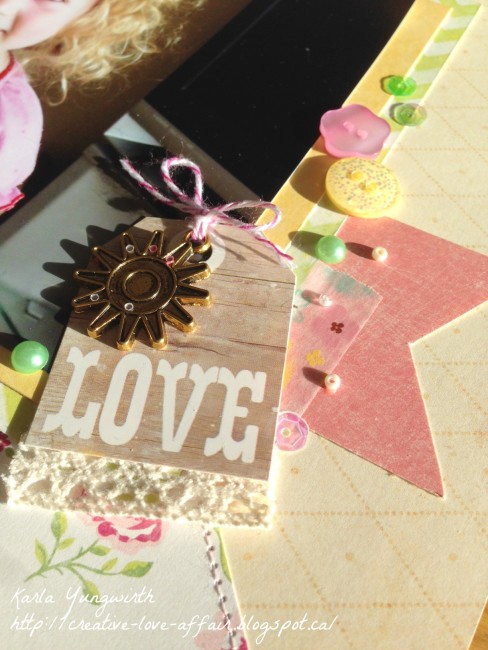
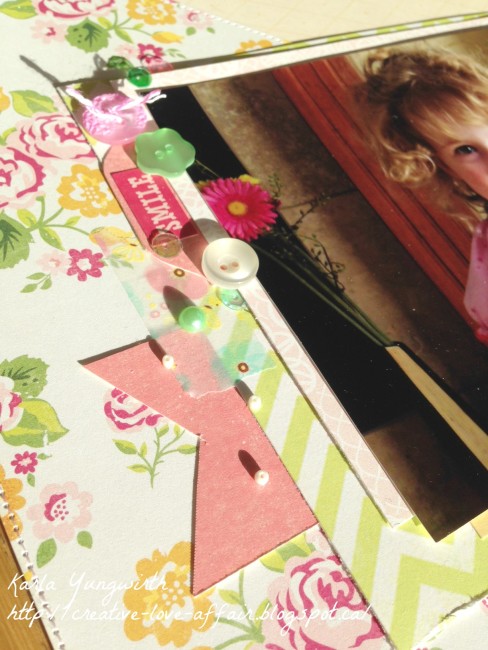 I scattered sequins around my page and near my title and stitched paper strips at the top of my page, along with another pretty pearl. It’s amazing how the embellishments in these kits can really make a layout pop! I had so much fun creating this layout, and I have so many more ideas that I can use these pretty embellishments kits on! Wishing you a happy, crafty and creative day!
 About Karla: I’m Karla Yungwirth, a Canadian mom to 3 beautiful girls, a wife of an amazing man, a scrapbooker, a card maker, a lover of gorgeous paper, a boo-boo kisser, a master Lego builder, a baker of lopsided birthday cakes. I have been crafting for as long as I can remember. My grandmothers taught me to sew, knit and crochet, and my mom was always repurposing to create something wonderful and magical – before recycling was even cool! I love being creative – it’s what makes my soul sing and my heart happy. You can find me on my blog at


