Header

Tag Archives | jen goode

A Patriotic Craft Party – the I Love the USA Blog Hop

It’s going to be a Patriotic Craft Party of epic proportions…

You’re invited to join us for the I Love the USA Blog Hop!

I Love the USA Patriotic Party Crafts - I Love the USA Blog Hop

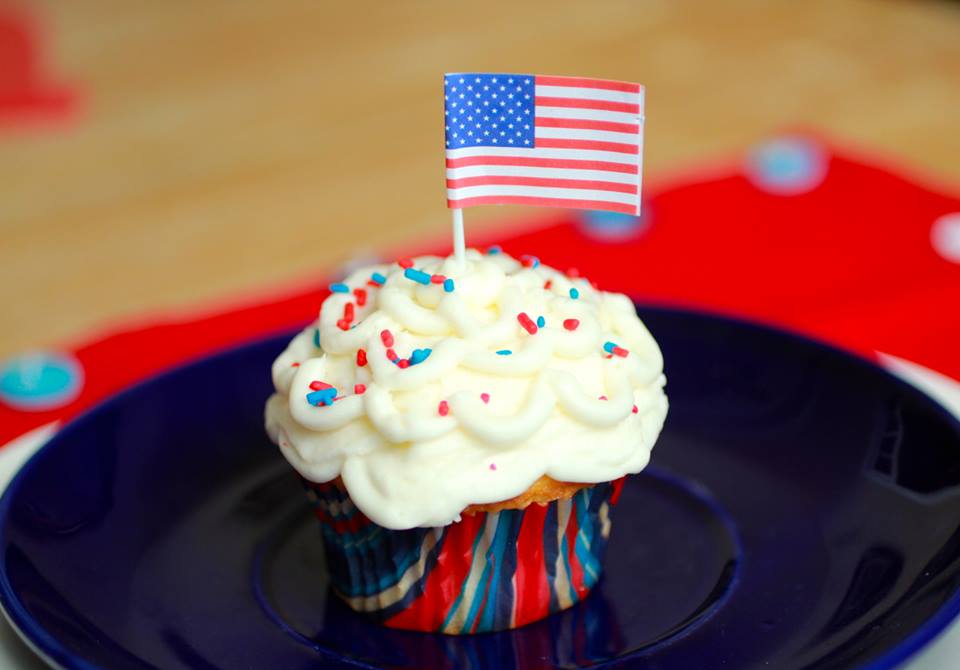
 Cupcakes say PARTY! You’re invited to a Patriotic Craft Party!

28 Fabulous Artists – scrapbookers, cardmakers, seamstresses and more joining forces to take your patriotic crafts soaring to new heights. Join our Hostess Artist Laura Kelly Walters and Jen Goode and a parade of sponsors including Laura Kelly “America the Beautiful” General Fabric for Jo-Ann’s Craft Stores, Coats & Clark, Plaid, Fiskars, and Buttons Galore.

A Patriotic Craft Party – the I Love the USA Blog Hop

Check out this ALL STAR Line Up for the Blog Hop!

Our Hostesses

The Button Bevy

And Lots of Honored Guests


Join us!  If you want to follow along with hashtags and share your projects with us on our Facebook, Pinterest or even Twitter use hashtags #ilovetheusabloghop  #craftpatriotic #laurakellyart  


0

Mixed media button art with a little love

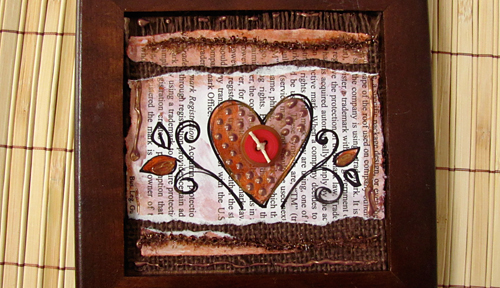
I really love collage and mixed media. I’m sure I’ve said it before already, but really, I love collage. The idea of mixing textures to create a cohesive piece of fabulousness is a fun challenge I really enjoy. It’s neat to see what you can come up with when you mix odds and ends and some fantastic color. So, today’s project is an example of such fun… button art using Jacquard Lumiere dimensional metallic paint, fabric, old book paper and of course buttons!

Heart and Swirls button art by Jen Goode

Heart and Swirls button art by Jen Goode

Materials you’ll need to make this button art:

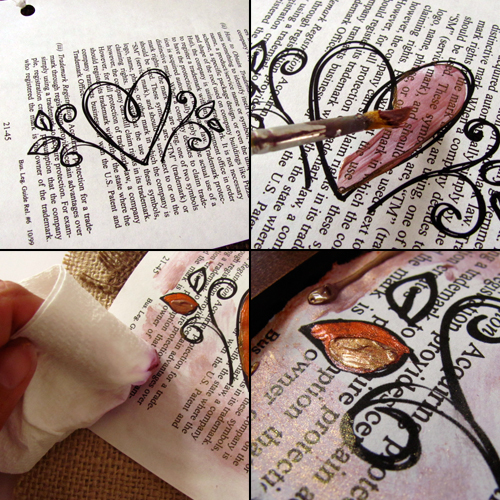
steps to make button art

steps to make button art

How to make your own button art

This dimensional paint is also as adhesive, so while you can use it to create pretty pieces, you can also use it to “glue” things in place.

Something to note, The directions I’m sharing are not in the order I did things… I painted the heart and then did the background which turned out to be a bit backwards, so instead, I’m sharing steps in the order I should have done them.

  1. Download and print the heart art onto a piece of book paper or newspaper.
  2. Color the background. Put some paint onto a paper plate for easy use. Using a damp paper towel, rub some Brass paint on to the paper. Add a layer of Copper directly to the edge of the paper and then rub using the damp paper towel. Add dots of Brass paint to create a bit of a pattern inside the heart, then add another line of Brass paint directly to the paper on all 4 sides and let dry as it.
  3. Using a paint brush, paint the heart and flowers first Brass and then add accents of Copper.
  4. Once all paint dries, gently tear both the top and bottom of the art completely off, creating two strips of paper. Tear a bit to trim down the size, adhere extra embellishments as desired.
  5. Cut burlap to fit your frame opening. Adhere heart image in place and then both top and bottom pieces, leaving a bit of space to allow the burlap to show through.
  6. Finish by tying twine through buttons and then adhering in place.
  7. Frame as desired.
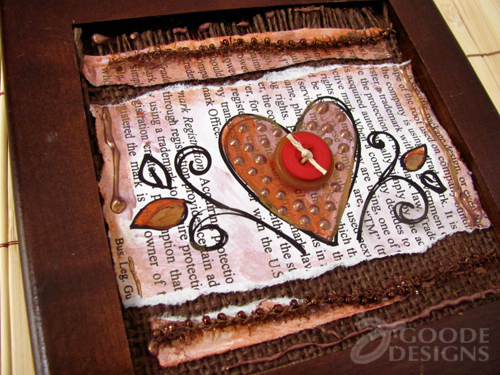
Button art and illustration by Jen Goode

Button art and illustration by Jen Goode

Layering buttons creates a more interesting look and compliments the dimensional paint. Choose buttons of different sizes and finishes to create a more interesting art piece. I really like mixing shiny buttons with flat finish buttons to add more dimension between  them. Use buttons in your own decor to add a little fun interest and detail!

Tell me about your favorite button art!


3

Powered by WordPress. Designed by WooThemes