Header

Tag Archives | flag

Celebrate with a Handcrafted Sequin Flag

Hi, Connie here with Buttons Galore & More design team! This fun handcrafted sequin flag project is great to create with children, and will look fabulous in your home or on your front door, tucked into a grapevine wreath.
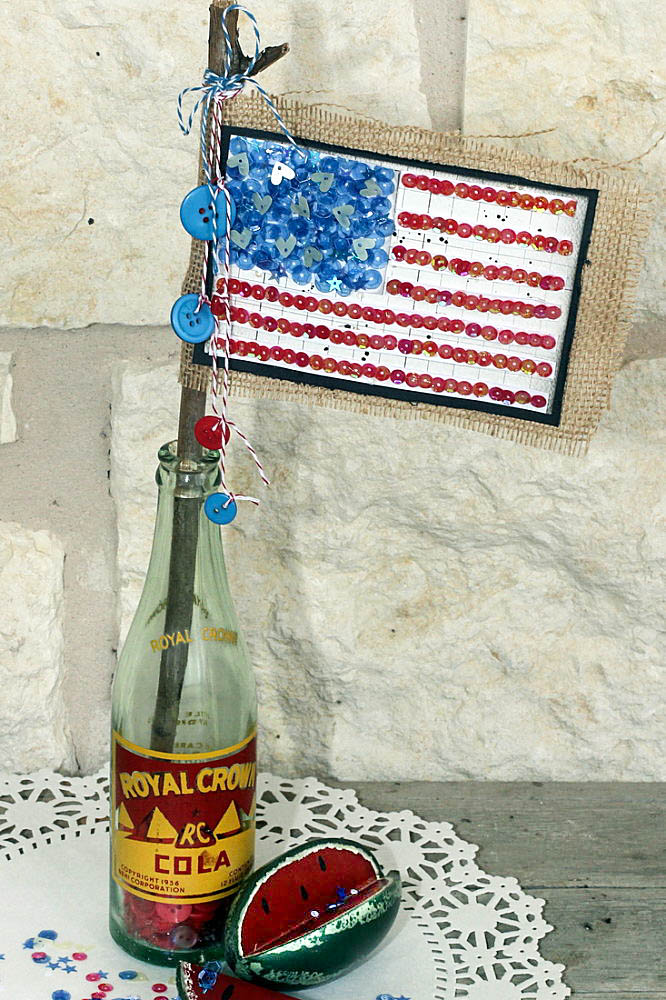
sequin flag project

This sequin flag project was created using the brand new Bon Voyage Sequin tin by 28 Lilac Lane. Take a closer look at this beautiful new premium sequin tin!
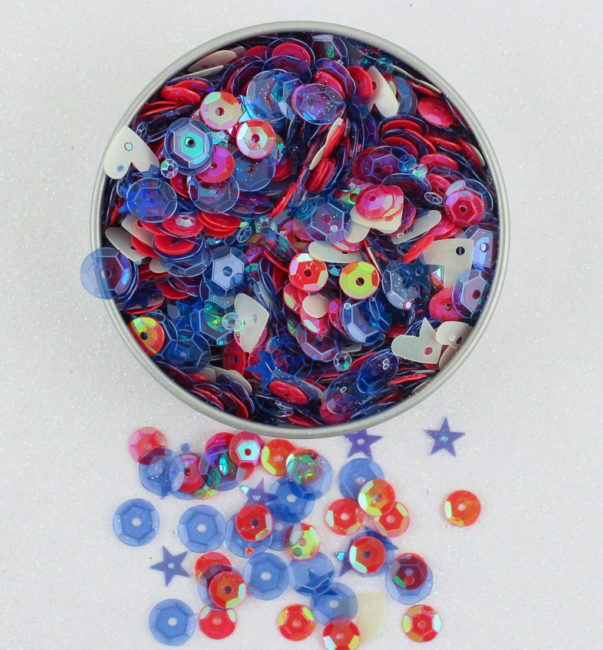
28 Lilac Lane LL318 Bon Voyage sequin tin

The inspiration for this sequin flag project came from the Bon Voyage sequin tin itself.  It is full of red, white and blue sequins along with white hearts and blue stars – so lush!  Can’t you see a child waving this flag at a celebration parade and then saving it, by tucking it away in a grapevine wreath for the front door?  Or displaying it in a vintage soda bottle? Either way this flag will be a super cute was to display your patriotism!

Supplies needed to make a sequin flag:

sequin flag instructions

How to make your sequin flag:

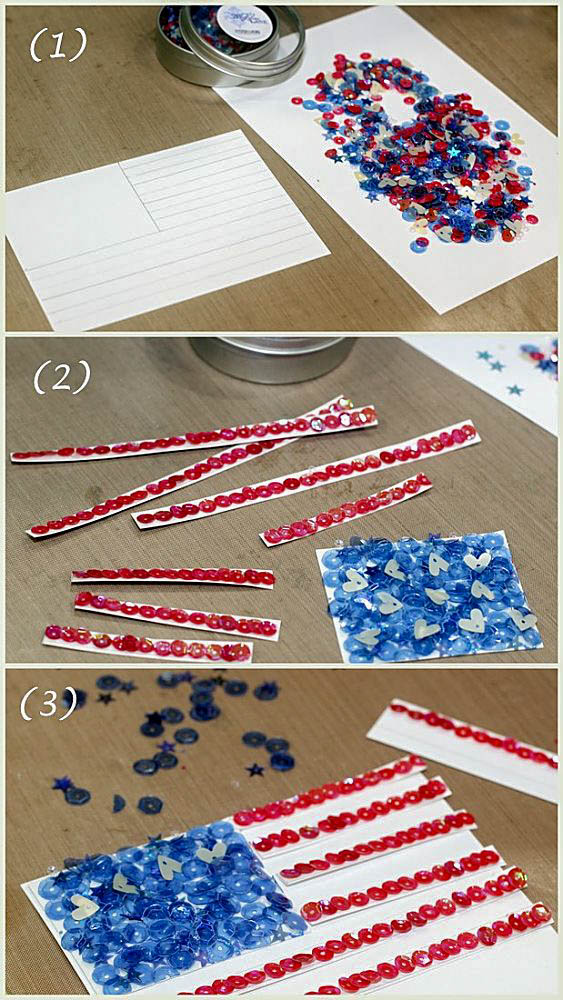
(1) Sketch out a USA flag on white cardstock that is about 4″ X 6″. Separate the large blue sequins, using a toothpick, from the sequin tin.

(2) Glue the large blue sequins on the flag with clear drying glue. Add the white hearts to the blue section and let dry. Do the same with the small red sequins, placing them in strips. Let dry.

(3) Cut the blue section out, and then the red strips. Piece them on a 4″ X 6″ piece of white cardstock or grid paper. When it is dry, mat the flag on black cardstock.
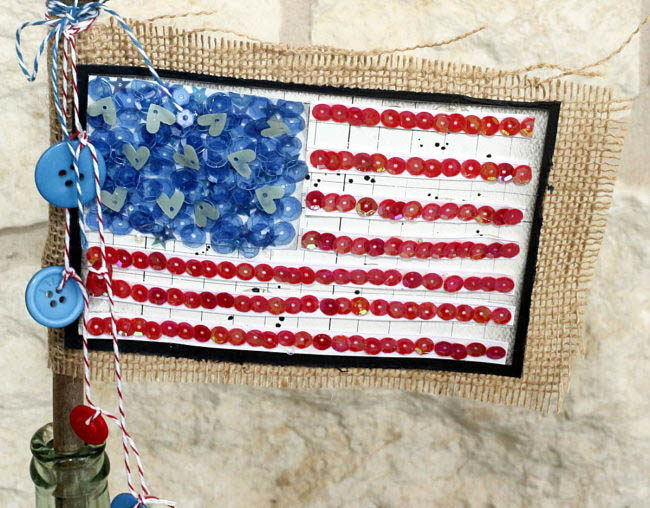
sequin flag project

(4) Glue the flag to a piece of burlap ( 5″ X 7″ ) and then glue a stick to the reverse side. (I used a stick from my yard.)
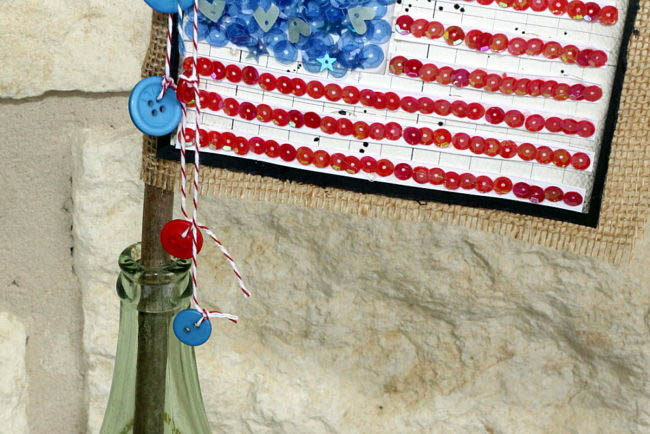
sequin flag project

(5) Use twine and buttons, create streamers for the side of the flag. Tie these to the top of the stick.
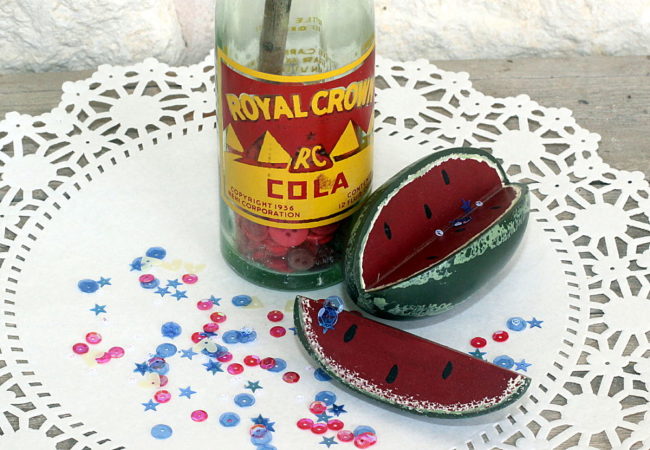
I chose the vintage soda bottle to display my flag instead of a grapevine wreath. The soda bottle is full of red buttons to hold the stick in place. I really love the finished look!

Thanks for stopping by~

Connie Mercer/DT Member

0

Button and Burlap Patriotic Welcome Decor

I don’t do as much decorating for the patriotic holidays as I’d like. I do have quite a few family members in the military, so I think I get more caught up in remembering their service than I do decorating. This year I wanted to change that, so when I was challenged with using burlap in a button project, I knew right away what I wanted to do…

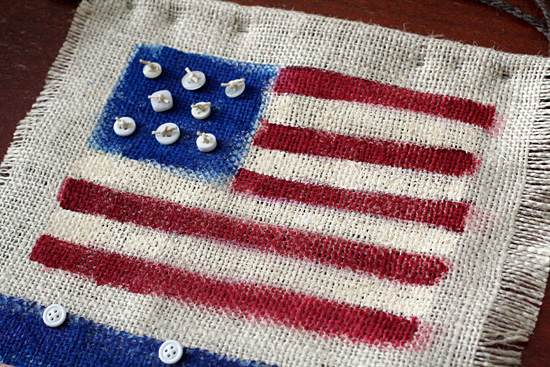
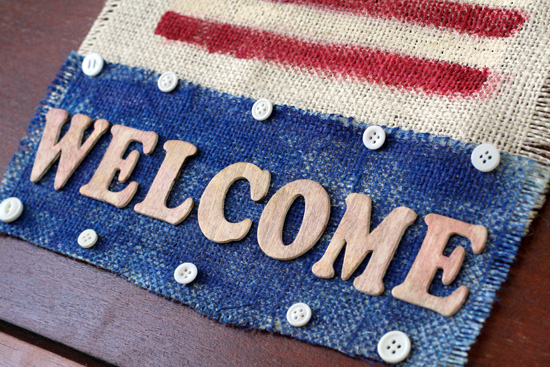
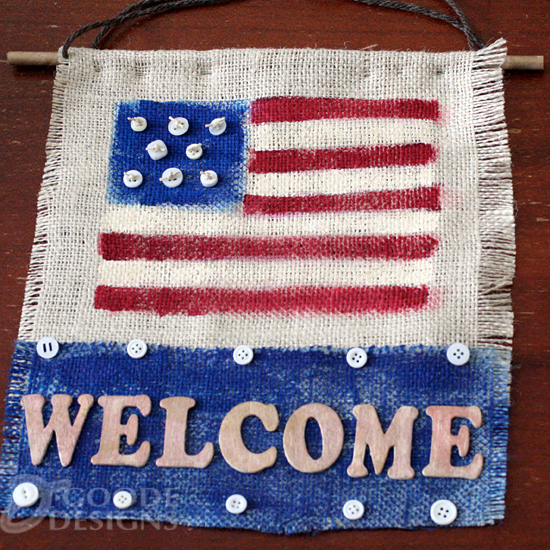
paint burlap and button American flag decor

paint burlap and button American flag decor by Jen Goode

Make an American flag decor sign using buttons and burlap. Using some paint on the burlap, it’s easy to get that rustic look with lots of fun texture and interest without having to create a super detailed piece. This project can easily be created in just a couple hours. I used Decoart craft paints for this project. Feel free to use what you have on hand.

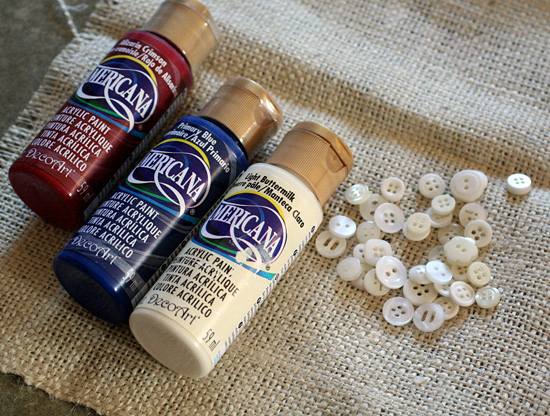
Burlap and button project supplies

Burlap and button project supplies

Materials you need:

  • Ivory buttons
  • Tan/natural colored burlap
  • American Paint in Alizarin Crimson, Primary Blue and Light Buttermilk.
  • Decoart Dazzling Metalics paint in Glorious Gold
  • Craft glue
  • 1/4″ Wood dowel
  • Natural colored twine
  • Paint brush and Scissors
  • Wood letters to spell “Welcome”
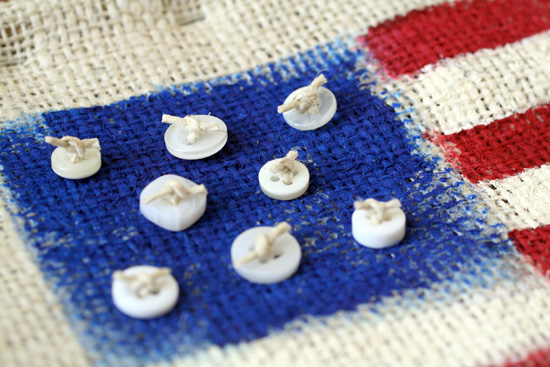
Tie twine and glue buttons for faux sewn look

Tie twine and glue buttons for faux sewn look

Welcome patriotic wall art

Welcome patriotic wall art

Step by Step instructions

Make your own Patriotic wall decor using buttons and burlap:

  1. Cut burlap to your desired size
  2. Paint an American flag on the burlap (make sure to protect your work surface under the fabric). Let dry.
  3. Attach buttons to blue area of flag. You can either sew or glue. I tied twine through the buttons and then glued the buttons in place.
  4. Cut second piece of fabric, paint blue.
  5. Paint wood letters and dowel using Gold. I used a paper towel to spread the paint to give a bit more aged look. Let dry.
  6. Glue letters in place.
  7. Attach Welcome piece to flag fabric piece. either sew or glue. Add final buttons on edges as shown.
  8. Attach to dowel. I pinned mine but you can sew or glue – whichever you prefer. Tie twine around the edges of the dowel and hang as desired.

Tips:

  • Using a flat, square brush helps make nice stripes and blocks of color with the paint.
  • To create frayed look, gently pull threads of burlap on top or bottom of fabric to remove. Repeat until desired frayed look.
Patriotic wall decor using buttons and burlap

Patriotic wall decor using buttons and burlap

1

Powered by WordPress. Designed by WooThemes