Embellishing an Easter egg card is a great reason to get out your 28 Lilac Lane embellishments and go crazy with color. The flat back pearls and buttons in our embellishment bottles will have your Easter egg card shining like a jewel!
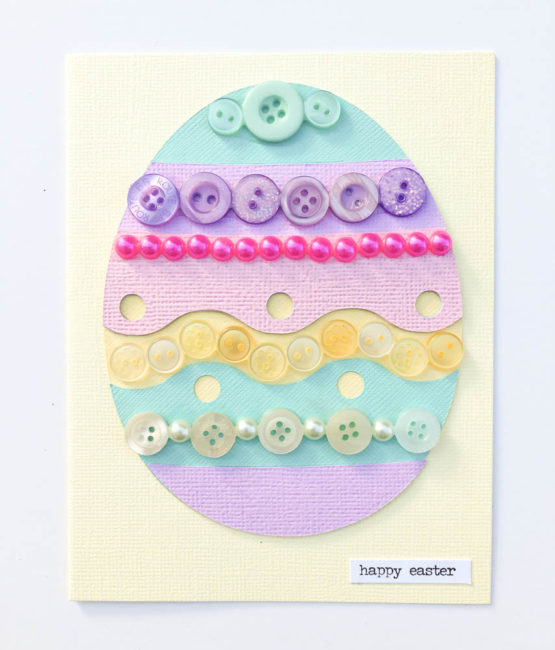
supplies needed:
- 28 Lilac Lane “Birds of a Feather” embellishment bottle
- 28 Lilac Lane “Pretty Princess” embellishment bottle
- 28 Lilac Lane “Winter Wonderland” embellishment bottle
- 28 Lilac Lane “On Lilac Lane” embellishment bottle
- 28 Lilac Lane “Hello, Sunshine” embellishment bottle
- PPA Matte adhesive
- Cricut Explore machine
- cardstock scraps
- blank card base
- Tim Holtz “Small Talk – Occasions” stickers
One of the great things about having a large selection of 28 Lilac Lane embellishment bottles on hand is the ability to mix and match them to create colorful projects like this Easter egg card! By combining small amounts from five different bottles, I was able to create a jeweled effect on my Easter egg that allows the egg to stand as the entire design of the card.
How to Make An Embellished Easter Egg Card
Locate a decorative Easter egg design in your die cut machine software. (If your machine doesn’t have this particular design, it will certainly have a similar design that can be embellished in the same manner. Look for a design with lots of straight lines or wide spaces that can be filled with embellishments.)
Cut the Easter egg design out of cardstock scraps, and assemble with glue. Then glue the assembled Easter egg to the front of a coordinating blank card base.
Using 28 Lilac Lane embellishments that coordinate with each area of the Easter egg card design, add rows of embellishments to the card with a liquid adhesive like PPA Matte.
Finish the card with a sentiment sticker in the lower right.
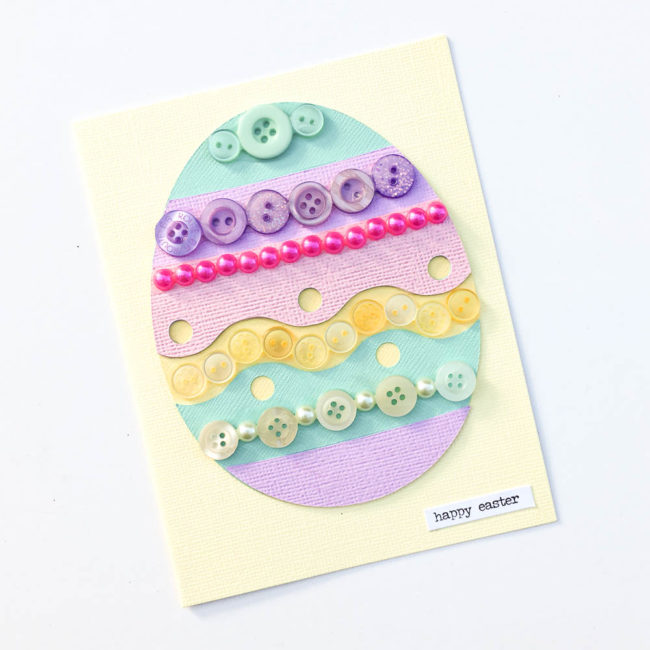
This is a great project for kids and grown-ups to do together….make the cards and then let the kids do the decorating!


