Header

Tag Archives | DecoArt

Button Ladybug Valentine

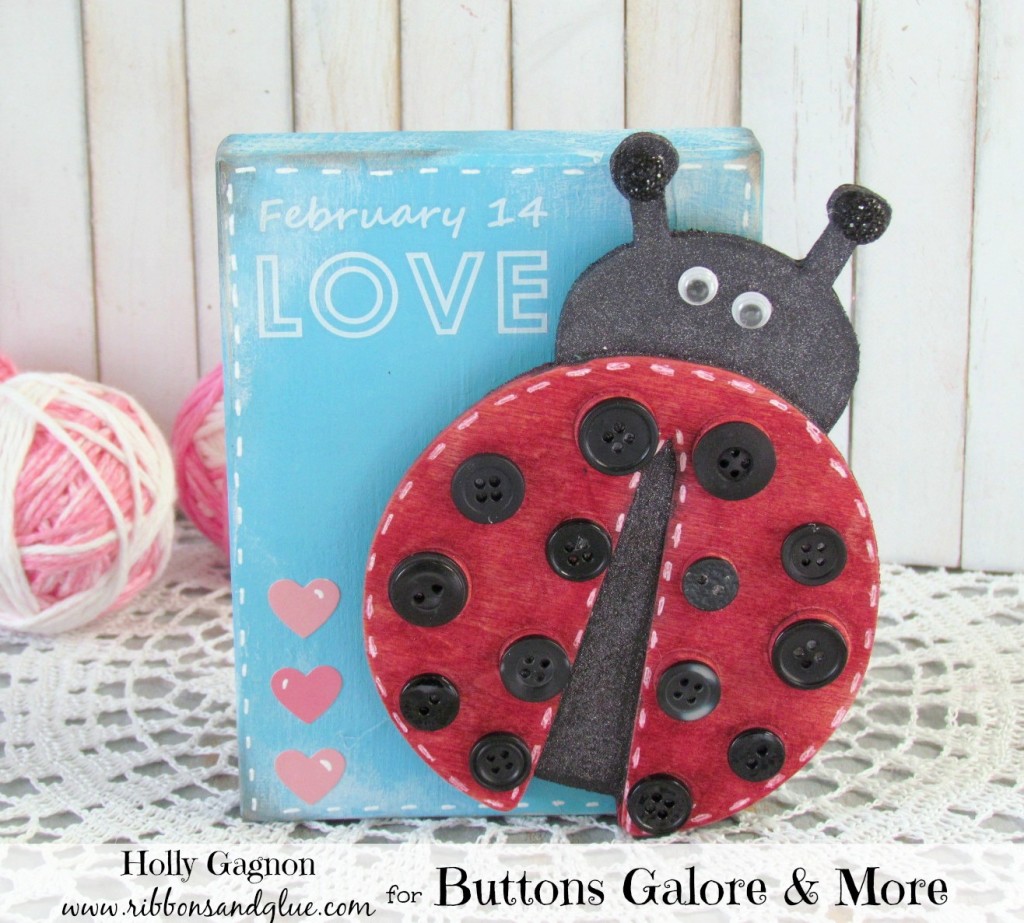
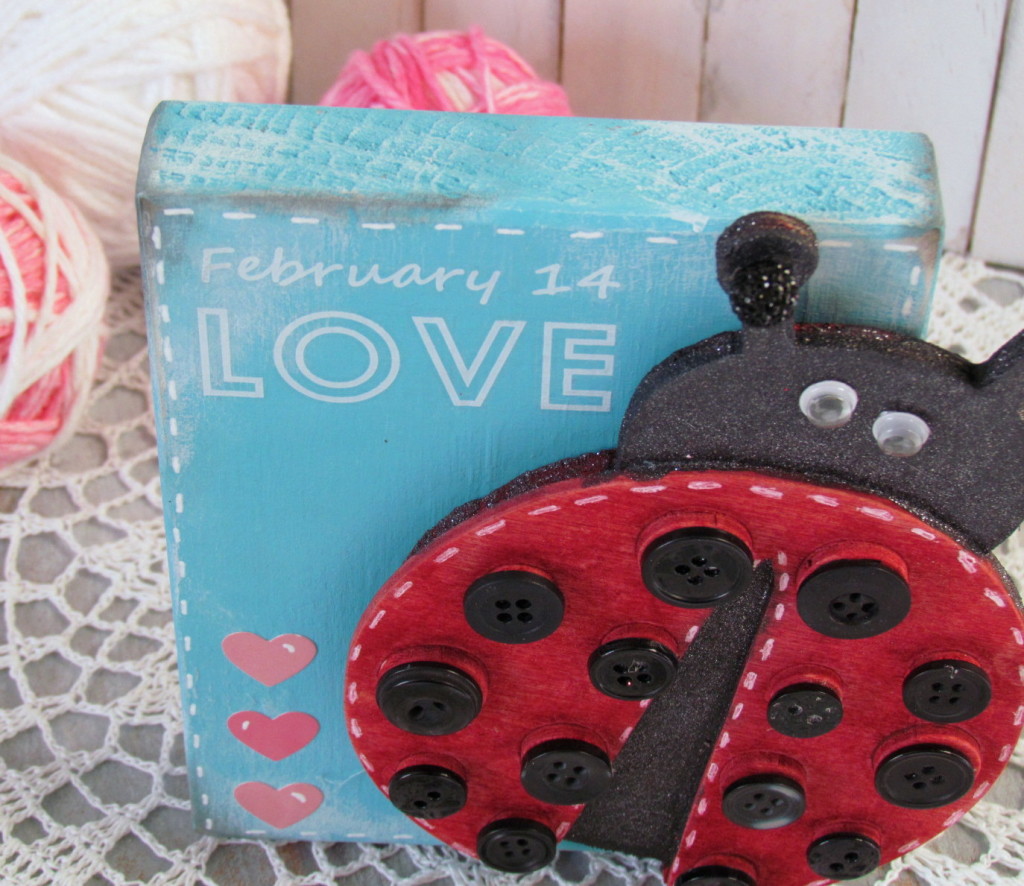
Holly here from Ribbons & Glue sharing with you a 3D Button Ladybug Valentine that is sure to make the “Love Bug” come out of you.

Button Ladybug Valentine

I’ve has this wood ladybug for a while now and always thought it would look really cute with Buttons Galore black  Haberdashery Buttons on it.  I finally busted her out of hiding and did just that.

How to make a Button Ladybug Valentine:

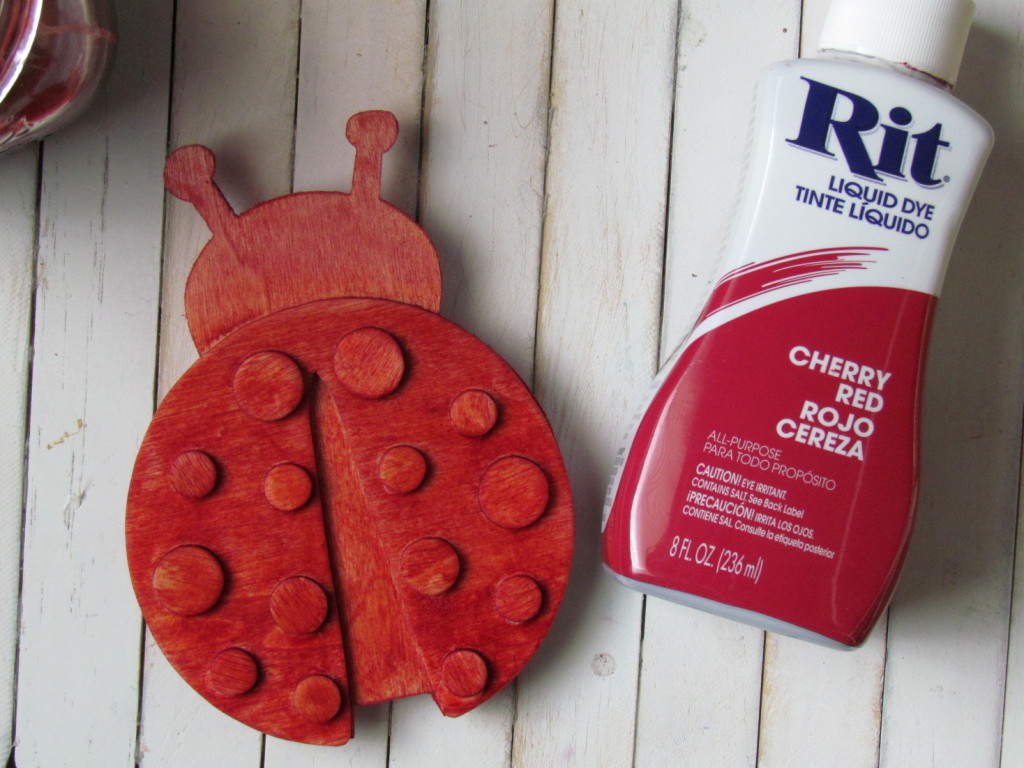
Wood Ladybug dyed with RIt Dye

I dyed the Ladybug Cherry Red using Rit Dye.

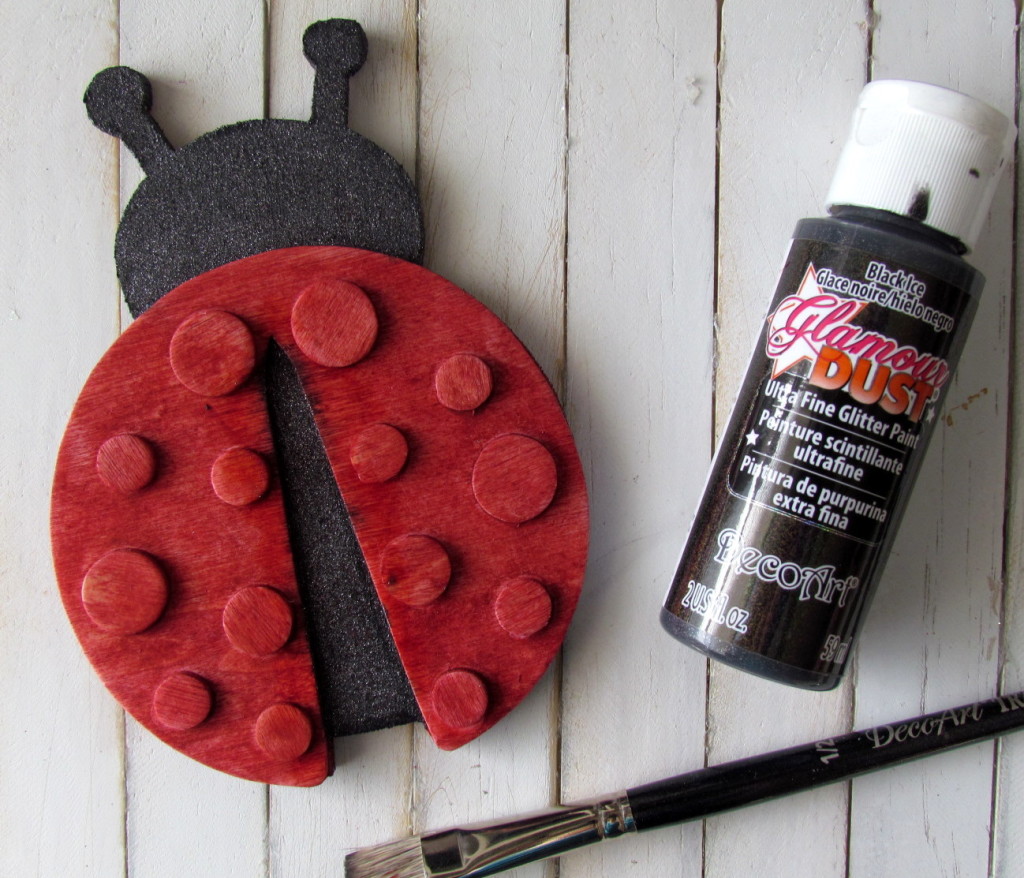
DecoArt painted Ladybug

Then, painted the body of the ladybug with  DecoArt Glamour Dust paint

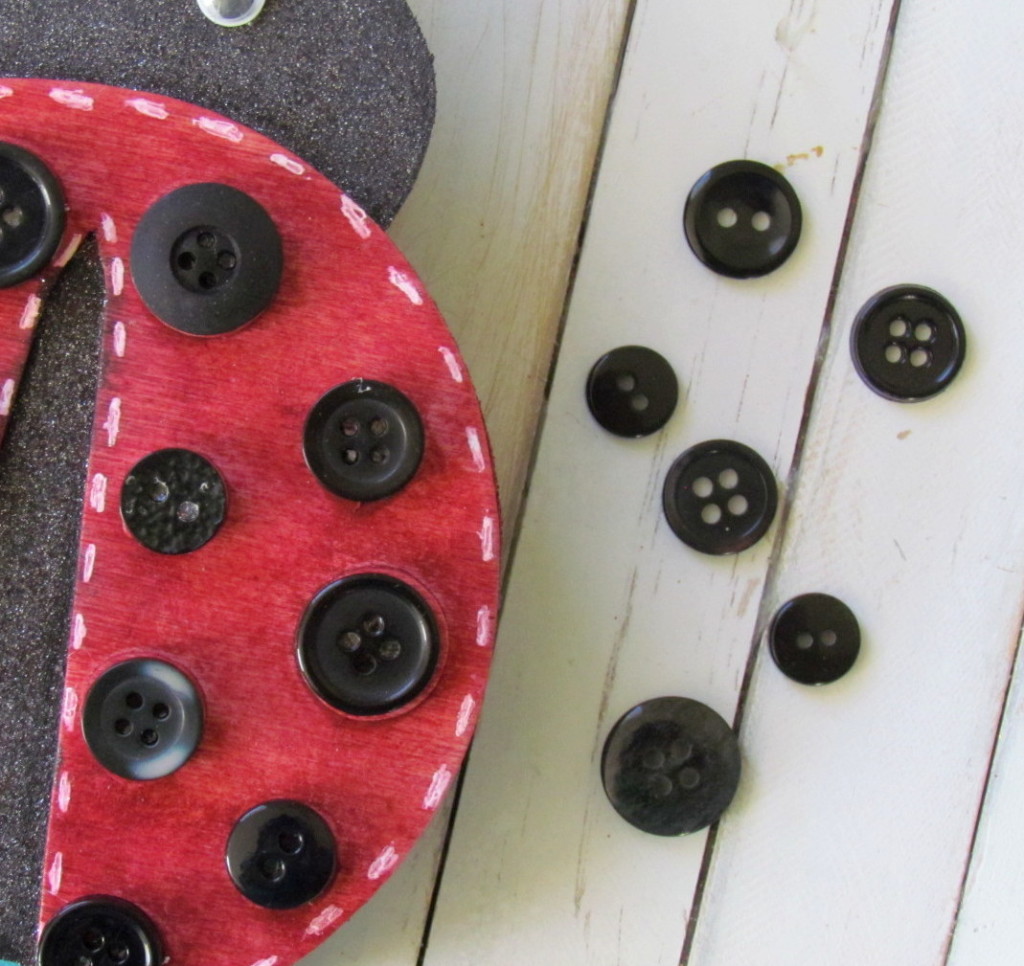
Ladybug with black buttons

and adhered black Haberdashery Buttons from Buttons Galore.

button ladybug

I hot glued the pretty lil’ Lady on a wood block to make it into a 3D Valentine and added a few embellishments from the Pebbles Inc Yours Truly collection.

Supplies Used to make a Button Ladybug Valentine:

For more Valentine’s Day inspiration check out my blog Ribbons & Glue.

newsignature

Like Me on Facebook!

0

Rustic Christmas Ornaments with Glitter Buttons

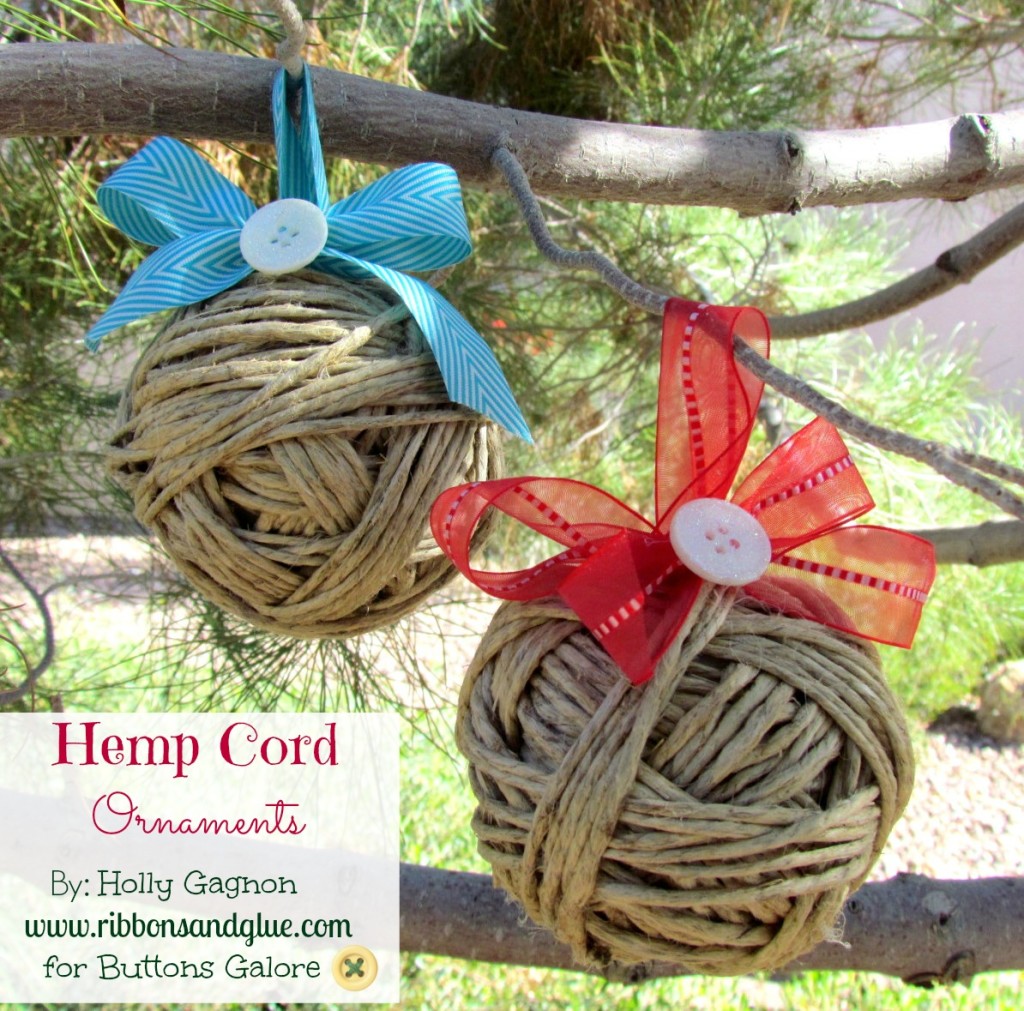
Holly here from Ribbons & Glue sharing with you how to make Rustic Christmas Ornaments with Glitter Buttons for your tree this year by using Hemp Cord and Pearl Buttons from Buttons Galore.

juteornamentsBGM

I love the feel of cozy, rustic Christmas Decor.  You can find pine cones, tree branches, birdhouses and various things wrapped up in hemp cord along with lots of glitter around my house during the Holidays.

How to make Rustic Christmas Ornaments:

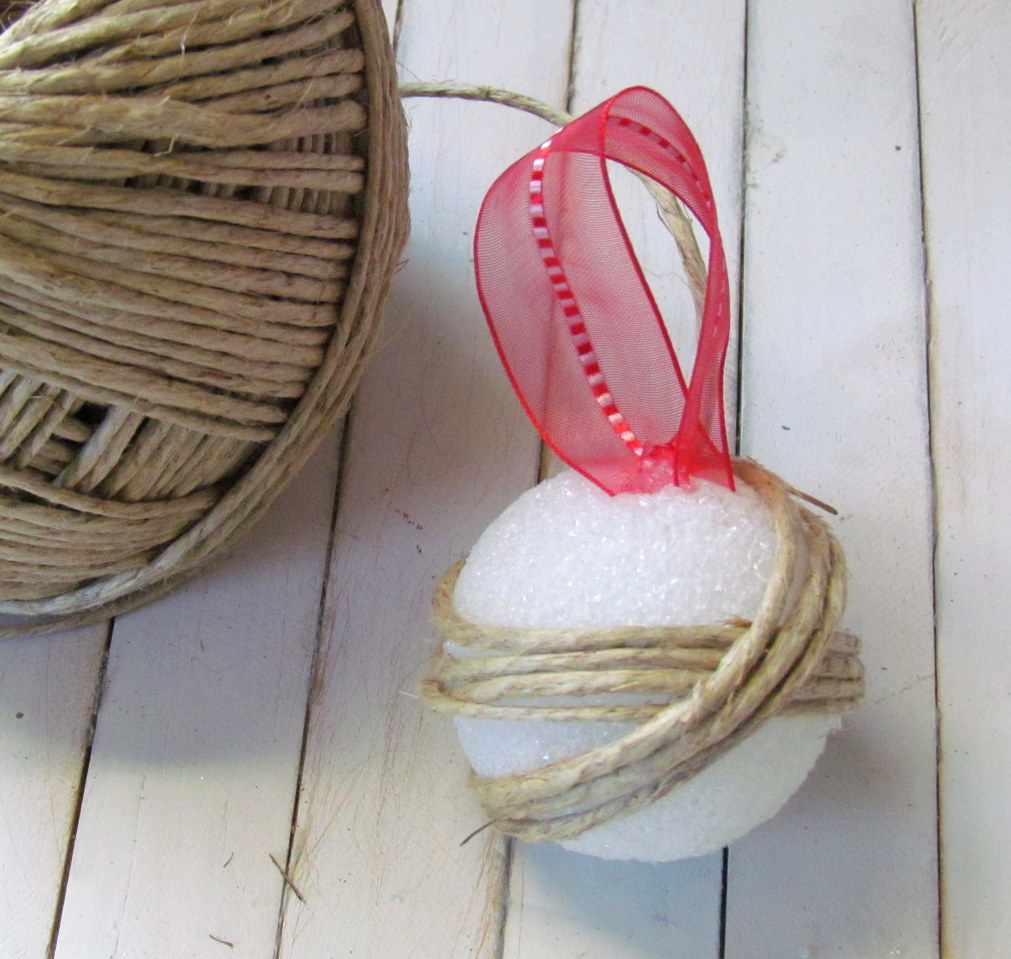
how to wrap a Styrofoam ball

  • Adhere a ribbon loop to Styrofoam Ball using hot glue
  • Hot glue one end of hemp cord on to ball.
  • Start wrapping cord tightly around ball.
  • Wrap cord around ball in various directions until the foam is no longer showing
  • When foam ball covered, tuck and hot glue end of  cord into ball.
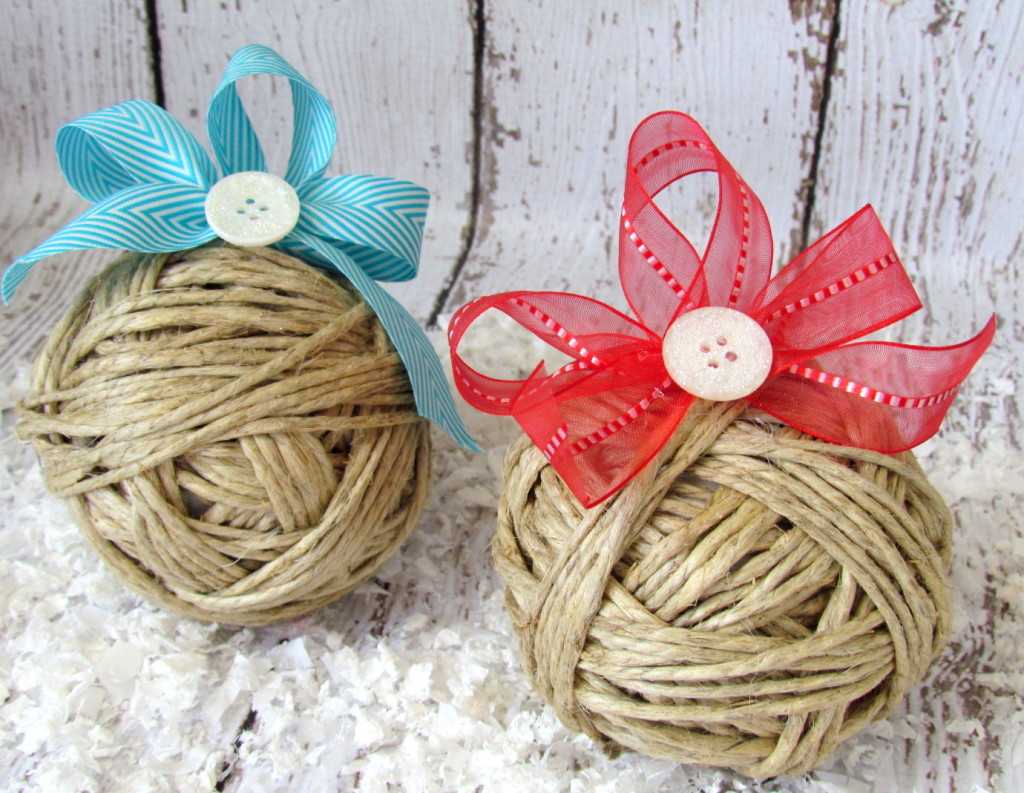
  • Hot glue ribbon bow on to ribbon loop.

ribbontwineornament

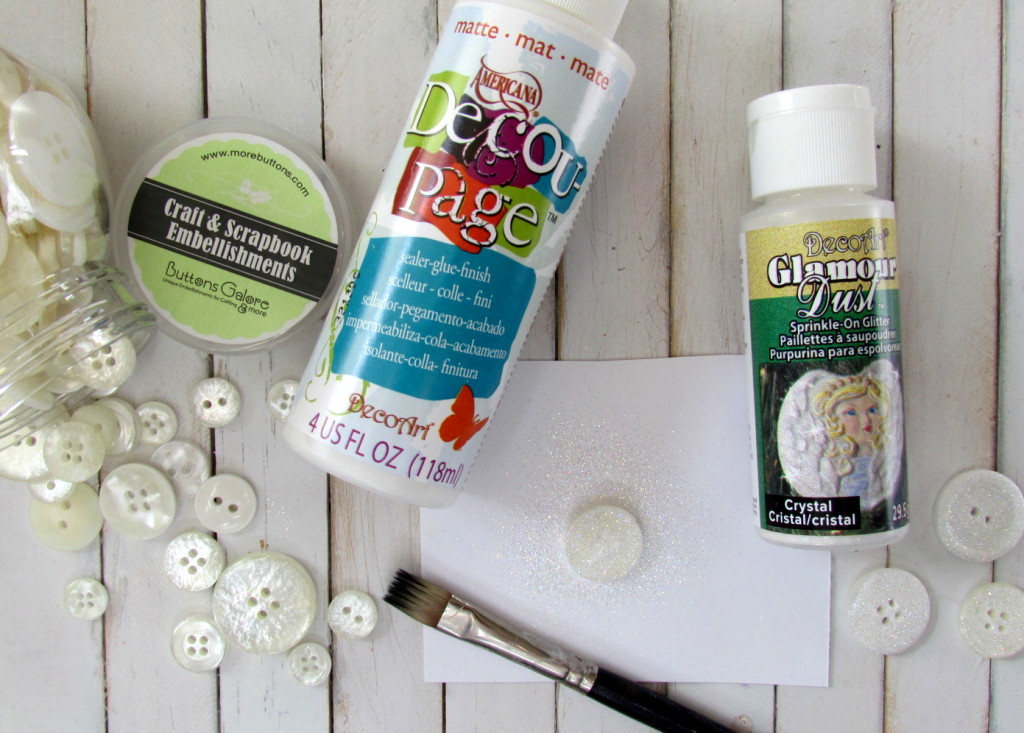
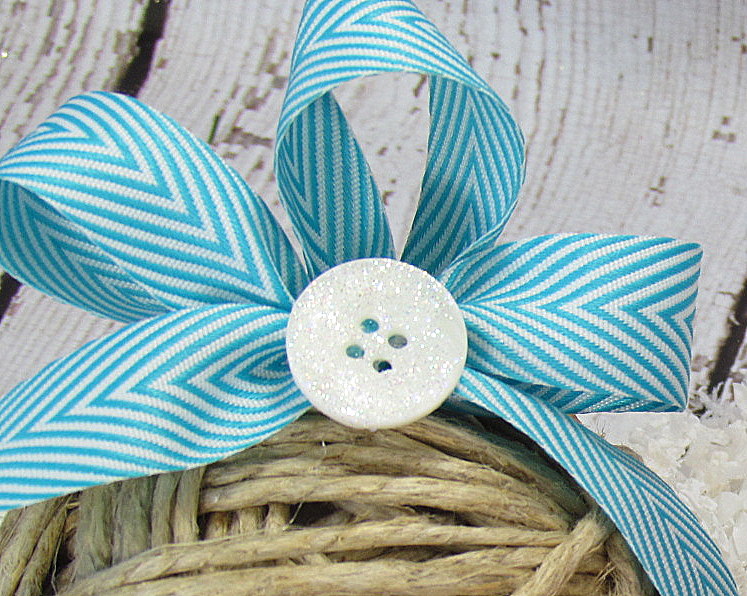
To add a little sparkle to my rustic  Christmas Ornaments, I made glitter buttons.

How to make Glitter Buttons:

glitterbuttons


glitterbuttonribbon

So pretty!  The glitter just adds a little sparkle to your cozy, rustic Christmas decor.

Supplies used to make Rustic Christmas Ornaments with Glitter Buttons:


For more Christmas Inspiration head over to my blog Ribbons & Glue.


newsignatureLike Me on Facebook!

2

Give Inspiration Kits for Christmas Gifts

Inspiration Kit Gifts

This Christmas, why not give your artsy crafty friends and family Inspiration kits? These adorable Christmas Inspiration Kit Gifts are embellished with buttons. They are fun to make and will surely delight every creative person on your list.

Materials and Tools for Inspiration Kit Gifts

Sizzix die cut and matboard

To create your Inspiration Kit Gifts, die cut one Bag Caddy from the matboard. Assemble it according to manufacturer’s instructions using the red line tape.
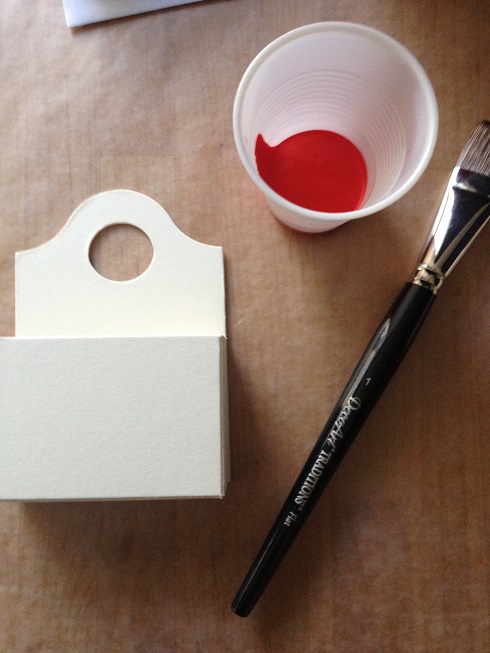
paint box redPaint the box, inside and out Tuscan Red. Measure the front and sides of the box and cut patterned paper using the paper trimmer. Use the foam brush and decoupage medium to apply the paper to the box.
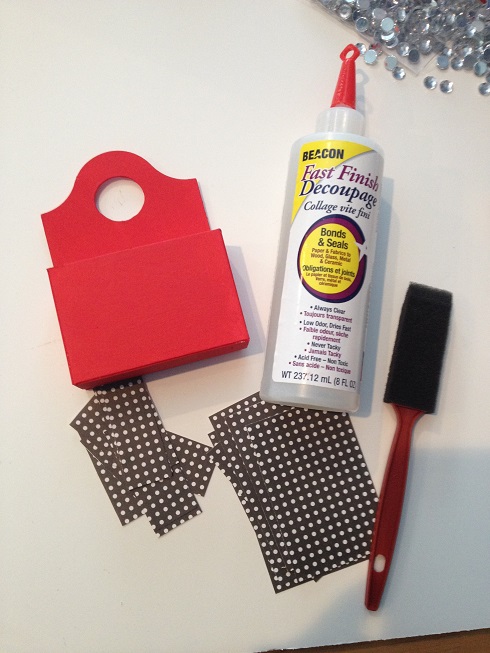
decoupage boxDry brush snow white on front of box. Paint the bird shape Antique White. Paint the teardrop for wing and bird beak Lamp Black.
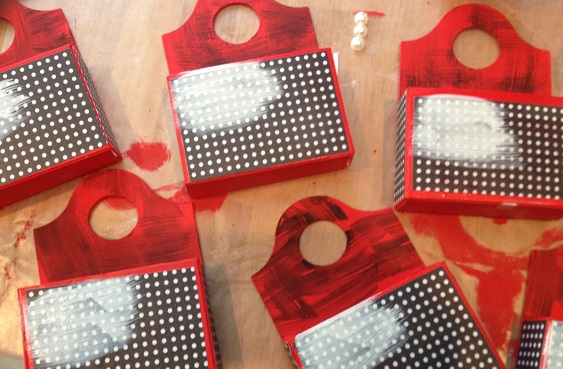
boxes painted and covered

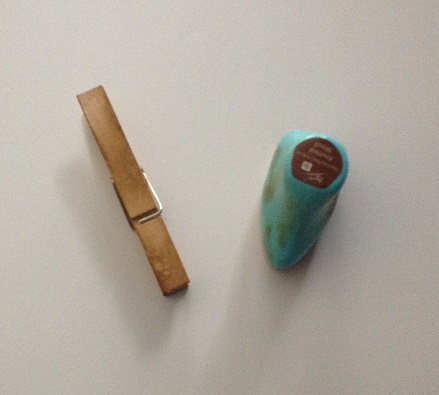
ink clothespinUsing the brown chalk ink, ink the clothes pin. Print out holiday sentiments using plain computer paper and a printer.
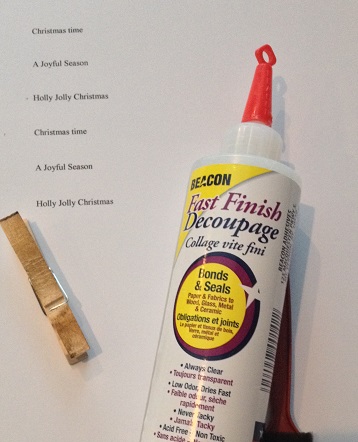
decoupage sentiment

Cut the sentiments out with the scissors. Use the decoupage medium to apply them to the clothes pin. Glue button on one end of clothes pin with the Gem-Tac. If desired, glue a flat backed acrylic stone to the center of the button.
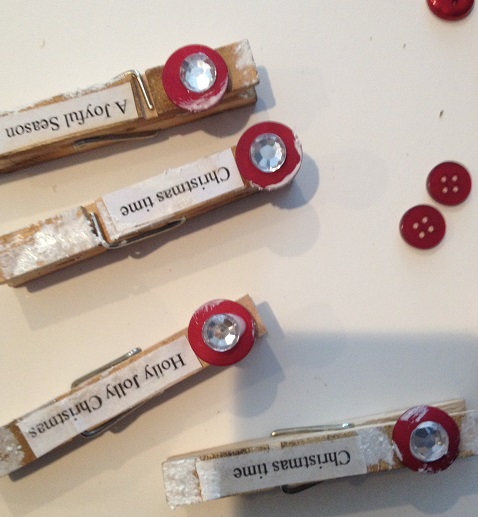
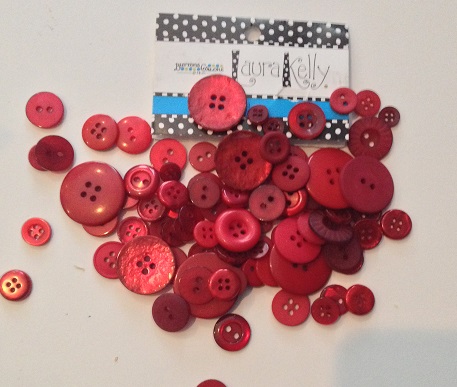
decorated clothespins

Laura Kelly buttonsGlue the bird shape, wing and flower center to the box.

bird on boxStamp sentiment over white swatch of paint on box front.

Here is the super fun part… die cut flowers, tags, etc. to fill your Christmas Inspiration Gift Kits. Die cut the cardstock and the wool felt.
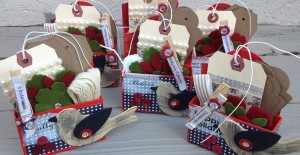
Completed bird boxI also included some hand dyed stamped ribbon in my Inspiration Gift Kits.
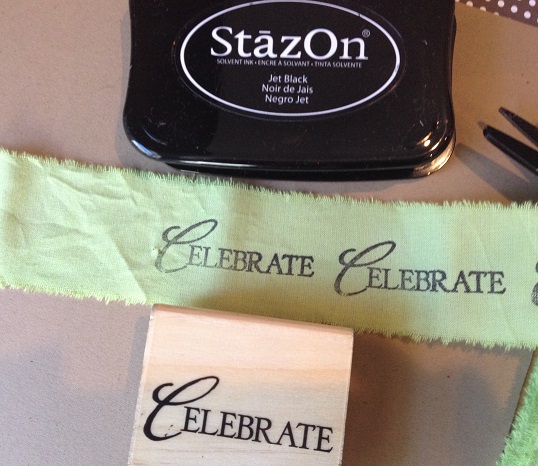
stamped ribbonGlue some buttons to the front of the box.
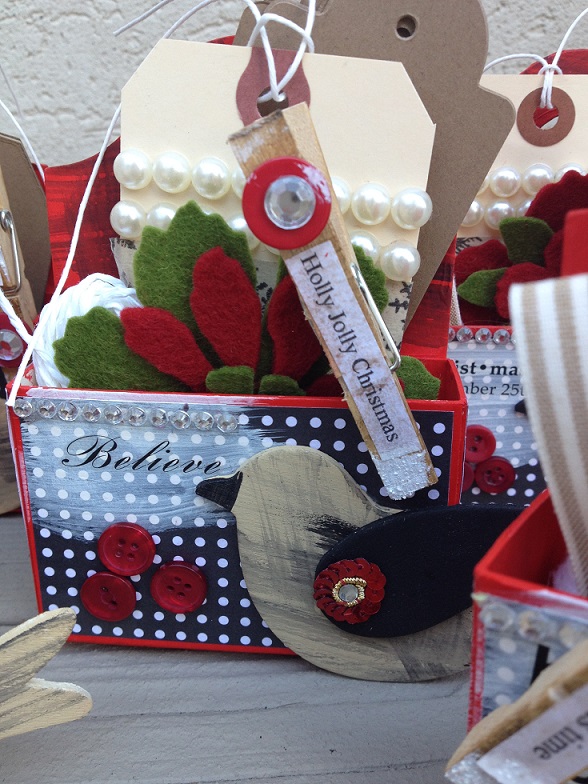
Completed bird box 3

These Inspiration Kit Gifts are great gifts for teachers, hostesses, neighbors, gift exchanges, etc. Make several at once so they will be on hand if an unexpected guest drops by. Instead of art supplies, fill the boxes with homemade edible goodies.

Thanks for letting me share my Inspiration Kits with you.

Live Life Creatively,

signature


0

Gift Packaging Idea

Completed Box 1 (1024x768)

 Are you looking for a creative gift packaging idea? A fantastic gift packaging idea can be very important because the recipient often judges the inside of the gift packaging but what he/she sees on the outside!

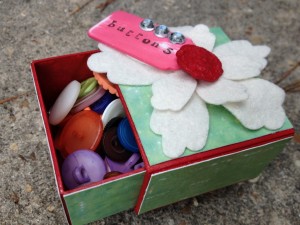
I love buttons. I love to create with them and I love to give a little of my excess stash away as gifts. I have used mason jars, baby food jars and other containers to give a gift of buttons. Searching for yet other ways for gift packaging ideas, I ran across this cute sliding drawer box from Sizzix. Used with their Little Sizzles Matboard, the die creates a sturdy little box to present a gift of buttons.

Materials for gift packaging idea:

Sizzix Sliding Candy Jar Gift Box

Sizzix BigShot Die Cutting Machine

Sizzix Little Sizzles Matboard

Sizzix Bigz Die Tattered Florals

Susiebee Studios Patterned Papers

DecoArt Americana Acrylics in Tuscan Red and Boysenberry Pink

Beacon Adhesives Fast Finish Decoupage and Premium Tacky Glue

Buttons Galore and More Assorted Buttons

Sizzix products (768x1024)

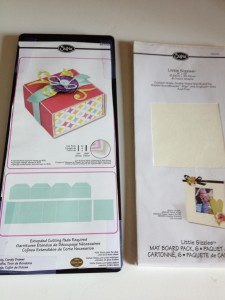
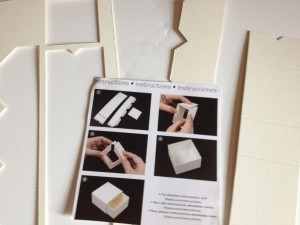
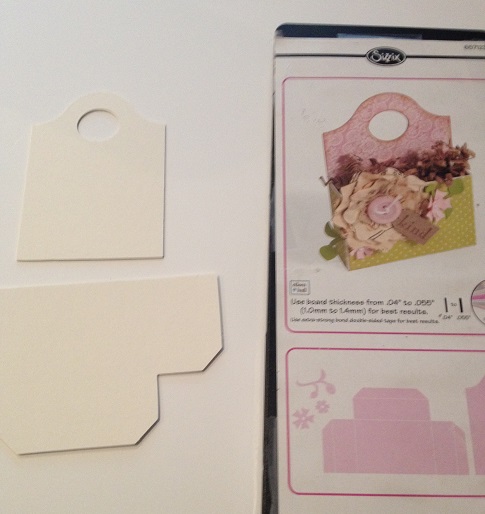
To create this gift packaging idea, I used my Sizzix BigShot die cut machine to cut the box pieces from the matboard. There are visual instructions included with the die but the box was very easy to construct.

die cut peices and instructions (1024x768)

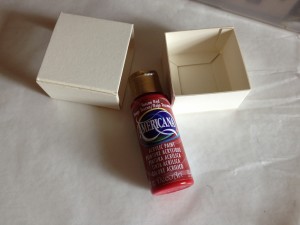
The matboard is great because it accepts paint very well. I painted this box using DecoArt’s Americana Acrylics in Tuscan Red.

DecoArt Tuscan Red (1024x768)

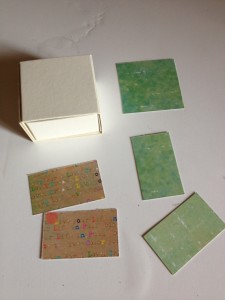
cut papers susiebee studios (768x1024)

I also cut patterned papers from SusieBee Studios to fit the sides and top of the box.

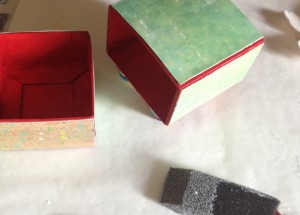
decoupage box (1024x734)

Patterned papers can be decoupaged using Fast Finish decoupage from Beacon Adhesives. I used a foam brush for this step. I chose to paint a blank craft shape from Buttons Galore and More in DecoArt’s Boysenberry Pink.

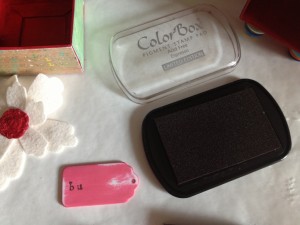
stamp blank craft shape (1024x768)After I painted my blank craft shape, I sanded it to lightly distress and stamped buttons with Clearsnap’s Colorbox pigment ink.

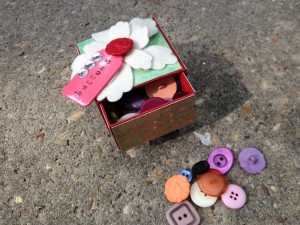
felt flower die cut with button (1024x768)I topped off my die cut button box with a die cut felt flower with a button sewn in the center.

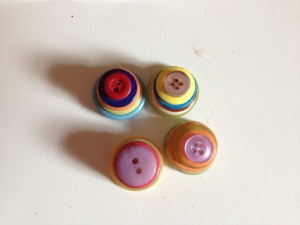
button feet (1024x768)Create these little cute button feet for your box by stacking buttons together starting with the largest on the bottom and working towards the top with the smaller buttons. Getting the button feet to be even can be tricky but well worth the effort!

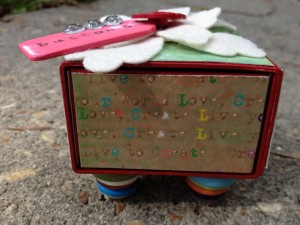
completed box 3 (1024x768)Glue the button feet to the bottom corners of the box. Super cute gift packaging idea! Especially when filled with buttons.

completed box 4 (1024x768)

Hope this inspires you to create your own creative gift packaging version of this die cut button box.

Live Life Creatively,
Signature


0

Button Topiary Trio for Spring

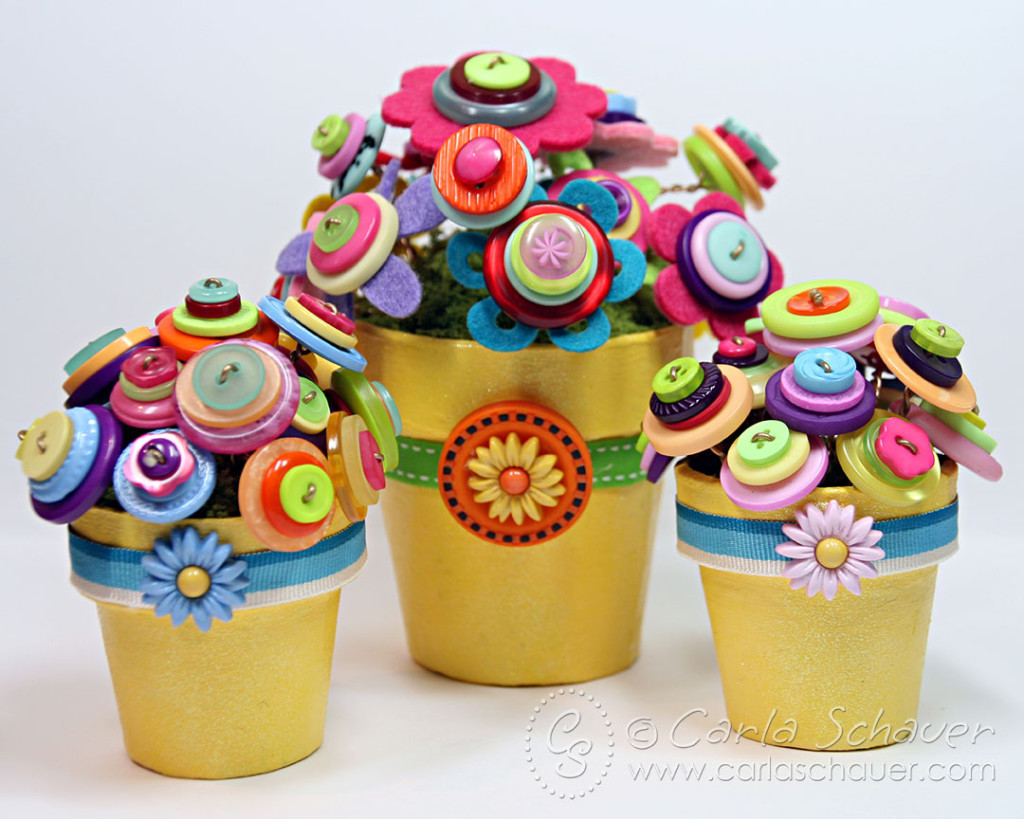
Make a button topiary.  As the Ohio winter lingers on, I find that I am incorporating more bright cheery decor into my home.  This trio of button flower topiaries fits the bill perfectly, adding a touch of Spring inside to hold me over until the snow melts and the daffodils peek through the ground again.  You can make the button topiary as large as you would like.  I chose to make a trio of small button topiaries.
Button Flower Topiary Trio


Material used to make Button Topiary:

Buttons Galore & More Products used:

I also used:

  • 3 Paper Mache’ Flowerpots (2 small, one medium)
  • Yellow acrylic and glitter paints (DecoArt)
  • 1″ Paintbrush
  • 22 gauge craft wire
  • needle nosed jewelry pliers
  • Styrofoam Foam balls, cut (diameter of pots)
  • felt flowers
  • Coordinating ribbon
  • Green surface material (like that used for models)
  • Beacon Fabri-Tac liquid adhesive

 Directions to make Button Topiary:

Paint and prepare flower pot for button topiary flowers

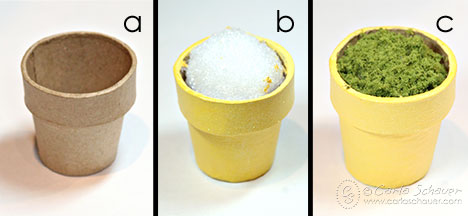
 First, paint each flowerpot using yellow acrylic paint.  Apply multiple coats as necessary.  Paint one coat of yellow glitter paint over acrylic paint and let dry completely.   Cut foam balls in half, placing one half in each painted flowerpot, and glue in place. (Steps a & b, above)  Spread glue over foam ball and press green model foliage into glue to secure (Step c).

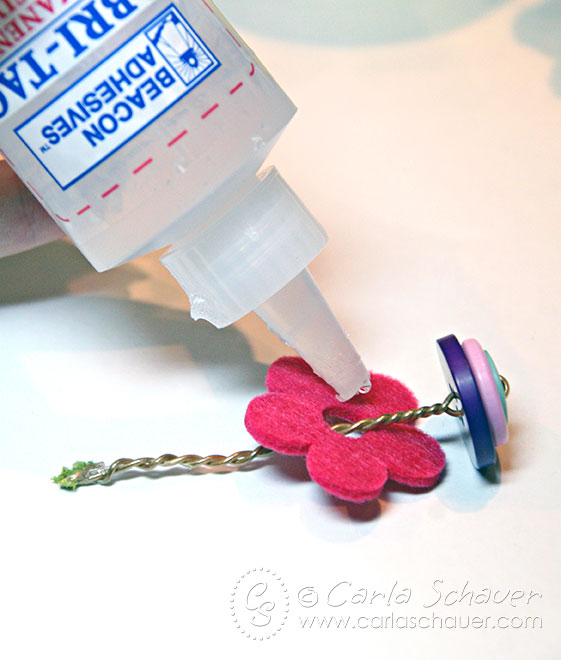
Glue felt flower to button blossom

Cut 8″ length of craft wire.  Choose 3-4 buttons of various colors and sizes from Color Bulk Buttons, and thread one end of wire up through holes on buttons.  Bend wire in half using needle nose jewelry pliers and thread back down through button holes from top.  Twist wire ends together under button “blossom” to add strength.   Glue felt flower to back of several blossoms if desired (I added them to large button topiary only).

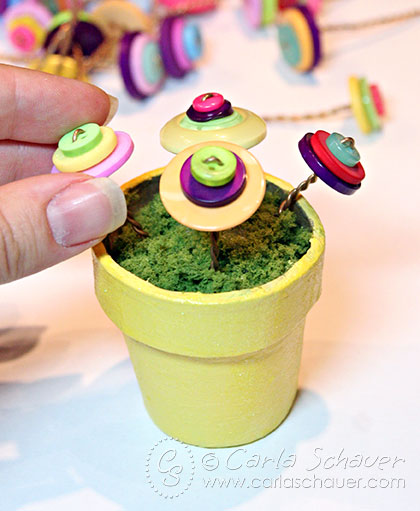
Push button stems into flower pot topiary

Once all the flowers are finished, start adding them to the flowerpots.  Add a small dab of glue to the ends of the wire stems and gently push into the foam ball to secure.   Fill in remaining spaces, bending wire stems as necessary to create arrangement.  Repeat for additional flowerpots.

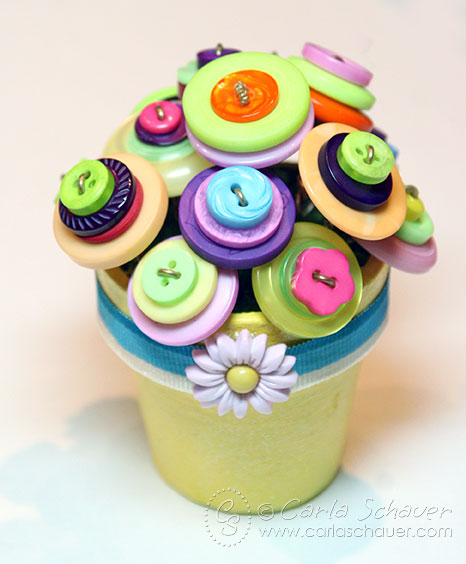
Single button flower topiary

To complete the button topiary, wrap each flowerpot with coordinating ribbon and glue into place.  For small topiaries, remove shank from Daisy Delights button and glue over ribbon ends.  For large topiary, remove shank from Daisy Delights button and glue in center of Tangerine Stitched button.  Glue button stack over ends of ribbon.
Enjoy the touch of welcome Spring color of a button topiary !

Thanks for stopping by,
Carla

5

Creating Easy Home Decor Using Buttons and STYROFOAM

Howdy all! I am so sorry to keep you waiting all month for my home decor project! I have had a SUPER busy summer and this month just was the busiest of them all. But tonight, JUST BEFORE JULY IS OVER I have a fun home decor idea for you that is quick, easy and can be easily customized to fit your home’s Christmas decor! So let’s get busy!!! And hey, now’s a great time to start working on holiday decor because it’s best to be prepared now and now hurried later, right? So HAPPY CHRISTMAS IN JULY Y’ALL!!!!
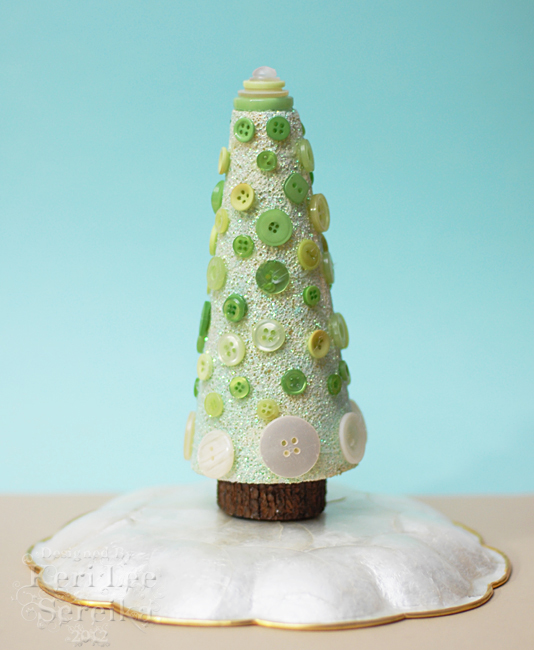
Supplies Needed: STYROFOAM Cone, Two Tones of Butt ons, Acrylic Paint and Paint Brush, Glitter, Hot Glue, wood circle for trunk or other trunk material.


Begin by placing a pool of paint onto a piece of scrap paper as a palette for easy clean up.


Apply a full coverage layer of paint to entire surface of cone.


While the paint is still wet, liberally cover surface with glitter.


Find a button the same size as the top of the cone.


Build a stack of buttons in graduating size and hot glue together to be a "tree topper".


Once the paint has fully dried, hot glue the topper to the top of the cone.


Randomly glue buttons all along the outside of the cone in various sizes and shades of green.


Glue a line of large Ivory buttons along the bottom edge.


Hot glue the piece of cut tree limb to bottom as a tree trunk.


Ahhh your brand new hip and happening home decor project ready for the mantle, table top or anywhere else in your home!


I would LOVE to see your home decor pieces! Please share a link here so I can come to your blog and see how you decorate for the holidays!!! And hey if you happen to have a great button project that is just a HUGE BONUS! :) Enjoy!

2

Powered by WordPress. Designed by WooThemes