I love to make recycled jar crafts and one of my favorite ways is by upcycling the jars to make vases, candle holders and other home decor pieces. They’re usually quick projects that you can use for your own center pieces or home accents and you can give them as gifts. Here’s a fun little project you can make to dress up your fall table. Grab yourself some of the Buttons Galore and More fall buttons, some glue and you’re ready to get crafting. For this project I used an empty tomato sauce jar, but you can use any jar you like, just make sure to remove the label, wash and dry it before you get started.

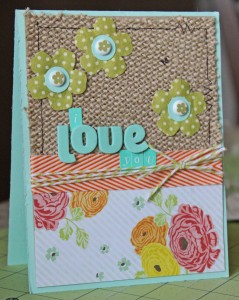
Glass jar vase with buttons designed by Jen Goode
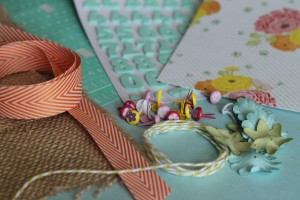
Materials you need to make a recycled jar crafts:
- Tiny Round Buttons in fall colors
- Leaf accents
- Assortment of brown buttons
- Brown burlap (canvas would work well too)
- Hot glue and hot glue gun
- Tan twine
- Tag shaped Start-up
- Alcohol markers

Fall button materials for glass jar vase
How to make recycled glass jar crafts – a pretty fall vase with buttons:
note: make sure to have your hot glue gun set on low heat so you don’t burn yourself while handling these small buttons. If you prefer, use craft glue and allow for dry time.
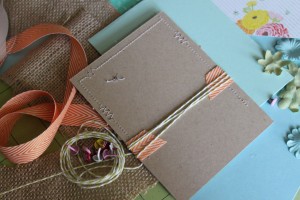
- Cut a piece of burlap so that it’s long enough to completely wrap around your jar.
- Add a center button in the middle of the burlap. I used 3 buttons for my center, a large brown button, a smaller decorative brown button and then a tiny red button – each glued in place.
- Add a leaf embellishment to either side of the center brown button, gluing in place. I started out with a green and a dark brown on this piece and then changed my mind, I like the brown on brown much better. Choose whichever colors you prefer.
- Add tiny buttons around the leaves, varying the colors as you’d like.
- Wrap the burlap around the jar and glue in place.
- To make the tag, color the tag as desired with alcohol markers, allow to dry. Glue tiny buttons in place. Add some twine from the burlap through the tag hole and tie a bow then glue the tag on to the burlap.

Glue embellishments in place

Center art is 3 buttons glued together

Buttons and burlap make pretty fall decor