
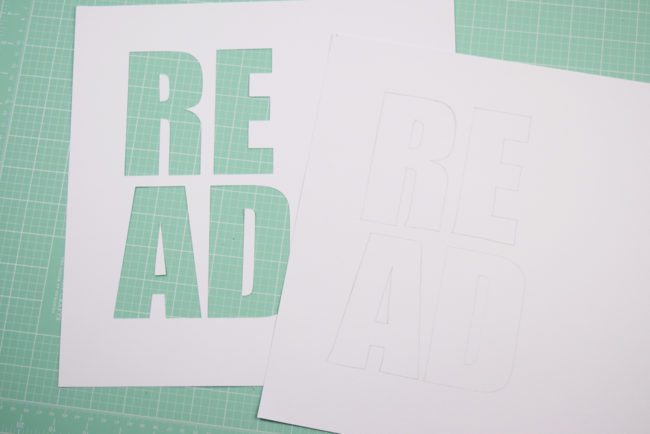
 I started by cutting my title with an electronic die cut machine. I cut the “read” portion of the title out of white cardstock with large block letters. Using a pencil, I traced the cut portion of the title onto another piece of white cardstock. I used this as a template for adhering the buttons and sequins.
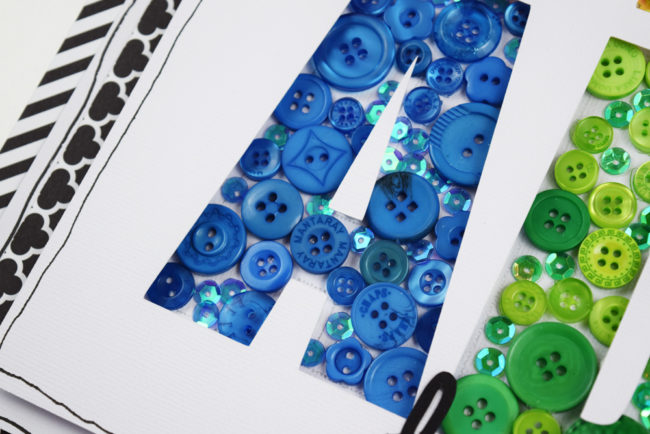
For this portion of the project, I turned on Netflix and started gluing buttons and sequins in place. I started adhering the larger buttons first and then filling in the gaps with smaller buttons and sequins. I would recommend using a strong adhesive for this technique as the cardstock can buckle under the weight of the buttons.
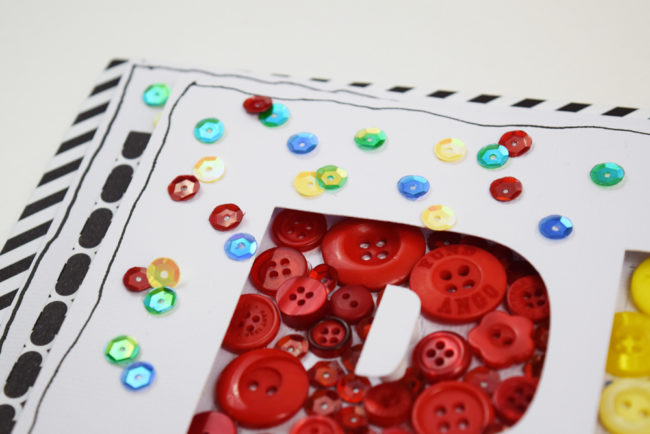
When I had all the buttons and sequins adhered to the background cardstock I used foam pop dots to adhere the die cut “read” on top of the button/sequin layer to create this awesome button title.
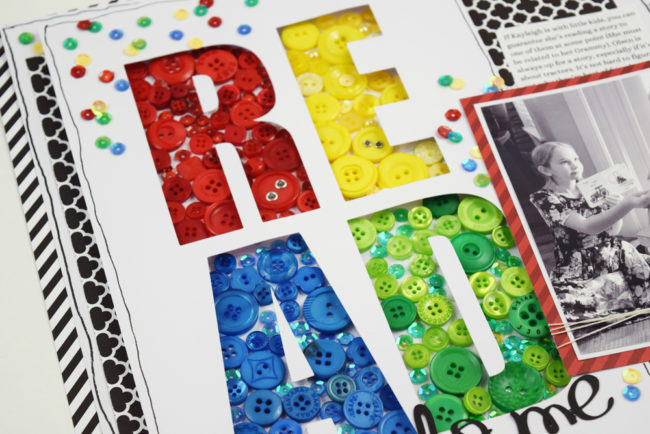 I finished the layout by adding my photo, journaling, and a few more sequins on the top layer.
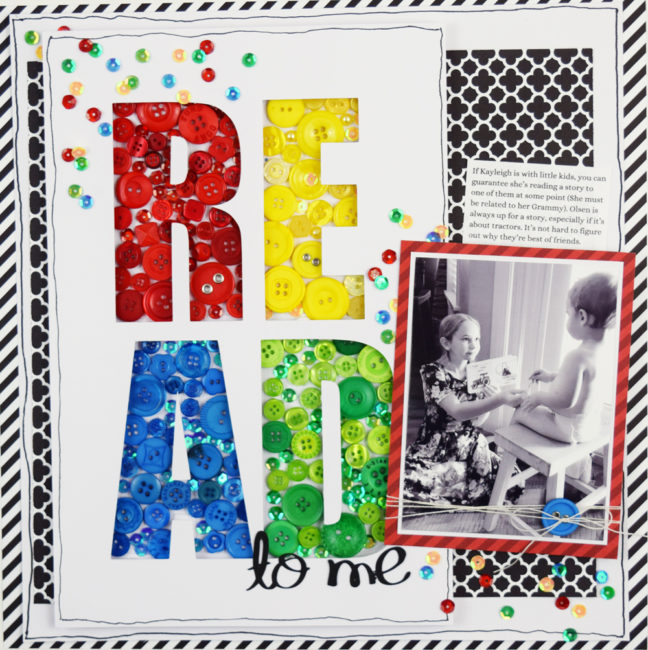
The buttons and sequins made this layout stand out with TONS of bright colors and textures. I can’t wait to use this button title technique again! Thank you for stopping by the Buttons Galore blog today! I’ll see you again soon!
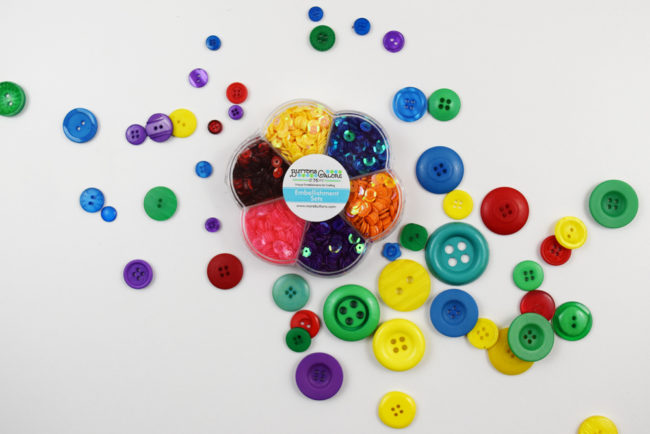
Buttons Galore Bright colored Sequins – SEQBR
Buttons Galore Primary Button Bonanza – BB43
black and white patterned paper
glue dots
liquid adhesive
dimensional foam adhesive

