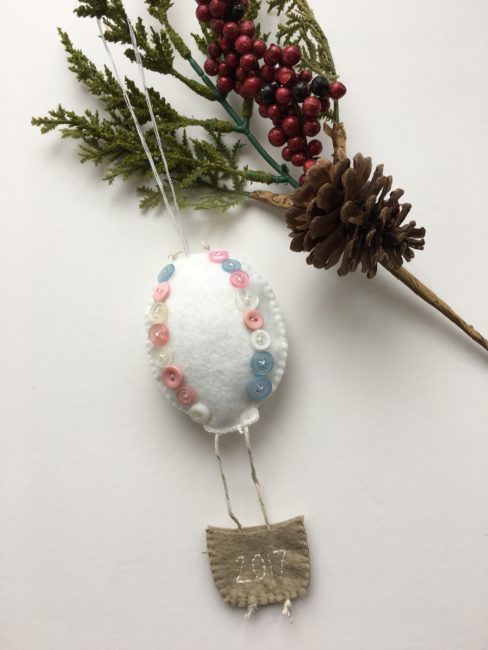
It’s Aimee here today with a simple little hot air balloon ornament, easy enough for the most novice of stitchers to complete. Gift this DIY Baby’s First Christmas Ornament to a friend’s newest little one or hang it on your tree to celebrate the new little life in your home! Continue Reading →
Tag Archives | Baby
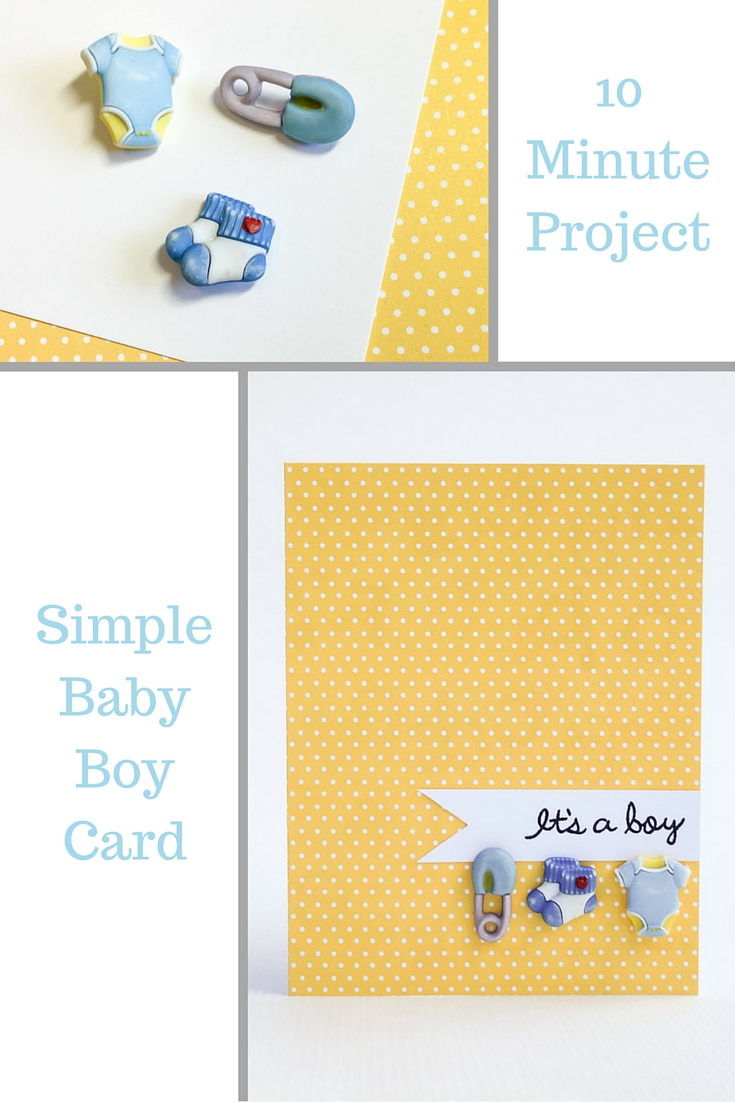
Clean & Simple Baby Boy Card
A handmade card is the perfect finishing touch to a gift for a new baby. With the Buttons Galore 3D “Baby Hugs” collection of buttons by Vicki Schreiner, it’s fast and easy to make cards like this simple baby boy card! The only supplies needed are paper and buttons and a pen.
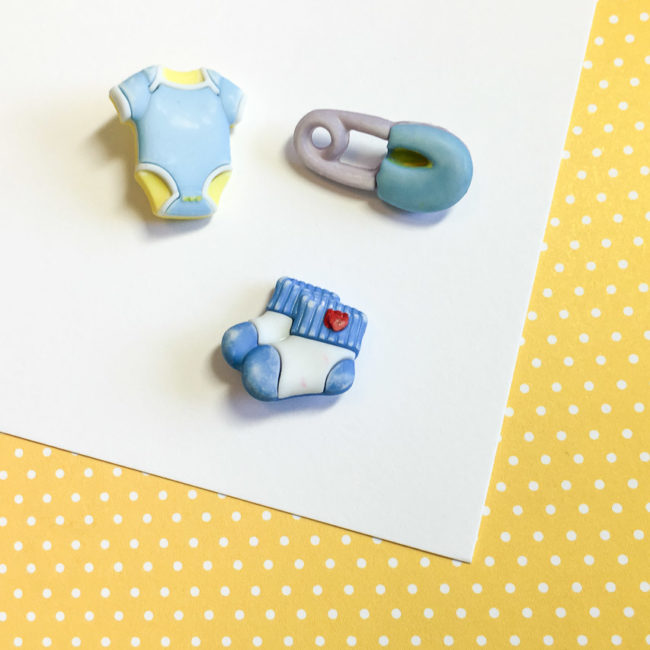
Supplies Needed:
- Buttons Galore “Baby Hugs” 3D buttons (Little Baby Boy)
- Yellow Patterned Paper (Bella Blvd “Tiny Tots”)
- White Cardstock
- Sentiment Stamp (Lawn Fawn “Sophie’s Sentiments”) & black ink or black pen
- PPA Matte Adhesive or Aleene’s Tacky Glue
That looks like a long list, but it’s really just a package of buttons, two sheets of cardstock, and some glue. I used a sentiment stamp for adding “it’s a boy” but it could easily be added with just a marker.
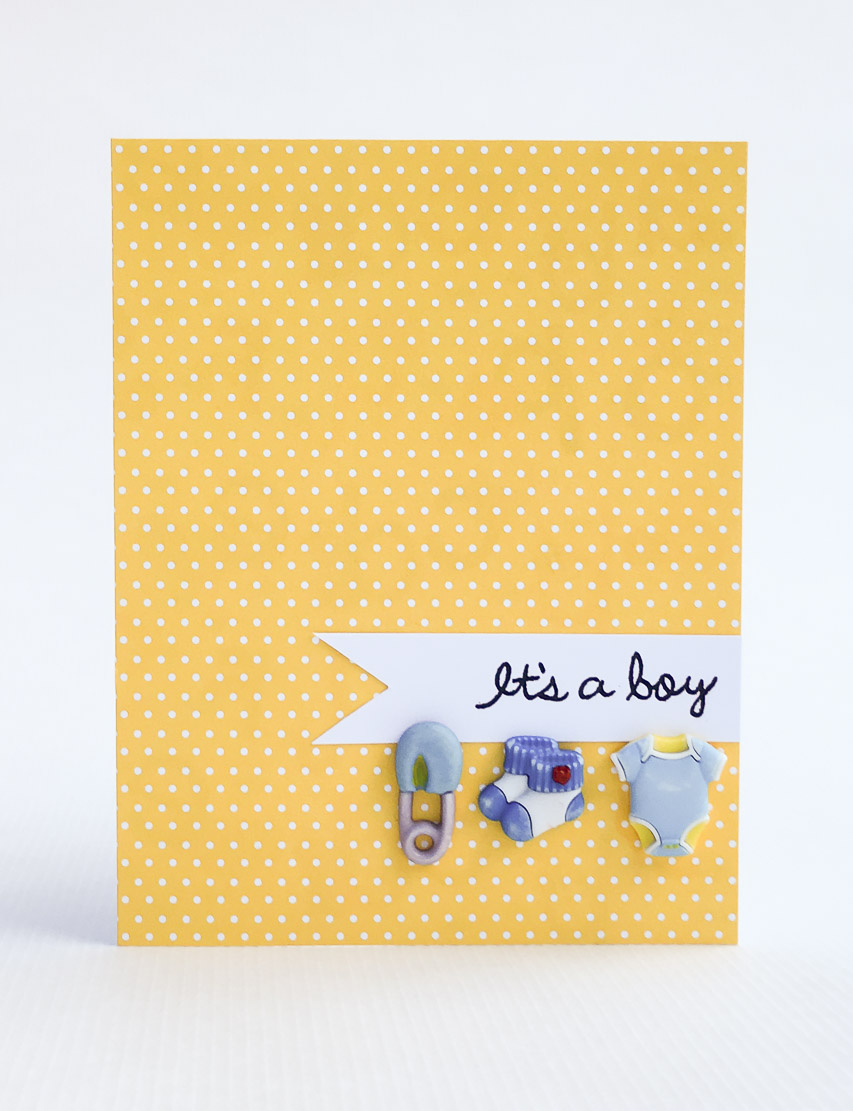
Assembling this card is simple – and fast! Just cut a piece of white cardstock sized 8.5″ x 5.5″ and fold it in half to make a card base. Cut a piece of yellow patterned paper that is 4.25″ x 5.5″ and glue it to the front of the card base.
Cut a 3/4″ strip on the leftover white cardstock to make the sentiment strip. Use scissors to snip the ends of it to create a banner. Write or stamp the sentiment on it, and glue it about 2/3 of the way down the front of the card.
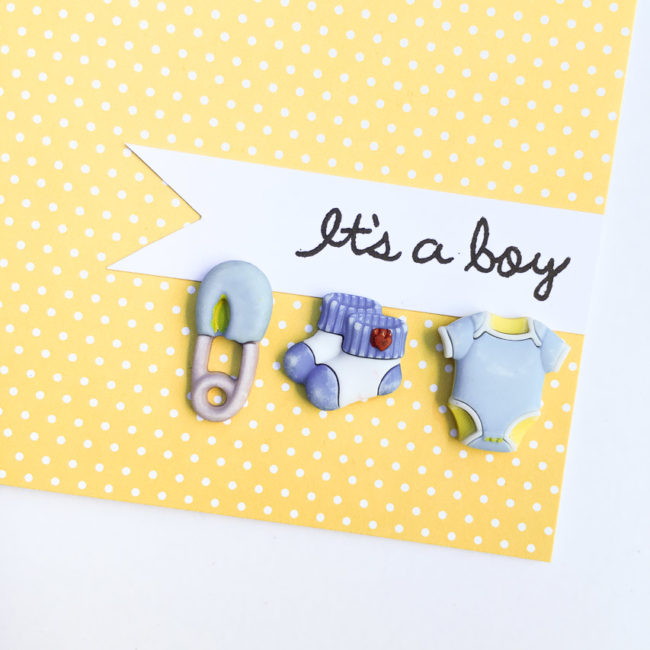
For the final step, use scissors or a shank remover to cut the shanks off of the 3D buttons. Glue the buttons down with a white glue like PPA Matte Adhesive or Aleene’s Tacky Glue.
This quick and simple baby card can be make in less than 10 minutes. This simple design can be adapted to many other occasions (like birthdays and weddings) as well with the help of our other 3D button collections such as Sweet Delights or our wedding collection.
Button Monogram Wall Art
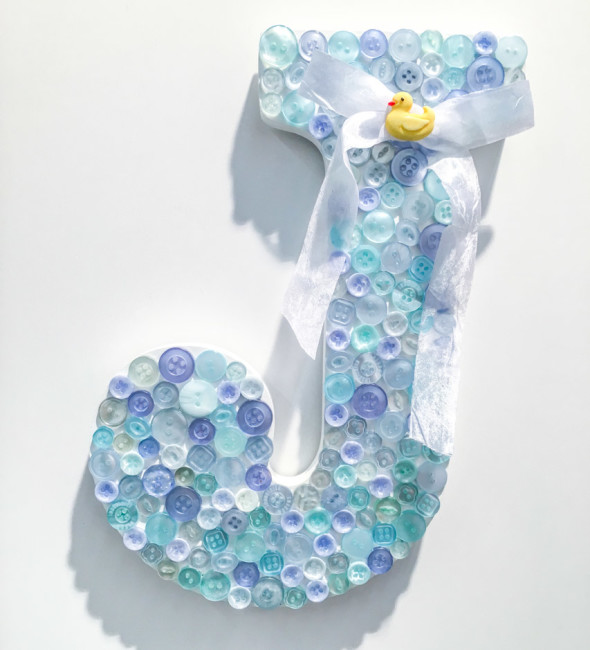
A new baby, whether it is yours or someone else’s, is always a great reason to make something! And what could be cuter than button monogram wall art?
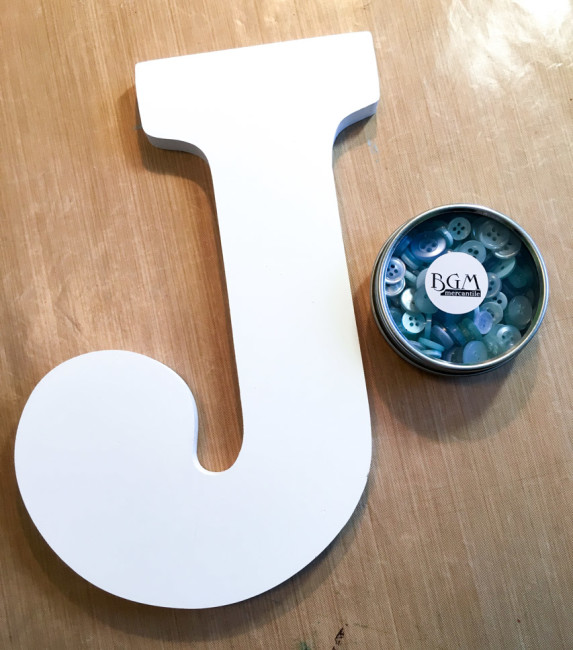
This fun project uses two key components – a wood monogram letter like the kind available at most craft stores, and two tins of our beautiful Sea Glass buttons. I really love these buttons – their beautiful blue/green translucence really makes me want to go down to the shore and hunt for glass!
Supplies:
- White Wood Letter “J”
- Sea Glass buttons Tin x 2
- Baby Hugs specialty buttons (Ducky)
- White Ribbon
- White Clear Drying Glue
- Hot glue gun
Lay down areas of glue in sections, and fill the letter in with buttons. Don’t be afraid to lay down a nice thick layer of glue so the glue will come up the button holes when the buttons are pressed down into it. When the glue is dry, this creates “prongs” that grab onto the buttons and help hold them in place more securely.
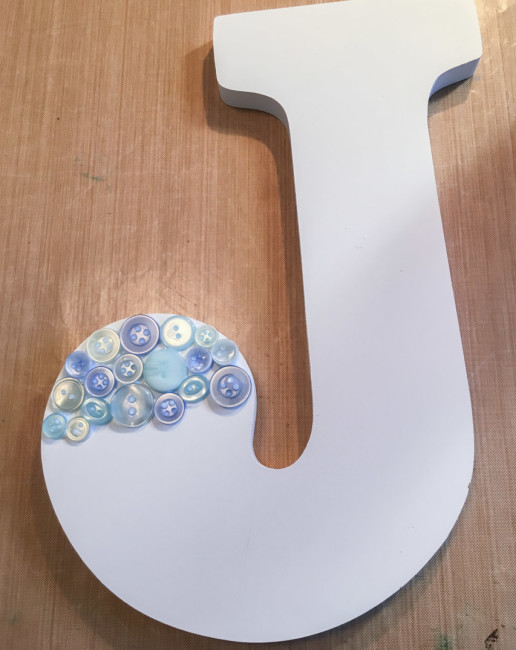
The areas between the buttons don’t need to be even or really tiny. While it looks uneven viewed very close up, unless a gap is extremely large it won’t look awkward when viewed from a reasonable viewing distance.
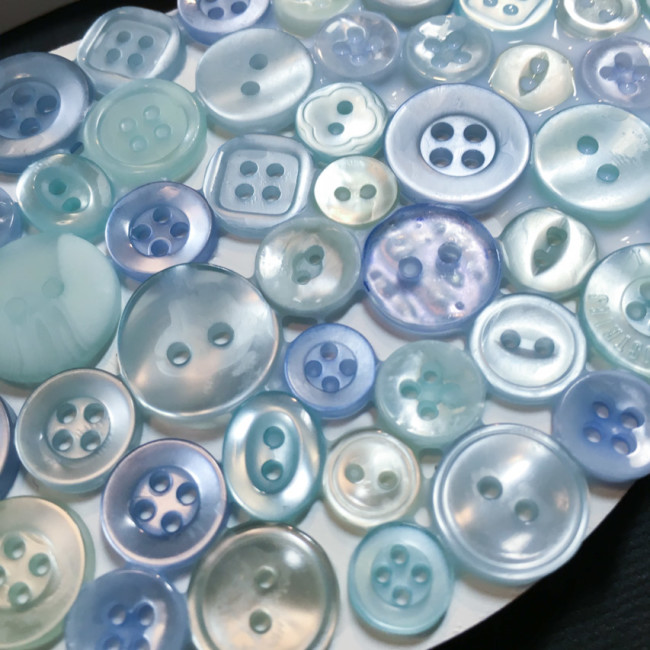
For the finishing touch (and to add the baby theme to the button monogram), tie a nice large bow out of the white ribbon. Attach it on top of the buttons on the button monogram using hot glue. Cut the stem off of a Ducky button, and hot glue that on top of the bow.
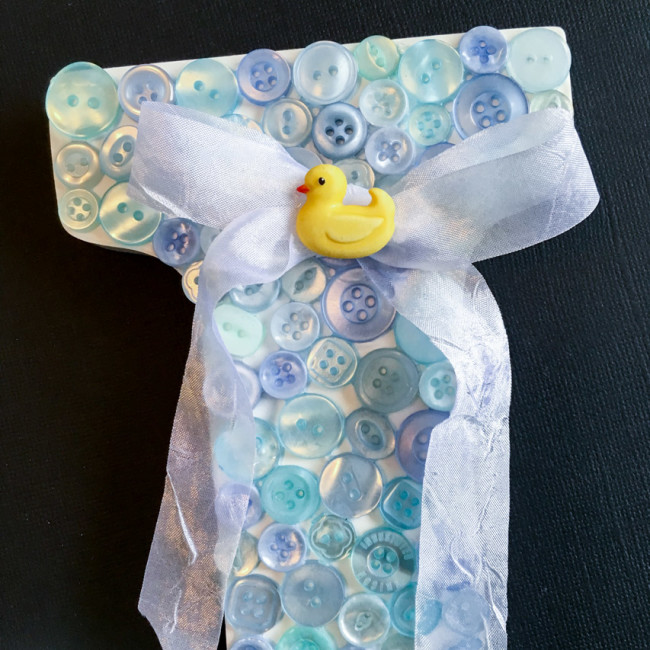
This button monogram project can be made in any color, and would make a great gift or baby shower decor. Hang it on a nursery wall, a bedroom door, or prop it up on a dresser top!
