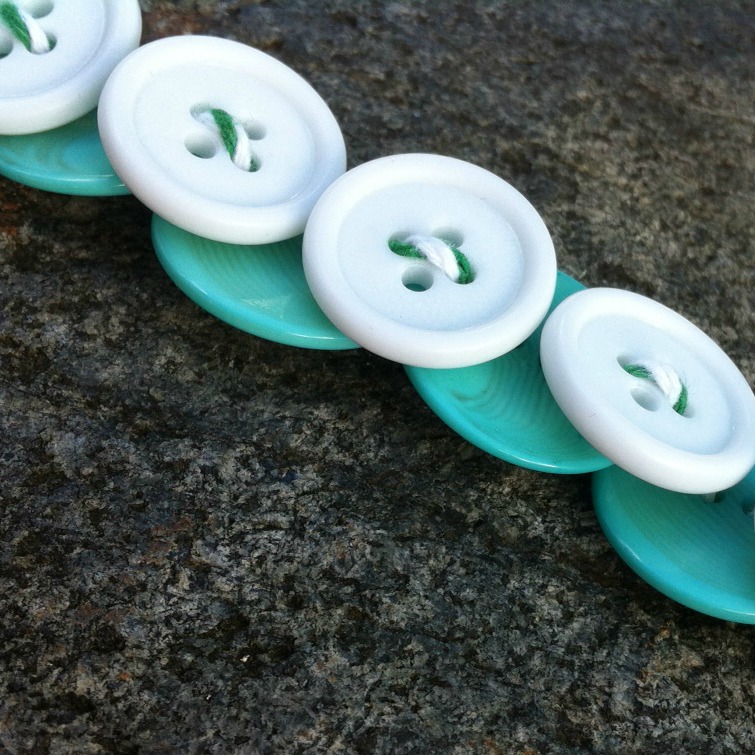
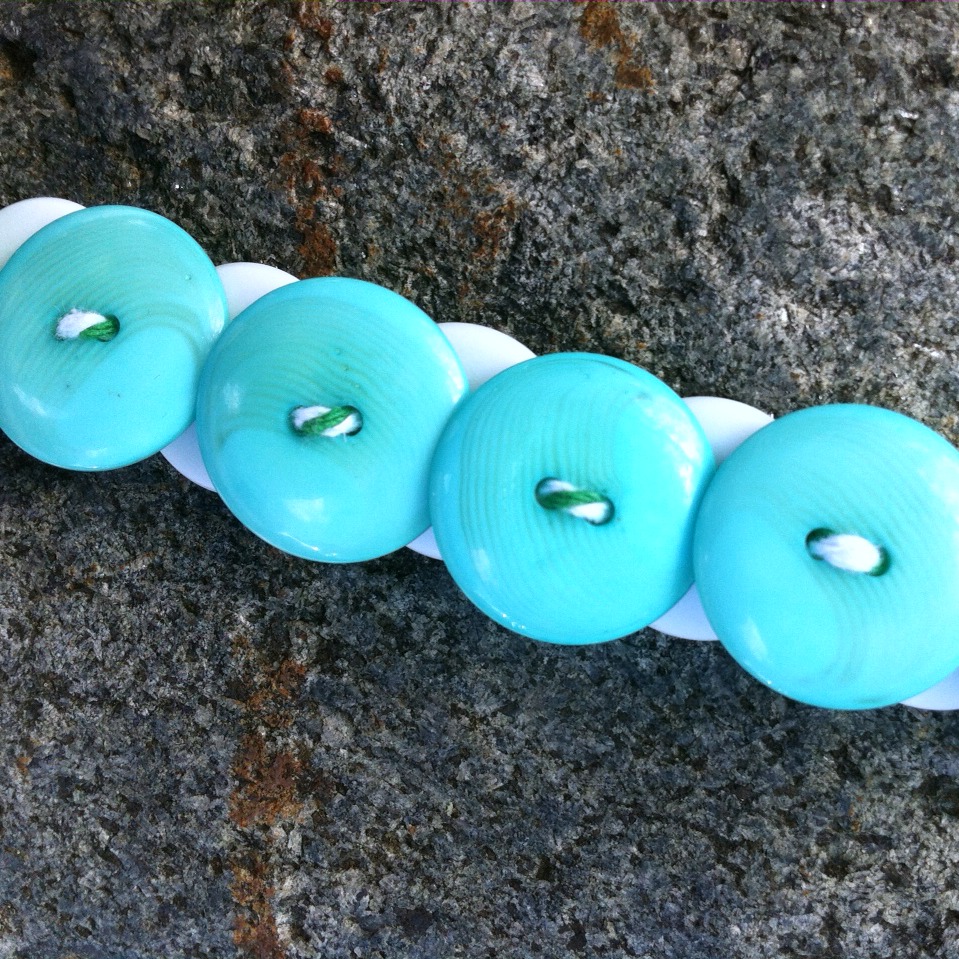
A quick and simple Reversible Button Bracelet.
Thread twine down then up in the lower row, and up then down in the top row. The lower button will overlap, but when you get to the end, it all lines up just right.
Be sure to get each set of buttons pretty snug before moving on so that your bracelet lays nicely. Leave room at the ends to tie off. I like to put small knots at each end so the buttons can’t move anywhere, then just tie a little bow to keep it on my wrist.
Another note: when measuring your wrist, remember that larger buttons need more room to go around your wrist. I found it best to check sizing as I went along, rather than the actual length of the bracelet. The average woman’s wrist is 7.5″ and while my wrist is actually a bit smaller, my bracelet is 8 inches and fits snugly.
Supplies for Reversible Bracelet
- Teal Ice Buttons
- Cookies and Cream Buttons
- Twine – May Arts
Thanks for joining me today.
See more of my creations at My Card Party.
Latest posts by Allie Gower (see all)
- Buttons Galore 2014 Valentine Round Up - February 1, 2014
- BeBunni Blue Birthday Card - December 26, 2013
- CHRISTMAS DIY: Colorful Buttons for Doll Stockings - December 10, 2013


cool
Love, love, love this little charmer!
September is Ovarian Cancer Awareness month and Teal is the color of the awareness ribbon. Perfect bracelet to help raise awareness of this silent killer!