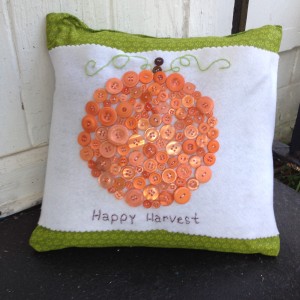
 Its October! Time to think about refreshing your indoor decor with all things fall, spicy and harvest. One of the easiest ways to have found to give my decor a facelift is with pillows. Still easier pillow wraps! This easy to make pumpkin pillow wrap will have whet your appetite for making pillow wraps for every season. With an all seasons color like green, you can make pillow wraps for Spring, Summer, Fall and Winter. Here is my Autumnal version. Creating the pillow cover from scratch requires basic sewing experience but you can use a purchased pillow already covered and add your Pumpkin Pillow Wrap to it.
Materials and Supplies
Square Pillow form in a size of your choice
Two green fabric squares that match your pillow form size plus 1/2″ seam allowance on all sides
Enough white felt to wrap around the pillow form snugly
Laura Kelly Hand dyed buttons from Buttons Galore and More in Outrageous Orange and Bold Brown
DMC Color Infusions Memory Thread in Light Green
Self adhesive Velcro Strips in White
Hand sewing needle and thread in white and light green
Brown embroidery thread (6-ply), embroidery needle
Scalloped edged scissors, rotary cutter and self-healing mat, scissors, sewing machine and thread, fabric marking pen
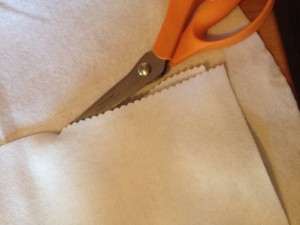 First, cut out the felt using the rotary cutter and mat. Trim the edges with the scalloped edged scissors. This will give your felt nice clean ornate edges that don’t have to be sewn.
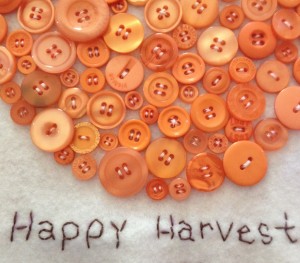
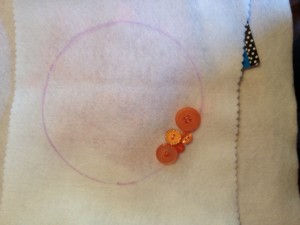 Use the fabric marker to trace a circle in the size of your choice. Remember that you will be sewing the hand dyed buttons to fill the entire circle so plan accordingly. Thread your needle and start the sewing the buttons on to create the pumpkin by pulling the thread from the back to the front. Just like you would sew on a button.
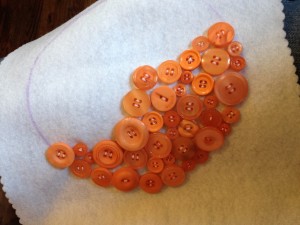 Continue to fill in the traced circle, using the traced lines at a guide to make your pumpkin. Use the smaller buttons in the package to fill in the smaller gaps.
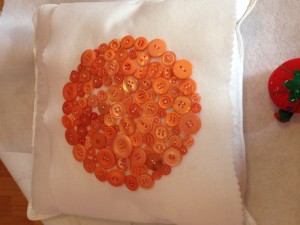 Finally, a complete circle of hand dyed buttons on your pillow wrap that we will now add details to resemble a pumpkin!
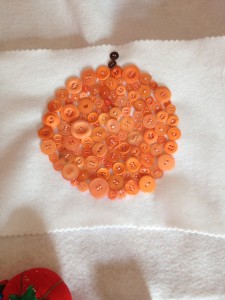 Use some brown buttons (2 or 3) depending on the size of your pumpkin to create a stem.
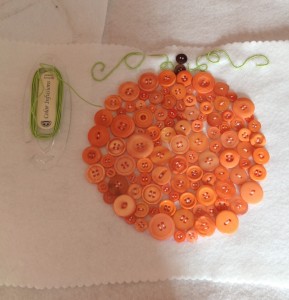 To create vines, I used Color Infusions Memory Thread by DMC in a light green. This can either can glued down or couched down with coordinating thread and a hand sewing needle. I find the couching down method to yield a neater and less messy result.
Thread your embroidery needle with three strands of the 6-ply brown embroidery thread. Use the fabric marker to write a sentiment onto the Pumpkin Pillow Wrap just under the pumpkin and back-stitch the sentiment.
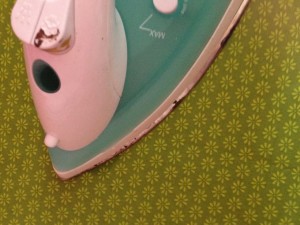 Iron your squares of fabric for the pillow cover front and back. Place the right sides together and machine stitch the left, top and right sides together using a 1″ seam allowance. Leave the bottom of the pillow open for turning and stuffing with the pillow form. Steam the seams open with the iron set on a steam setting and turn right sides out. Iron again and insert the pillow form into the bottom.
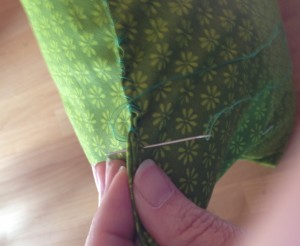
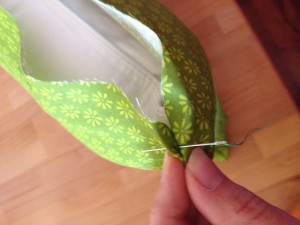
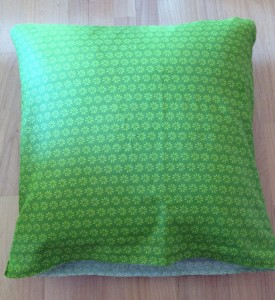 Sew the bottom of the pillow closed using a whip stitch, the hand sewing needle and thread.
 Add a strip of Velcro to the back of your Pumpkin Pillow Wrap as a quick and easy enclosure. I opted for the self adhesive version the sew on version will work as well.
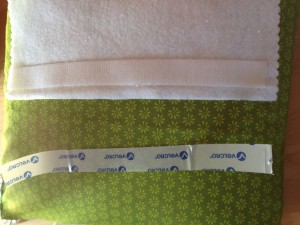 Now you have a Pumpkin Pillow Wrap that will not only be adorable for the Fall season, but it can be switched out seasonally very easily. Thanks for letting me share. Happy sewing!
Live Life Creatively,
Latest posts by Melony Bradley (see all)
- Give Inspiration Kits for Christmas Gifts - December 2, 2013
- Halloween Napkin Rings - October 14, 2013
- Pumpkin Pillow Wrap - October 12, 2013


No comments yet.