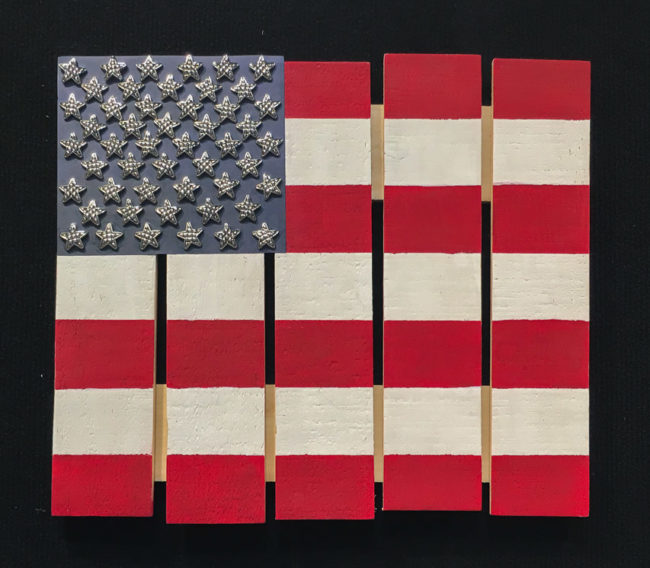
The summer holidays coming has many of us here in the U.S. wanting to display our more patriotic side. This simple pallet flag will help you show your love of country while bringing some country charm to your home as well!

To create this pallet flag, I started by painting the entire pallet white. Then, to create my stripes, I measured the tallest height of the pallet and divided by seven (the number of stripes that I wanted) to get the width of my stripes.
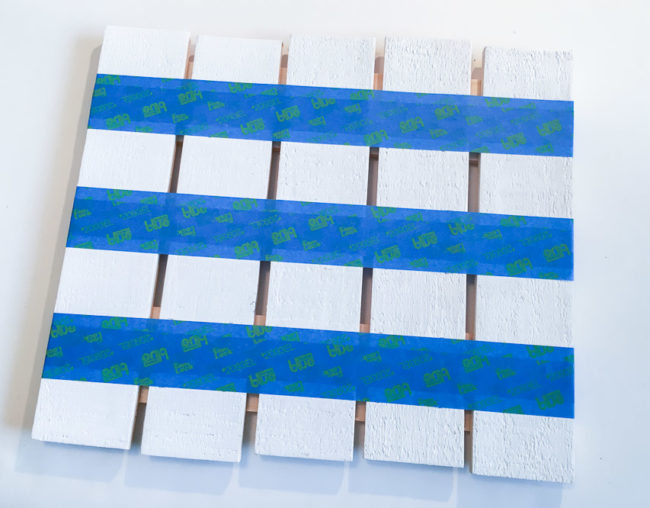
Using painter’s tape to block off the areas that I didn’t want to paint red ensured that I got crisp edges on my stripes. I just measured the width I wanted and laid down a strip of tape at that mark. Then from that edge, I measured again and lay another strip of tape at that mark. That left a small open area between the two strips of tape. To protect my white paint from splatters while painting with the red, I laid down an extra strip of tape on top of the others to fill in that gap. When I was done, I had blue and white stripes like this:

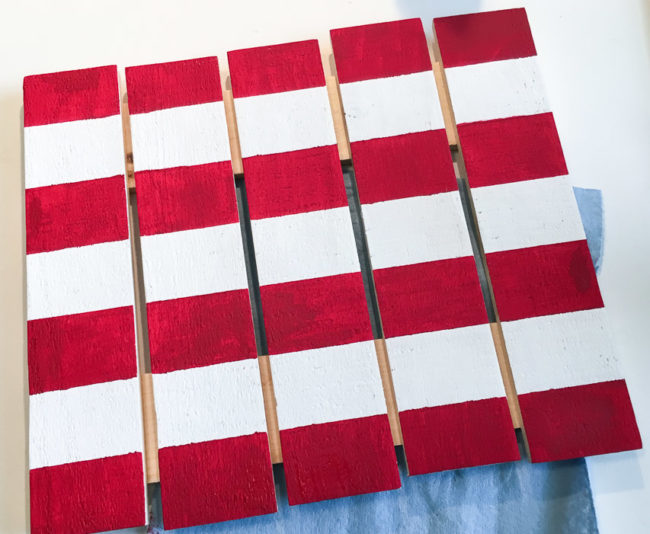
Once the tape was in place, I painted the areas that weren’t covered in blue tape with red paint. The paint below appears patchy because I peeled up the tape while it was still drying – an important step to keep the edges of your paint crisp. Once dry, the paint is much more even.

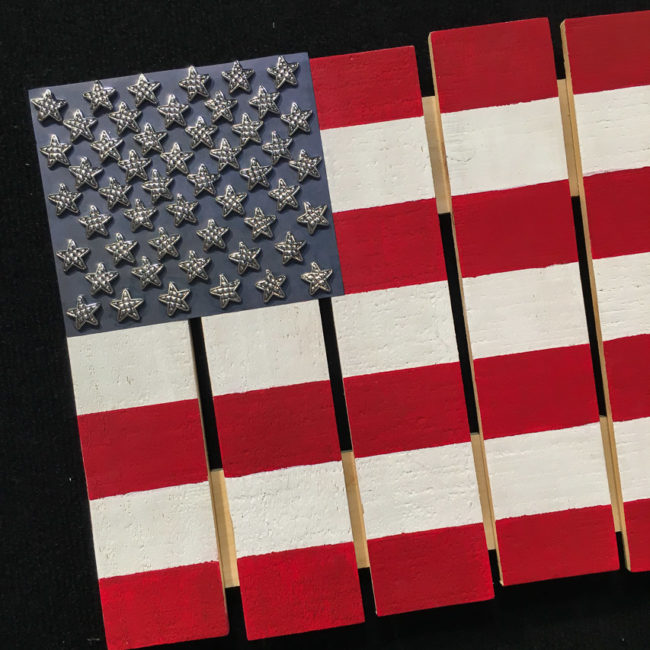
Instead of painting the blue field for the stars I chose to use a paper background. The paper filled in the holes between the planks on the pallet, allowing for even spacing of the stars. It also allowed me to extend the paper above some of the shorter pallet planks, to the height of the taller planks. This gave me more room to work with for the stars. The paper was adhered down with matte finish white glue.

Before attaching the stars, their shanks had to first be removed. Placing the stars required a lot of patience. I worked in sections, letting glue dry on each row before moving to the next so that I wouldn’t push previous stars out of position placing the next row. It’s difficult to get the arrangement exactly perfect, but on a rustic pallet flag like this, that is part of the charm!
While I used silver quilted stars for this project, any of our 3/4″ or less sized stars would work (like our Texas Stars, our Gold Stars, or our Silver Star assortment, or the white stars from our Stars & Stripes assortment). If you don’t have the patience to do all 50 stars, try arranging 13 of them in a circle.
Supplies:
- Buttons Galore Silver Stars
- Walnut Hollow Rustic Pallet 14×12
- Plaid FolkArt Chalk Paint in White Adirondack & Imperial
- Blue Patterned Paper
Nancy Nally
Latest posts by Nancy Nally (see all)
- We’re blog hopping with Poppy Stamps! - September 28, 2017
- Announcing…New 28 Lilac Lane Premium Collection Sequin Tins! - June 30, 2017
- Announcing…the new Buttons Galore Design Team! - May 18, 2017


No comments yet.