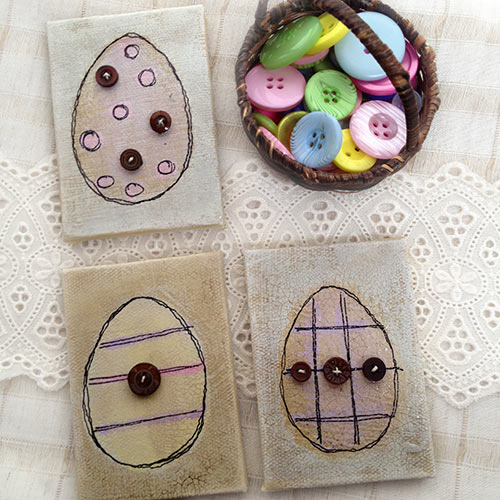
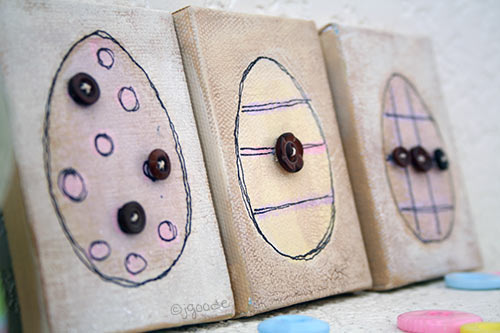
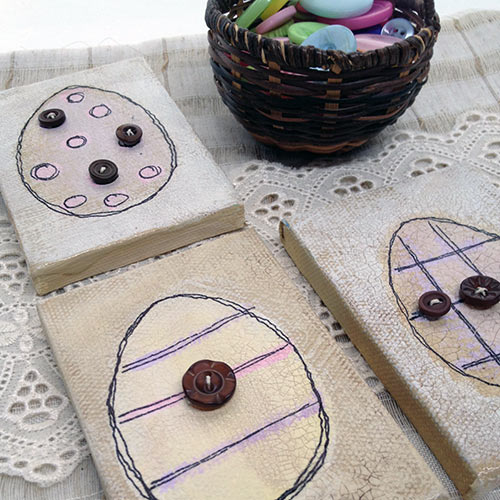
Mini Easter Egg Art is fun to make. Combine paint and buttons to create a pretty vintage look when decorating this Easter. Create your own mini Easter egg art in just a few steps. You can make a whole pile of these cute little art canvases and use them to accent your Easter decor throughout the house, just change the design and alternate the colors and you’ve got a new art piece.
Materials you need for Mini Easter Egg Art:
- Small brown buttons
- Mini canvas
- Twine
- DecoArt Americana Craft Paint – tan, white, pink, purple and yellow
- DecoArt One Step Crackle
- DecoArt Gel Stain
- Liquid glue
- Cardstock
- Scissors
- Paint brushes
- Black fine tip marker
Steps to make mini Easter Art
Allow materials to dry between applications.
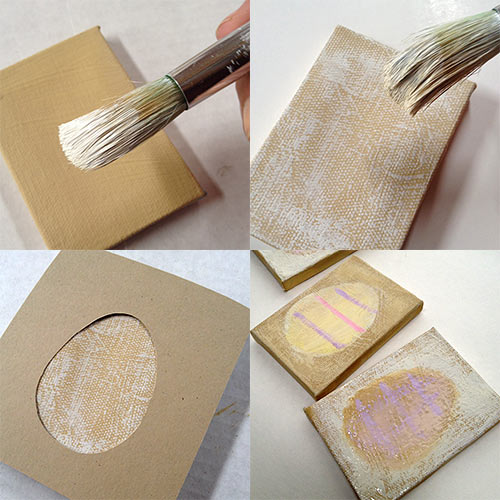
- Paint each canvas tan.
- Dry brush paint over tan with white.
- Create an egg shape stencil using the cardstock.
- paint the egg art on each canvas. Alternating tan and white, create an egg shape on each canvas with the stencil. Layer color until you get the look and texture you’d like. Lightly paint color on each egg. Create a pattern or apply in various areas for each piece. Coat with One Step Crackle. Using a cloth, rub on gell stain. Immediately wipe off.
- Using black marker, doodle outlines and patterns on each egg design.
- Tie twine through each button. Glue buttons in place as desired.
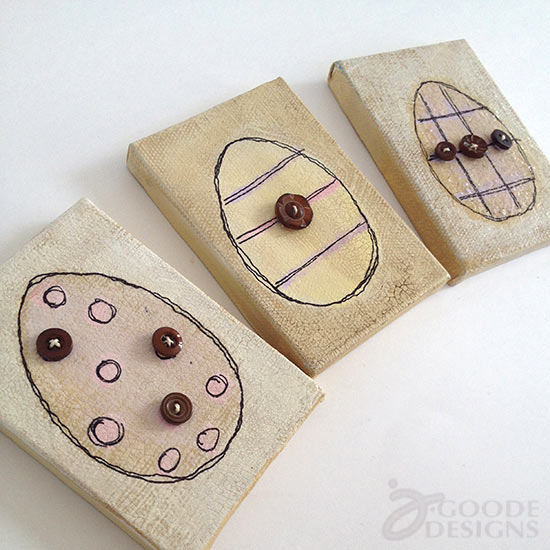
Easter egg button art by Jen Goode
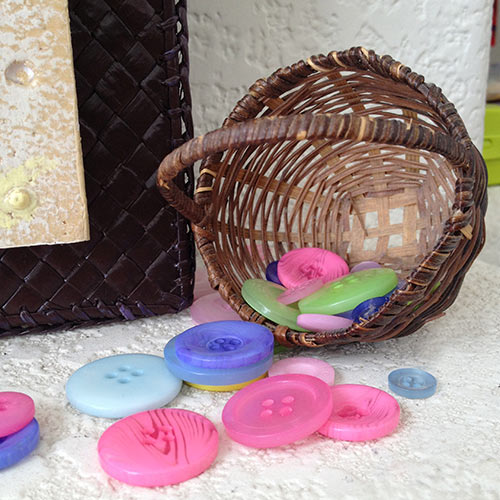
Tip: Use colorful Spring buttons in mini Easter baskets to accent your Easter decor instead of jelly beans. Just make sure not to leave the buttons where young children can reach them. Have a Happy Easter!
Latest posts by Jen Goode (see all)
- Red White and Blue Button Flower Vase - July 2, 2013
- Make an iPhone Purse with Duck Tape and Buttons - May 13, 2013
- Make Pretty Dragonfly Decor for your Wedding - April 10, 2013


Omgosh that is absolutely adorable. Loved the technique and thanks for sharing.
This is such a cute idea, Jen! I love miniature decorations, and these mini-sized egg canvases are perfect!