![]() Please welcome Teri – A great paper crafter and fantastic card maker. She is a Go-To Gal For PaperCrafts magazine, and I know why! She is very talented, creative and never ceases to amaze me with her fresh ideas. I love her style and I hope you enjoy the card she made to share with you! It is a fun technique that makes new buttons look like vintage or distressed buttons. She gives them the perfect touch of vintage.
Please welcome Teri – A great paper crafter and fantastic card maker. She is a Go-To Gal For PaperCrafts magazine, and I know why! She is very talented, creative and never ceases to amaze me with her fresh ideas. I love her style and I hope you enjoy the card she made to share with you! It is a fun technique that makes new buttons look like vintage or distressed buttons. She gives them the perfect touch of vintage.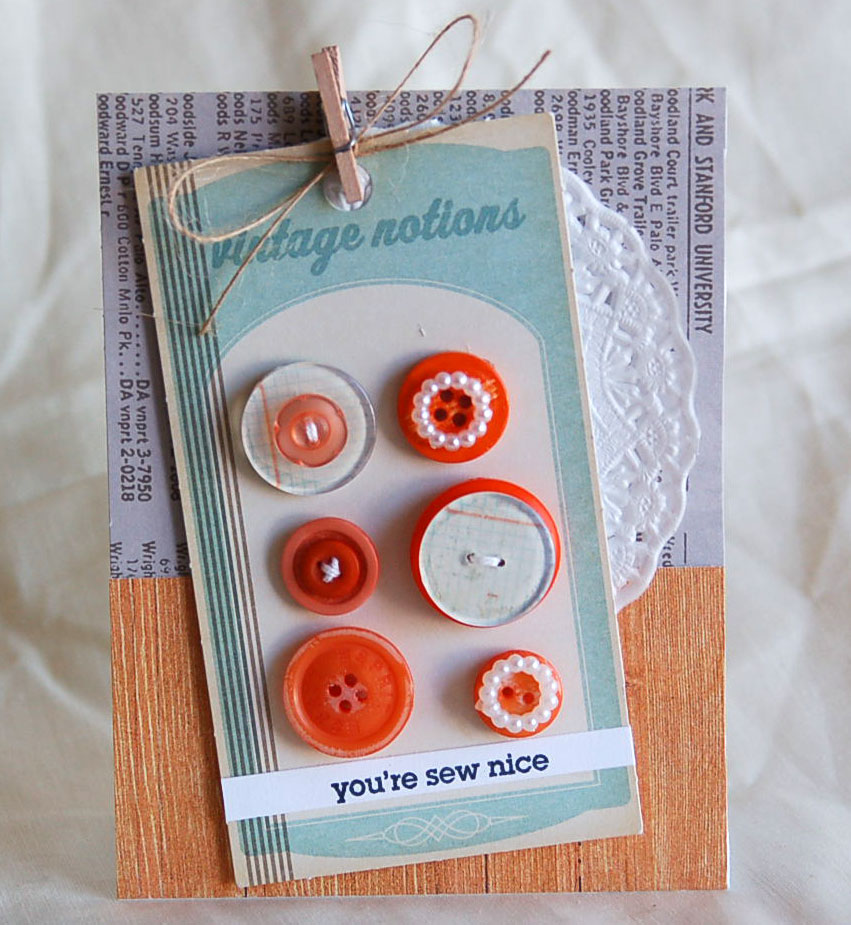
Supplies:
Classic Circles: Simply Pearls
Tangerine Tango: Color Blends
Other:
Patterned papers from Jillibean Soup, Studio Calico, Crate Paper and My Mind’s Eye
Wood clothespin from Darice
“You’re Sew Nice” sentiment stamp from April 2012: Sew Nice stamp set by Avocado Arts
Jute by May Arts
White floss by DMC
Dressing Up Buttons for Cards
Hi everyone!
Don’t you just love buttons?
There is just something so fun about them and being able to add them to paper crafting projects.
I get bored using them the same old way they come so often times I’ll alter them up before I use them on a card or scrapbook page.
One of the easiest ways to dress them up is to sand them.
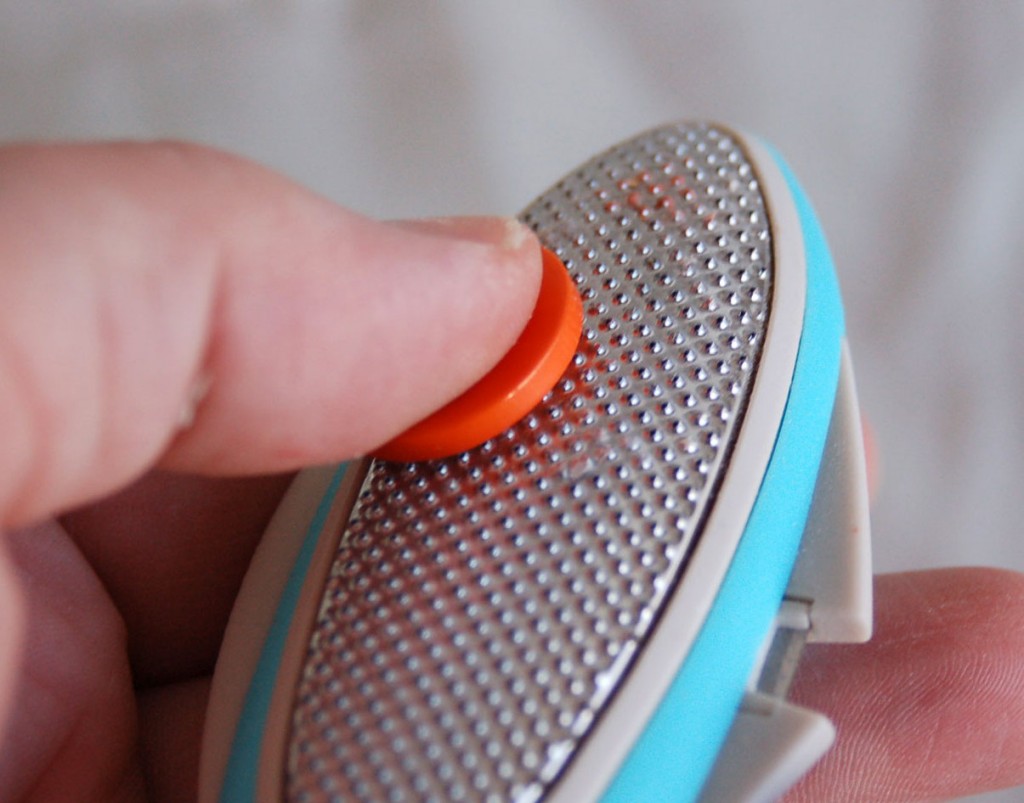
Take a sanding file or distressing tool. Hold it firmly in your hand and then brush a button over it repeatedly. This will scruff it up so you get something like what I got with this button from the Tangerine Tango: Color Blends (http://www.buttonsgaloreandmore.com/product/CB100.html) pack.
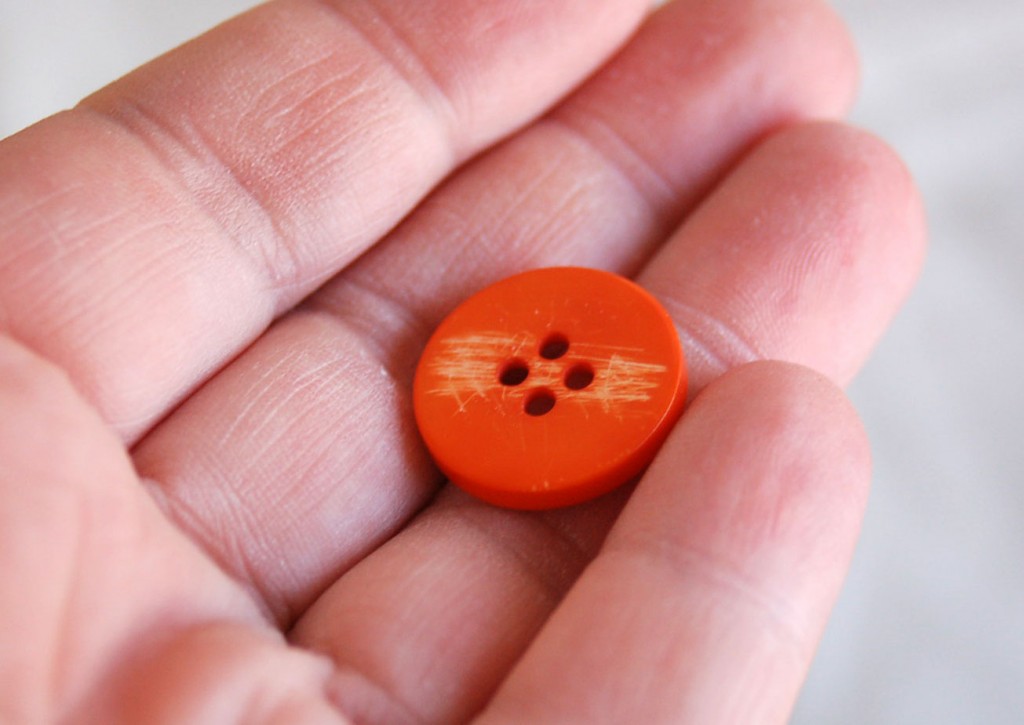
Take things a step farther by adding a circle from Classic Circles: Simply Pearls (http://www.buttonsgaloreandmore.com/product/4207.html) on top of the distressed button. Just be sure to use a strong glue and let the button sit awhile so the glue has time to dry.
I also like to stack them up.
Take a large button, place a small button on top of it and then tie the two buttons together with floss. When it comes time to use them, use a strong adhesive to put them on your project.
Another thing I like to do is add paper to them.
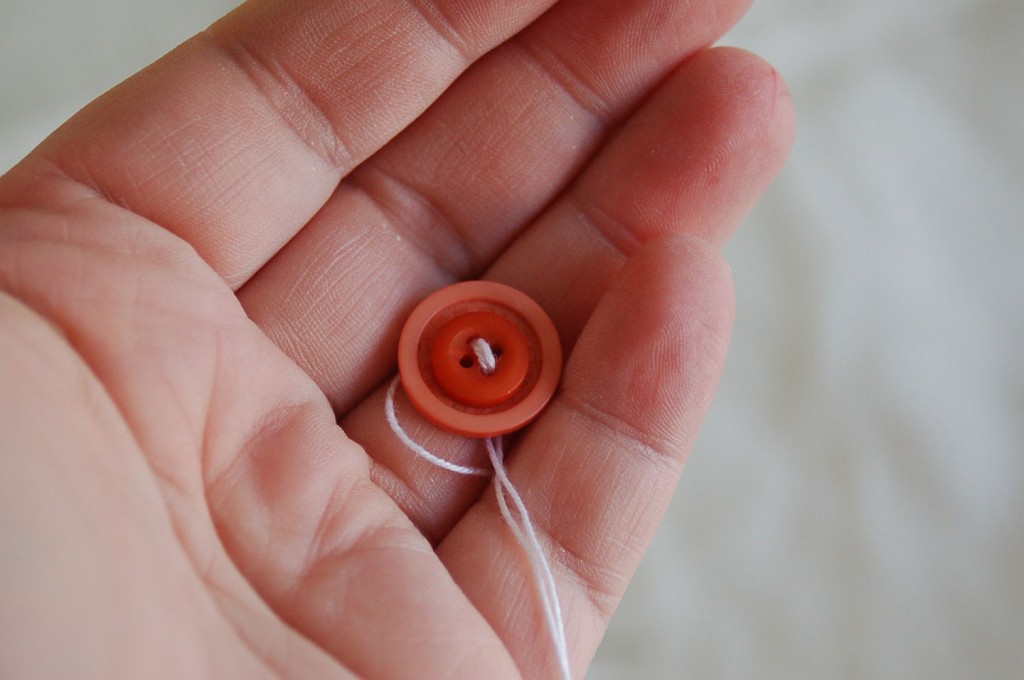
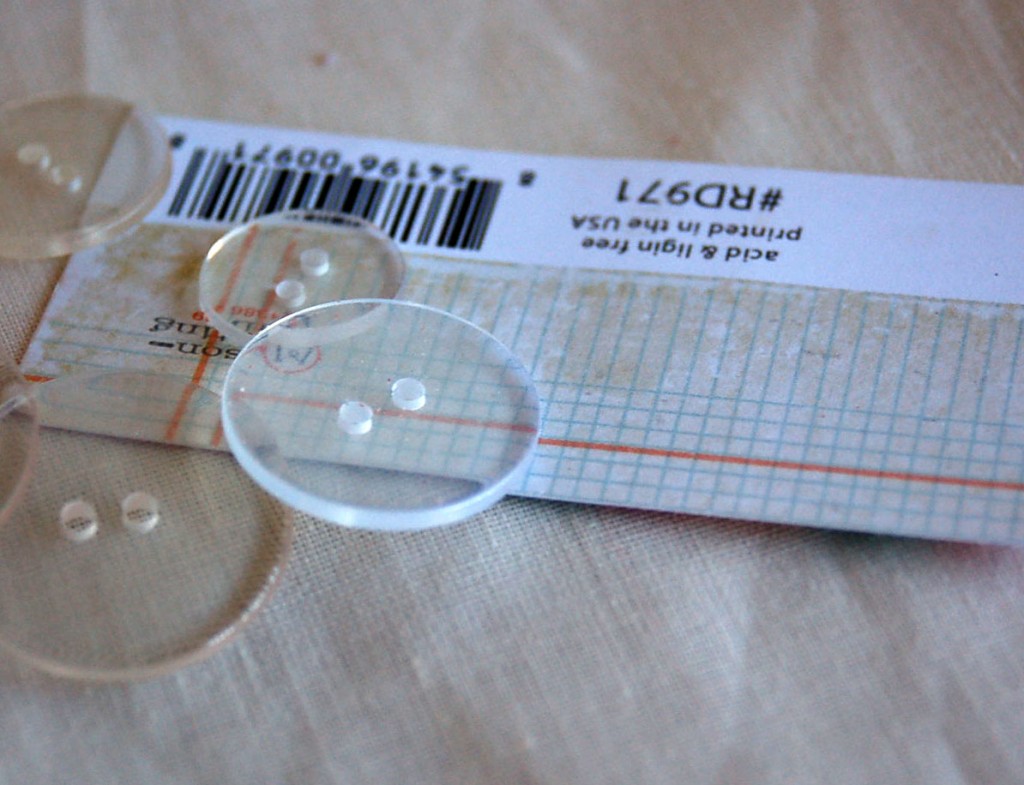
Start with a Clear Rounds (http://www.buttonsgaloreandmore.com/product/CF80.html) button. Add clear glue under it and then place it on any patterned paper. Let the glue dry completely and then use your scissors to cut away the excess paper. The end result is a cool patterned button.
Here’s a whole collection of buttons I made with these tricks. They look pretty spiffy on a card.
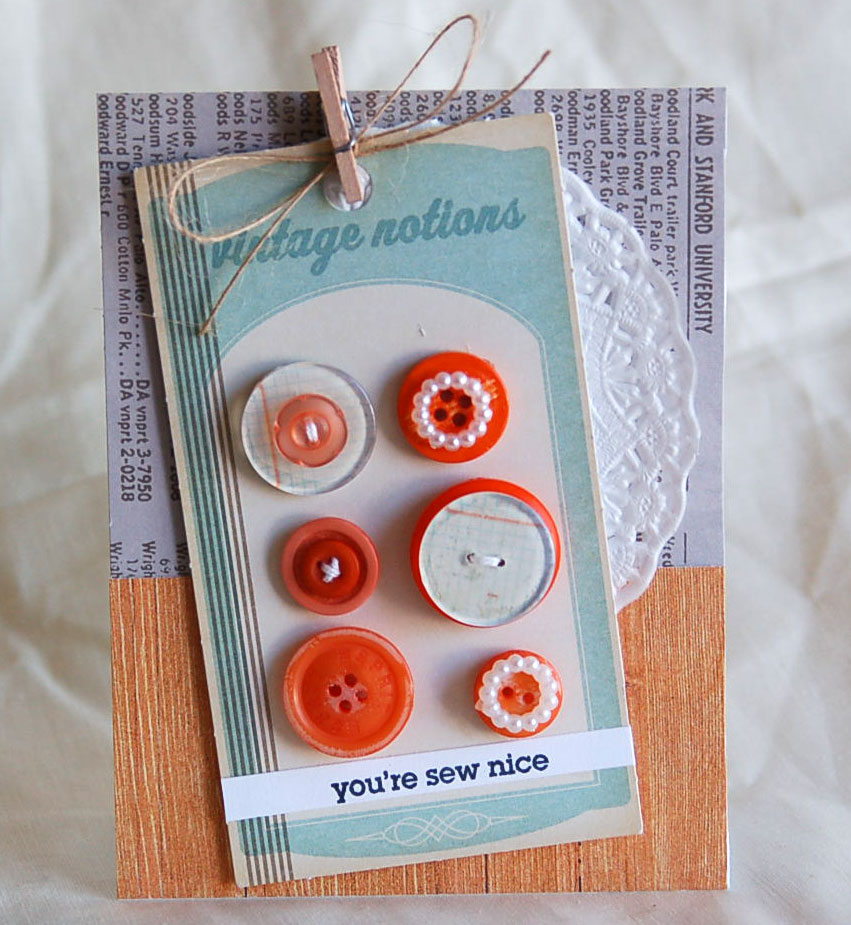
The trick to getting them to stay on the card is to use a good strong glue. I prefer Zip Dry (http://www.buttonsgaloreandmore.com/product/ZipDry.html).
Teri Anderson
Bio:
Hi! I am Teri, and I’m just girl who loves to play with all things crafty. I’m card maker and scrapbooker. And I am a Go-to Gal for Paper Crafts magazine and on a number of design teams. When I am not making stuff, I am going to concerts, spending them with my family and friends (and two fluffy dogs) and taking a whole lot of pictures. I blog at terisplace.wordpress.com.
Latest posts by Admin (see all)
- Ladybug Button Card - May 1, 2015
- Button Up a Teacher Gift in a Flash - April 10, 2015
- Don’t Get Pinched! Guest Blogger DIY Shamrock Accessory - March 2, 2015


Beautiful work as always Teri! Such a great idea to scuff and sand the buttons…it makes em look so “vintage” for sure! Thanks for guest designing for us this week!