Welcome to the Handmade Holidays blog hop at Buttons Galore! We’re sharing a faux wood pallet Christmas tree to decorate a desk or tabletop…but this tree is hiding a very useful secret!
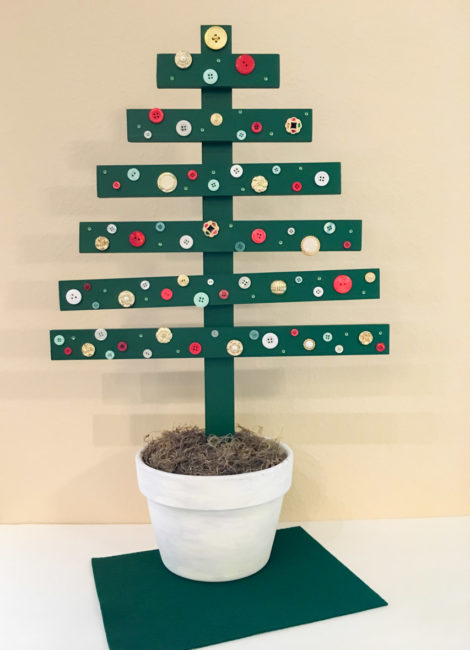
This fun little pallet Christmas tree is equally at home in a dorm room, or a farmhouse style decor. But at 17″ wide and more than two feet tall, it’s a challenge to store after all the gifts are opened. Or is it?
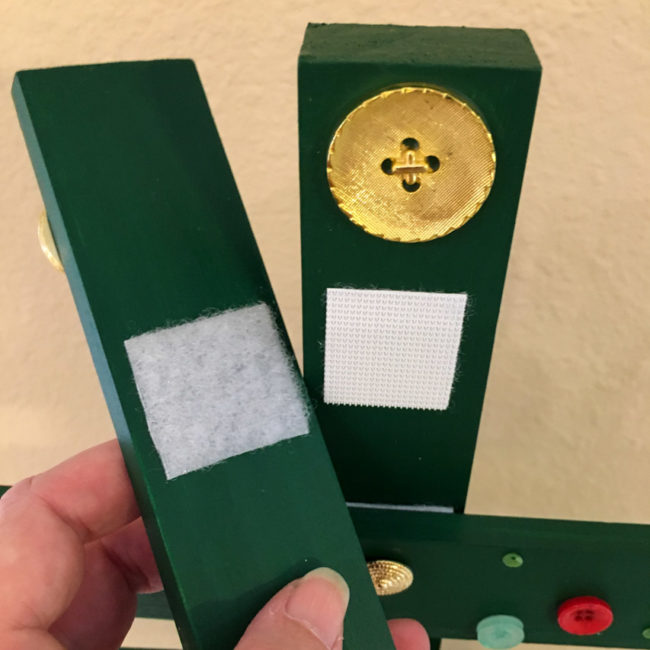
By using Industrial Strength Velcro to assemble the pallet Christmas tree instead of glue or nails, I made it able to be completely disassembled! Just pull apart the Velcro and instead of a big awkward tree, you’ve got a small bundle of wood that can be much more easily packed in an ornament box!
Disassembly also allows the flower pot – which is deliberately not seasonally decorated – to be used year round for flowers or other seasonal decorations when it isn’t being used for the tree.
Supplies Needed:
- 28 Lilac Lane “Holly Jolly” embellishment kit
- 28 Lilac Lane “Yuletide Greetings” embellishment bottle
- 28 Lilac Lane “Winter Wonderland” embellishment bottle
- 2 – Buttons Galore Haberdashery Buttons in Gold/Silver
- PPA Matte Adhesive
- Button Shank Removers
- 1″ x 2″ x 4′ Select Pine Board
- 3 – 3/8″ x 2″ x 36″ Craft Boards
- 8.25″ Fern/Azalea Pot
- Industrial Strength Velcro (2″ wide)
- Americana Multi-Surface Satin Acrylic Paint (Green Beret)
- Americana Decor Chalky Finish Paint (Everlasting, Lace)
- 8″ foam cube
- Felt (Kelly Green)
- Moss
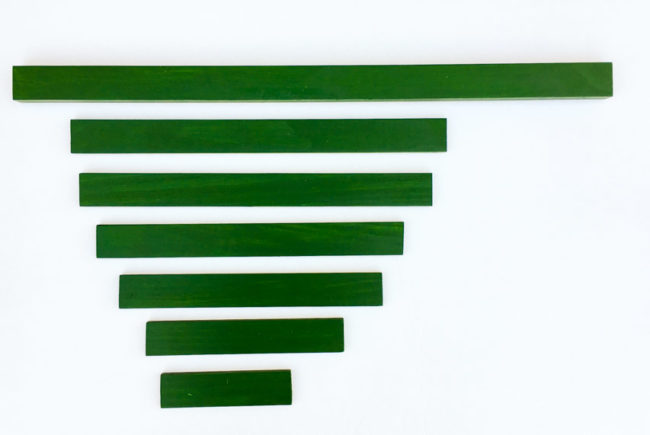
I started by cutting the craft wood into the following lengths: 6″, 9″, 12″, 14″, 16″ and 17″. Then I trimmed the 1″ x 2″ pine board to 26″ in length.
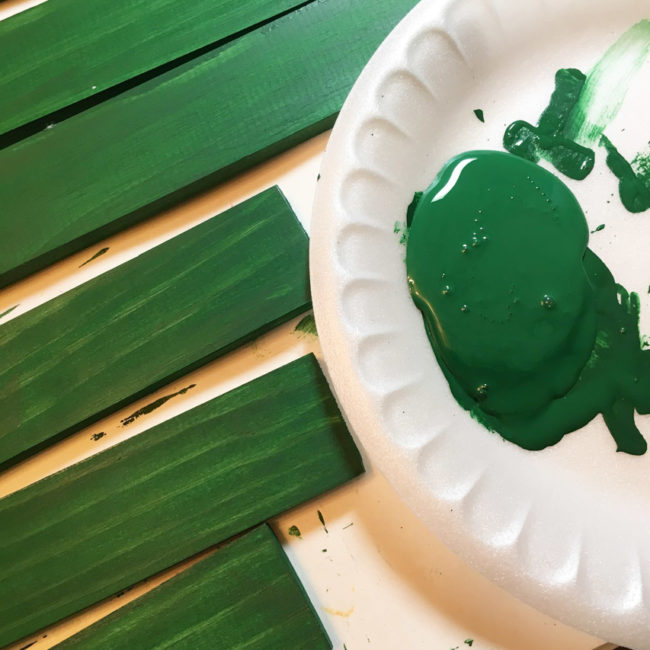
I used the Americana satin paint (made by DecoArt) in multiple thin coats applied with a foam brush to get a nice smooth finish on the boards.
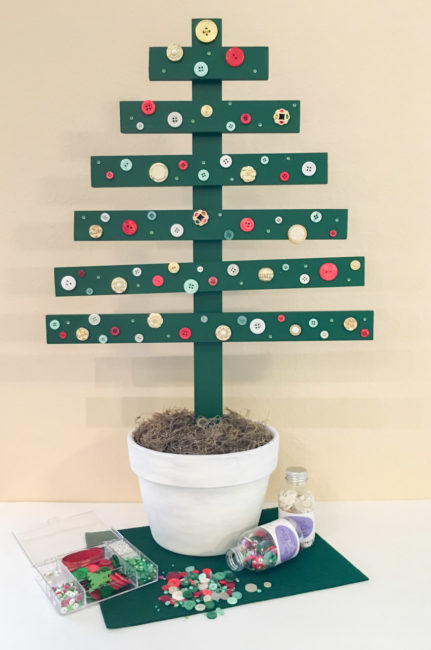
After the paint was dry, I laid out my boards in the arrangement for the tree. Then I started decorating my tree! I used Button Shank Removers to cut off the stems from the Haberdashery buttons, and filled in around them with buttons from the 28 Lilac Lane bottles and kit. Tiny green sequins from the Yuletide Greetings bottle added nice little sparkly highlights around various areas of the tree, too!
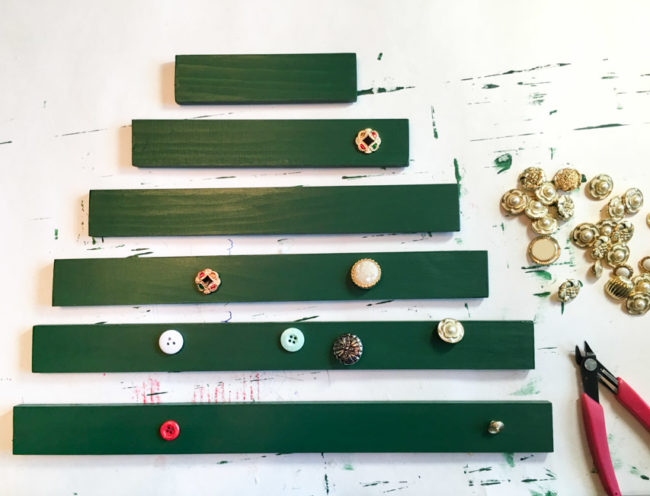
When it was all glued down, I was left with this! Notice how I hung some of the button “ornaments” off the edges of some of the wood branches to add some interest.
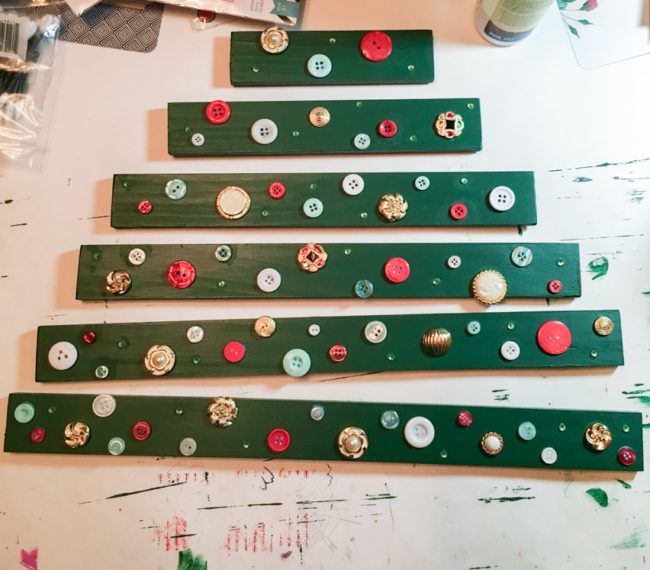
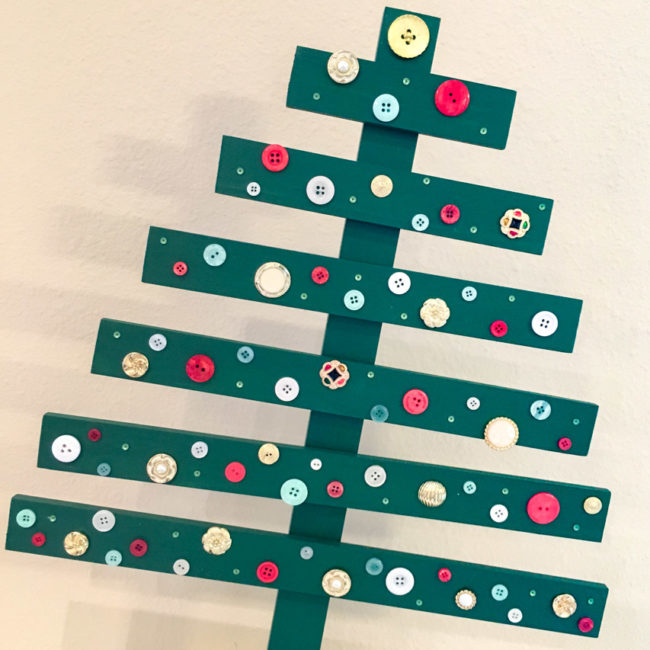
Attaching the branches to the stem was super easy with the Velcro. First, I cut 1.25″ squares from the Velcro. Then I measured and placed a mark at the center of the back of each “branch”. I peeled one side of the Velcro and adhered it centered vertically on the branch, using the center mark to get it centered left to right.
Then I peeled the second side of the Velcro and pressed the branches into place on the tree’s “trunk”. Once they were in place, I glued a big gold button to the top of the trunk as my tree’s top.
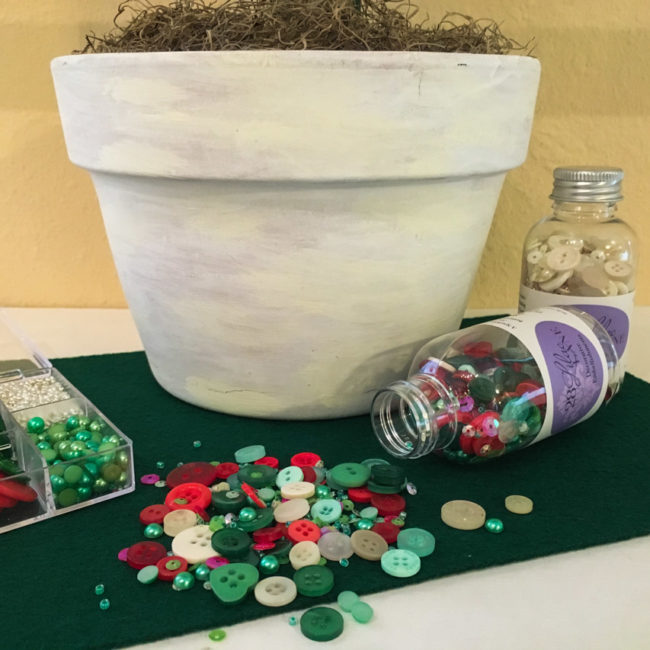
Painting the pot is fast and easy! I just dipped a paintbrush in water and then into the white chalk paint. This diluted the paint and when it spread, it created a whitewash effect. In areas that it didn’t spread as much as I would like, I just dipped the brush in water again and used the water to dilute the paint a bit more.
To create a second layer of paint for a mottled effect in the whitewashing, I repeated the technique with the more cream colored chalk paint. This time I just dabbed the paint instead of trying to fully cover the pot, and it created the textured look below.
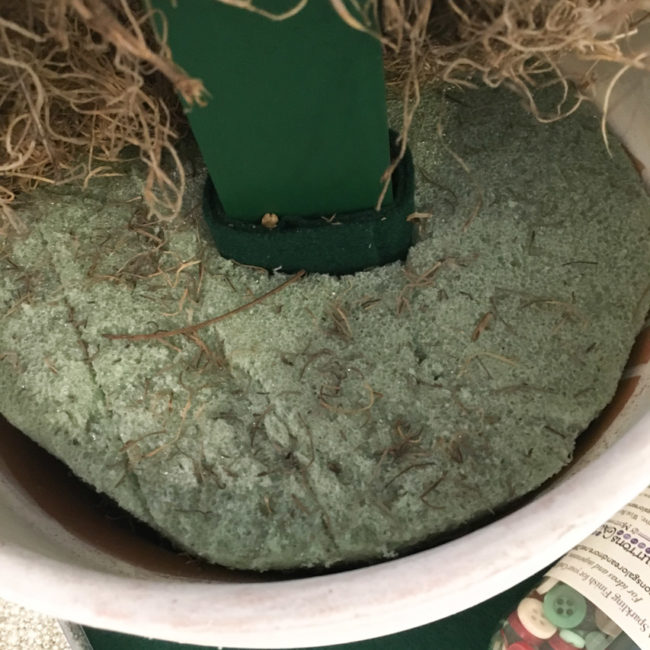
The base is part of what makes the pallet Christmas tree collapsible. I trimmed the foam so that it fit nicely into the pot, and then carved a hole down the middle of it for the tree trunk. To make the fit nice and snug, I wrapped the trunk in a strip of felt. This method makes the fit adjustable as wear and tear erodes away the foam base!
For the finishing touch, to hide the foam, I covered it in a layer of moss.
This faux pallet Christmas tree is the perfect decoration for a buffet table, an office, or a kid’s bedroom! There’s so many places to use it…where will you put yours?
Now, it’s time to get hopping to see more holiday decor ideas. But before you go…how about a giveaway? Here’s a peek at the huge assortment of prizes that are up for grabs!
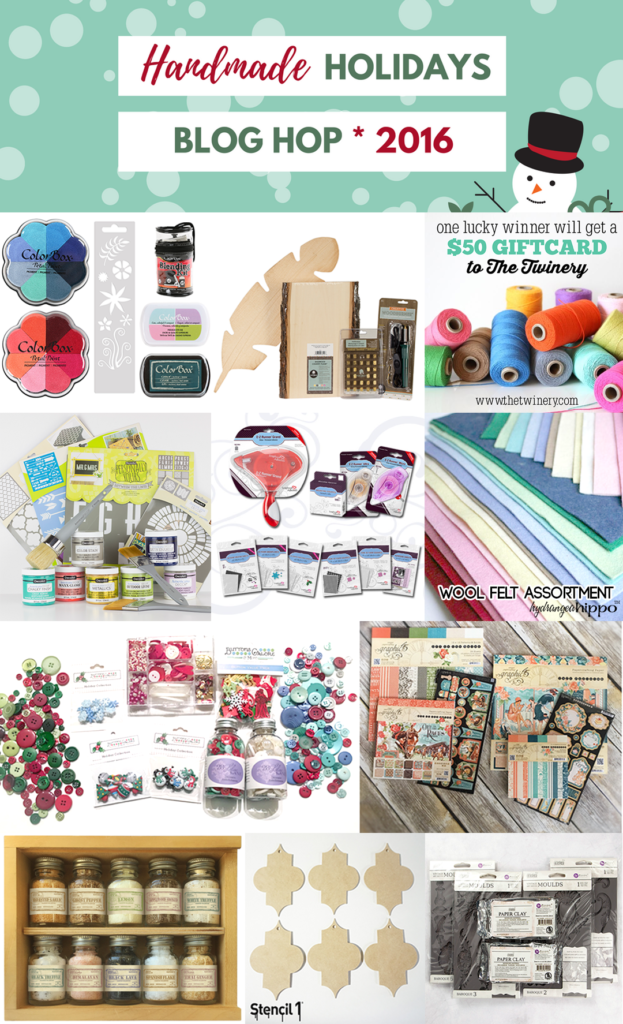
Use the Widget below for your chance to enter!
Thanks to all of our fellow sponsors!
- Clearsnap
- Hydrangea Hippo etsy shop
- Hepp’s Salt Co. (food)
- The Twinery
- Scrapbook Adhesives by 3L
- Stencil1
- DecoArt, Inc.
- Walnut Hollow
- Graphic 45
- Iron Orchid Designs
Now…click here to visit the next stop on the hop – or click below to see the entire hop list:
Nancy Nally
Latest posts by Nancy Nally (see all)
- We’re blog hopping with Poppy Stamps! - September 28, 2017
- Announcing…New 28 Lilac Lane Premium Collection Sequin Tins! - June 30, 2017
- Announcing…the new Buttons Galore Design Team! - May 18, 2017


Awesome project!!! Really amazing!!!
So cute with all the buttons and love the idea of using velcro to assemble it.