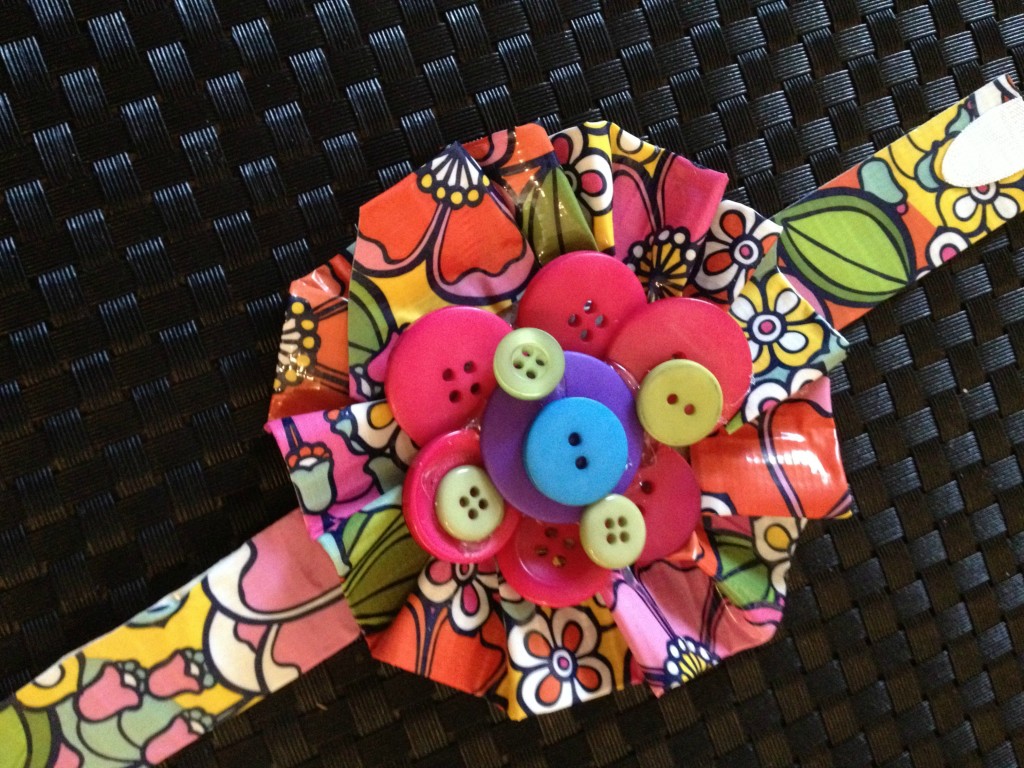
This trendy wrist cuff is so simple to make and takes very little time. It is a great DIY project for girls of all ages and would be perfect for a party activity or a gift. I got the idea from Marisa Pawelko’s book, Crazy-Cool Duck Tape Projects then modified it to add…BUTTONS!
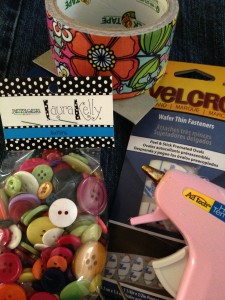
You will need Duck Tape, Buttons, Cardboard, Velcro and Ad-Tech Hot Glue. That is it!
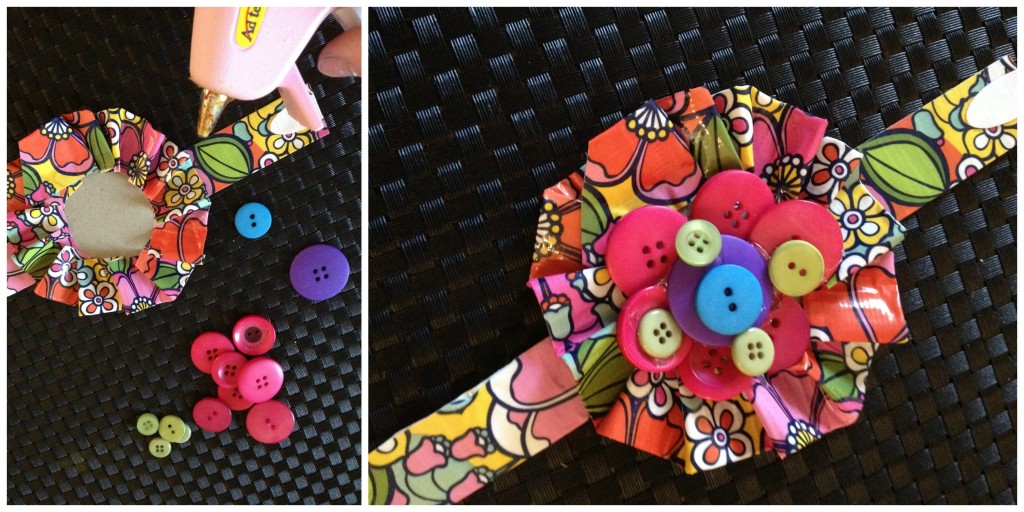
Cut a circle out of cardboard the size you want your flower to be. Then Cut a long strip of tape and fold it, leaving only a small amount to stick to the cardboard. Adhere the tape around the circle folding it each time you stick it down to create the rippled effect. When you have made it around, trim your excess, flip it over and add a long folded strip the length of your wrist, attaching it with…tape of course! Add Velcro to hold your bracelet closed.
Then flip it back over and hot glue gun your buttons to the front. I used buttons to match the tape in Apple Green, Purple Possibilities, Robbins Egg Blue and Watermelon.
Ta Da…a designer wrist cuff in fifteen minutes or less! For more ideas with Duck Tape and Buttons, visit my blog post from earlier this week!
Happy Taping and Buttoning Up Some Fabulous Fashion,
Laura
Latest posts by Admin (see all)
- Ladybug Button Card - May 1, 2015
- Button Up a Teacher Gift in a Flash - April 10, 2015
- Don’t Get Pinched! Guest Blogger DIY Shamrock Accessory - March 2, 2015


No comments yet.