Father’s Day Gift idea: with buttons and paint both masculine and patriotic.
With Father’s Day just around the corner it’s certainly FUN to bring out those old pictures, buttons, and brads, and creating something that will be enjoyed by everyone!
This coming Father’s Day turn a simple photo frame and buttons into an amazing wall decor that will hold not just a picture but your keys as well.
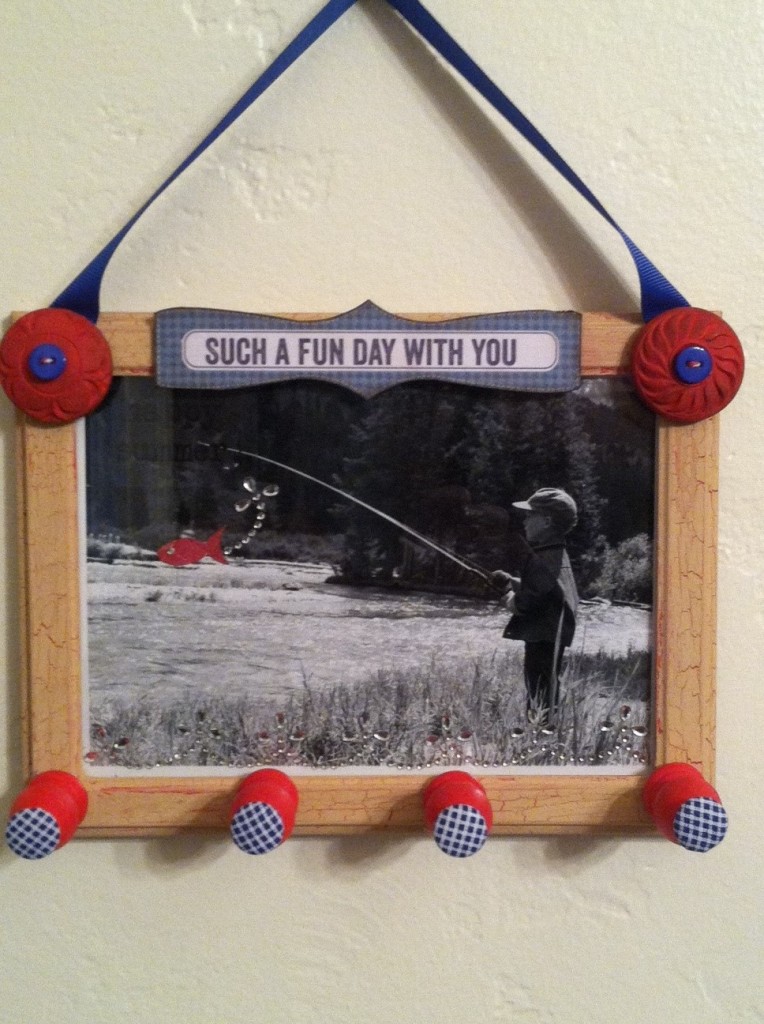
For my project this month, I would like to introduce you to the special man in my life. He is not only a loving husband and father, but he’s a fisherman as well! From the time he was able to walk, his grandfather taught him how to fish and here I share a simple Button & Photo Wall Decor for Fathers Day that I created using a picture I found of my husband fishing when he was just four years old. Now, he’s not really a fisherman, because he can’t catch a fish to save his life, but today he caught a red fish with a little help from my creative hands.
This perfect Father’s Day Gift – Buttons & Photo Wall Decor can created using:
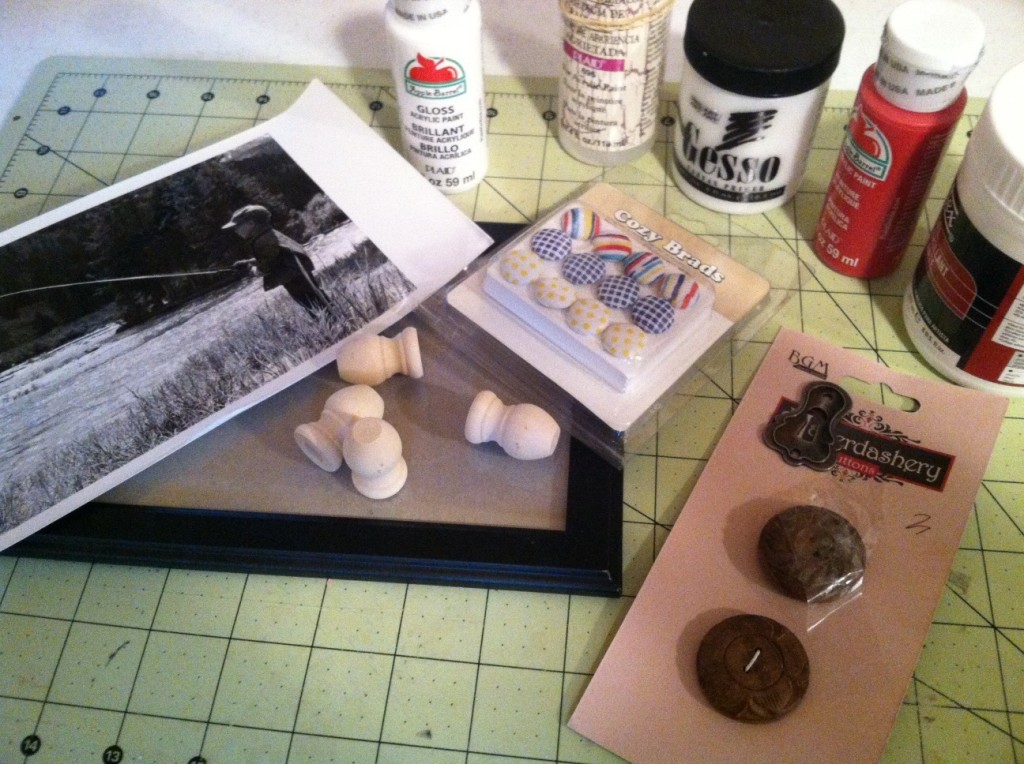
Brads, Haberdashery Buttons, & Frame
It’s as easy as 1-2-3! So, let’s create a Button & Photo Wall Decor together!
Material used for Father’s Day Gift:
Buttons Galore & More Products used:
- Haberdashery – Carved Wood Buttons
- Cozy Brads – All Boys
- Beacon Adhesive – Tacky Glue
Cross Promotional Products Used:
- Glue Dots
- Adtech Hot glue gun and glue
I also used:
- Picture (of the special Father)
- Wood Frame (I picked my wood frame from Walmart’s Discount aisle for .95cents).
- Want2Scrap – Beautiful Bling Border by Nina Brackett- Fancy Waves
- Flag Red Acrylic Paint
- Lite Mocha Acrylic Pain
- Folk Art Crackle
- Wooden knobs (unpainted)
- Paint Brush
- Gesso
- 1″ Grosgain Blue Ribbon
Step One:
The very step I always recommend everyone to do is to gather all your supplies. It just makes things a lot easier.
Step Two:
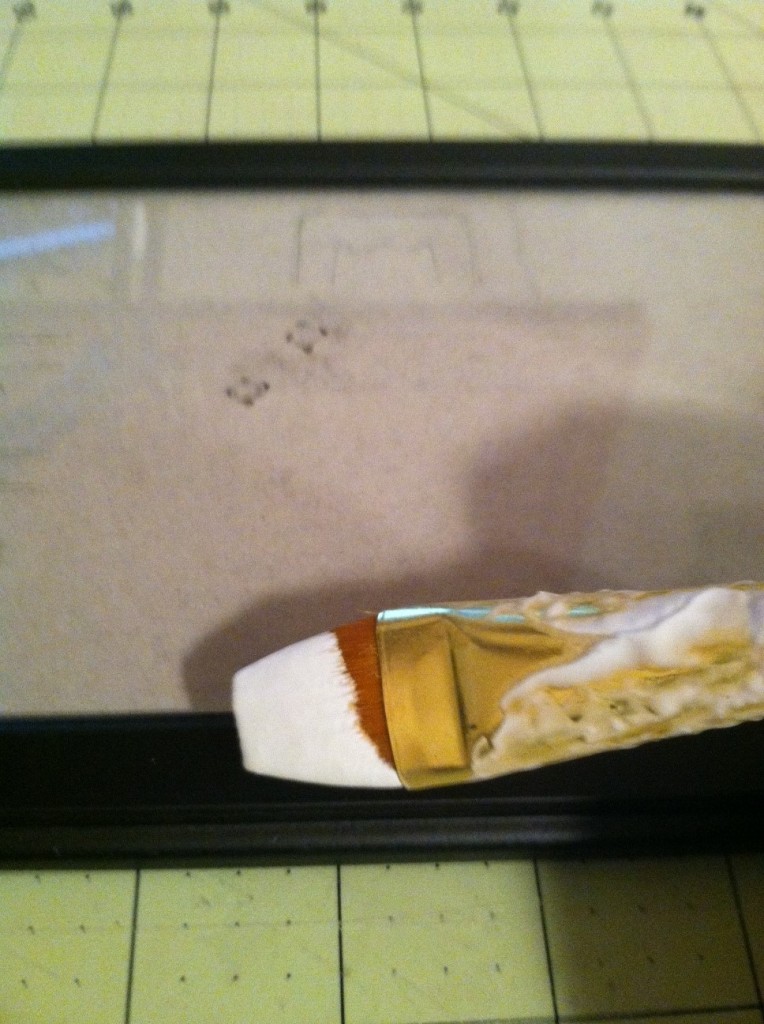
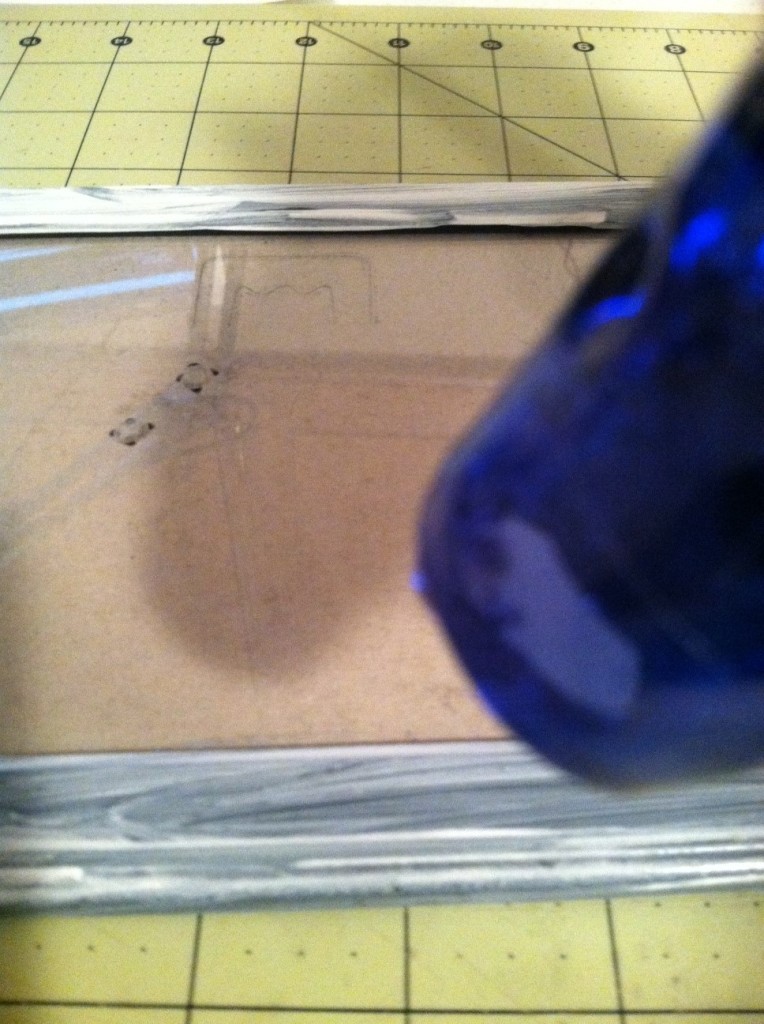
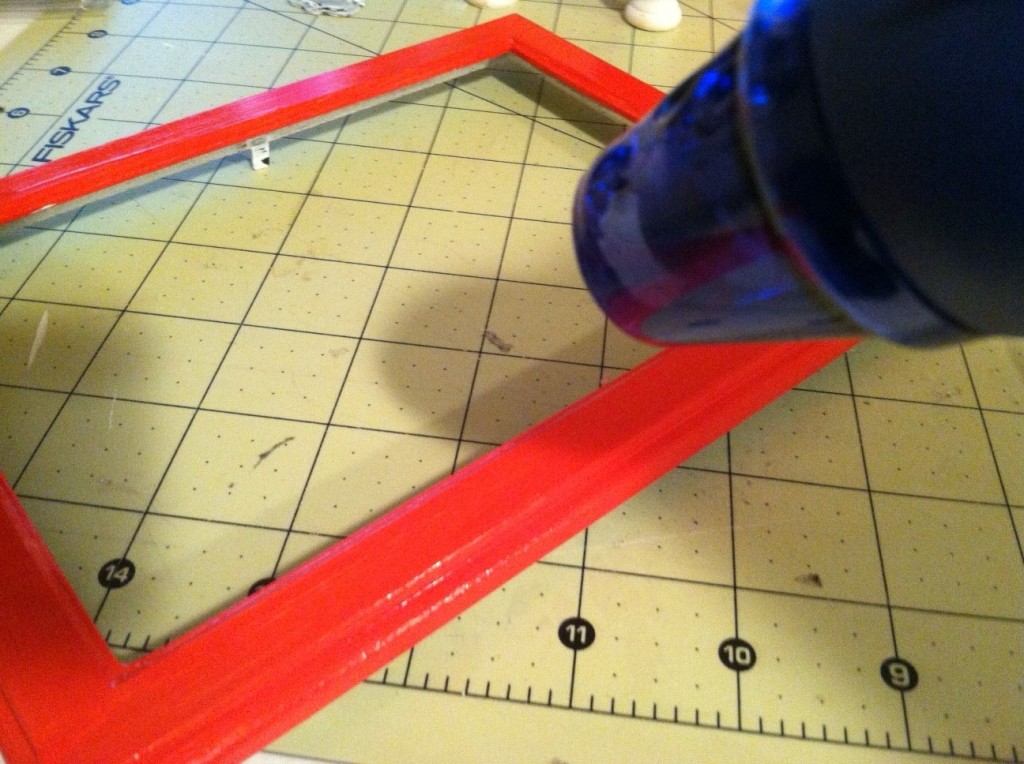
Apply a coat of gesso to the frame using a bristle paint brush and either let it air dry or use your heat gun to make this process quicker.
Make sure that you allow the gesso to properly dry before you begin your next step.
Step Three:
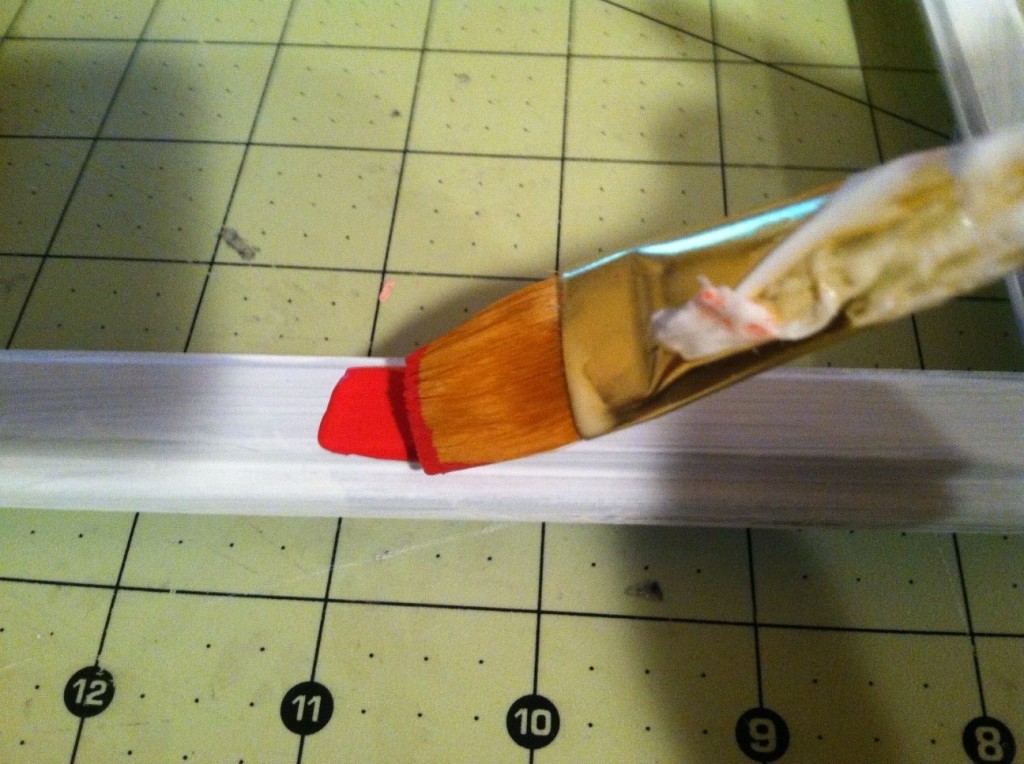
My favorite step is applying the first coat of acrylic paint. For this project I used Apple Barrel Flag Red as my base coat for the frame.
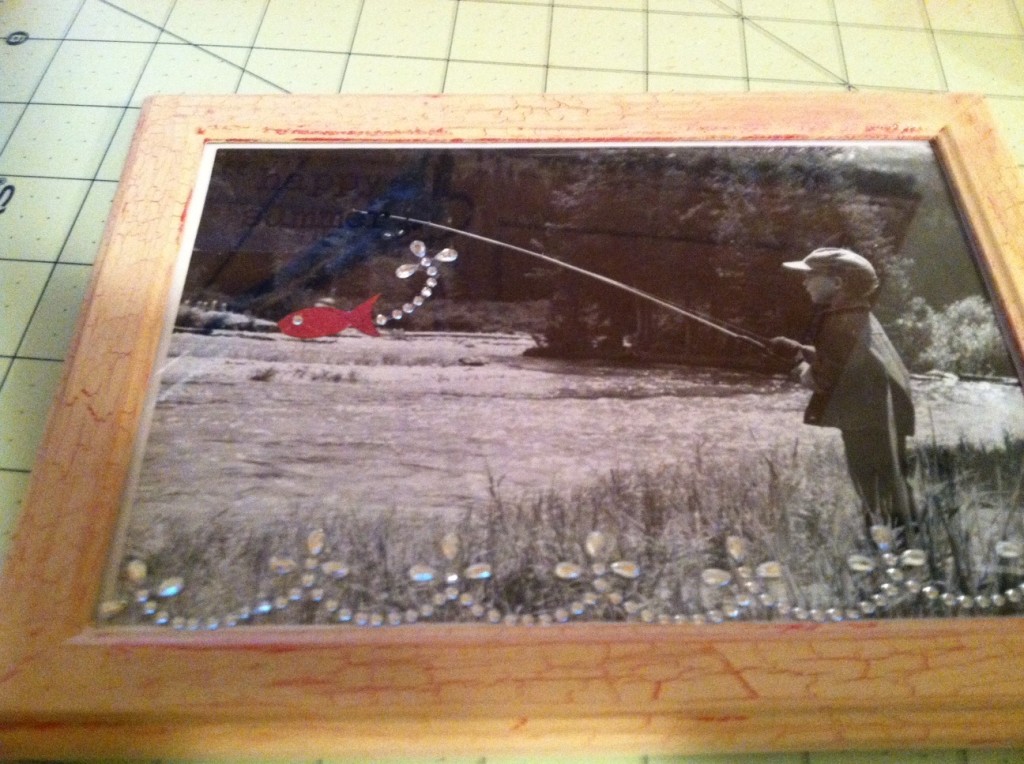
Don’t be afraid to apply a little heat to the frame to speed things up just be sure not to apply it directly to the paint or it may bubble up. Once you have the frame completely painted with the base coat you can apply a layer of Folk Art Crackle Medium. Make sure you apply the crackle to the entire frame. Let this air dry for about 20 minutes. Once it is completely dried you can apply a light color as the top coat. I used a Lite Mocha from Apple Barrel and as you can see the red it peaking out of the cracks. I really love taking something new and making look/appear old.
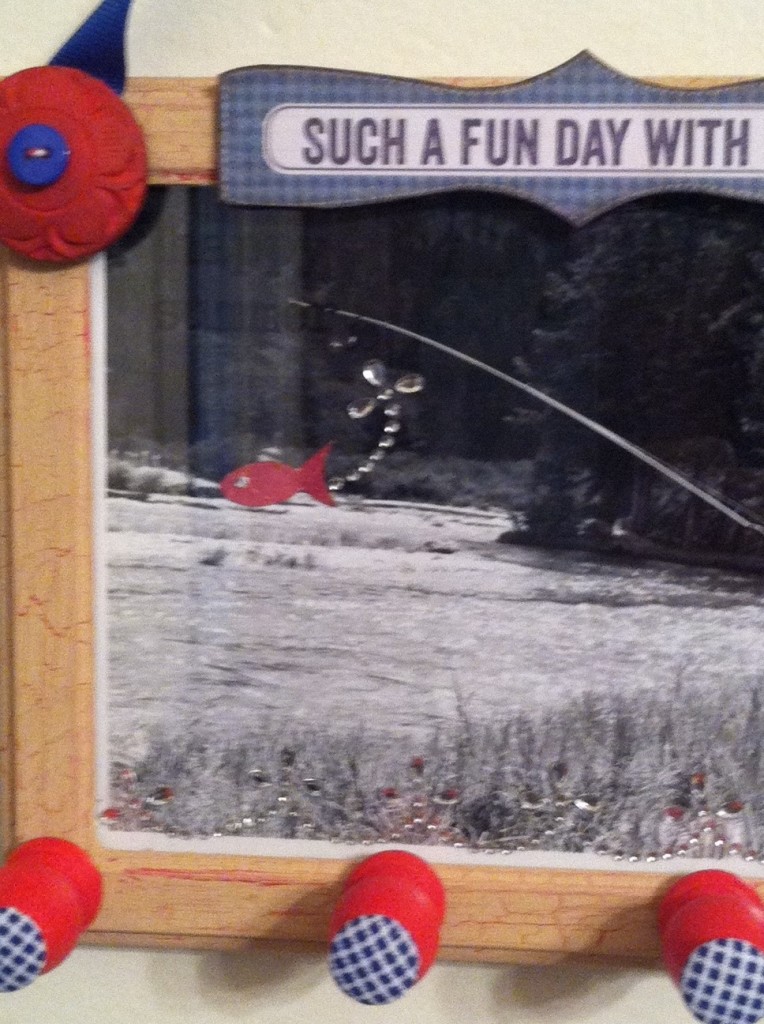
I purchased some unpainted wooden knobs at my local Walmart and painted them Flag Red and I distressed it just a little to go with the frame. I then took the Cozy Brads “‘All Boys” and hot glued them to the knobs. I also painted the Carved Wooden Buttons with the same Flag Red acrylic paint and hot glued a piece of 1″ Grosgain Blue Ribbon to each Carved Wooden Buttons. I hot glued these to the frame like you see below.
My final step was to adhere my husband’s picture to a piece of cardstock that I cut to size and for this I used Glue Dots! It was a lot safer and easier! I wanted to give the picture a little flare so I cut out a red fish and added a piece of bling to the eyes and used a piece of Want2Scrap Nina Brackett – Fancy Waves to the tail of the fish to make it look like it just came out of water. To finish this project off I them applied the rest of my Want2Scrap Nina Brackett – Fancy Waves to the grass or edge of the picture at the bottom.
So there you have it an EASY & FUN, Project that will definitely WOW your special man this Father’s Day.


No comments yet.