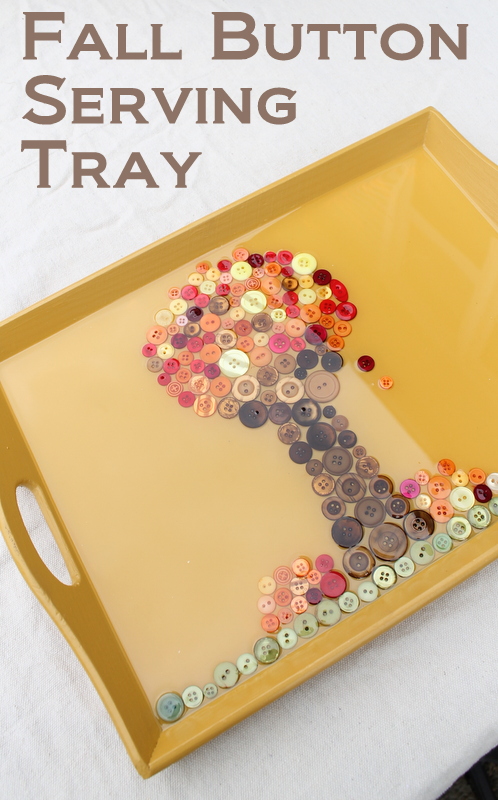
My fall button serving tray is one of my favorite buttons projects I have ever made. Plus it is easy to make which is a win win right? Grab your buttons and a thrift store tray to get started making your own version. Don’t need a serving tray for fall? Maybe use this same idea with a button ornament in the center for Christmas? Or a heart in the center for Valentine’s Day? I can think of all sorts of different tray designs for all seasons of the year.
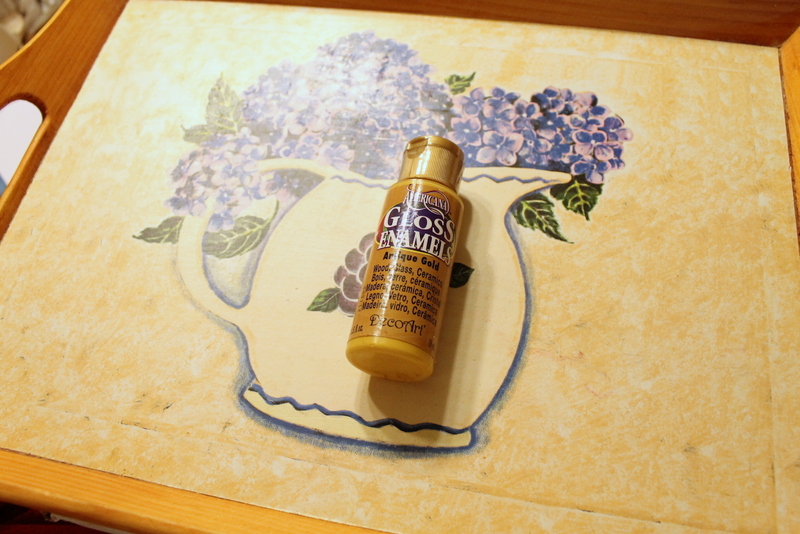
I started with a tray from the thrift store for 99 cents and a bottle of Americana gloss enamels in Antique Gold.
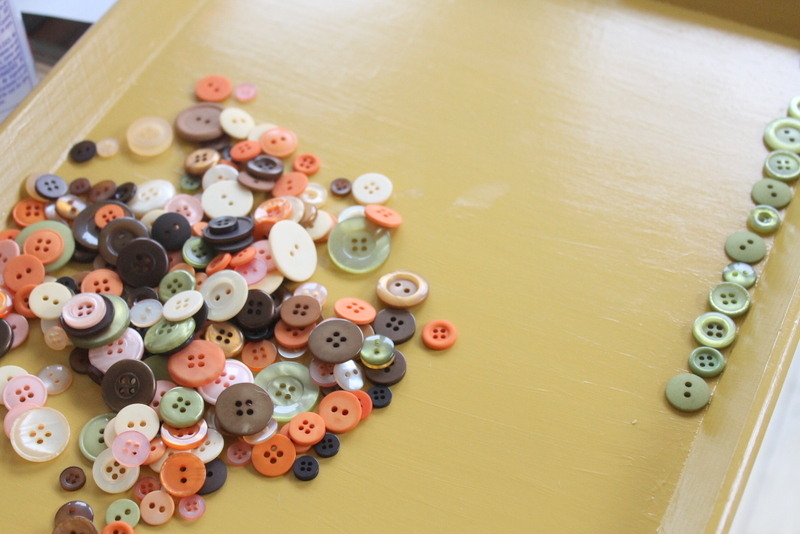
I painted my entire tray with 2 coats of the paint then grabbed some fall themed buttons from Buttons Galore and More.
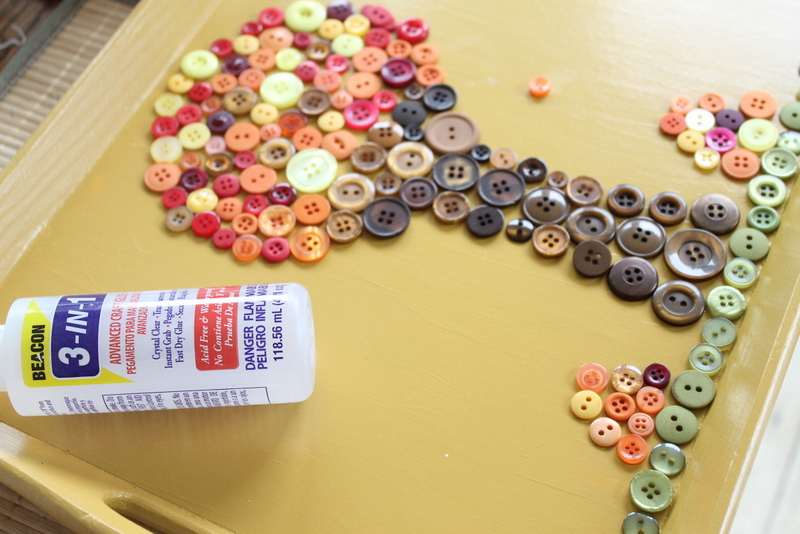
I laid the buttons out on my tray until I was happy with the arrangement. I then used my 3 in 1 Beacon adhesive to glue them directly to the tray.
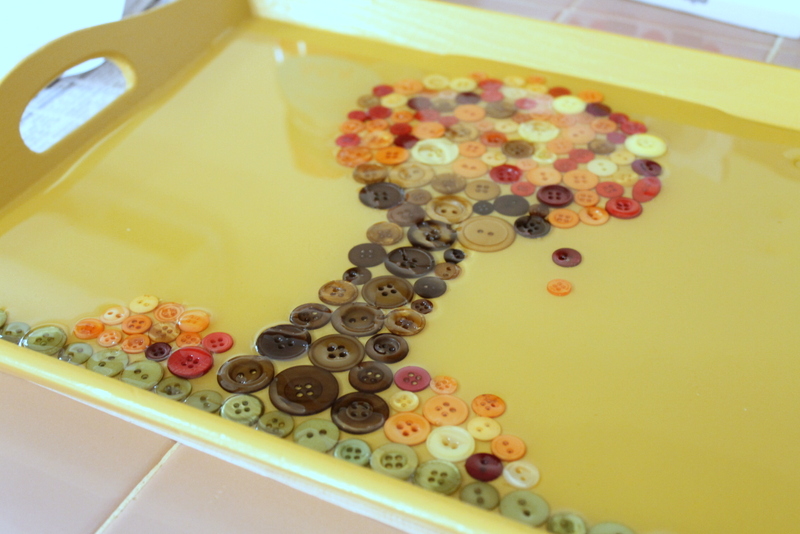
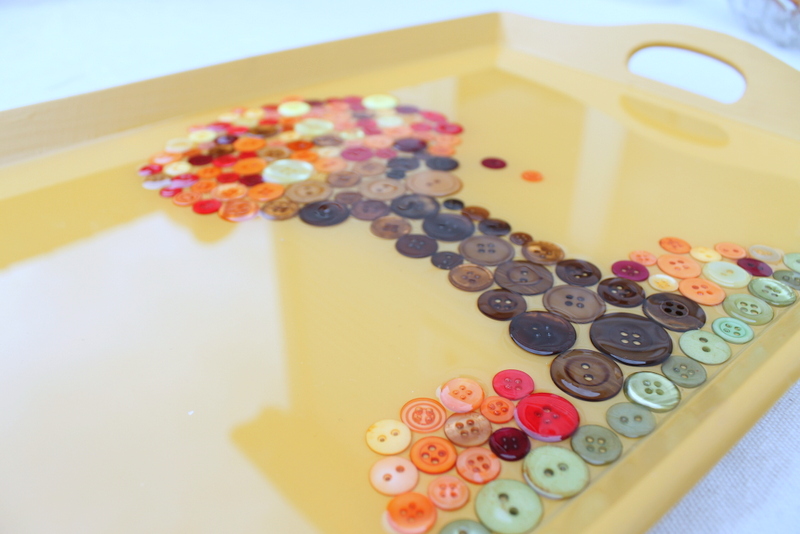
Once the glue was completely dry, I mixed a two coat epoxy to make my tray nice and smooth. Don’t be afraid of epoxy! Just mix and pour according to the package directions. I spent quite a bit of time using a flame to pop bubbles that come up from the epoxy itself and the buttons. Yes my finished project still has a few bubbles but overall it looks amazing. The buttons seem to create more bubbles than is normal with an epoxy project.
Allow your epoxy to dry for a nice long time before you touch it (don’t be tempted to touch!!). You will be left with a glossy flat serving tray with buttons in it! Now some of my buttons stick up just slightly out of the epoxy (there is a slight hump in the epoxy). This can easily be fixed with a second epoxy pour however the bumps do not really bother me for my needs so I am leaving them. You could also be extra careful when choosing buttons for your design and choose only the flattest buttons to include.
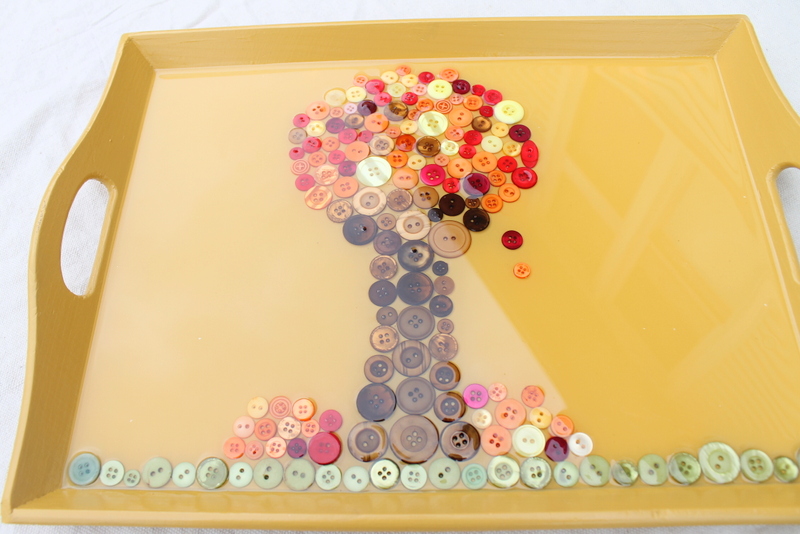
Just so you can see my entire button fall scene here is a picture of the entire tray.
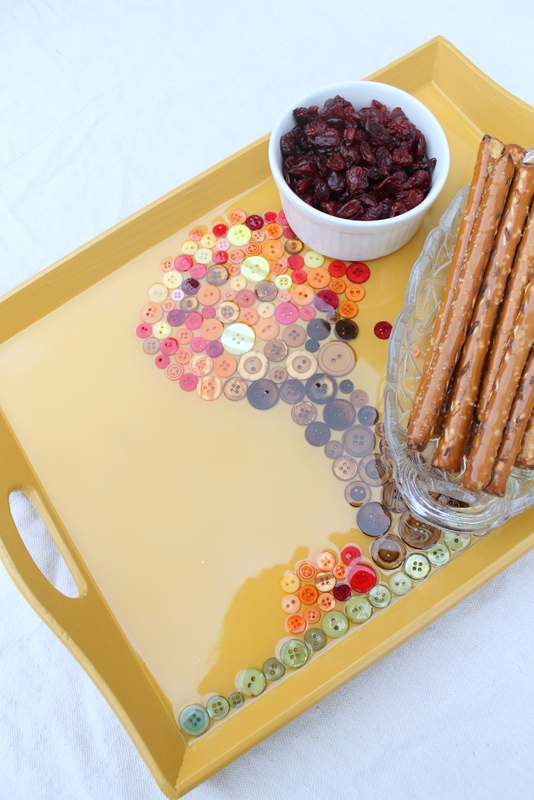
It is so darn cute I could eat it up. Speaking of eat it up, use your fall tray to serve snacks to the kids or for a wonderful addition to your Thanksgiving and fall themed parties. Want more buttons on your Thanksgiving table? Be sure to check out my rustic burlap napkin rings as well.
Will you be adding buttons to a tray anytime soon? Don’t let that epoxy pour scare ya! My fall button serving tray will make an appearance at our Thanksgiving meal and many snacks in the meantime.
Latest posts by Angie Holden (see all)
- Mason Jar Valentines - January 13, 2014
- Candy Cane Button Tree - December 4, 2013
- Fall Button Serving Tray - November 11, 2013


Gorgeous!
Wow, what a great idea. I’ve never worked with epoxy like that. FUN!
We have made many trays using the 2 part epoxy. We found the fastest way to get rid of the bubbles is to use an embossing dryer. It is hot enough without having too much air movement. Does a great job.
I LOVE this! :D