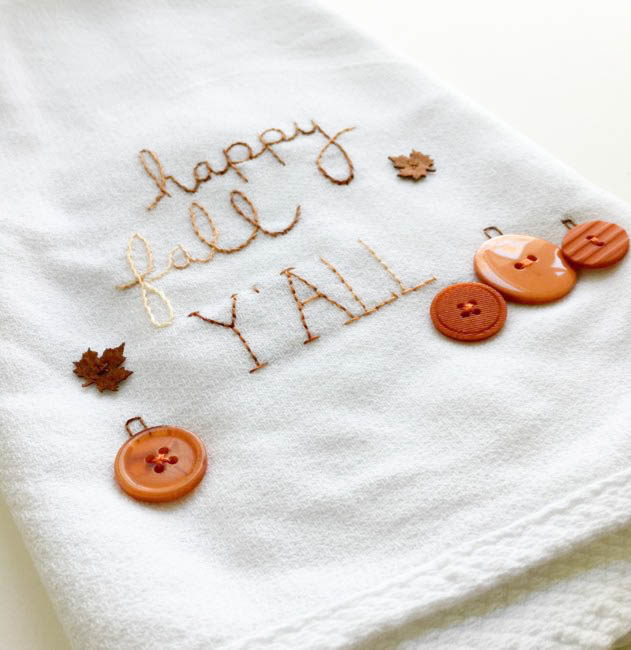
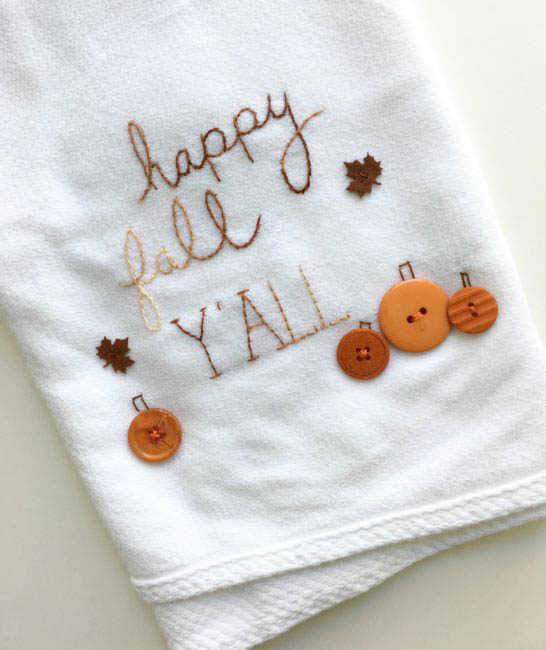
 We’ve had so many crisp mornings lately, I have gotten so eager for fall! So bring on the pumpkins, acorns, orange and brown! Today’s project is a super quick embroidery project to add to your fall decor. Even the most beginner of embroiderers can easily stitch up this DIY fall tea towel.
Supplies for DIY Fall Tea Towel:
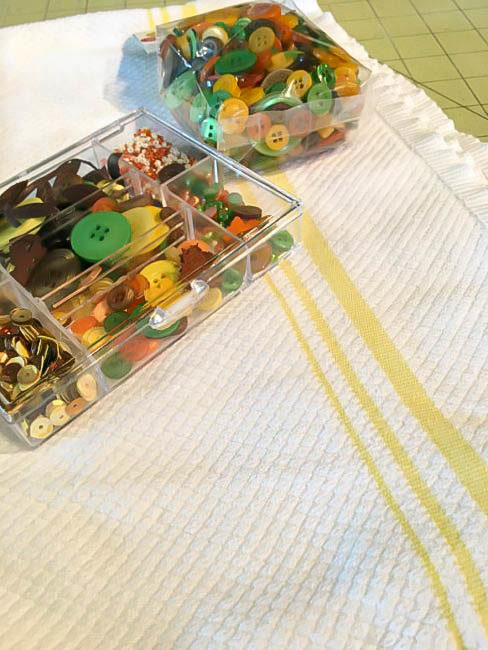
- 28 Lilac Lane “Autumn Afternoon” embellishment kit
- Buttons Galore “Fall Festival” Button Basics
- tea towel
- DMC embroidery floss: #433, #720 and #105
- embroidery needle and scissors
- water soluble transfer pen
First up, write out your text on the tea towel with the transfer pen. I searched on the internet for a fall saying that I liked and found a font example I enjoyed and did my best to copy that style. For this DIY fall tea towel, I decided to go southern and wrote out “happy fall y’all”.
 Using DMC 105, I stitched the text with a stem stitch. This is similar to a backstitch, but you bring your needle down in the middle of the last stitch you made, instead of the hole you just came out of. Check out this link for a tutorial on how to stitch the stem stitch.
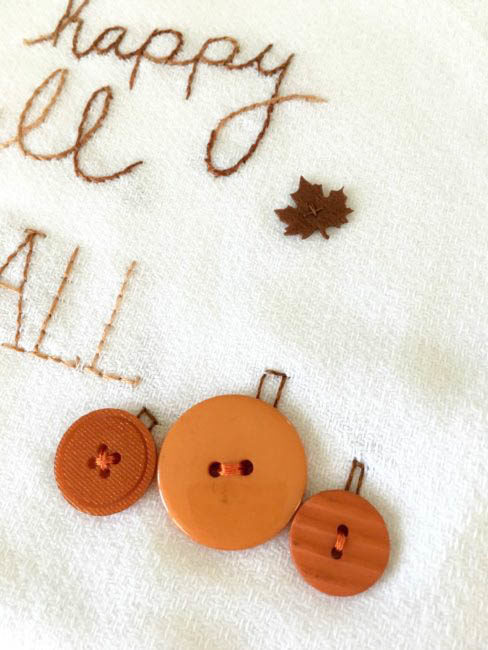
After you have the text stitched, go ahead and wash out your ink if you used a water soluble pen. Let your towel dry and gather up your buttons. I used some orange buttons of various sizes from the “Fall Festival” Button Basics set and the felt leaves from the 28 Lilac Lane “Autumn Afternoon” embellishment kit.
After your towel is dry, lay out your orange “pumpkin” buttons wherever you would like and sew them down with DMC 720. Sew down the brown leaves with DMC 433 and use this brown to add stems to the top of your pumpkins, if desired.
 Hang your new DIY fall tea towel on your oven door and grab a pumpkin spice latte!
Latest posts by Aimee Davis (see all)
- Stitch an Easy DIY New Year’s Eve Mask - December 1, 2017
- DIY Baby’s First Christmas Ornament - November 9, 2017
- Simple Christmas Wall Hanging - November 7, 2017


No comments yet.