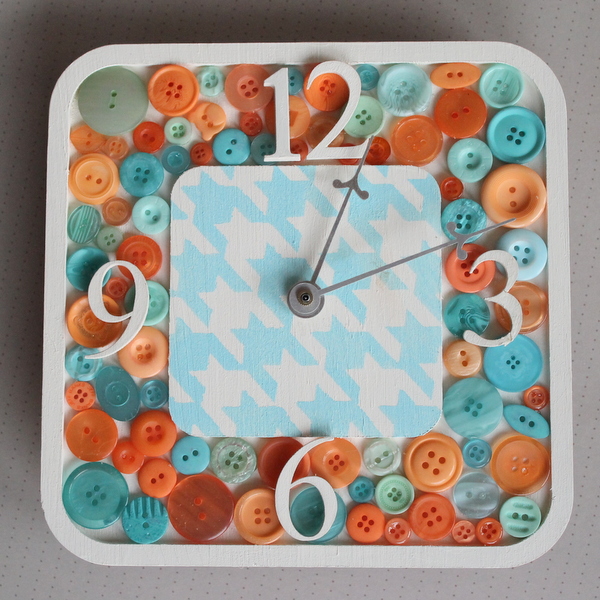
A DIY button clock is fun and can make a pretty addition to any room in your home. I am going to show you a super simple way to make this cute clock yourself. Trust me you can make this clock at home in the colors of your choice easily.
DIY Button Clock Supplies:
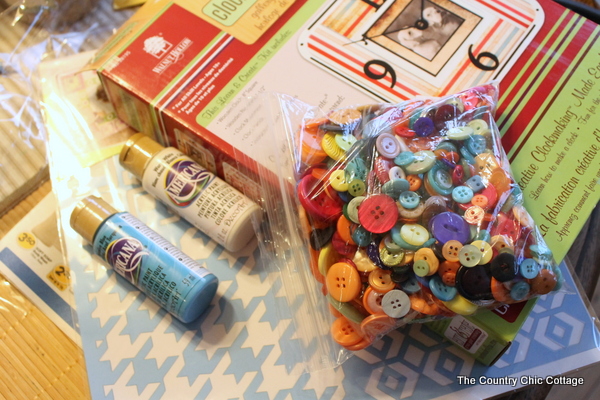
- Walnut Hollow Creative Clockmaking Kit
- Buttons (the fruity mix works well for this project)
- Americana paint in white and Whispering Turquoise
- Americana Stencil
- Hot Glue
- Tacky Glue
DIY Button Clock Instructions:
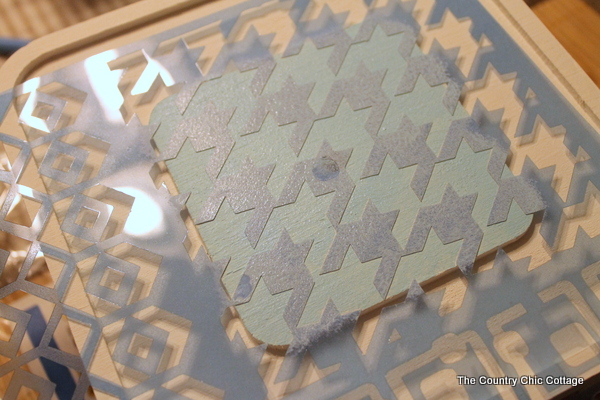
1. Paint your wood clock base from inside the kit. I did a base coat of white on the entire surface and allowed to dry. Then follow with your stencil and blue (or color of your choice). Paint your numbers that come with the kit in this step as well. Allow all of your components to dry completely before continuing.
2. The rim of this particular clock kit is just perfect for laying in buttons. Layout your buttons and numbers until you are happy with the results. Pick up each button and hot glue to the surface. Once complete, use tacky glue to put your numbers into place. Allow the glue to dry completely.
3. Add in your clock movements from the kit and your clock is ready to hang. Please note that you may have to adjust the hands so they don’t hit your numbers (since they stick up).
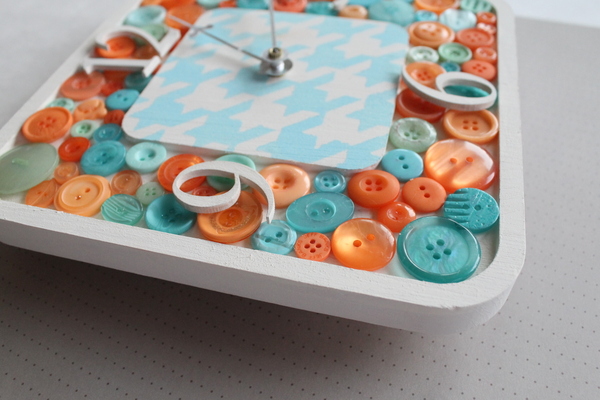
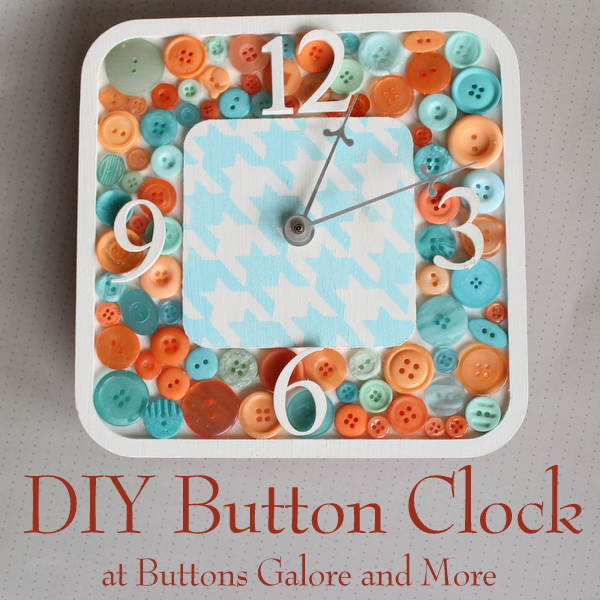
A simple DIY button clock that anyone can make. The kit from Walnut Hollow makes this one a breeze to complete. Grab your buttons and get started today!
Latest posts by Angie Holden (see all)
- Mason Jar Valentines - January 13, 2014
- Candy Cane Button Tree - December 4, 2013
- Fall Button Serving Tray - November 11, 2013



Love this Angie, very pretty and fun!
Very cute! I love it!
What a fab idea! We love this and have featured in our clock round up (with a link back to you) x
http://buttonsandpaint.blogspot.co.uk/2014/03/clocks.html