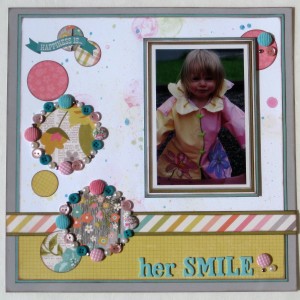
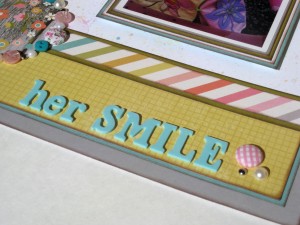
It’s hard to pinpoint where my inspiration for this sweet and pretty Buttons and Brads layout started. It could have been the sweet smile from my niece in the photo. It could have been the bubbles and Rit Dyes background that I created. It could have been how well the patterned papers and the Buttons and Brads coordinated together. Either way this Buttons and Brads layout is just too cute!
In this post I will give you some tips and tricks on how to create one for yourself.
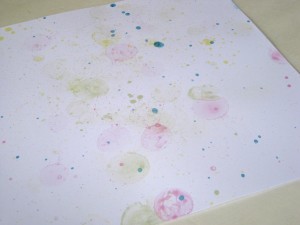
I started with a plain piece of white cardstock. I actually had 4 sheets of white cardstock out on my back deck. I added liquid dyes by Rit to regular bubbles. It’s trial and error to find the perfect mixture. Too little and the color won’t be dark enough. Too much and the bubbles will no longer form correctly.
Then I just blew bubbles and tried my best to have them land on the white cardstock I had spread out. When they land and burst, they created a really great splatter design.
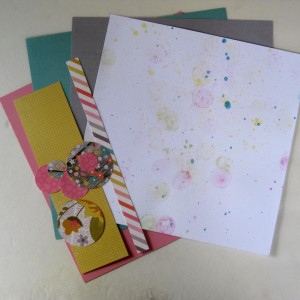
I had chosen dye colors to match the patterns I wanted to use. The patterns were chosen for how well they coordinated with the photo that I wanted to use.
Here is what I used to create the Buttons and Brads layout:
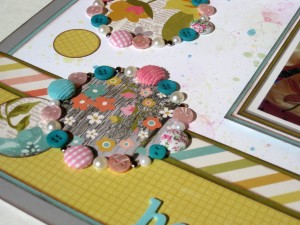
- Buttons: Nana’s Curtains
- Brads: Her Cords and Fabulous Florals
- Simple Stories Patterned Papers
- 1″, 1&3/4″, and 3″ Circle Punch by EK Success
- Rit Liquid Dyes and bubbles
- Silver Brads
- Amy Tangerine Teal Letter Stickers
- Pearl Embellishments
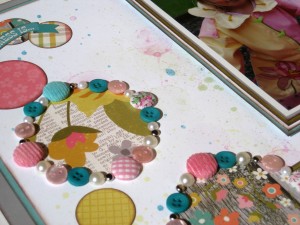
I simply added the pearls, Buttons and Brads around the large circles.
Thank you for stopping by and I hope you’ve been inspired to get out some Buttons and Brads and get crafty.
|
|||||||||
Latest posts by Tracy McLennon (see all)
- Altered Tea Box - February 3, 2014
- “Hello” Scrapbook Layout - January 25, 2014
- Winter Button Layout - January 6, 2014


No comments yet.