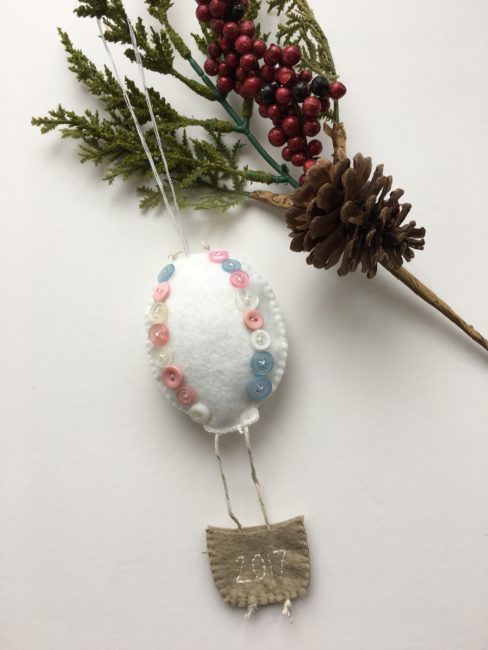
It’s Aimee here today with a simple little hot air balloon ornament, easy enough for the most novice of stitchers to complete. Gift this DIY Baby’s First Christmas Ornament to a friend’s newest little one or hang it on your tree to celebrate the new little life in your home!
Materials Needed for Baby’s First Christmas Ornament:
- 28 Lilac Lane “Cotton Candy” embellishment bottle
- white and brown felt
- baker’s twine
- white divisible embroidery floss
- brown divisible embroidery floss (match to color of brown felt)
- freezer paper
- stuffing
- hot air balloon pattern (*Note that two sizes are provided for the hot air balloon ornament. I used the smaller size, which ends up measuring around 4 inches in length.)
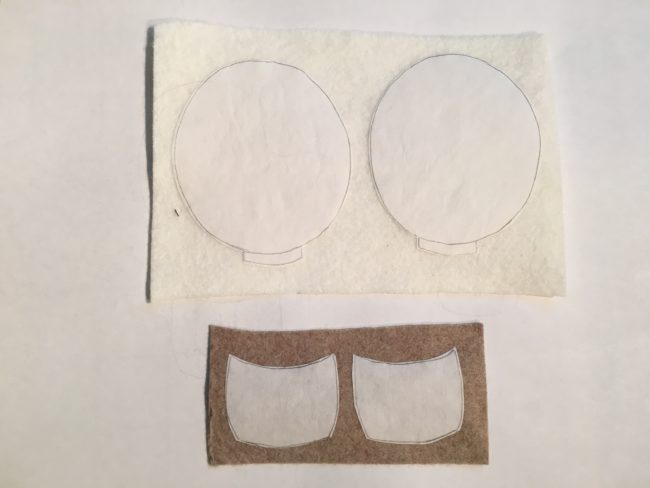
After printing your pattern, take your freezer paper and trace your pattern (shiny side down). You will need 2 baskets and 2 balloons. Iron the freezer paper down to your felt and then cut the shapes out.
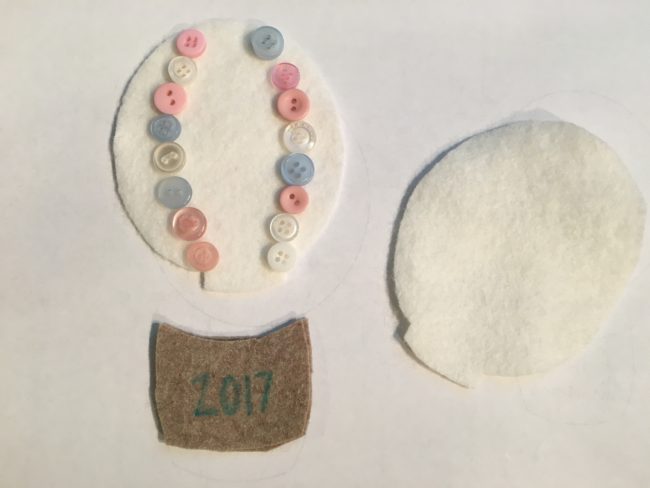
Using a water soluble pen (or even just a fine tip ball point pen will work) outline the year onto the basket. Use a backstitch and 3 strands of white embroidery floss to stitch the numbers. Lay out the desired buttons from the 28 Lilac Lane Cotton Candy embellishment bottle as a gauge for how many will work best. Sew down your buttons using 1-2 strands of white embroidery floss.
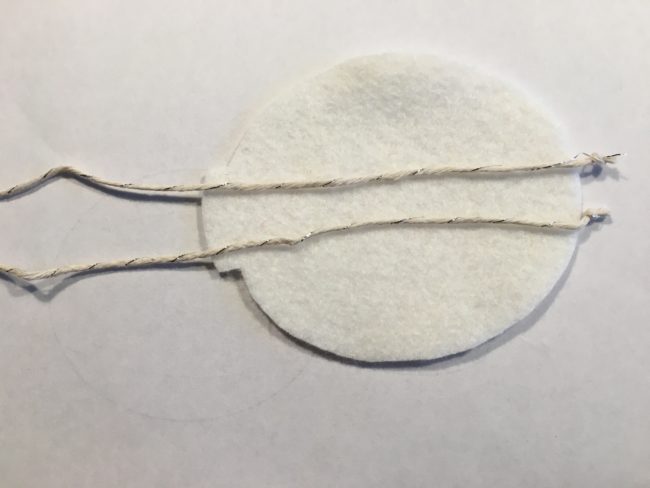
Lay out two pieces of twine and tie small knots on one end. Lay the twine on the inside, back piece of your balloon and tack down (from the inside) with a few stitches on the top and the bottom portion of the balloon. This will hold the twine in place.
Clip (or pin) your front and back balloon pieces together and using a knotless start and white embroidery floss sew up the sides of the balloon with a buttonhole stitch. Leave about a 2 inch gap, stuff the balloon and then stitch up the hole.
Tie knots in the other ends of the twine hanging from the balloon and repeat the same process to secure the twine with the basket portion. Then using a knotless start and a buttonhole stitch, sew up the sides and bottom of the basket.
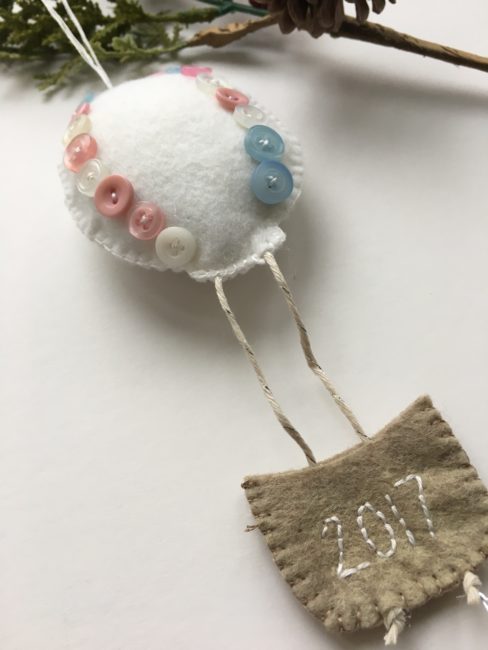
Take a little bit of embroidery thread and thread it through the top to make a hanging loop. Voila! You’ve completed a sweet little DIY Baby’s First Christmas ornament, ready to hang on the tree!
Latest posts by Aimee Davis (see all)
- Stitch an Easy DIY New Year’s Eve Mask - December 1, 2017
- DIY Baby’s First Christmas Ornament - November 9, 2017
- Simple Christmas Wall Hanging - November 7, 2017


No comments yet.