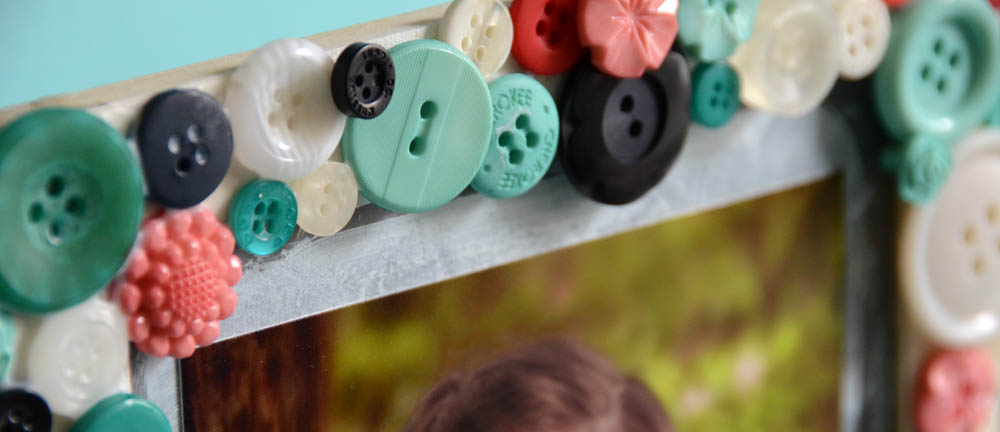
Header

Author Archive | May Flaum

Make a Wreath Card with Wisteria Hues Mix!

I’m so excited to tell you that the new 28 Lilac Lane products are shipping now – and are available in online shops like Ellen Hutson and Simon Says Stamp, as well as local stores!

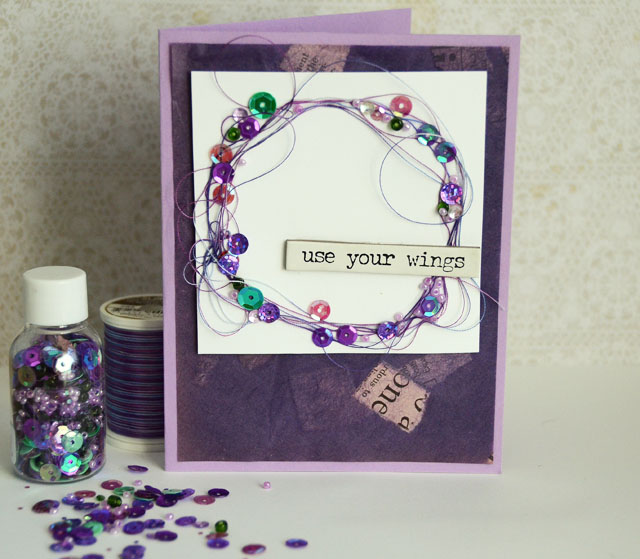
Use Your Wings Card by May Flaum using 28 Lilac Lane Bead & Sequin Mixes

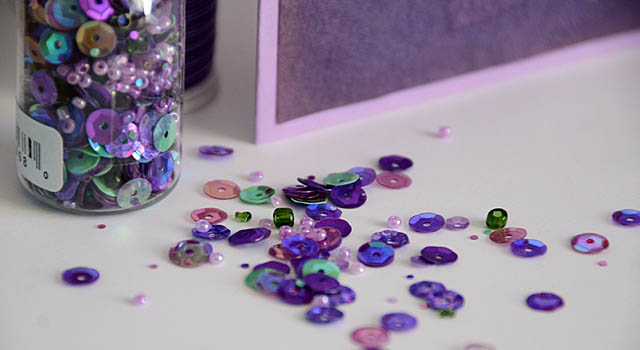
Today I’m playing with one of my personal favorites from the new products- the Wisteria Hues Bead & Sequin Mix!

My inspiration for creating this Wisteria Hues mix was my backyard wisteria, but the arrival of Mardi Gras season got me in the mood to choose this mini bottle to use first of the new ones. I love this particular mix and I’m excited to share it – and all of the rest – with 28 Lilac Lane fans.

Despite the name mini, there really isn’t anything “mini” about how much is packed into these bead & sequin bottles! They’re a great value, and so easy to travel with that you’ll want to collect them all!

Wisteria Hues Bead and Sequin Mix

This ‘messy wreath’ is so quick and easy- and so much fun to create! Watch the video below to see the steps of exactly how I made it.

0

Announcing New 28 Lilac Lane Embellishment Bottles!

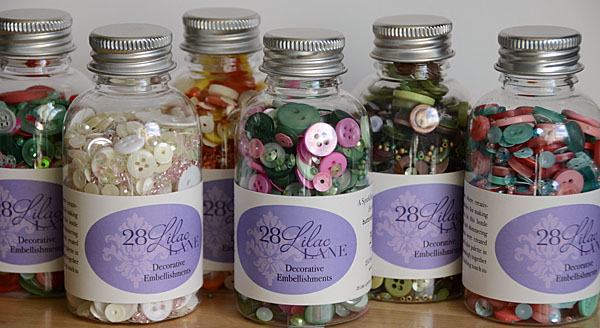
I could not be more excited to announce six brand new 28 Lilac Lane embellishment bottles. I’ve added in new sequin sizes, all new colors, and I am thrilled with how these beautiful mixes turned out. From scrapbooking to mixed media canvas projects to decorations for the holidays – there is a lot to love in these mixes and I hope you enjoy creating with them as much as I do!

new 28 Lilac Lane embellishment bottles for fall 2016 from Buttons Galore & More!

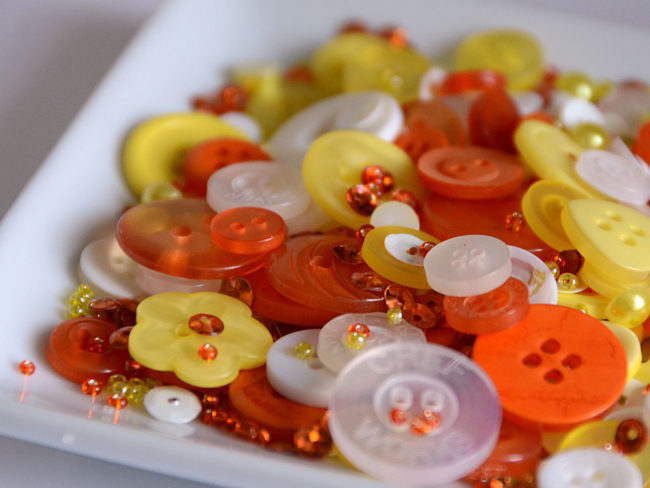
Candy Corn is inspired by my favorite fall treat, all yummy shades of yellow, orange, and white just perfect for Halloween crafting and so much more. From citrus inspired creations to bright summer scrapbooks this mix will be perfect year-round. The best part? This mix is calorie and guilt free.

 28 Lilac Lane candy corn embellishment bottle by Buttons Galore

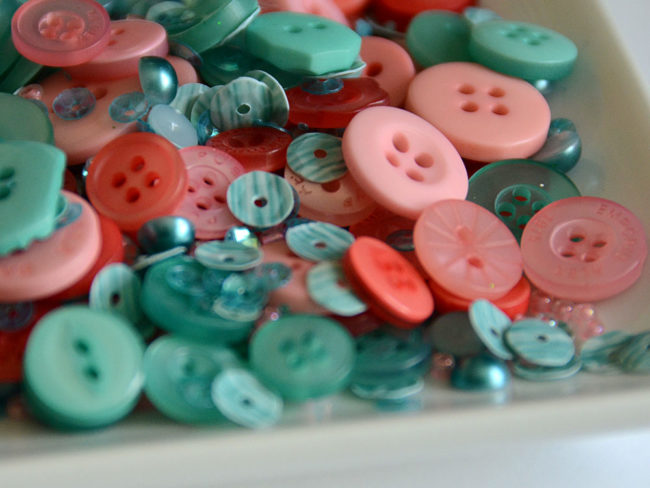
Coral Reef is full of rich aqua hues and shades of coral – blending together beautifully for a bright and beautiful mix. Feel like stepping outside the box? Try this embellishment mix for some non-traditional color palette Christmas crafts!

28 Lilac Lane coral reef embellishment bottle

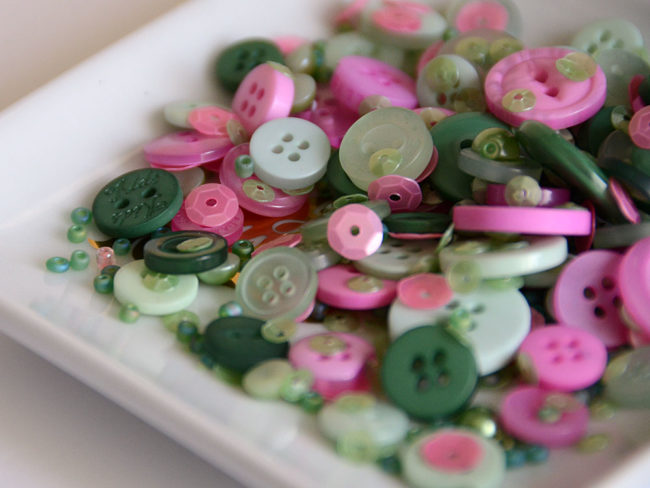
Savannah Stroll is inspired by the flowers and greens in one of my favorite cities. A city so perfect in spring time, I wanted to capture some of my favorite shades and bottle them up to use on all kinds of creative projects. From the soft green beads to the pink buttons I love every part of this lovely mix.

28 Lilac Lane Savannah Stroll embellishment bottle

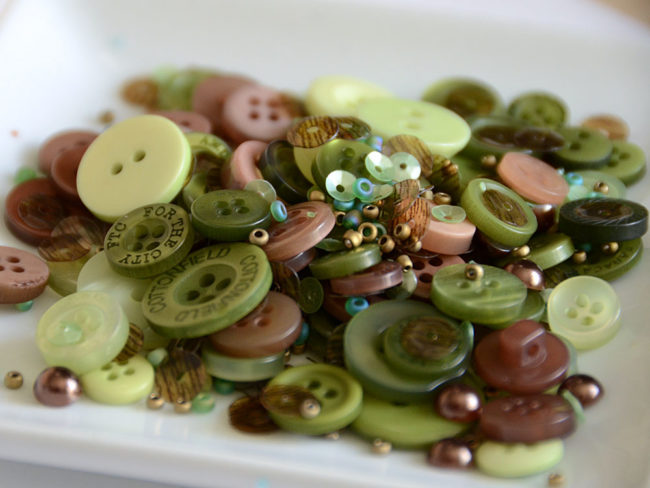
Through The Woods is as the name implies, a stroll through the woods! My favorite element in this mix is the woodgrain sequins. I can’t get enough of them and I love all of the rich green and brown hues not only for my camping and hiking scrapbook projects, but for all kinds of nature inspired creations!

28 Lilac Lane through the woods embellishment bottle

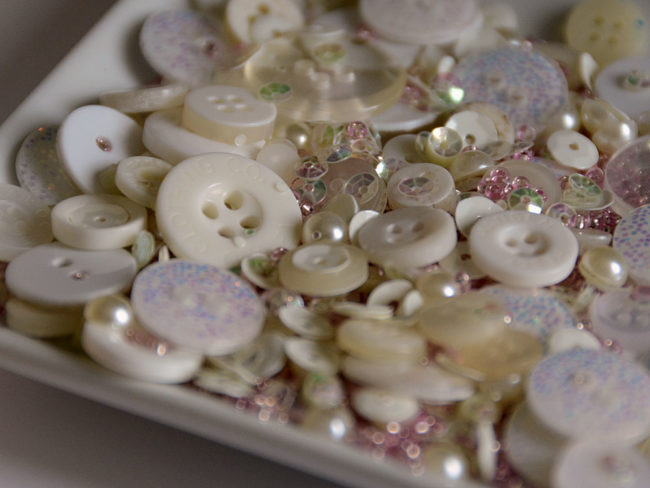
Winter Wonderland is inspired by bright fluffy fresh snow and all the shades of a white Christmas. While it doesn’t snow here, it seemed like the perfect name for such a mix. Of course if you’re simply needing more white in your embellishment stash or you have a special bride you wish to create something special for this would also be the perfect mix for you.

28 Lilac Lane winter wonderland embellishment bottle

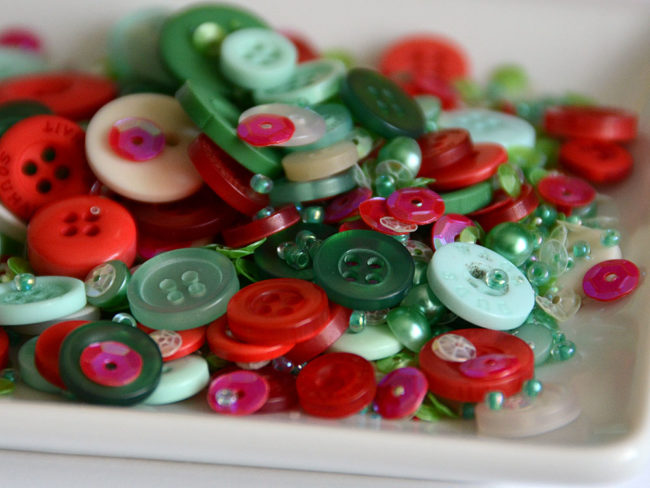
Yuletide Greetings is a season I can’t get enough of! From decking the halls to making things merry, I’m always in for a good traditional holiday mix like this. I am especially excited about all of the shades of green in this mix.

28 Lilac Lane yuletide greetings embellishment bottle

These new 28 Lilac Lane embellishment bottles are shipping now, so check with your local retailer about availability!

0

Oh Sweet Autumn with 28 Lilac Lane Autumn Afternoon!

I’m dreaming of shorter days and weather cool enough to wear sweaters! This summer has been so hot and rough – I’m ready to be done with it! Oh, and it probably has something to do with fall being my favorite season as well.

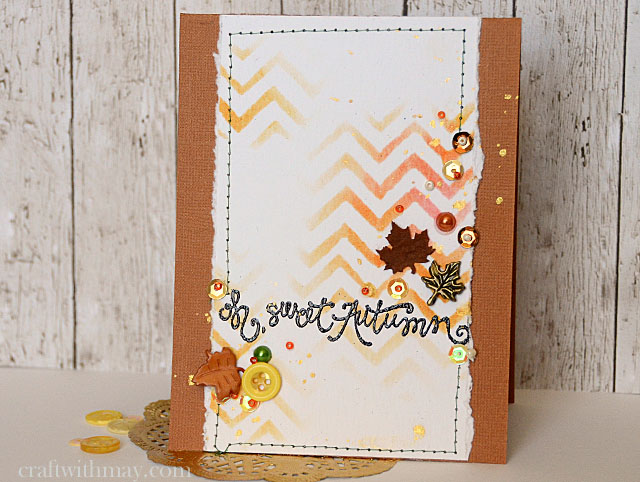
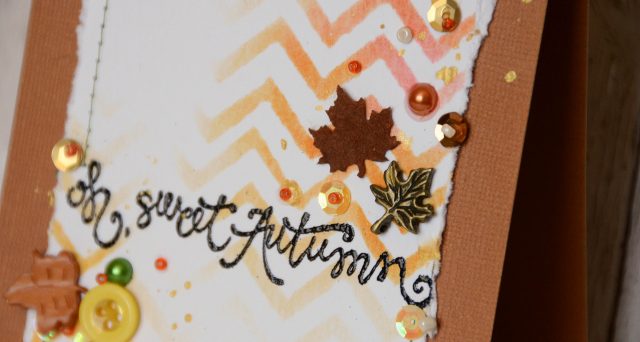
Today I’ve got a card to share that features my fall inspired Autumn Afternoon embellishment kit from my 28 Lilac Lane line. Here is a look at the finished card:

sweet-autumn-card-by-may-flaum

The process to make this card is simple!

  1. Place a stencil on white cardstock and use assorted colors of dye ink with a chevron stencil, skipping some parts and going lighter in some areas.
  2. Use embossing ink to stamp the sentiment, and then coat it in black embossing powder and heat set.
  3. Stitch the background to a blank card, and then embellish! I used the stencil design and a general sweep across the card to find places for the leaves and details.

It is really that easy!

sweet-autumn-card-close-up

Now I’m back to dreaming of autumn, cocoa, and ending these triple digit days!

Autumn Afternoon isn’t the only fall-themed 28 Lilac Lane kit…don’t miss out on the 28 Lilac Lane Limited Edition Fall Mix that is only available in the Buttons Galore online store!  Looking for some inspiration of what to do with my fall limited edition mix? Check out these bloggers! Ashli Oliver, Libby Hickson, Maura Hibbitts, and Rebecca Vick all have outstanding posts up. Enjoy!

0

Introducing…Limited Edition 28 Lilac Lane “Fall Jewels” Mix!

Editor’s Note: Today 28 Lilac Lane designer May Flaum is visiting us on the blog to introduce her new Limited Edition 28 Lilac Lane “Fall Jewels” Mix that is available only from our online store while supplies last!  

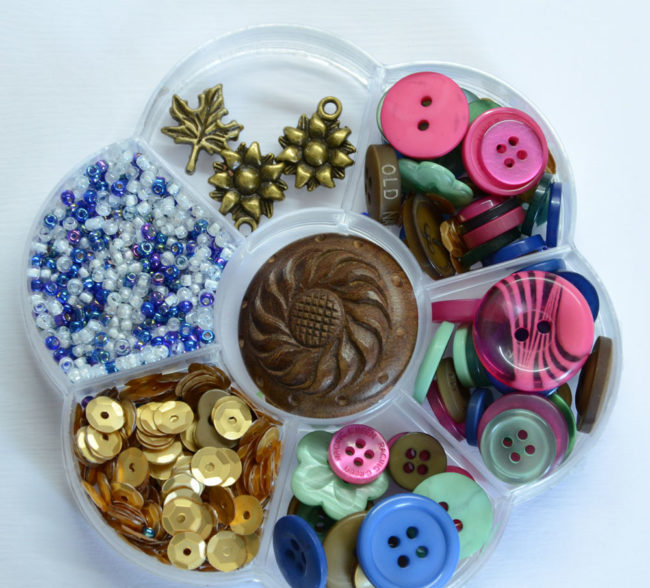
When I think about fall I think of cooling temperatures and cozy sweaters, bringing in jewel tones and saying goodbye to summer brights. Inspired by these things, I have pulled together this new limited edition mix of embellishments to celebrate my favorite season. For anything from back to school to falling leaves, paired with the autumn afternoon kit or used on its own – this mix is sure to inspire a wealth of crafting ideas. From a beautiful carved button to the berry, green, and blue buttons and plenty of matte gold sequins you won’t want to miss out on this special mix.

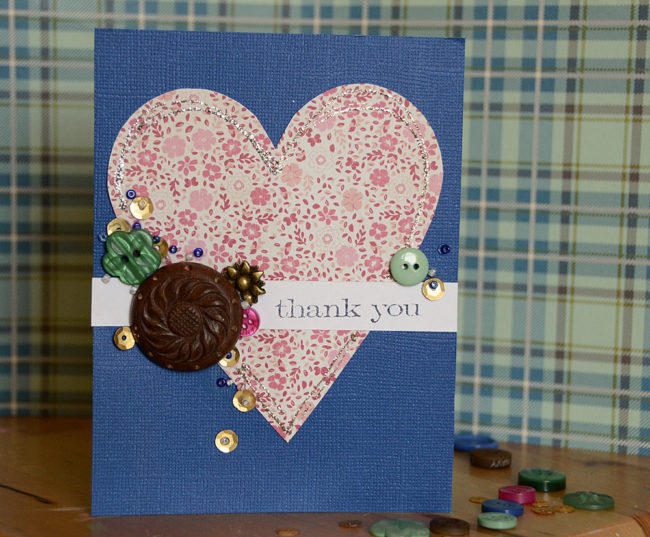
One of my favorite things to do is create a card with a simple hand cut or die cut shape, a sentiment sticker or stamp, and plenty of embellishments! Inspired by the large beautiful wood button in this mix, I started from there and worked smaller with my details. Clustering embellishments is one of my favorite things to do, and I always encourage people to start with the biggest and work smaller to fill any gaps or spaces.

Thank You card by May Flaum featuring Limited Edition 28 Lilac Lane Fall Jewels mix

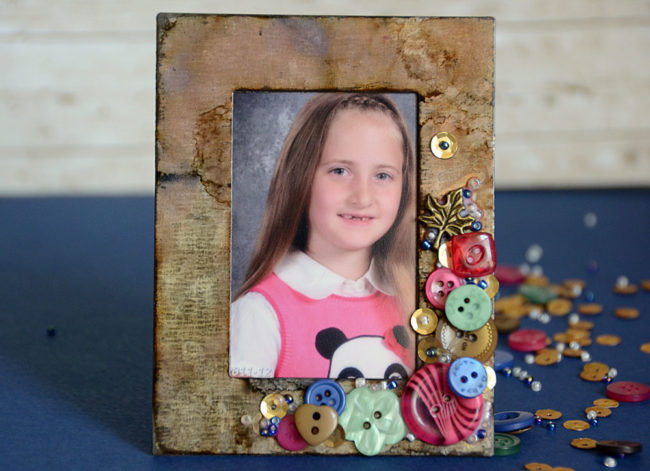
I do so love to decorate frames with buttons and embellishments, but this time I didn’t have a frame quite the right color. What’s a crafter to do? Recolor it! I used alcohol inks, however paints, staz-on ink, or other color mediums could also work well depending on your surface. To keep the focus on the photo and the project from being overwhelmed I worked in one corner instead of covering the entire frame.

Mixed Media Frame by May Flaum featuring Limited Edition 28 Lilac Lane Fall Jewels Mix

Both of these projects would work with any of the 28 Lilac Lane products, and this new mix is beautiful combined with a number of other kits and bottles such as the Attic Findings, Paws & Pets, Autumn Afternoon, Toasted Graham, Birds of a Feather, and more.

Limited Edition 28 Lilac Lane Fall Jewels Mix

SPECIAL OFFER: This limited edition 28 Lilac Lane “Fall Jewels” kit, regular price $6.99, is available through Friday for a special price for $5.99 if you use code “LL400” when you order!

Don’t forget that all orders from our online store over $30 qualify for FREE SHIPPING!

You can find all of these products that May mentioned in her video in the Buttons Galore online store:

0

Make a Rainbow Canvas with 28 Lilac Lane!

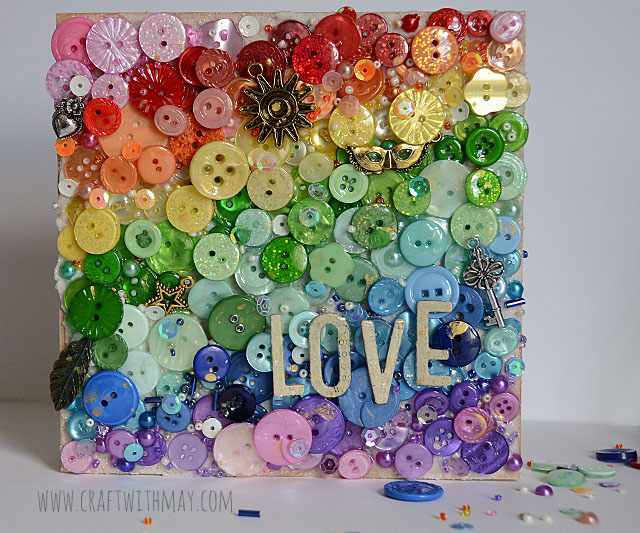
Wanting an uplifting, fun, and carefree kind of project this week I pulled out the entire 28 Lilac Lane line, some paste, liquid adhesive, and a 6×6 wood board to make a rainbow!

Rainbow Love Canvas with buttons by May Flaum

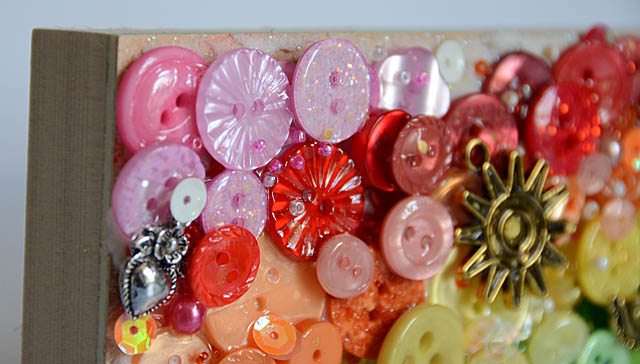
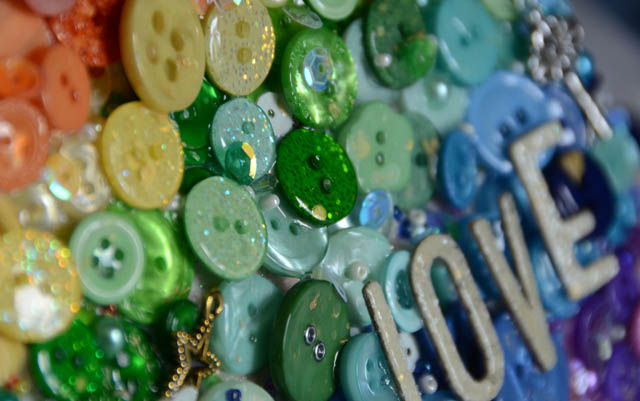
Did I really say the entire line? Yes, yes I did! I wanted to create a rainbow of buttons, beads, sequins, and pearls across this canvas and I wanted to have a wide variety. Beginning in the middle with green and working towards the edges, I just love the finished piece! Some charms from various kits as well as a few chipboard letters finished off my project before I used a glossy sealant to complete this piece. Note that I worked in layers, meaning that I built a base layer then went back over it several times to add more pieces and details. This project was such fun to make, and I love that it features at least one thing from every bottle and kit.

Rainbow love canvas close-up

Rainbow Love Canvas close-up

Want to make this with fewer items? Using the Dragon Fire, Pumpkin Spice, Hello Sunshine, Oh Christmas Tree, Winter Blues, and On Lilac Lane bottles would get you a lovely rainbow as well. I hope I’ve inspired you to create a bit of a rainbow with your next craft project, and get those fun buttons on display. For complete details and instruction be sure to watch my video below!

0

Button Monogram with 28 Lilac Lane

Button Monogram with 28 Lilac Lane

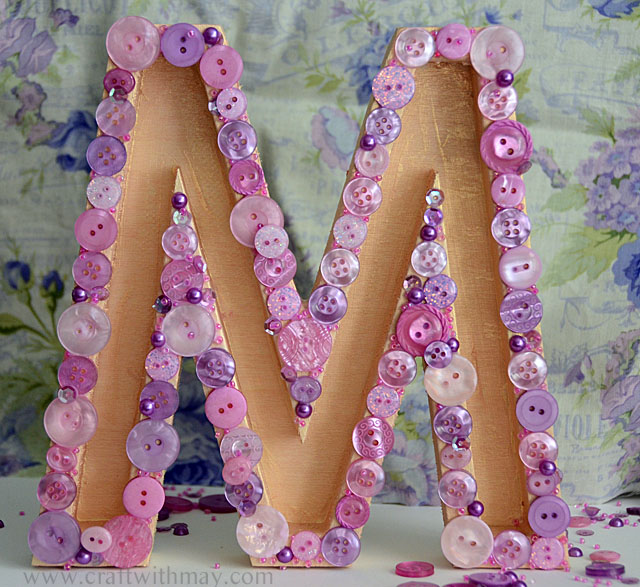
Simply gluing buttons to a wooden monogram is a fantastic project for so many reasons: It’s fun to do, it is easy and makes a great family craft, and it will look fantastic displayed in your home! Today I am sharing a video showing how I created the letter M for my studio with the “On Lilac Lane” bottle. Not to be biased – but this is my favorite bottle and color so it was the perfect choice for this project. From holiday or seasonal décor to bedroom décor creating not just button monograms but shapes of all kinds decorated with buttons and embellishments is a lot of fun.

0

28 Lilac Lane Pet Pendant with Ice Resin

pendant with ice resin

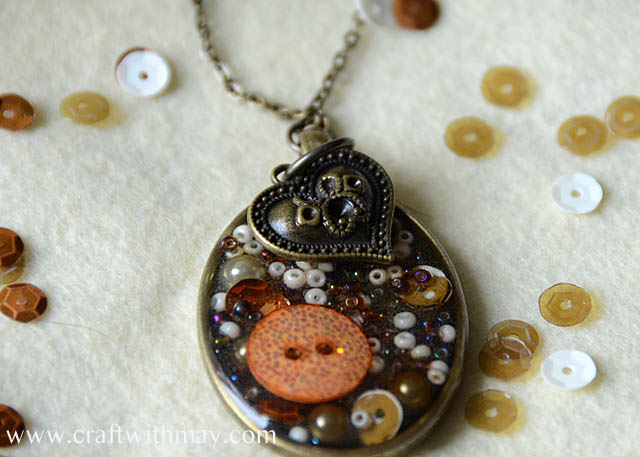
I am new to the world of resin, but I’m really excited to test out possibilities and combine it with my new 28 Lilac Lane kits! Creating a dimensional piece for my daughter to wear in honor of our dogs seemed like a really fun place to start, and I hope that you enjoy this video tutorial. There are so many fun ways to utilize the Paws & Pets kit, and all of the kits in this line!

0

A 28 Lilac Lane Card with Watercolor!

I could not be more excited that 28 Lilac Lane is now shipping to stores! I can’t wait to see what everyone creates – there is a whole world of crafty possibilities awaiting inside each and every kit. One of my favorite ways to play with the line is to accent a single stamped and colored image on a card, tag, or small canvas décor piece.

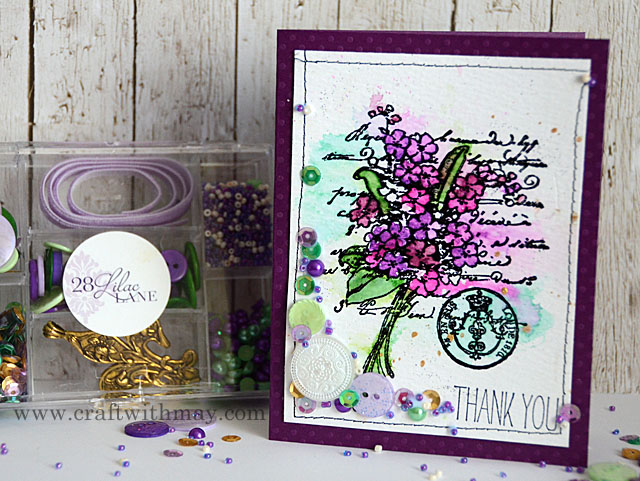
28 Lilac Lane card with watercolor

Today I have a video tutorial for a 28 Lilac Lane card featuring some lilac coloring and one of my favorite 28 Lilac Lane kits, French Quarter. My tip for keeping your embellishments in a tight cluster is to begin with the largest elements, and work smaller. This lets me fill in the gaps and create clusters almost effortlessly! Thanks to the variety of sizes in the kits from bigger buttons down to tiny seed beads, I’ve always got something that works!

I hope that you’ve enjoyed this 28 Lilac Lane card video tutorial and that I’ve inspired you to do a bit of coloring as well as some fun embellishing. Happy Crafting!

0

Make a Photo Frame with a “Tropical Twist”

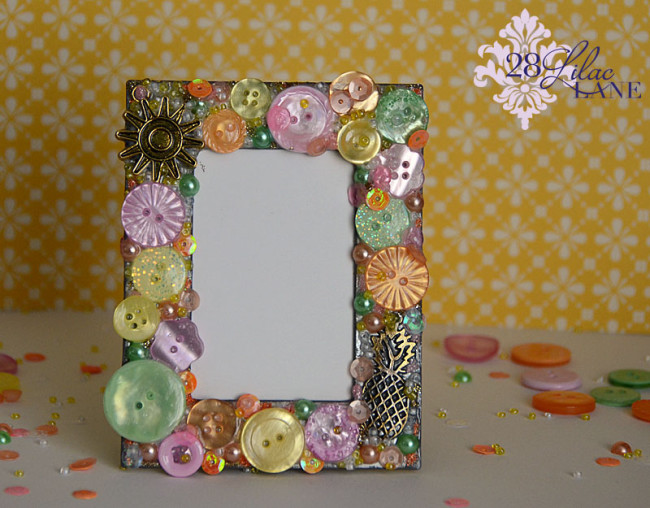
When it comes to decorating plain frames, buttons rule! The only thing that makes it better? Having sequins, pearls, beads, and charms to decorate with as well! Dreaming of warm temperatures and swaying palm trees I’m creating with the Tropical Twist kit today. The bright colors and playful details make it a fun choice for a project like this, though this project will work with any of my kits!

Supplies:

  • Wood or metal photo frame
  • liquid adhesive (I recommend PPA by US Art Quest)
  • 28 Lilac Lane Tropical Twist embellishment kit
  • Optional: Glossy sealant such as Glossy Accents; glitter glue, or glitter

28 Lilac Lane Tropical Twist frame by May Flaum

What would you put in a beautiful 28 Lilac Lane frame?

0

Create a Decor Birdhouse with 28 Lilac Lane

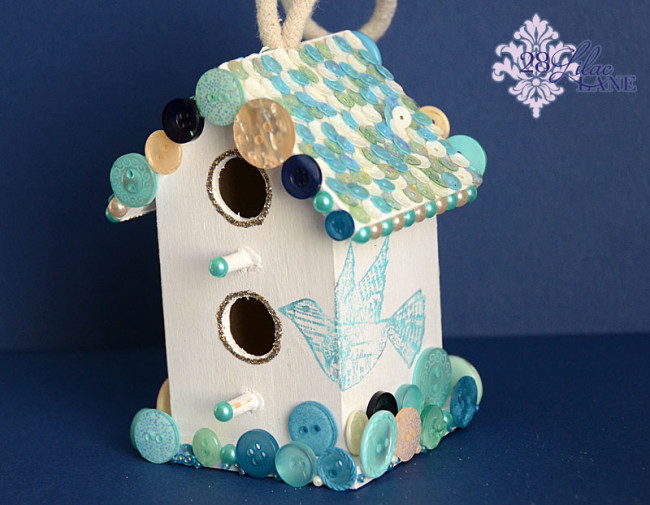
One of my favorite DIY décor projects is to take a simple little wooden birdhouse and add buttons, sequins, and more to it. Today I’ve got a tutorial featuring one of my new jars and a kit that coordinates nicely with it. I loved having multiple colors of buttons, pearls, sequins, and beads to choose from as I created this project.

Supplies:

  • small wood birdhouse
  • white paint
  • liquid adhesive (PPA is what I recommend) and double sided tape/adhesive sheet
  • 28 Lilac Lane by Buttons Galore Attic Findings embellishment kit
  • 28 Lilac Lane by Buttons Galore Birds of a Feather embellishment jar
  • Optional: stamp, ink, glossy liquid sealant, and glitter glue

Here’s a look at the finished projectt!

Birdhouse using 28 Lilac Lane by Buttons Galore

What will you make with 28 Lilac Lane?

0

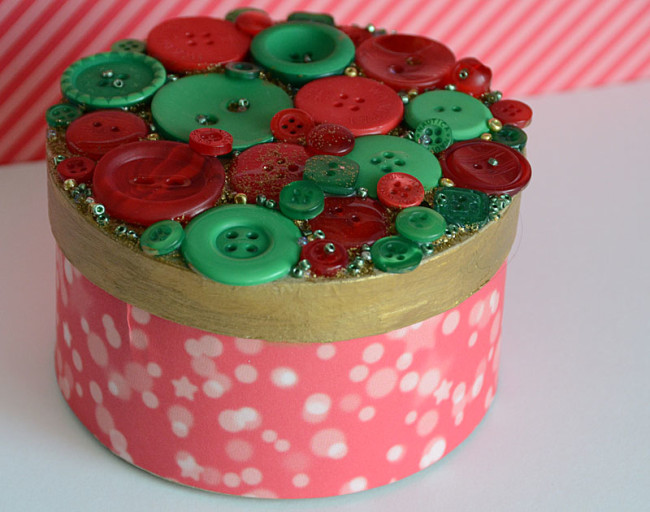
Button Topped Gift Box

When it comes to gift giving, I love to put handmade touches on the wrapping when giving store bought items and one of my favorite ways to do this is with a decorated box. I’m known for making these gift boxes and in fact, the perfect item to decorate the top with is buttons!  Today I’ll share with you just how easy this can be.

Button Box

Supplies:

Step by step:

1.       Remove the lid from the box and paint the sides, or cover in patterned paper. For this box I covered the bottom in patterned paper, and painted the top edge with gold acrylic paint.

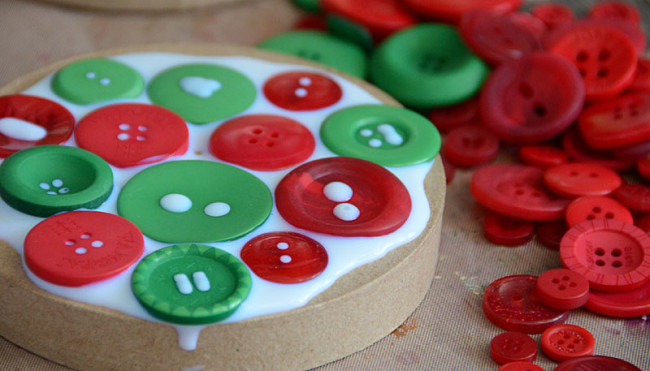
2.       Place a good amount of liquid adhesive onto the lid top, keeping it away from the edges. If some spills over, simply wipe away or brush back onto the top.Gluing Buttons

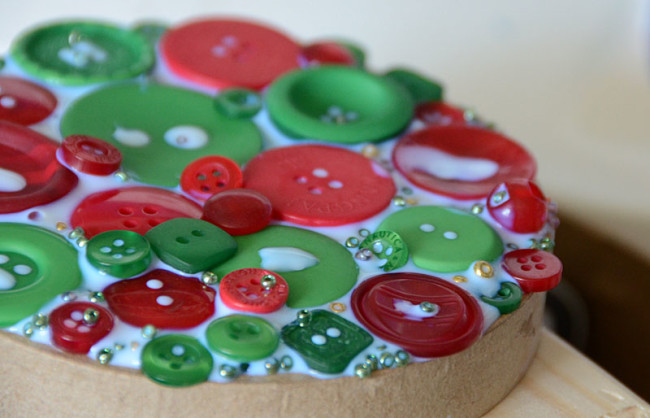
3.       Begin by placing a few large buttons, then fill in areas. For a box like this I like to start at the middle and work out. Layer on a second layer of buttons if desired.Gluing Buttons and Microbeads

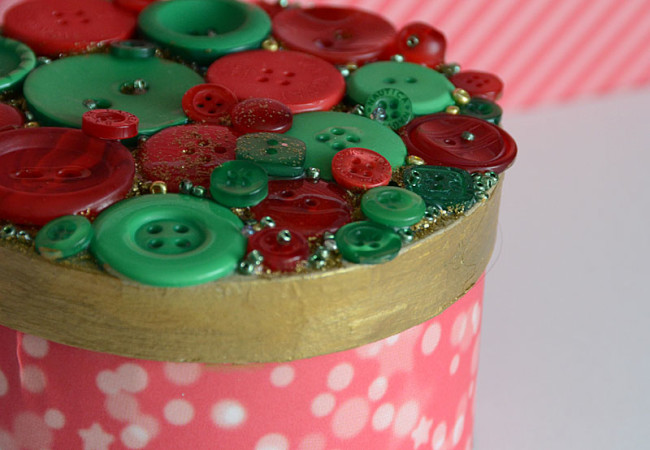
4.       Once you are happy with your buttons, sprinkle something tiny like the seed beads that I have used on this box. This fills in any gaps and adds a great layer of texture and fun added dimension as well.

5.       Allow the lid to fully dry before placing a gift inside the box, closing, and gifting!DSC_6843

0

Buttoned Up Christmas Tree Ornament

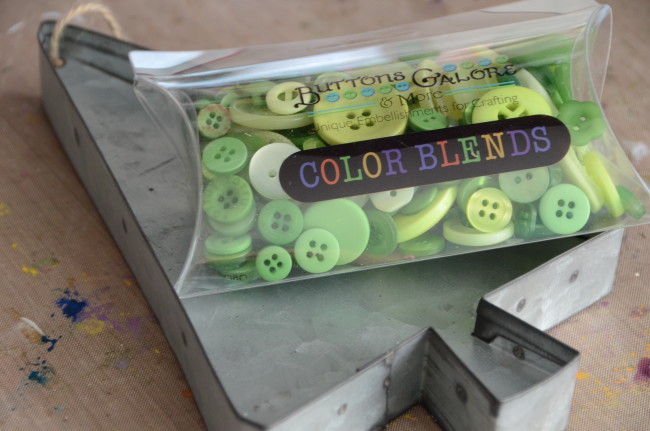
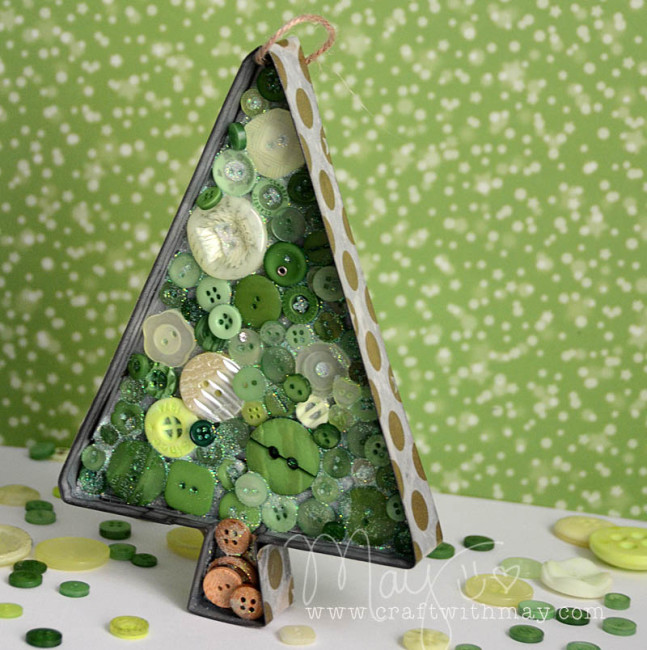
If you’re wondering what to do with all of the metal christmas tree ornaments and décor shapes showing up in the local craft store the answer is simple: button them up! I had so much fun with this Christmas tree ornament project – and it really is simple and fun to do. In fact, my kids (8 and 10 years old) have made these kinds of projects themselves as well! Of course my favorite buttons these days are the color blends – and this is a perfect project to showcase them.

Christmas Tree Color Blends

Supplies:

Steps:

Step 1: Cover the outside with washi tape.

Tip: Seal the edges with matte finish liquid adhesive so that it doesn’t come loose.

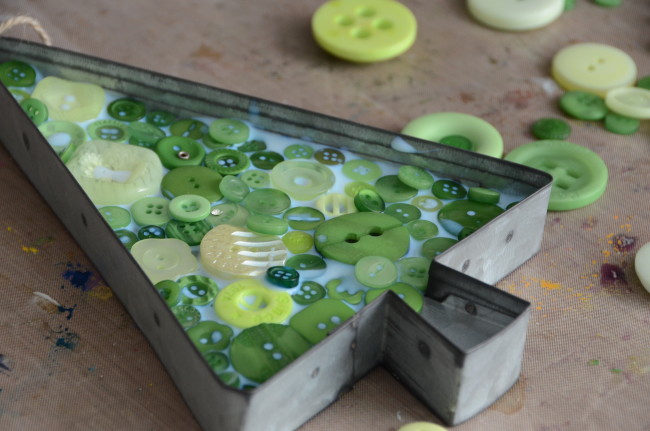
Step 2: Put a thick coat of liquid adhesive inside the shape. If there are unsealed edges be careful to either keep the adhesive away from the edge.

Buttons Glued to Tree OrnamentStep 3: Fill the shape with buttons! I used wood buttons for my trunk, and the beautiful green buttons all over the tree area.

Step 4: Layer a few small buttons if there are bigger gaps showing, just add a bit of liquid adhesive to the back of them when you set them on.

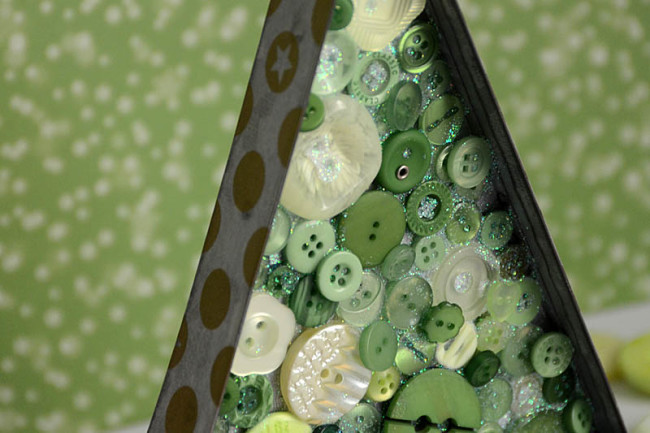
Christmas Tree close-upStep 5: Finish by sprinkling a bit of glitter if desired – this adds sparkle and will fill in any small crack areas.

Christmas Tree Ornament by May Flaum for Buttons Galore

2

Thankful Card

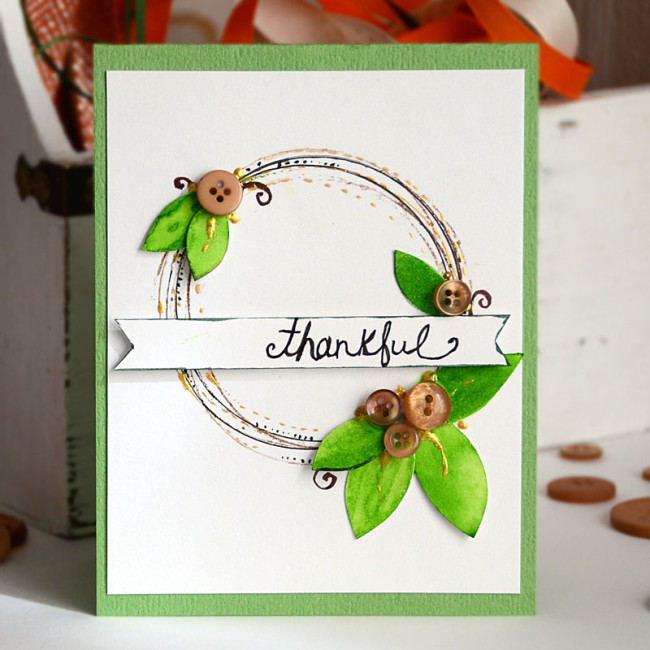
Utilizing basic supplies and everyday items in my crafting, and finding usefulness in even the simplest things is something I enjoy tremendously. With a few beautiful caramel buttons, some ink, and a little creativity I quickly came up with a fun card design that is perfect for any season.

thankful card by May Flaum

Supplies:

  • Buttons Galore Caramel Button Basics (also available at AC Moore stores)
  • green cardstock
  • watercolor paper
  • green watercolor or paint
  • black ink
  • brown ink
  • brown pen
  • gold paint pen or dimensional paint

How-to:

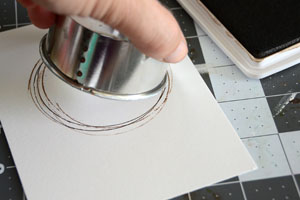
Thankful card by May Flaum step 1

Step 1: Take a circle object such as a cookie cutter or cup and tap with black ink. “stamp” onto your paper several times, creating a wreath shape. Repeat with brown ink.

Tip: Roll the cookie cutter or disposable cup around instead of stamping flat. This will give you more control of your lines.

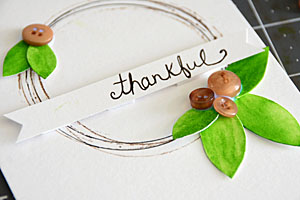
Thankful Card by May Flaum step 2Step 2: Use scissors to cut out leaf shapes and color with green watercolor or ink. Place these in three spots along your wreath, and add small caramel buttons as well. At this time you should also cut out a ½” high strip of cardstock for your sentiment, and notch the ends to fit.

Tip: instead of handwriting you could use a computer font or alphabet stamps.

Thankful card by May Flaum for Buttons Galore

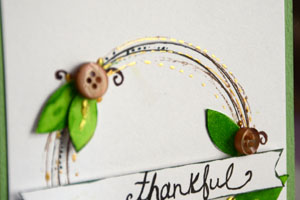
Step 3: Add the finishing touches to your card. Ink the edges of the sentiment banner, add some gold paint or ink to highlight the circle shape and around your buttons, and add any other details you would like.

Tip: Want even more: Use a pen to add flourishes and dots, as I did here with a brown pen.

9

Felt and Fabric Thanksgiving Card

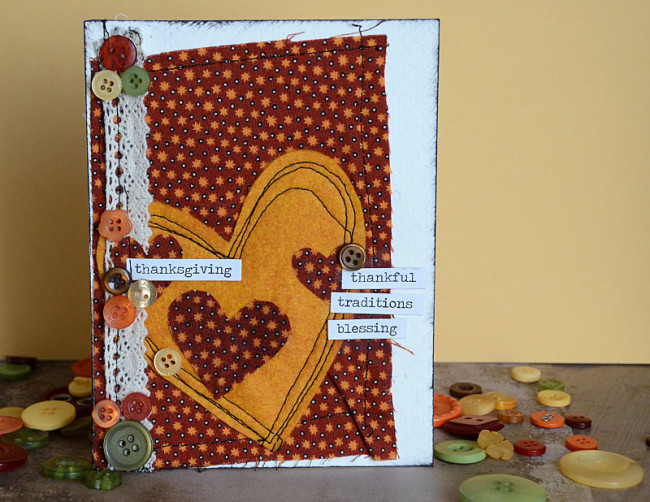
When it comes to Thanksgiving I don’t do a lot of home decorating, but I do enjoy creating cards for a few special people. This card is a lot of fun to make with fabric scraps, though using patterned paper would work just as well. The harvest Button Bonanza bag is perfect for all your fall crafting needs and just screams Thanksgiving to me.

Thanksgiving card

Supplies Needed: Felt, fabric with iron-on backing, word stickers, thread (hand or machine stitch), liquid adhesive, and harvest Button Bonanza bag

Steps:

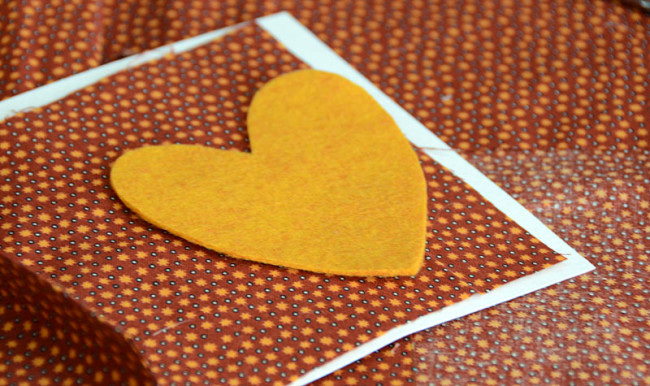
Felt Heart

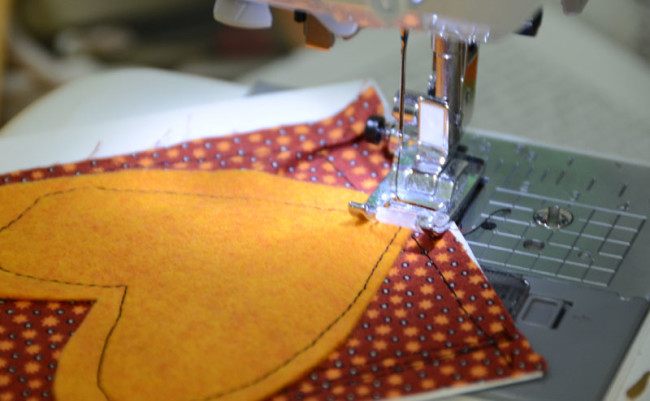
  1. Stitch a scrap of fabric, white trim, and felt heart onto a piece of white cardstockSewing Felt Heart
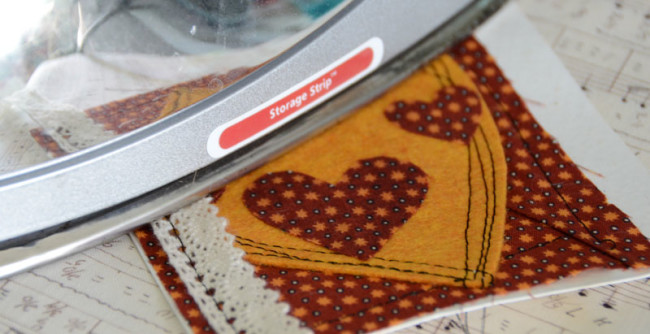
  2. Cut out hearts from a fabric scrap that have adhesive backing and iron them onto the card. Ironing fabric hearts
  3. Ink around edges of white cardstock if desired
  4. The final and fun part – adhere down buttons as desired and add word strips as well.

Beyond Thanksgiving, this simple card would be great for any holiday or occasion – and is a lot of fun to make! Don’t forget that you can create this design with either fabric or patterned paper.

0

Celebrate Fall with a Mixed Media Canvas!

Fall is here, and it’s time to change out the summer decor for something more autumnal. May Flaum is joining us today with the perfect mixed media canvas to change the season on your walls in style. – editor

The beauty of this project is that it can be any color, subject, or size. Even better? It will allow you to use whatever color of buttons you happen to have a lot of! In this example I am working with the Ivory button bonanza bag, however I more often use a mix of buttons (often colors I don’t like or get too many of!). Everything is coated with gesso – so you can truly work with any colors you have!
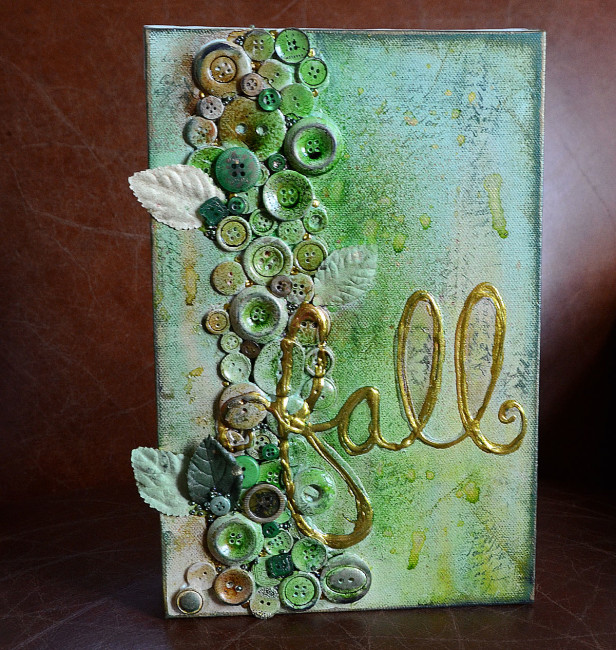
Fall Canvas by May Flaum for Buttons Galore

Supplies:

Step 1: Apply a generous amount of liquid adhesive in the area you wish to place your buttons. Add more as needed.

fall canvas step1

Step 2: Add buttons, beginning with larger ones and working smaller.

fall canvas step 2

Note: From this step forward, you will need to let the project dry completely between every step.

Step 3: Using a dimensional liquid product such as gel medium or a white or pearl dimensional paint pen, write your word.
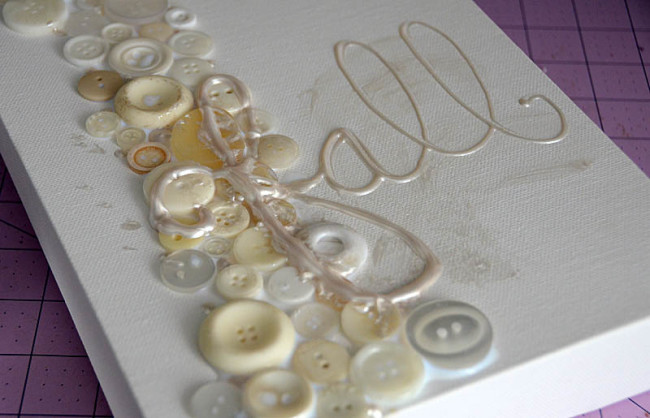
fall canvas step3

Step 4: Apply a good amount of gesso over the entire surface and work in so that everything is fully covered.
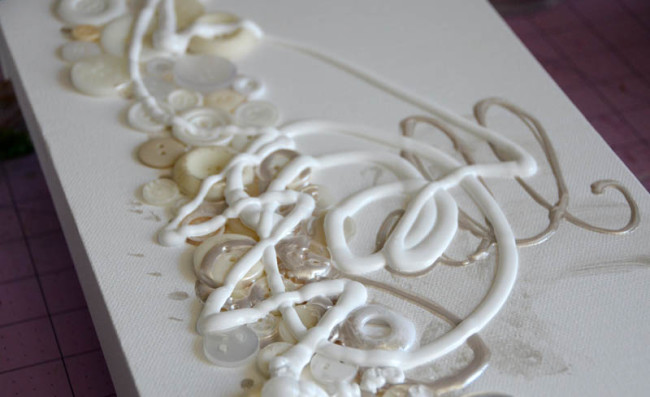
fall canvas step4

Step 5: Mist colors of your choice across canvas. Allow to dry and repeat this process until satisfied. If you’d like them to “run” then tilt canvas up on one side while wet.

Note: Depending on the brand(s) used and properties of your spray ink/colors results may vary. Don’t be afraid to repeat step 5 many times! If you don’t have sprays/mists, feel free to use any color media you have on hand such as watercolor or acrylic paint as a substitution!
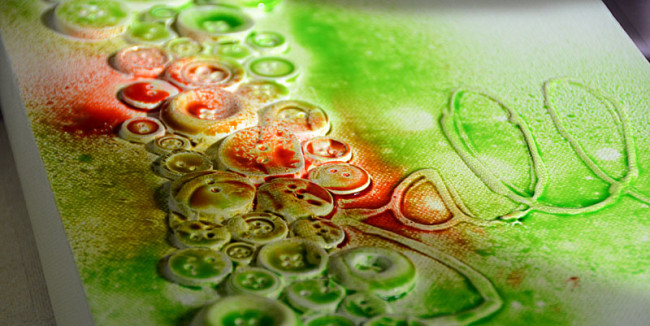
fall canvas step5

Step 6: Apply liquid adhesive in spots and gaps where you can add more buttons. Then add buttons in colors that compliment your design, as well as leaves or other elements that you’d like to feature.
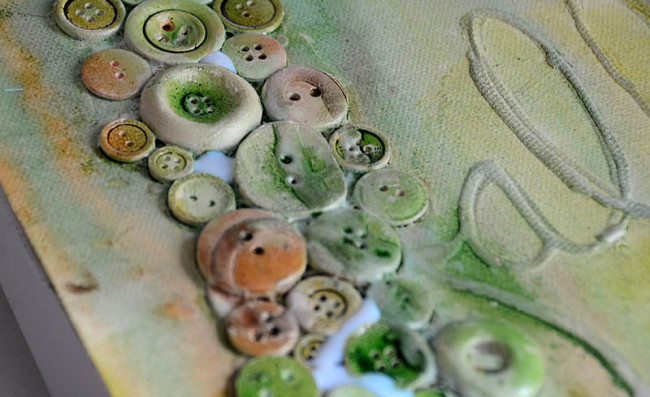
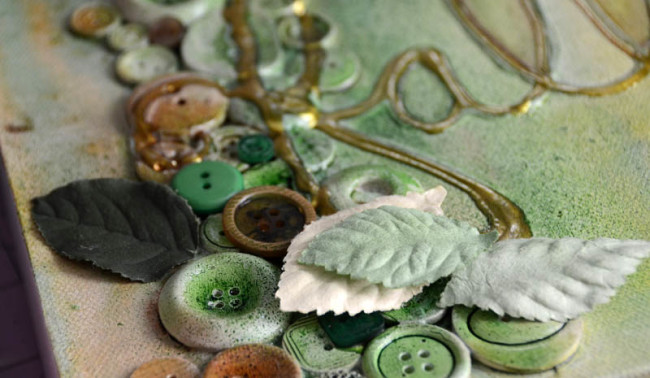
fall canvas step6a

fall canvas step6cStep 7: Go over your word with gold dimensional paint or a pen to help it stand out, and spray a bit more color in a bold or dark color if desired.
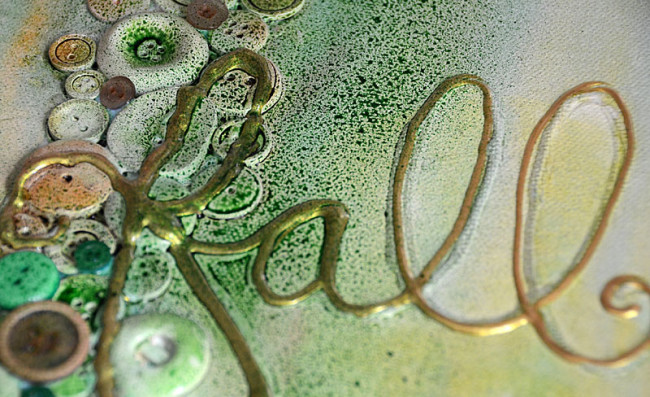
fall canvas step7

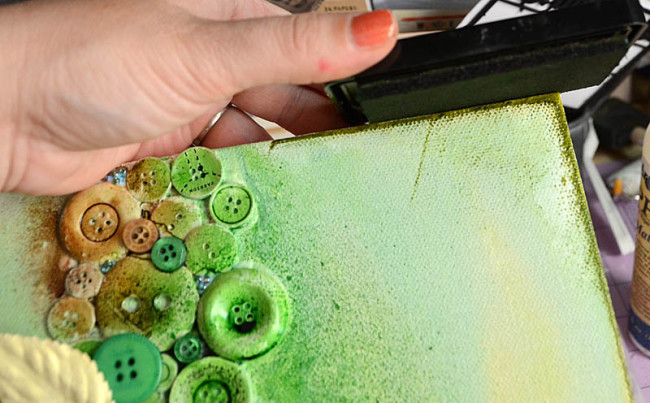
Step 8: Use a permanent ink pad and ink the edges of your canvas. If desired, repeat this with multiple colors. For this canvas I used a dark green and a black.
fall canvas step8

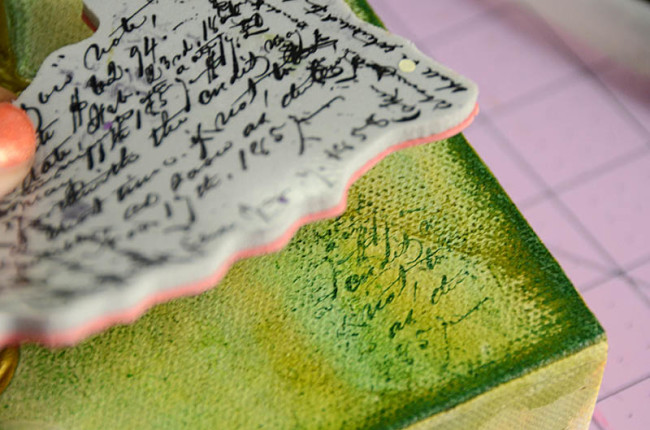
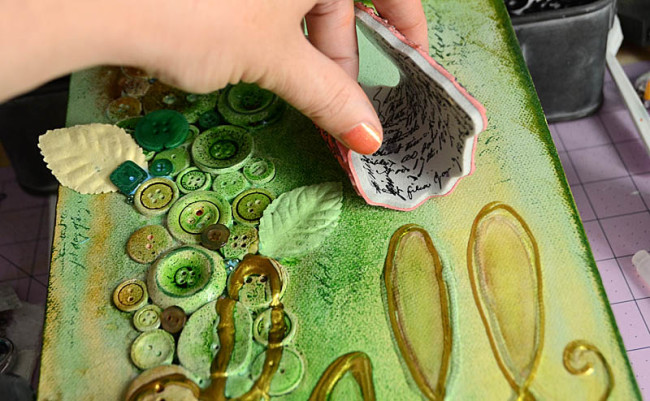
Step 9: Use a script or other design stamp and permanent ink, and stamp randomly around the canvas. This works best with an unmounted rubber stamp, and adds a lot of depth to the project.
fall canvas step9a

fall canvas step9b

Step 10: Finish project by adding any finishing touches such as dots of gold paint, pearls, beads, rhinestones, and more.

fall canvas step10

What I love most about this project is that you can customize it so many ways, and for any size or theme you like. It’s a great way to use leftover buttons and other supplies you may have sitting around. I hope you give it a try!
4

It’s Time for a Back to School Photo Frame!

Today we are joined by blogger/designer/instructor/author May Flaum, from www.craftwithmay.com, who is sharing a back to school project with us. – editor

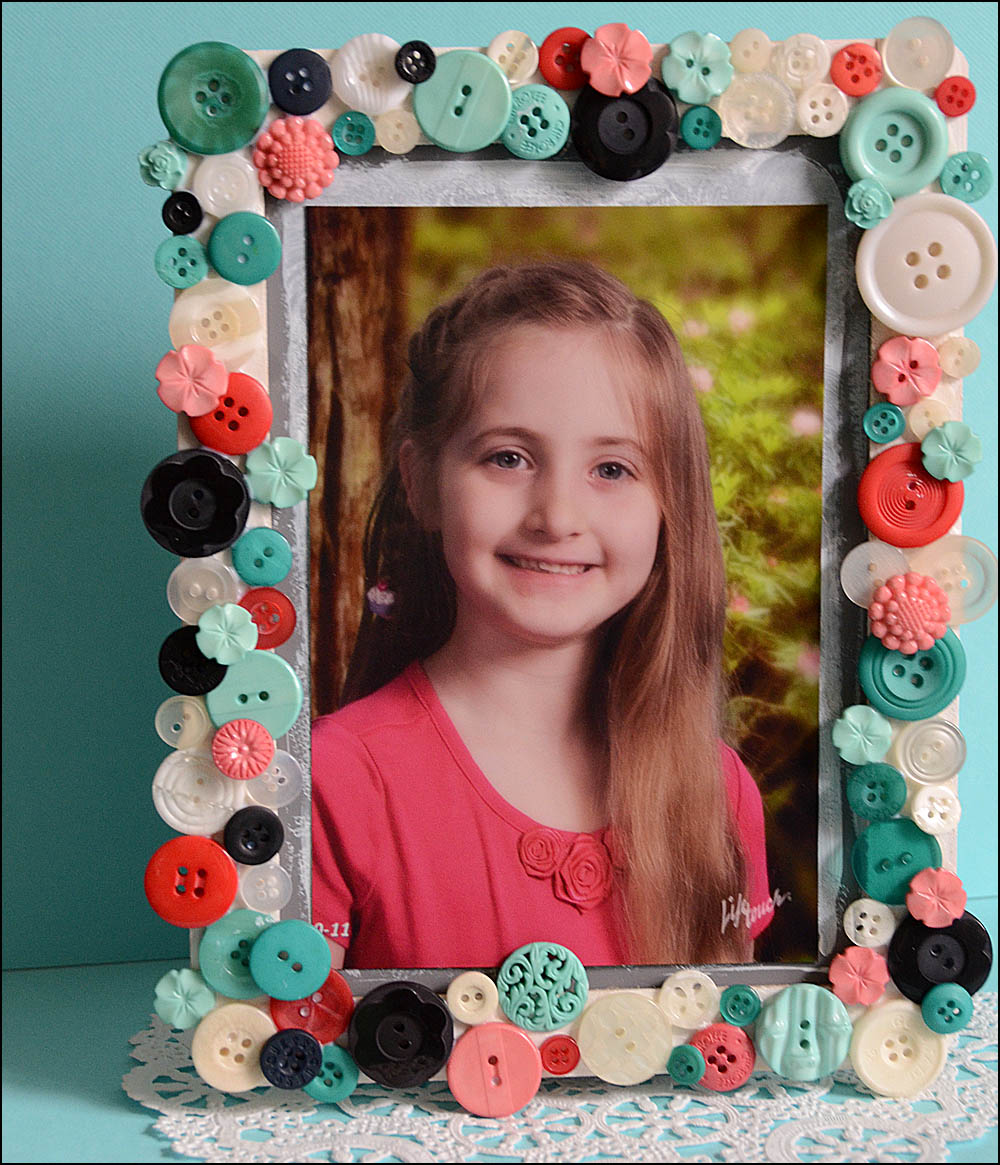
When I have supplies not being used, I try to envision a purpose and make it useful. In this case I had a small 5×7 chalkboard that has been sitting around way too long. Since I don’t see myself using it as intended, I decided to convert it into a photo frame for this school picture.

May Flaum button frame

This is one of my favorite ways to use buttons, and it’s a super quick and easy project too! It will work on any flat wood frame, and I love how it turned out. The less you think about perfect button placement, and the more you just fill the space and enjoy – the better it will turn out!

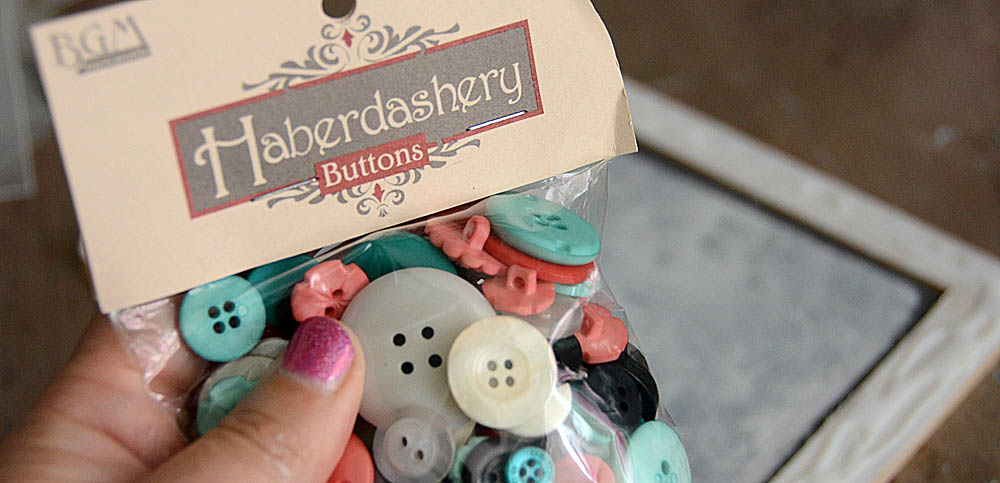
I worked with the beautiful Vintage Vogue buttons and I really liked how quick and easy they made this project.

Buttons Galore Vintage Vogue buttons

Supplies Needed:

How-to:

1. Paint frame with white paint if desired

2. Apply a liberal amount of liquid adhesive around the wood frame.

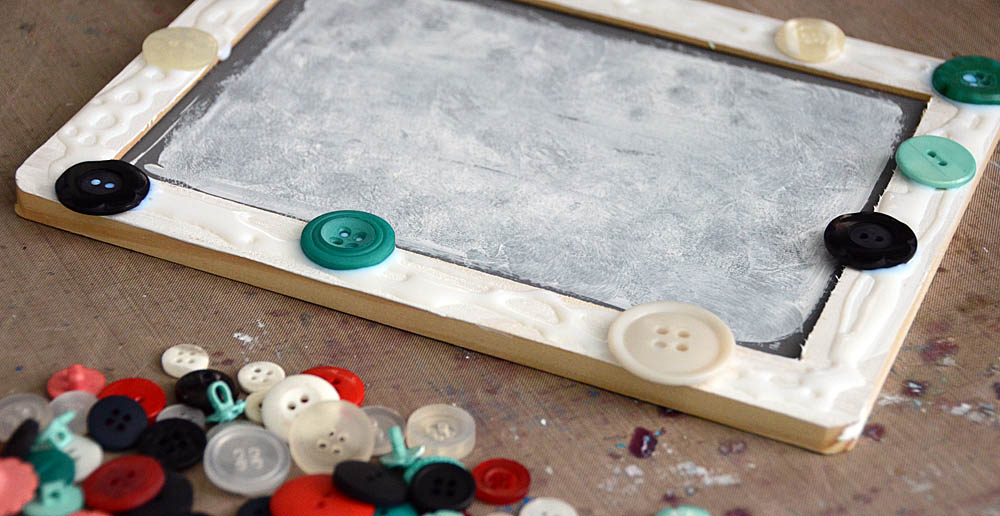
May Flaum button frame step 3 3. Start with large buttons, place at random in a few places. Then fill in spaces with medium and small buttons.

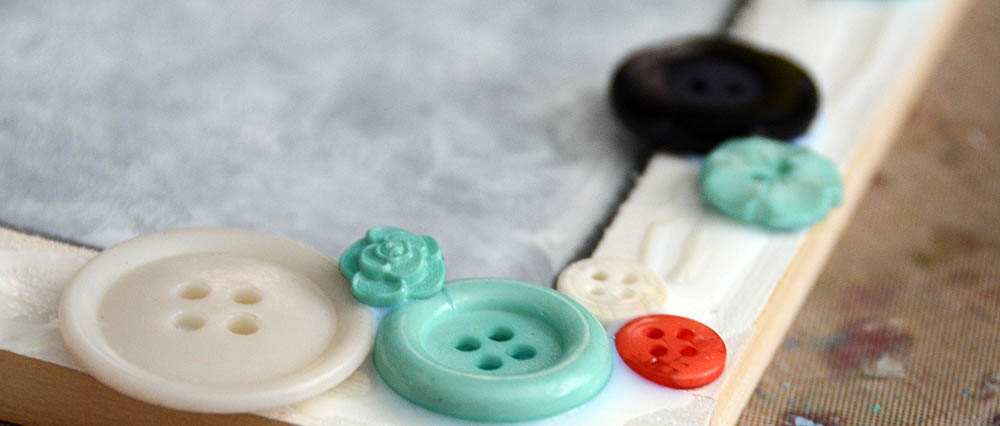
May Flaum button frame step 4 4. Add more adhesive as needed, place buttons until all spaces are full. If there are any awkward gaps, layer a button on top! Once satisfied, set aside and let it dry fully before adding a photo.

May Flaum button frame close up

To learn more about May Flaum, see more of her projects or take one of her online classes, visit www.craftwithmay.com

0

Powered by WordPress. Designed by WooThemes