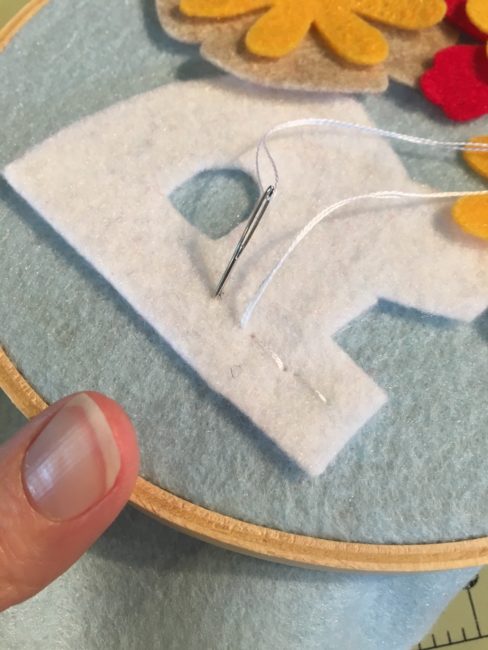
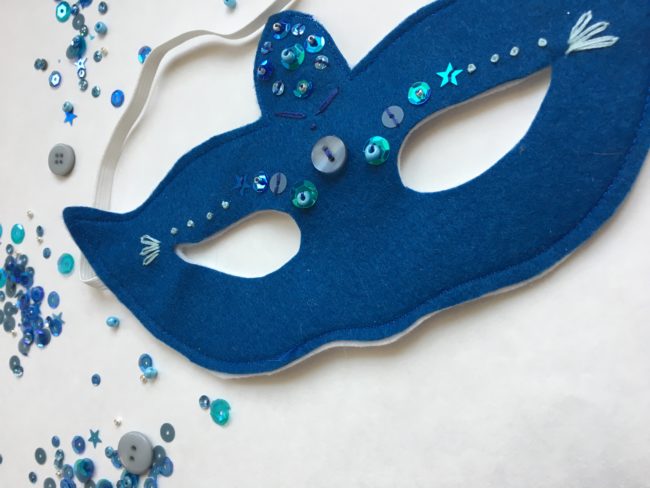
It’s Aimee here today for a little creative project to dress up your New Year’s Eve! (Although I’m still in denial that the holiday season is upon us in general.) This DIY New Year’s Eve mask project can be made with or without a sewing machine and is a great project for a novice stitcher – or even little hands wanting to get busy with a needle and thread. Continue Reading →
Author Archive | Aimee Davis
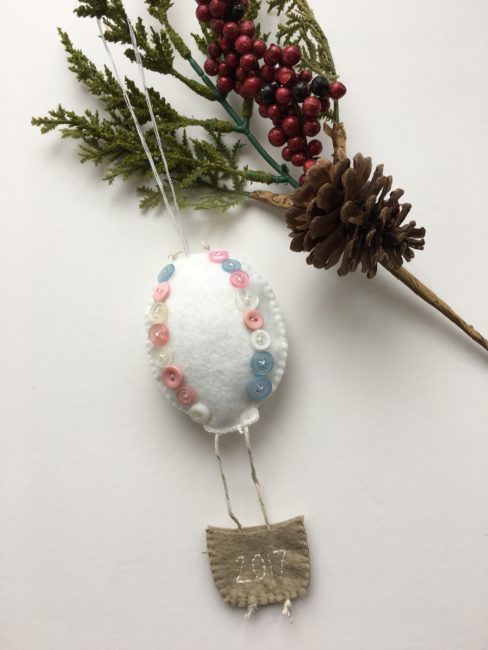
DIY Baby’s First Christmas Ornament
It’s Aimee here today with a simple little hot air balloon ornament, easy enough for the most novice of stitchers to complete. Gift this DIY Baby’s First Christmas Ornament to a friend’s newest little one or hang it on your tree to celebrate the new little life in your home! Continue Reading →
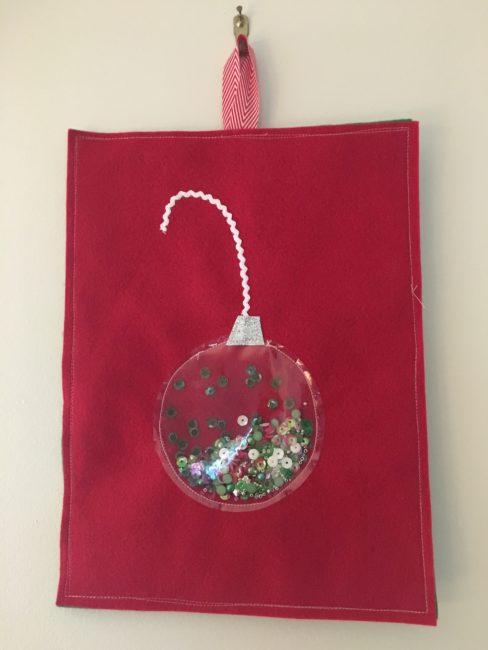
Simple Christmas Wall Hanging
Aimee here and today I bring you a simple sewing project with all the directions you need to make a simple wall hanging, with just a little bling, just in time for the holidays! Continue Reading →
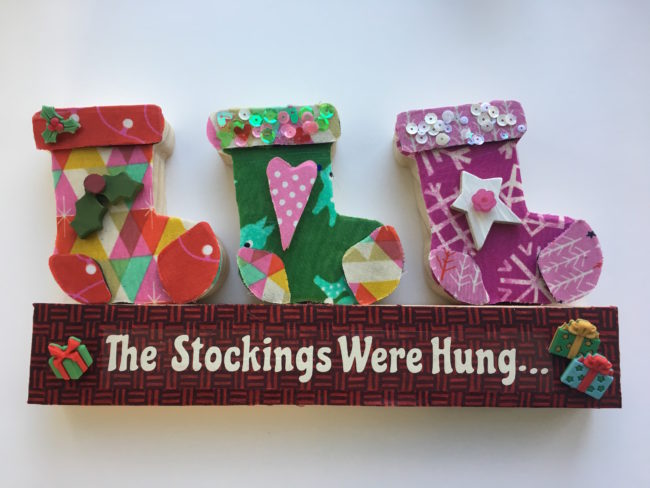
The Stockings Were Hung Christmas Mantle Decor
Hi! It’s Aimee here with a great project to add to your Christmas mantle decor this year. Using the new stockings set, I added a little fabric and some button bling to dress up these simple wood decor pieces. Continue Reading →
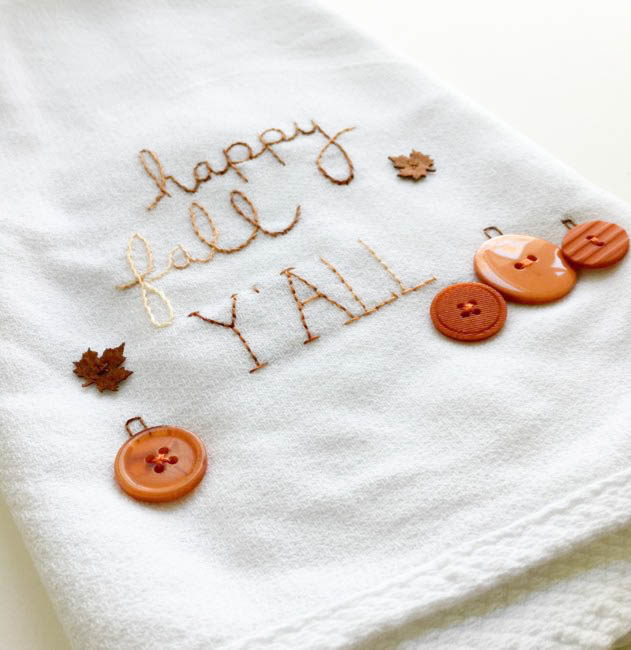
Embroider a DIY Fall Tea Towel with Buttons
We’ve had so many crisp mornings lately, I have gotten so eager for fall! So bring on the pumpkins, acorns, orange and brown! Today’s project is a super quick embroidery project to add to your fall decor. Even the most beginner of embroiderers can easily stitch up this DIY fall tea towel. Continue Reading →
Gift A Beautiful Beaded Pendant
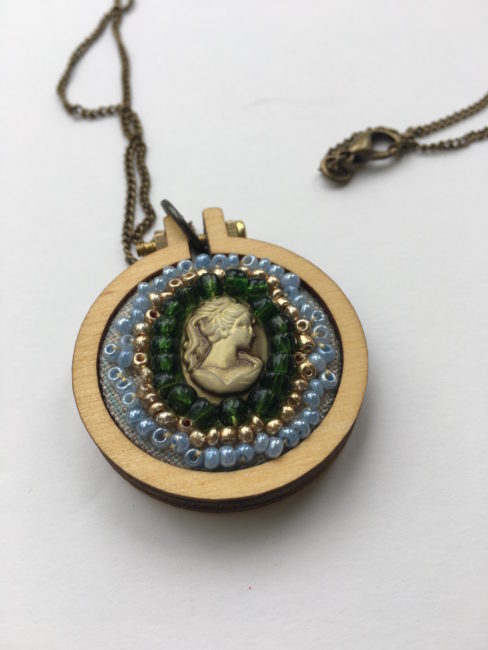
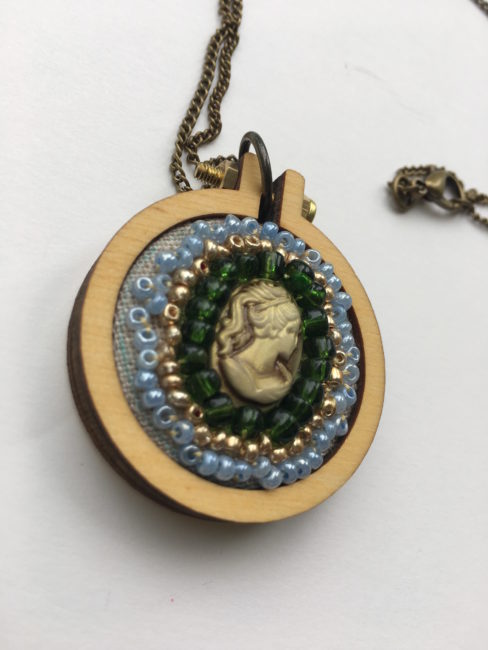
My project today is a sweet little pendant necklace that comes together pretty quickly and makes a great gift.
Don’t be daunted by the idea of sewing on the beads! It’s true that sewing beads can be a little fiddly because of their tiny size, but once you get the hang of it, it’s a great beginner project for jewelry making.
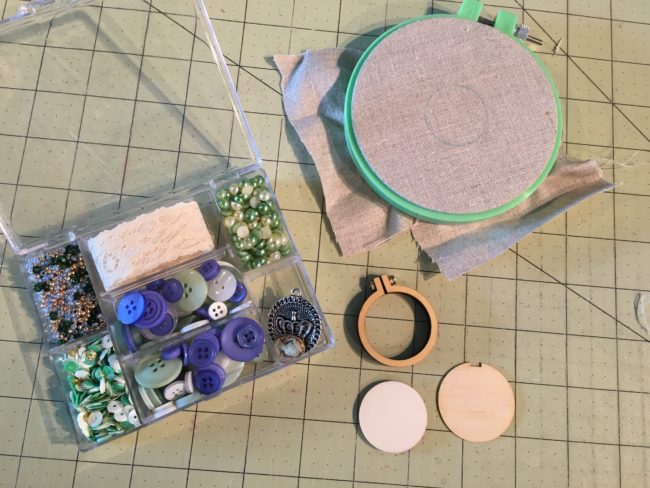
Here’s what you need to make this little beaded pendant necklace:
- 28 Lilac Lane “Tea Time” set
- mini embroidery hoop set
- DMC 3046 divisible embroidery floss
- scrap of natural colored fabric
- embroidery needle
- embroidery hoop
- scissors
- necklace chain + jump ring
- craft glue
- hot glue gun
Put your scrap of fabric inside your embroidery hoop for sewing and outline the inside circle of the mini embroidery hoop with a pencil onto your fabric. Using the little cameo from the 28 Lilac Lane set, use craft glue to glue this to the center of the circle you just outlined. Let dry completely before moving on.
After your cameo is completely dry and securely attached to your beaded pendant, take a small plate (or use the lid of the Tea Time set) to pull out the beads. From your divisible embroidery floss, pull out one thread strand and thread your needle, making sure to leave a knot in the end. Sew a row of the larger green beads around the edge of the little cameo. Then repeat with the gold beads and then the blue beads.
To finish your beaded pendant, position the mini hoop on your design and draw a cutting line approximately 1/2 inch around the hoop. Cut it out. Place the cut design on the center plate. Then place the mini hoop on top and push it down to secure it. Flip it over and using a hot glue gun, place the glue around the inner edge. Push the fabric down in a circular motion. Add glue to the backing piece on the inner edge. Position it on the back of the hoop with the notch top and center.
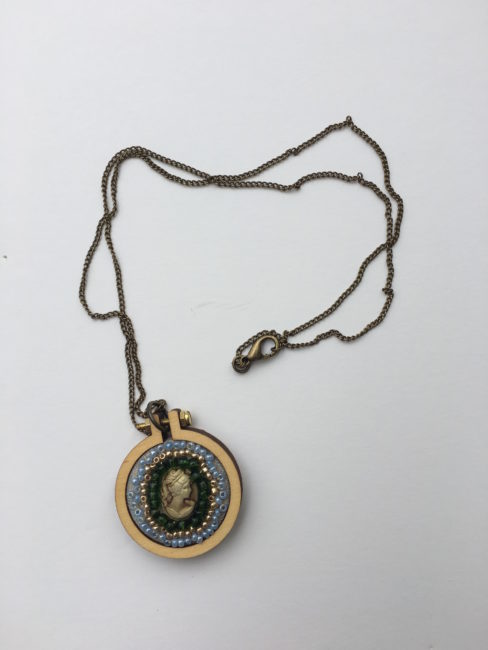
You can either add a jump ring to your beaded pendant for your necklace chain to go through or thread the chain through the bolt in the center of the hoop.
Voila! You have a sweet little beaded pendant necklace ready to wear on a fun night out or to gift to a friend!
Reversible Halloween & Thanksgiving Fall Countdown Calendar
It’s hard to believe it, but fall is creeping upon us and with Fall comes holiday after holiday. Here is a fun and fairly easy fall countdown calendar project to count down the days till Halloween and/or Thanksgiving using some easy to find craft materials and of course…buttons!
Here’s what you need to make this fun, reversible witch and scarecrow fall countdown calendar.
- Buttons Galore “Trick or Treat” Button Basics
- Buttons Galore “Licorice” Button Basics
- 1 sheet each of craft felt in the following colors: green, black, tan and dark brown
- scraps of green and orange felt for noses
- craft glue
- black embroidery floss or thread
- sewing machine (optional)
- thumb tacks
- black permanent marker
- hot glue gun
- cork board
- witch & scarecrow patterns
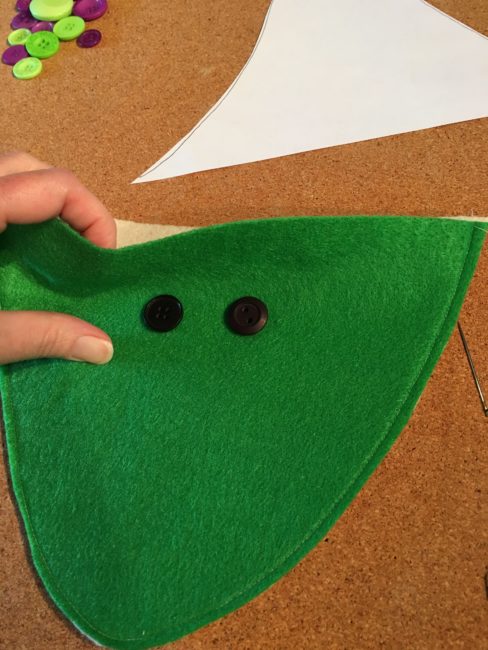
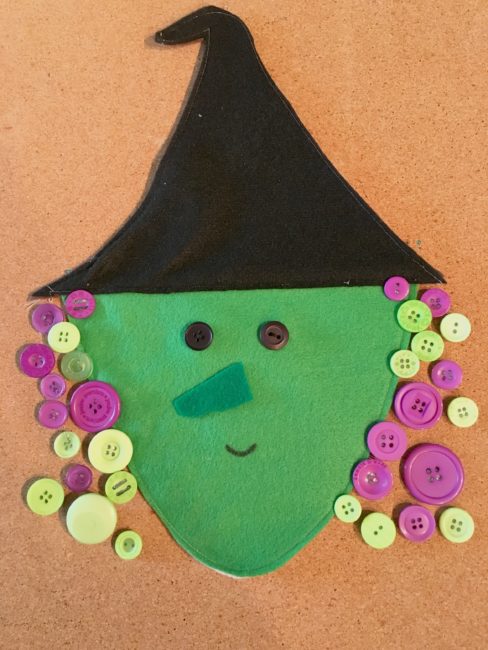
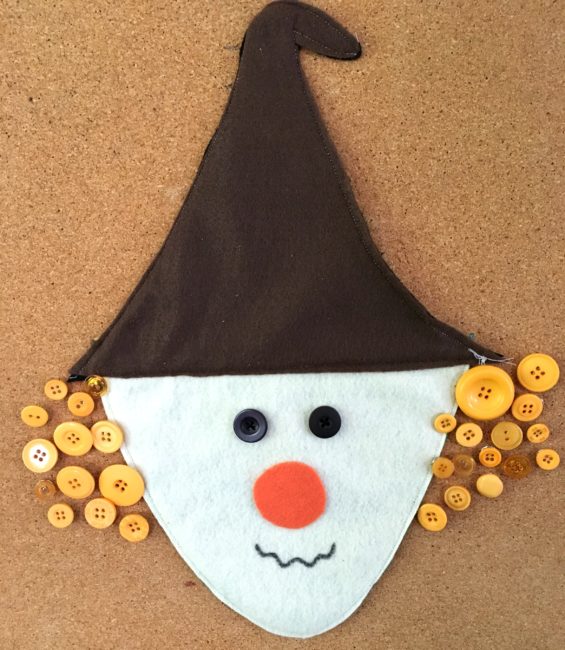
First, print out your patterns and cut out the felt according to the directions on the patterns. You will have 1 brown hat, 1 black hat, 1 green face and 1 tan face. If you are sewing your project together, go ahead and sew around the curved part of the face. Don’t forget to leave the top open! You will then need to sew your black button eyes onto the green face and onto the tan face.
If you are gluing your project, go ahead and glue the two faces together and then glue the black buttons for eyes onto each face. Let dry well before going on to the next step.
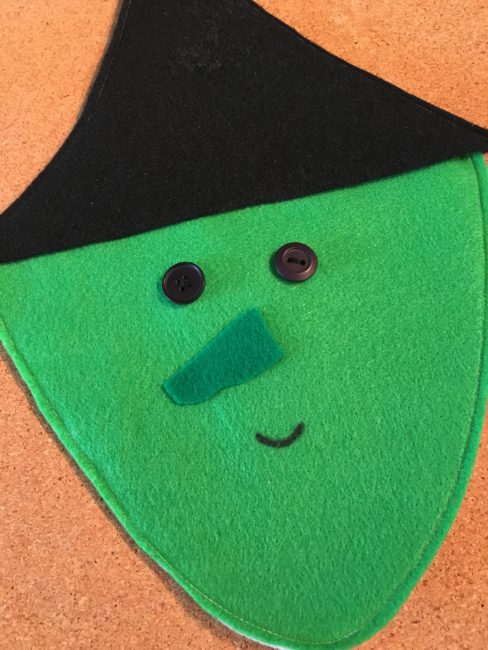
Cut out a wiggly, carrot shaped nose for your witch, along with a circle nose for your scarecrow. Attach them to your faces with craft glue. Use the black permanent marker to draw a mouth for each.
Next, if you are sewing your hats together, sew up and around the two sides, leaving the straight edge of the hat open. Then slide your face inside the two pieces of your hat and sew together; making sure to sandwich all the layers of the felt together when you are sewing.
If you are gluing, glue the hat pieces together and then slide the face inside the hat. You can attempt to glue these parts together, but I would recommend leaving them unattached. They will appear one piece when you attach it to the cork board.
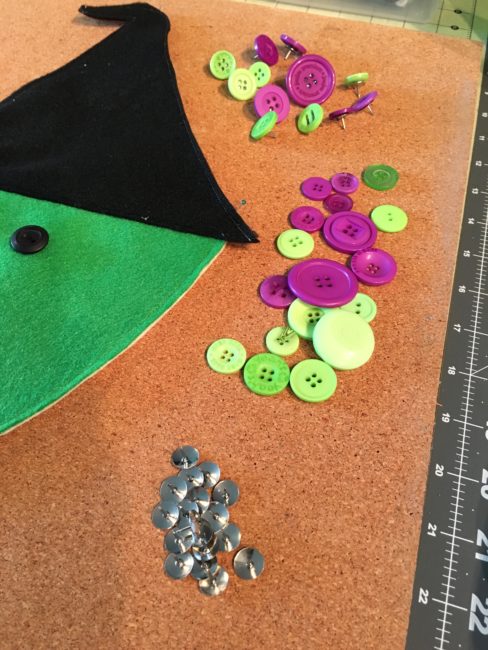
Heat up your hot glue gun and while it’s heating, separate your button pack. The witch hair uses 31 of the purple and green buttons and the scarecrow uses 28 of the orange from the Trick or Treat Button Basics BCB129. Glue the buttons on the thumb tacks and let them cool off.
And there you have it! Attach your witch to your cork board with straight pins and either start out with all 31 buttons, taking one off each day until Halloween arrives, or add a button each day as it gets closer! Whichever you prefer!
Once Halloween is past, flip over your witch and start counting down the days till Thanksgiving!
Thanksgiving and Halloween are coming fast…make your fall countdown calendar today!
Learning To Sew with Buttons on a Fall Hoop Project
I’ve had the joy of teaching sewing in our community for the past few years to children of all ages. When people discover that I teach sewing to children, the first question they always ask is “what is a good beginner project?” This little hoop project is always my number one go-to project for anyone who has never used a needle and thread and wants to learn to sew. Even better, including buttons in the project ensures that they will also walk away with a great life skill for those days when a button pops off their shirt at the most inopportune time – and you know we’ve all been there!
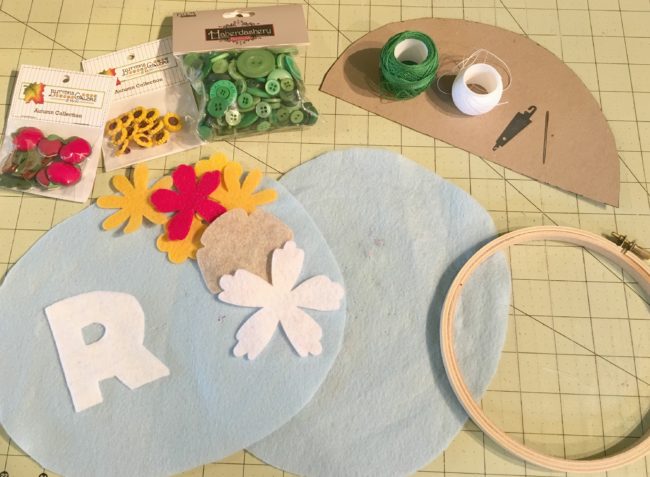
First up, let’s talk supplies. You will need the following to complete the two hoops:
- Buttons Galore “Sunflowers” 3D Buttons
- Buttons Galore “Apple Pickin'” 3D Buttons
- Buttons Galore Green Haberdashery Buttons
- scraps of blue craft felt
- felt flowers of various shapes and colors
- scrap of felt (for your initial and the tree trunk)
- DMC cotton pearl embroidery thread – size 5 in green & white
- 2 – 6″ wooden embroidery hoops
- circle template measuring roughly 8 inches diameter
- initial patterns – hooplettersA-I hooplettersJ-Q hooplettersR-Z
- chenille needle size 22
- craft glue (optional)
- needle threader (optional, but helpful)
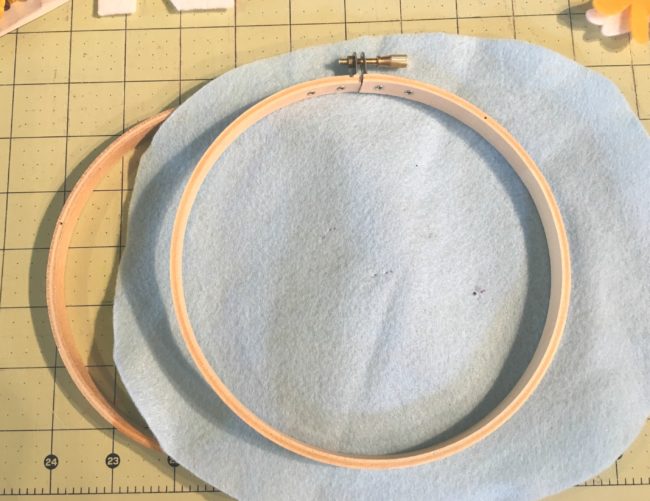
Now that you’ve gathered up all your materials, let’s get started and learn to sew! First, you need to find something to make a roughly 8-inch circle. Find a bowl or something round to trace around and cut your blue felt into two circles.
Next up, let’s set them in your embroidery hoops. This is often the most daunting thing for new stitchers, but all you need to do is make an embroidery hoop “sandwich”! Unscrew the bolt just a little and separate the hoops into two parts. Take the part without the bolt and lay it on your workspace. Then lay your blue felt circle on top of the bolt-less hoop and sandwich them all together by setting the hoop with the bolt outside the bottom hoop and the felt. Tighten up the screw and pull on the edges of the felt just a little to make everything tight.
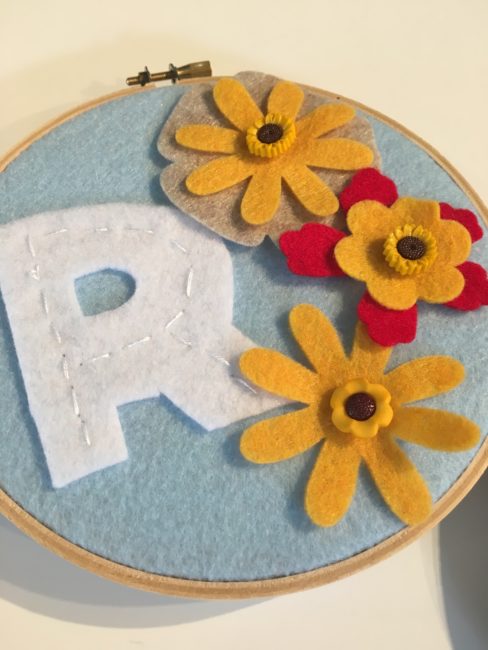
Now, print out the pattern page with your initial on it and cut out the correct initial for you. Use the paper pattern to cut out your initial with whatever color felt you would like. Then gather up your Sunflower buttons, the felt flowers, and your initial. Lay them all out on top of the hoop in whatever design you like best.
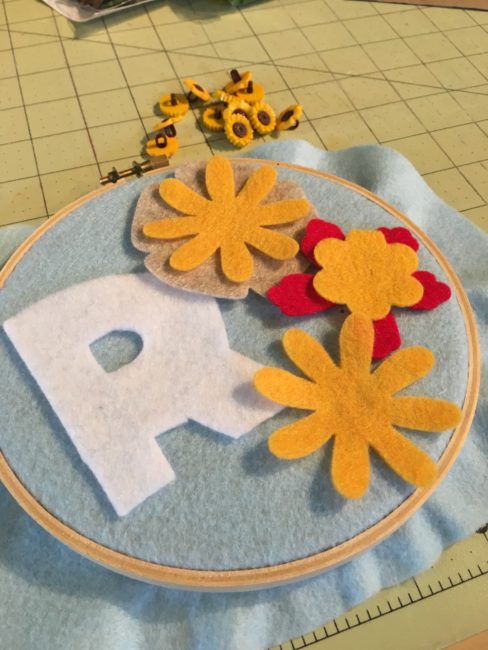
Now it’s time to stitch down your initial. Take your white thread and needle. Thread your needle and make sure to put a knot on the end! We are going to stitch down our initial with a running stitch.
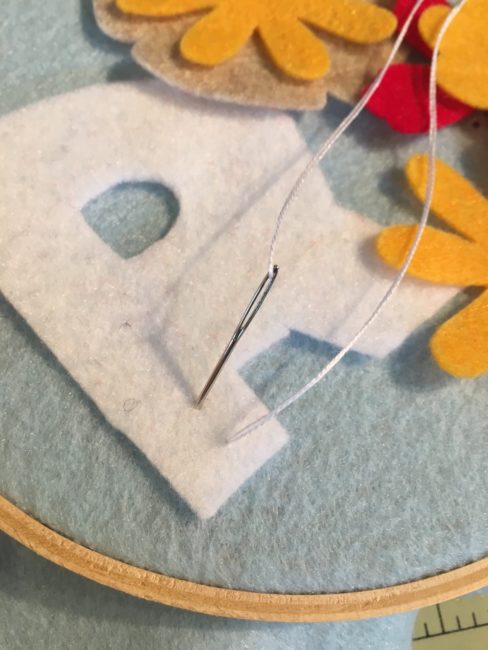
First up, bring your needle up from the bottom and pull gently until your knot stops the thread. Don’t pull too hard or you will pull your knot all the way through! Then bring your needle back down about a pinky finger width from where you started and pull the thread all the way through. Then bring your needle back up and then down as you stitch along the middle of your initial letter. Always remember to “follow your thread” and stitch with a rhythm of up and down.
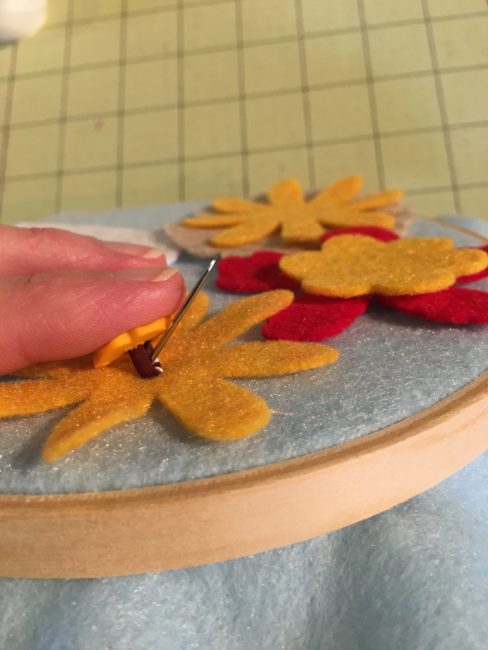
Lastly, grab your Sunflower buttons and lay them on top of your felt flowers. These are shank style buttons and can be a little more tricky for little hands to sew. Start out by bringing your needle up from the bottom and pull it all the way through till the knot stops you. Then take your button shank and thread it onto the needle and thread. Let it fall all the way down and then put your needle back through the top of the felt, pulling the button tight to the felt as you pull the thread from underneath. Continue to sew the button on a few more times and then move down to the next flower.
To finish off my hoops, I like to take a hot glue gun and glue the rim of extra felt around to the inside of the back. But sometimes I like to leave it open like a little ruffle fringe! Your choice!
Put a pretty ribbon through the top and you are done!
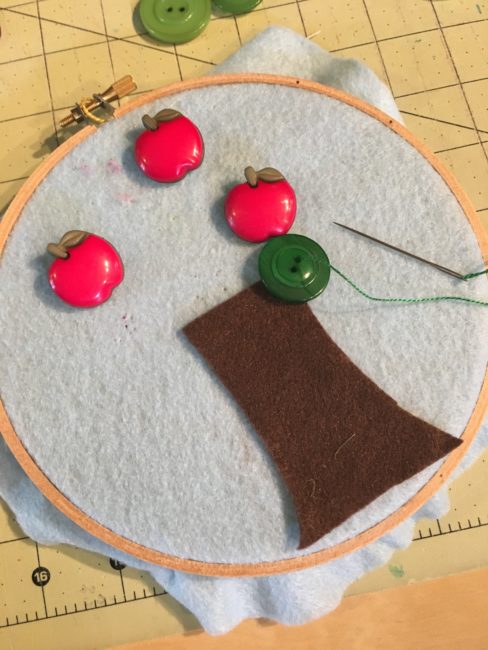
To make the tree, gather up a scrap of brown felt and cut out a little tree trunk. You have the option of sewing down your tree trunk with a running stitch or you can use some craft glue to glue it down.
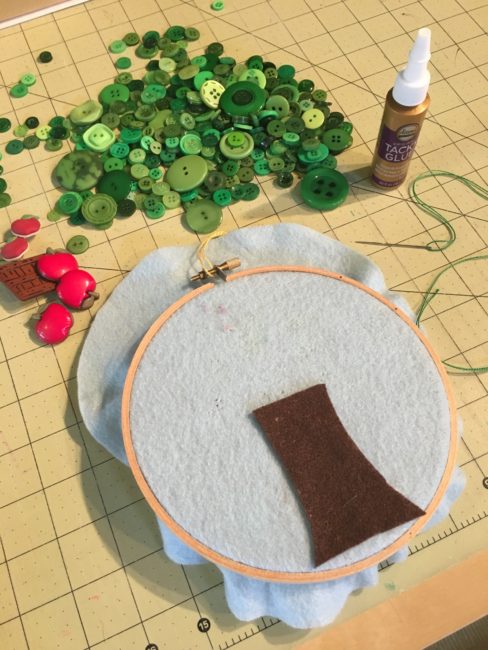
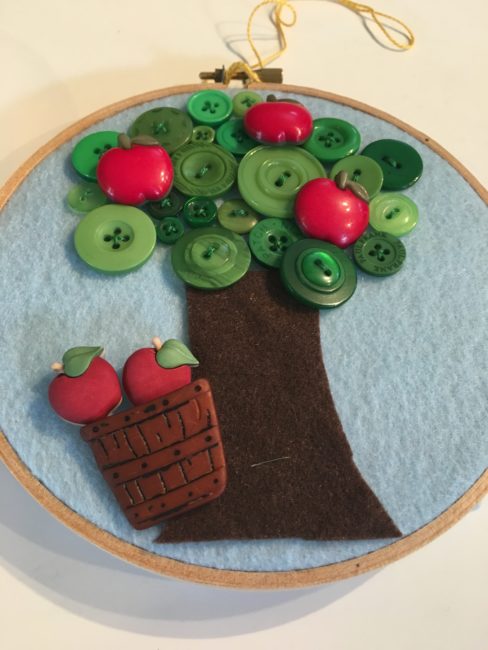
After gluing down the trunk, grab your green thread, a needle and the Apple Pickin buttons from the pack and stitch those down in random spots above your tree trunk. These are the same shank style as the sunflowers. Next, pour out your bag of Green Haberdashery buttons and choosing those that fit best, stitch down green buttons around your apples to fill in the tree.
After you sew all the button “leaves” down, take your apple basket and apples and stitch those down near the bottom of the tree. Add a little ribbon for hanging, finish the back by gluing the felt edge to the back or leave it like a ruffle.
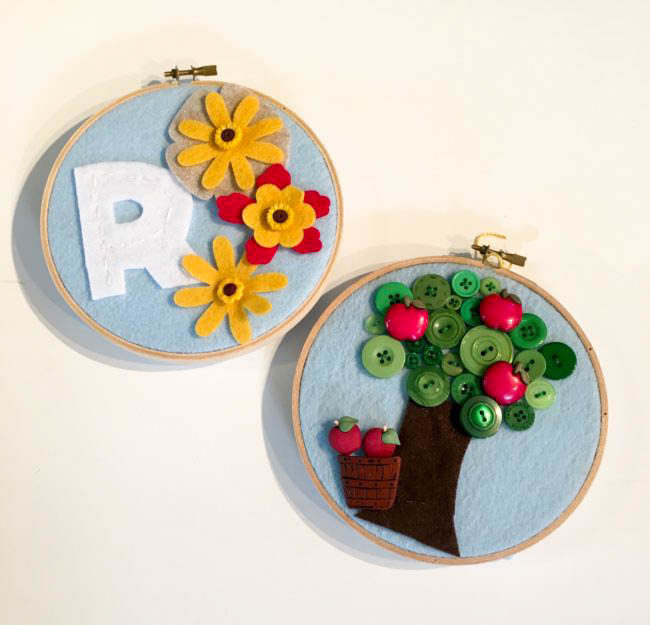
And there you go, two little Fall inspired hoops – these are perfect projects for beginning stitchers!
SaveSave
Christmas in July | Easy Button Christmas Ornament
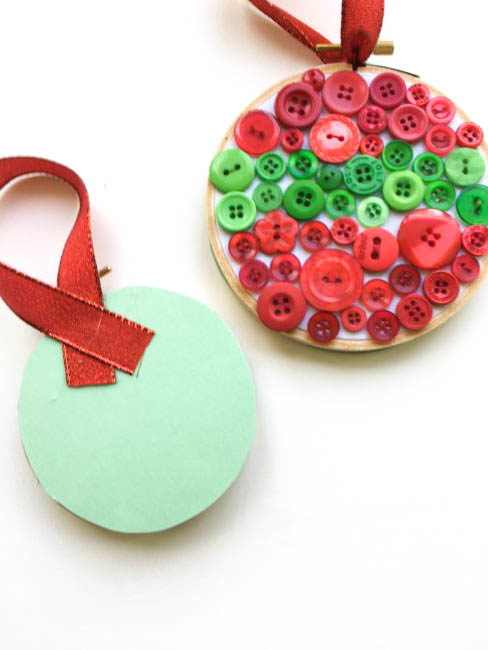
July has come and that means we are half-way to Christmas! Even though the heat index is out of this world, it’s never too early to start working on Christmas crafts, ornaments and decor. I’ve got an easy button Christmas ornament craft that is simple for even the most beginner seamstress to do. All you need are a few easy-to-find supplies and a cozy spot to sew, and you are ready. This is a super craft for children learning to sew also.
Here’s what you need:
- 28 Lilac Lane “Holly Jolly” Embellishment Kit
- 28 Lilac Lane “Yuletide Greetings” Embellishment Bottle
- 3 inch and 4 inch wooden embroidery hoop
- divisible embroidery floss
- needle and scissors
- scraps of white cotton fabric
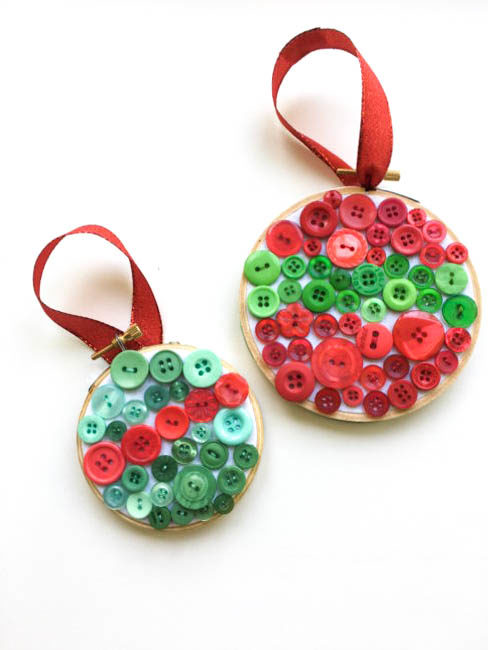
Put your cotton fabric scraps inside the hoop and gather up your buttons and sewing supplies.
You can attack this little project a couple of different ways, by planning ahead or by winging it! I prefer to go ahead and lay out all the buttons ahead of time, so I have an idea of how many I will need. Or you can just choose the buttons you want as you go. Either way works!
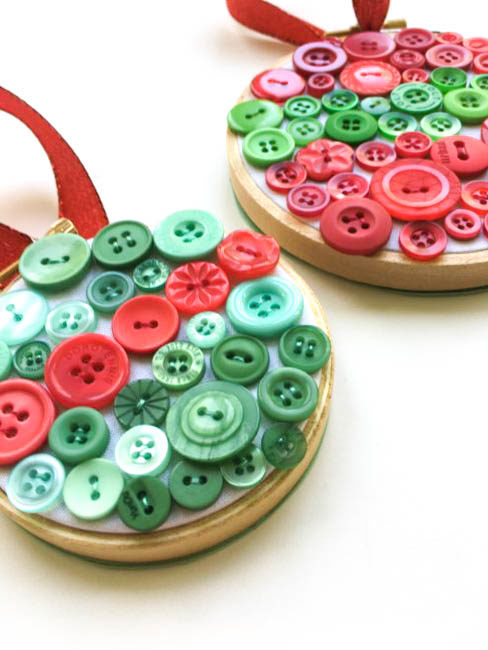
No matter how you decide to proceed, you do need to sew down the center row first. For the smaller hoop, it works best to make a center line with 4-5 buttons of equal sizes. For the larger hoop, it’s fun to mix and match and make it look a little zig-zag. Use one strand of a corresponding embroidery floss color and sew each button down with at least 2-3 stitches. After you have your center row stitched down, it’s time to start filling in the top and bottom of the hoop.
To finish, cut your white fabric about one inch from the outside of the hoop and hot glue it to the inside of the hoop back. Then you can hide all your stitches by cutting out a piece of scrapbook paper and gluing it to the edge of the hoop back. Use the ribbon from the embellishment kit for hanging your ornament, and find a fun place to display your new ornaments!
Sequin Filled Bookmarks Shake Up Your Summer Reading
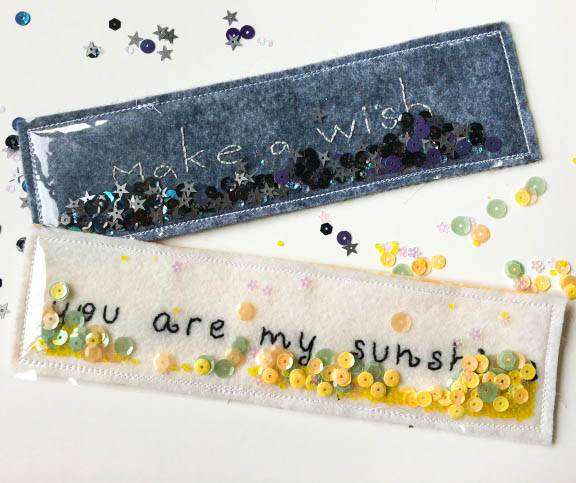
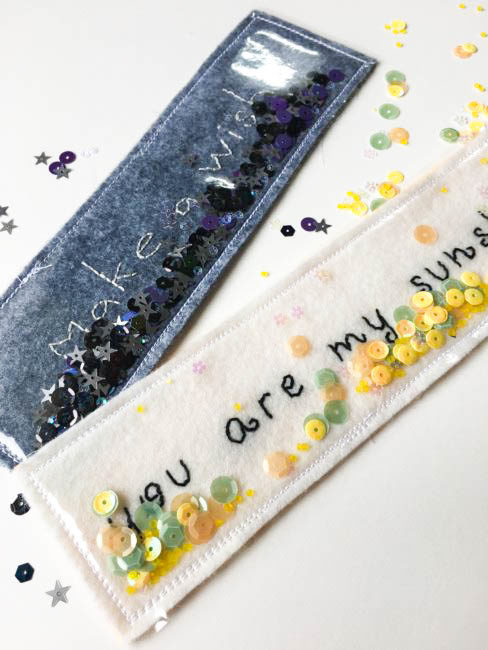
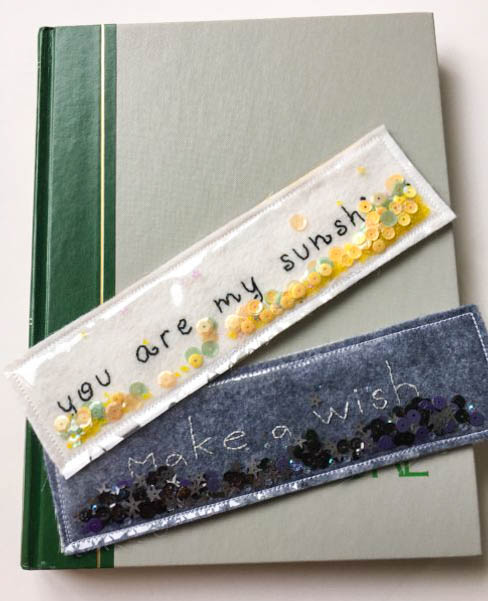
Aimee here with a great beginner sewing project for adults and children! These sequin filled bookmarks make a perfect little gift for all the book-lovers in your life.
Here’s what you need to make your own sequin filled bookmarks:
- buttonbookmrkspattern
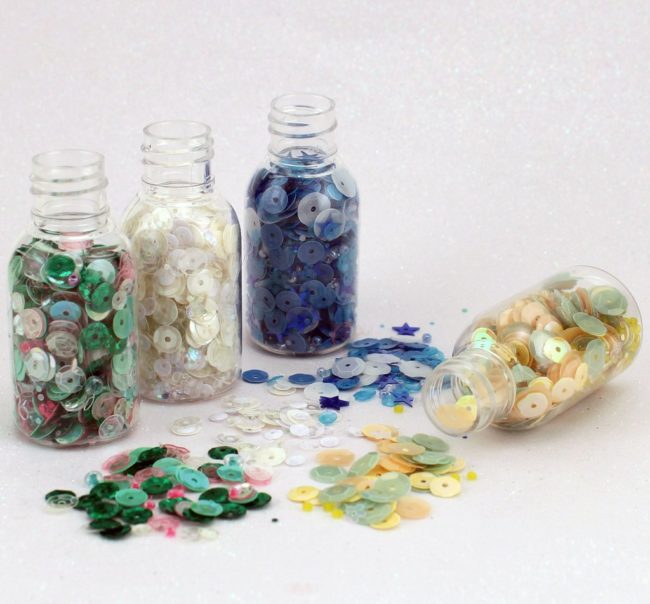
- 28 Lilac Lane “Pastel Dreams” Sequin & Bead Quartet
- 28 Lilac Lane “Haunted House” Premium Sequin Tin
- 9 x 2.5 pieces of white and grey felt
- 9 x 2.5 pieces of clear vinyl
- 9 x 2.5 pieces of yellow and blue fabric
- black and white standard divisible embroidery floss
- Fabri-Solvy (suggested)
- embroidery needle & scissors
- sewing machine (optional)
This project uses two gorgeous new 28 Lilac Lane sequin products: the “Haunted House” Premium Sequin Tin, and the yet-to-be-officially-announced“Pastel Dreams” Sequin & Bead Quartet that is pictured above. (Yes, you are getting a sneak peek of a new product today!)
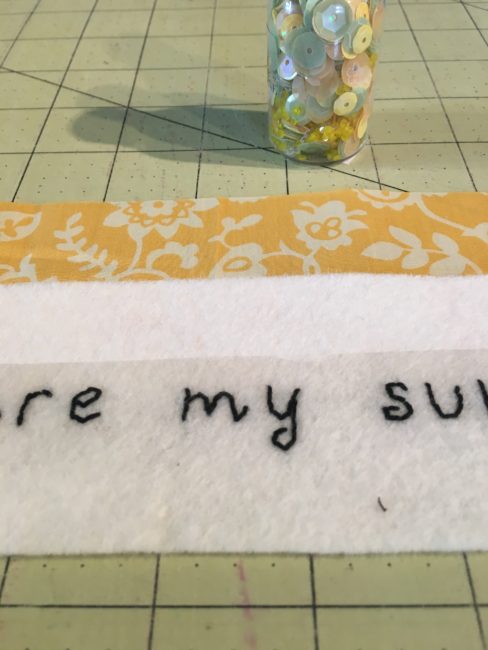
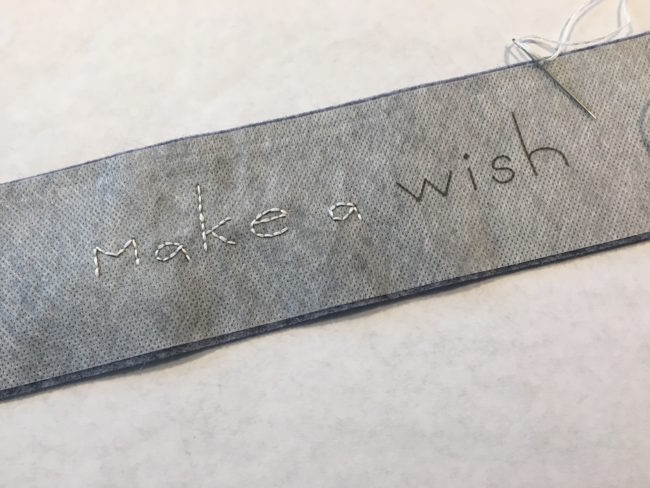
To begin, take your pattern (linked in the supply list) and using the dotted lines cut out your felt, clear vinyl and fabric pieces. To transfer the embroidery design to the felt I recommend using Fabri-Solvy. To use, print out the pattern following the directions on the package, tear off the backing and place your rectangle on top of the corresponding felt. Using three strands of embroidery floss; stitch through the felt and the Fabri-Solvy along the text with a back stitch.
Don’t want to embroider? You can easily adapt this project by printing the pattern onto cardstock. Cut out your bookmark along the dotted lines and continue the following directions. Most sewing machines will sew just fine through paper.
Now it’s time to put your sequin filled bookmark together. Lay your three pieces in this order: fabric (wrong side facing up), your felt embroidered piece (or your piece of printed card stock) and your piece of clear vinyl. Use a Wonder Clip or even a small clothespin to hold the layers together, and take it to your sewing machine.
Start your seam on the bottom long edge, making sure that you are leaving a hole to put the sequins and beads in. Stitch all along the three edges about 1/4 inch from the edge. (Tip: if you have a walking foot, this is a great project for using it.) Fill up your bookmark with the sequins and beads. I used roughly one tablespoon. Take it back to your machine and sew up the hole and all the way around the sides again. (This sewing could also been done by hand but it will be more time consuming, of course.)
There you go! Your sweet sequin filled bookmark is all ready for your next great summer read. (These also make fun back to school teacher gifts, too, if you change up the sentiment on them!)
Sew Crafty Brooches Make Great Gifts for Crafters
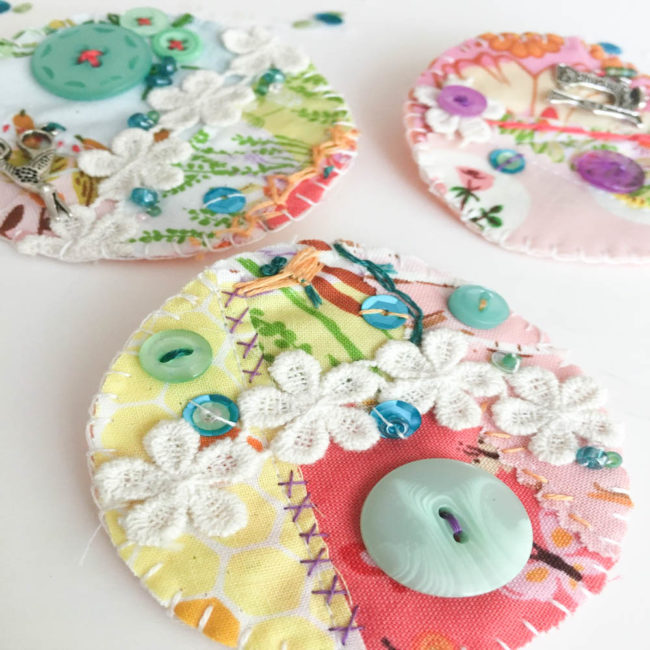
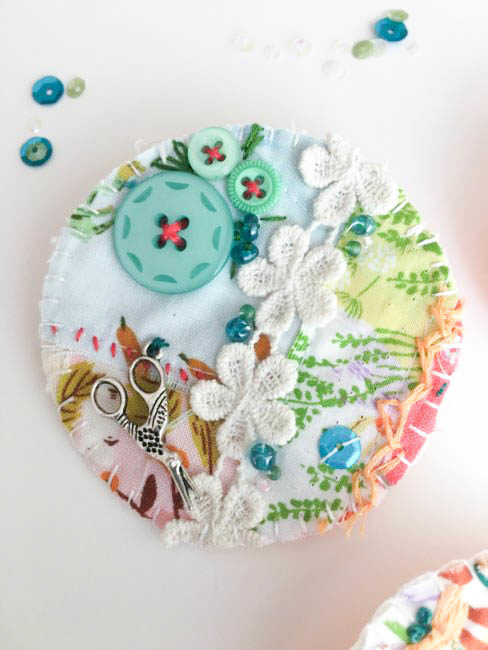
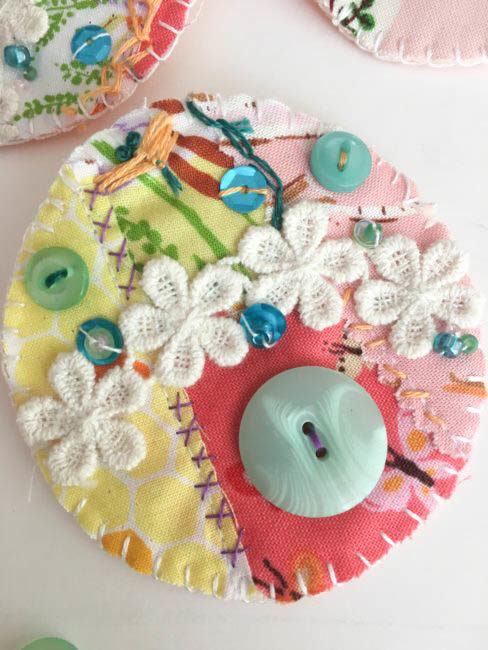
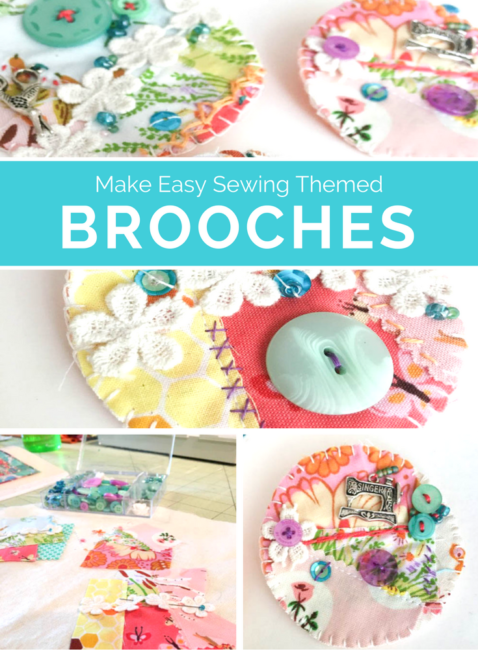
These little crafty brooches make a great quick and easy gift for the lady in your life who loves to sew and create. Use up some scraps of fabric, spread your creative wings and add some bling with a sweet 28 Lilac Lane embellishment kit.
Here’s the supplies you will need:
- 28 Lilac Lane “Sew Crafty” embellishment kit
- scraps of fabric
- wool felt (for the backs)
- cotton fabric (for the tops)
- pins (Wonderclips are also super helpful)
- sewing needle
- embroidery floss (various colors)
- jar lid (or something 2-3″ round to trace)
- a sewing machine (not required, but helpful)
- safety pin or jewelry pin backs
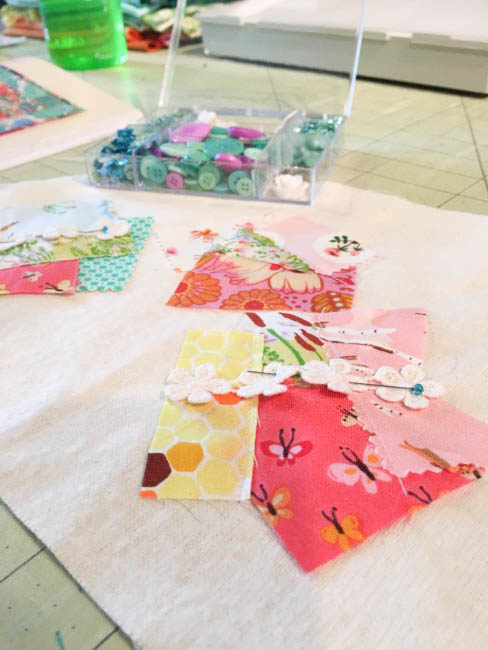
First, I laid out my backing fabric (I used a thicker cotton muslin that I had in my stash, but just a general cotton or even felt would work fine too). With a jar lid I had, I traced an outline of my circles onto the top of the fabric. Then I gathered up some various scraps of fabric and laid them out within the outlined circle. I used my sewing machine to sew down a few of the seams, but this could easily be done by hand with just a back stitch using a single strand of embroidery floss.
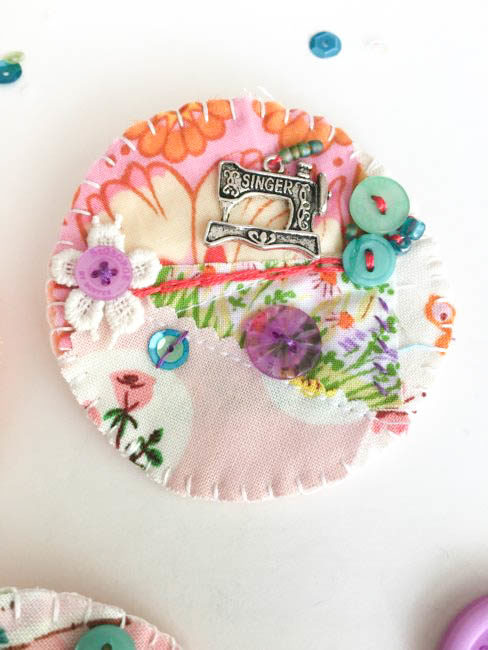
Next up, I laid out different elements from the 28 Lilac Lane “Sew Crafty” embellishment kit. The kit includes some trim, sequins, beads, buttons and a few charms. The trim lends itself greatly to being used as a typical trim or even cutting off each flower individually. This is where you can be creative and every brooch you make will be different!
On a few of the seams I chose to add some simple embroidery stitches. I used two strands of divisible embroidery floss for all of my stitching. I made simple X’s, seed stitches, and a chainstitch. I sewed down the trim with a single strand of white embroidery thread and just stitched down on the flowers where the stitches won’t be seen.
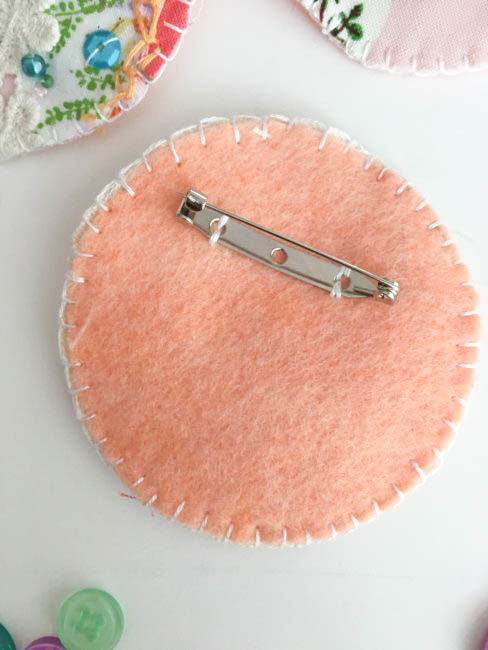
To finish out my crafty brooches, I took some felt and using the same jar lid cut out the felt and the brooch circles. The pin backs I used can be either sewn or glued down. I sewed down the pin back onto the felt.
Finally, I matched the top and backs of the brooches with wrong sides together. The brooches were sewn together using a buttonhole stitch to stitch the two layers together around the edge. There you have it!! Sweet little crafty brooches ready to wear!
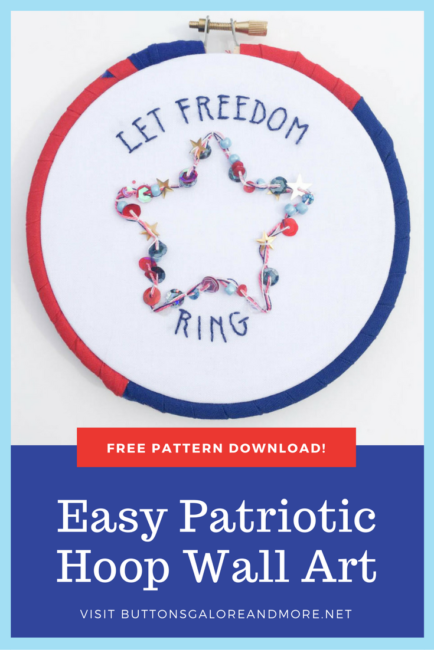
Make Patriotic Hoop Wall Art with 28 Lilac Lane [free download]
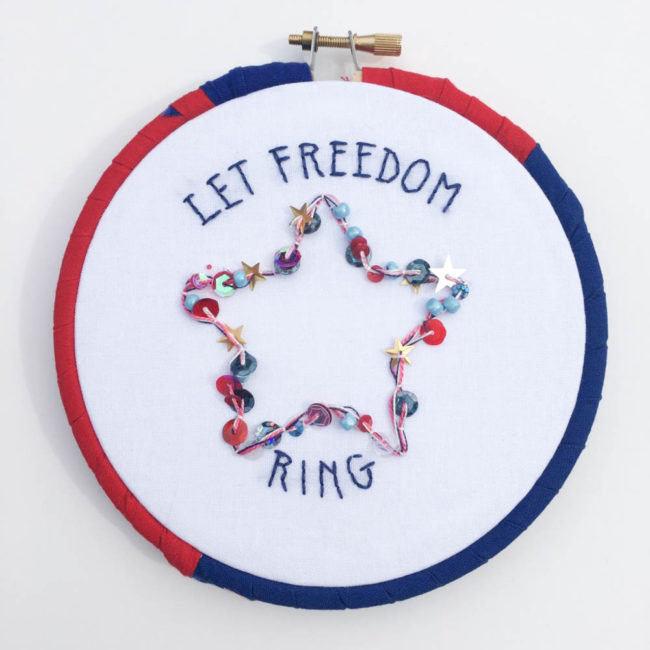
Summer time is kicking up into full gear and July 4th will be here before you know it! Red, white and blue and backyard BBQs are on the horizon! This little patriotic hoop is a great way to get started on those patriotic decorations.
Supplies Needed:
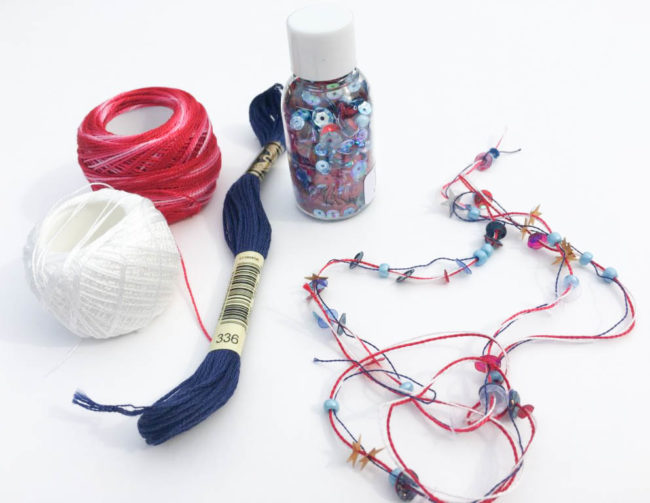
- 28 Lilac Lane Stars & Stripes sequin & bead mix
- DMC cotton perle size 8 #107
- DMC cotton perle size 8 #blanc
- DMC divisible floss #336
- white cotton fabric
- pencil
- embroidery needle
- 5 inch wooden embroidery hoop
- fabric for wrapping hoop (if desired) or craft paint
- glue gun for finishing
- embroidery pattern (free download)
This patriotic hoop features the Stars & Stripes sequin & bead mix that is a mix of larger blue beads, small and large sequins, star sequins and smaller seed beads and glitter. I used the blue beads and sequins to create beaded thread for my hoop.
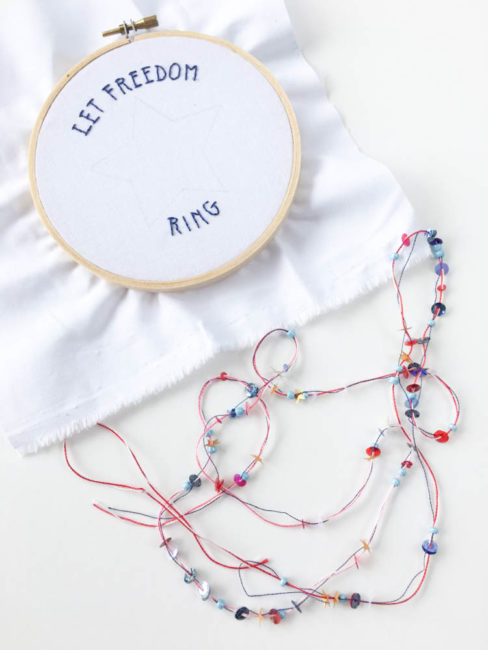
To get started: take about a yard of each thread; using only 1 strand of the blue divisible floss. Thread all three colored threads onto your needle and pick up different bits of the sequin and beads and push them along down your thread. Continue until you have distributed the beads and sequins sporadically along the thread. They don’t need to be in any sort of order, just make sure that they are spaced out well.
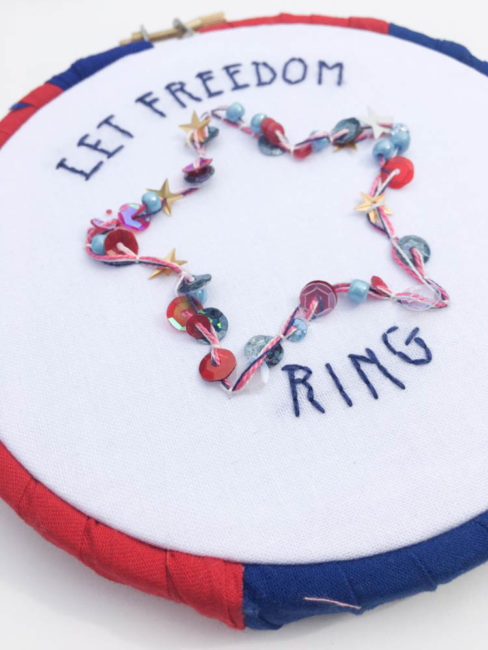
Find a sunny spot and transfer your embroidery pattern onto your fabric. Use three strands of the blue embroidery floss (#336) and backstitch the text. Lay your beaded thread on one of the star lines and with the white cotton perle, use a couching stitch to sew down the beaded thread along the outline of the star. Couch your beaded thread around the star two times.
To finish your hoop you can wrap it in a mix of blue and red fabrics, as I did, or you could even paint the hoop. Set your finished piece inside the hoop, trim your fabric about one inch from the edge of the hoop and hot glue it to the inside.
This patriotic hoop wall art is a great project for even a beginner at embroidery. It’s one that looks like it took hours and advanced skills, but is made up of basic embroidery stitches and techniques and can easily be finished in an afternoon!