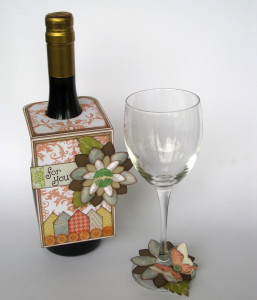
This is the time of year where around every corner you seem to picking up some sort of Thank You gift. Teachers, coaches, neighbors and friends. All would love this bottle of wine and coordinating wine charm. This tutorial will take you step by step to create this “Charm”ing gift.
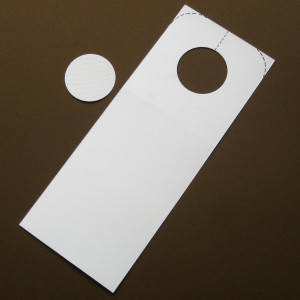
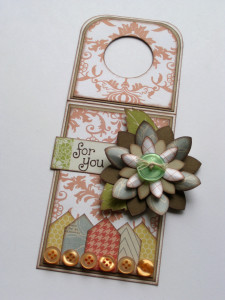
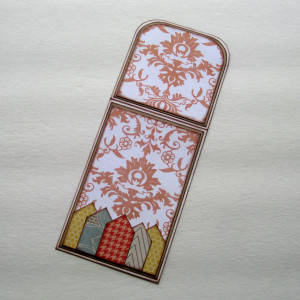
You are going to start by measuring the width of your wine bottle. I cut the white cardstock base just slightly larger than that measurement. My bottle of wine was just under 3.5 inches. The full size of the white cardstock is 3.5×8.5. The top section is 3.5×3.5. Just score a line at that point.
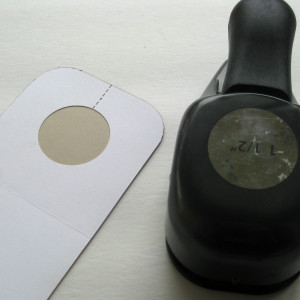
I used a 1.5″ circle punch to cut the hole for the neck of the bottle in the middle of your 3.5″ section of the white cardstock. I then took the circle I cut out and used it as a template to round the top corners.
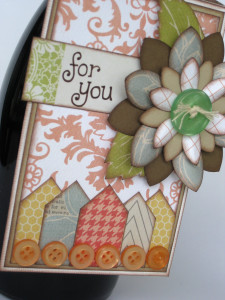
I then added a couple of layers of cardstock and patterned paper from the Teresa Collins, He Said, She Said Collection to decorate the base of the wine bottle card.
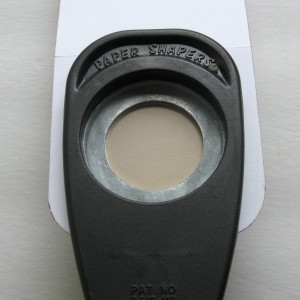
Once I had these layers complete, I re cut the hole on the top section of the card. I find using the punch upside down for this will make it much easier for you.
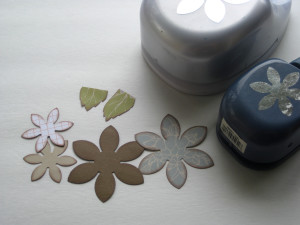
These are the pieces that I used to create the layered flower on the wine card.
Add the large button in the middle as a finishing piece and adhere to the main section of the wine card. Then I also added sweet little peach buttons along the bottom of the card.
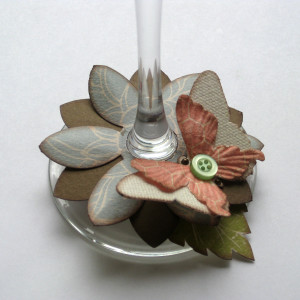
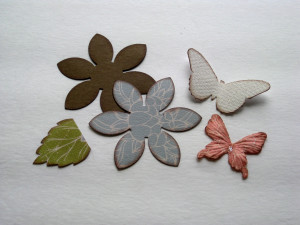
These are the pieces that I used to create the wine charm.
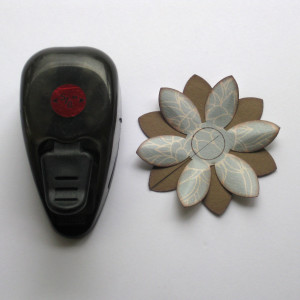
First I adhered the flowers together. I used my 5/8″ circle punch to create a template to trace onto the middle of the flower. I then cut in through the petals using scissors, and cut that circle out.
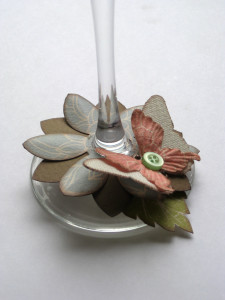
I added the sweet layered butterfly and leaf, with a small green button in the middle. Your charm is now ready for the stem of your favorite wine glass.
This is the finished wine card, ready for your favorite bottle of wine.
Products Used to Create This Project:
- Vacation Buttons from Buttons Galore & More
- Teresa Collins, He Said, She Said Collection
- 1.5″ Circle Punch
- Large and XL Flower Punch
- Mini Glue Dots
I hope this makes your gift giving just a little bit easier. Thank you so much for stopping by.
Latest posts by Tracy McLennon (see all)
- Altered Tea Box - February 3, 2014
- “Hello” Scrapbook Layout - January 25, 2014
- Winter Button Layout - January 6, 2014


No comments yet.