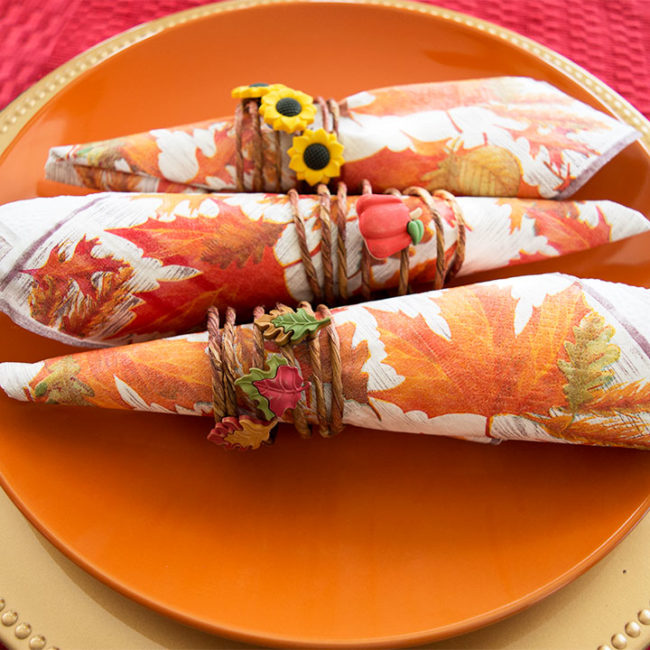
Mixed Media Napkin Ring Ideas

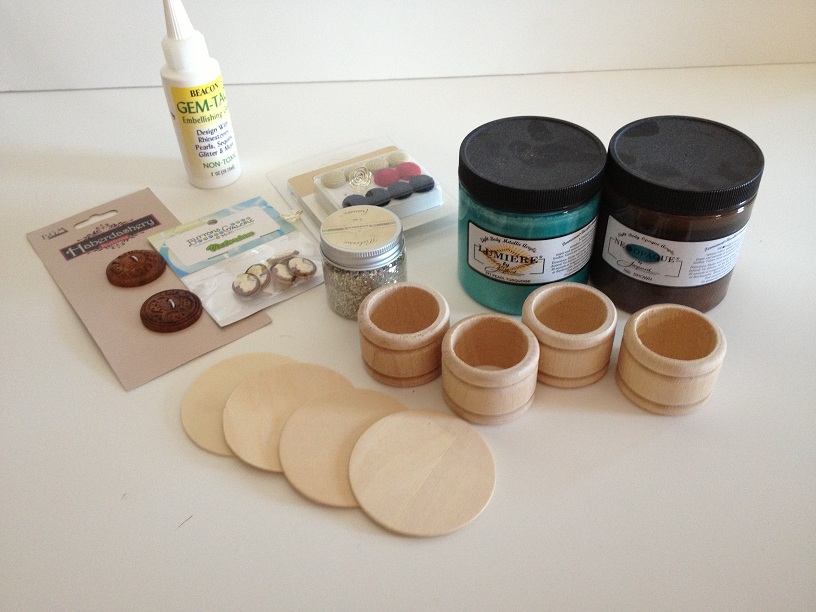
My love of mixed media runs deep. Very deep. Seldom is there a project that I complete without adding paint, sewn elements, stamped components and especially glitter. When I opened up a delightful assortment of buttons from an ordinary corrugated shipping box last week. my heart leapt when I discovered these fantastic carved wooden buttons from Buttons Galore and More from the Haberdashery line. I immediately started rifling through the remainder of my goodies and discovered these fabric covered Cozy Brads and these amazing camoes.
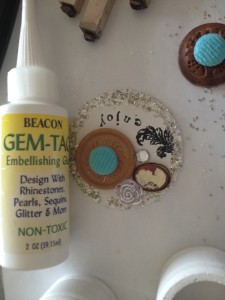
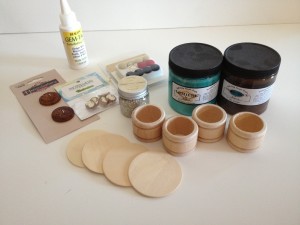 I grabbed some wooden napkin rings, some Gem-Tac Glue by Beacon Adhesives, some art glitter and some Neopaque paints from Jacquard Products so that I could make these fantastic wooden napkin rings.
Directions to make the napkin rings:
I played with the arrangement several times before coming up with one that suited me. I used the button shank remover to remove the wood shank from the wood carved buttons and the cameos. I also discovered that is could be used to remove the flange from the fabric covered brad.

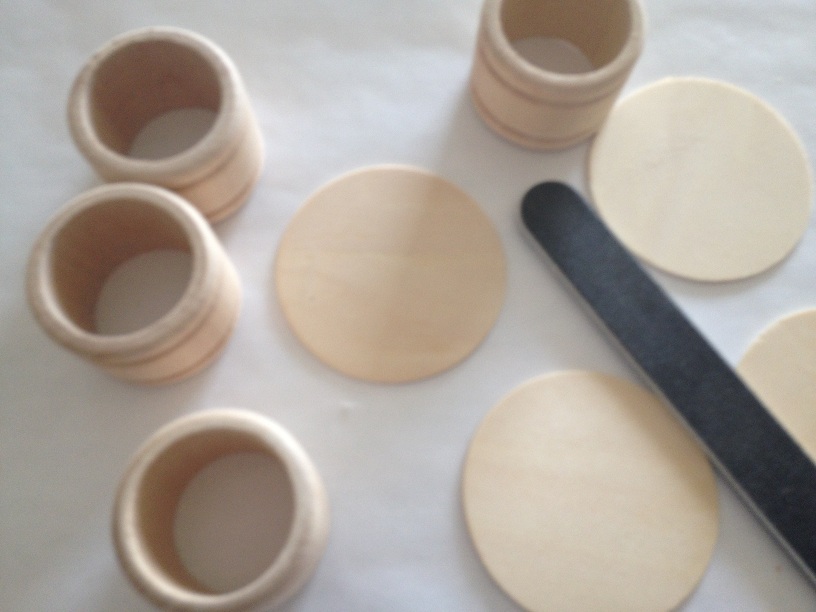
I carefully sanded the pieces before setting about painting them. I nail file works well with wood napkin rings since it allows you to get inside the ring in order to sand away the rough areas.
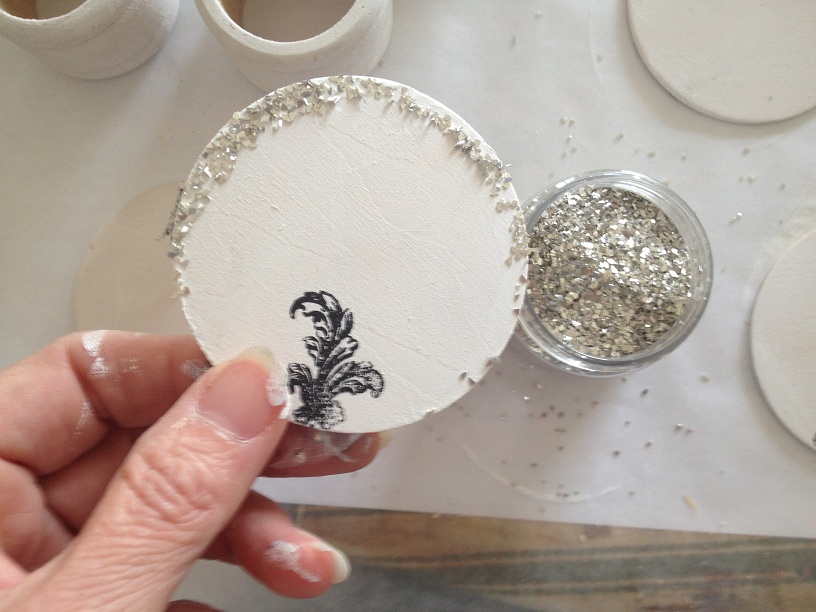
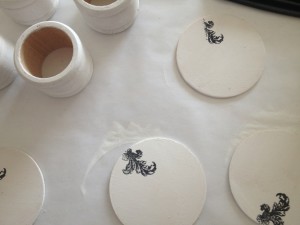 Once the front of the wood disks are dry enough and while you are waiting to add additional coats to the napkin rings, use an ornate motif and solvent ink to stamp the front of the napkin rings.

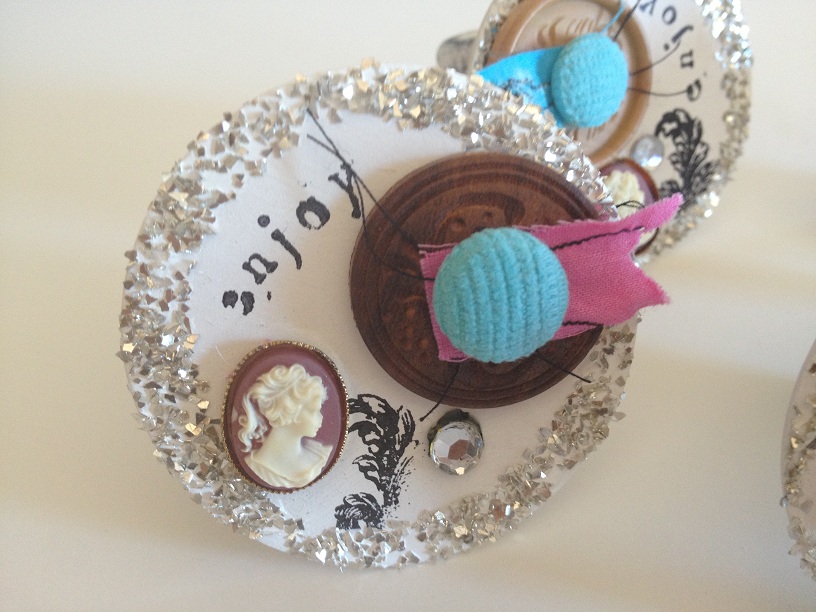
Coat the edges of the disk with some of the gem-tac glue and sprinkle on glitter to give your napkin rings some extra sparkle.
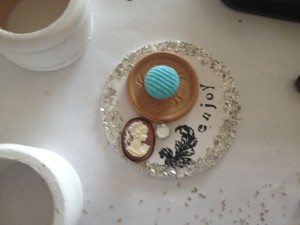 Next arrange your buttons as before and glue down using the gem-tac. I also added an appetizing sentiment stamped with alphabet stamped and solvent ink. I placed the de-flanged cozy brad in the center of the carved wooden brad.
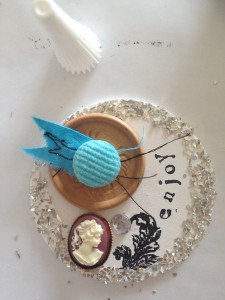
 Sewn elements were added in the form of small scraps of hand dyed fabric that were gently stitched and then glued to the rings.
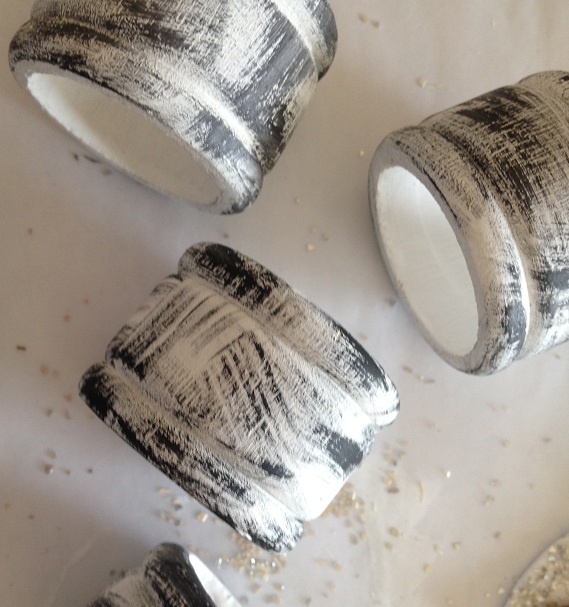
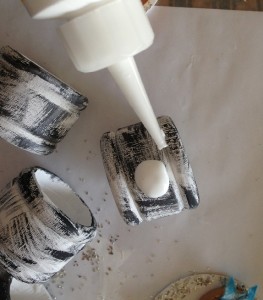
 Use Neopaque in black to add a very heavy dry brushed coat to the napkin rings.
 Finally, use a generous amount of gem-tac to glue the embellished disk to the napkin ring.
 Enjoy your artfully buttoned embellished shabby chic napkin rings!!
 Live Life Creatively,
Melony
www.mel-designss.typepad.com