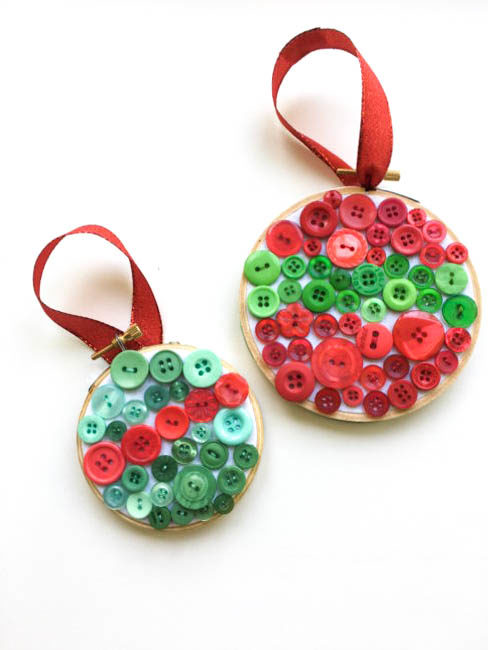
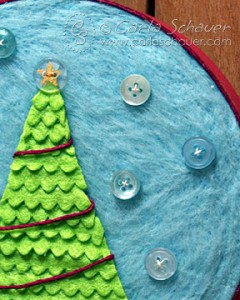
You can celebrate a little bit of Christmas in July by crafting this fun and easy Embroidery Hoop Christmas Card Holder. This simple craft is a great way to get your kids involved and teach them basic button sewing. It will look so cute on the wall holding your Christmas cards! You can customize it by changing the button shapes, or colors to suit your decor needs.

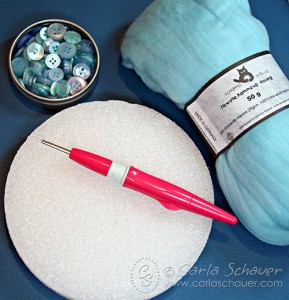
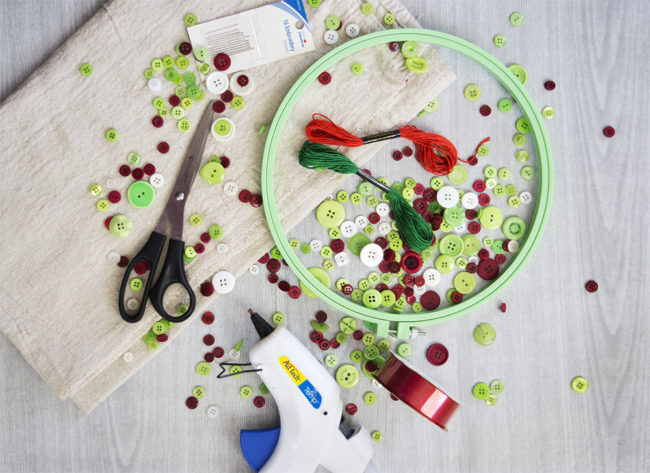
Supplies Needed to Make Embroidery Hoop Christmas Card Holder:
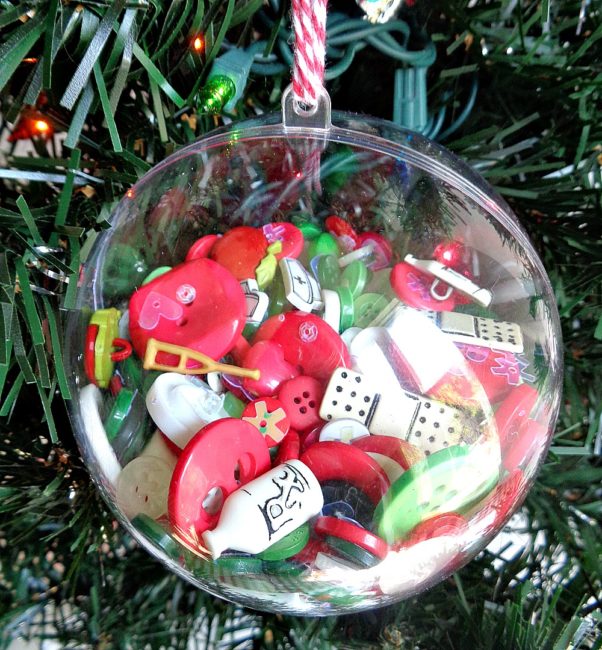
- Buttons Galore “Contemporary Christmas” Button Basics
- Buttons Galore “Christmas” Button Bonanza
- 10″ embroidery hoop (a larger hoop would work too)
- 1/4 yard of fabric (I used canvas fabric)
- scissors
- red and green thread
- needle
- ribbon
- hot glue
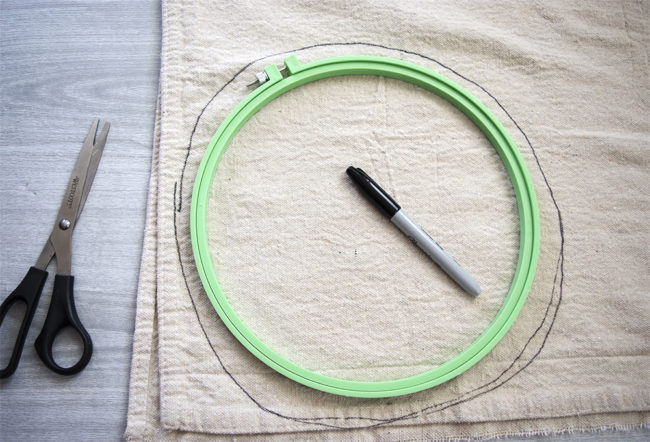
Step one:
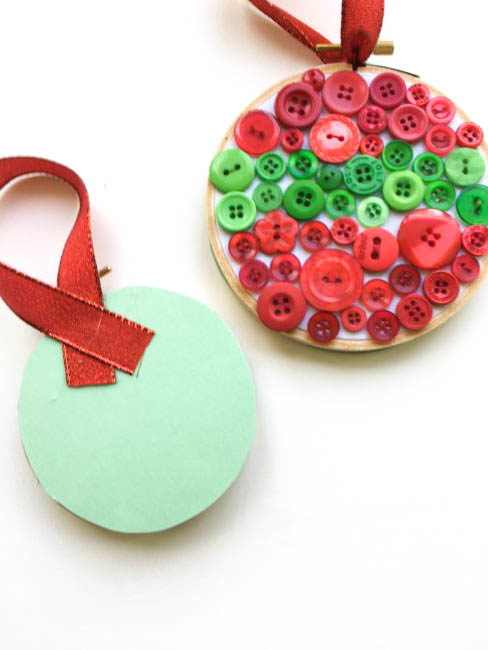
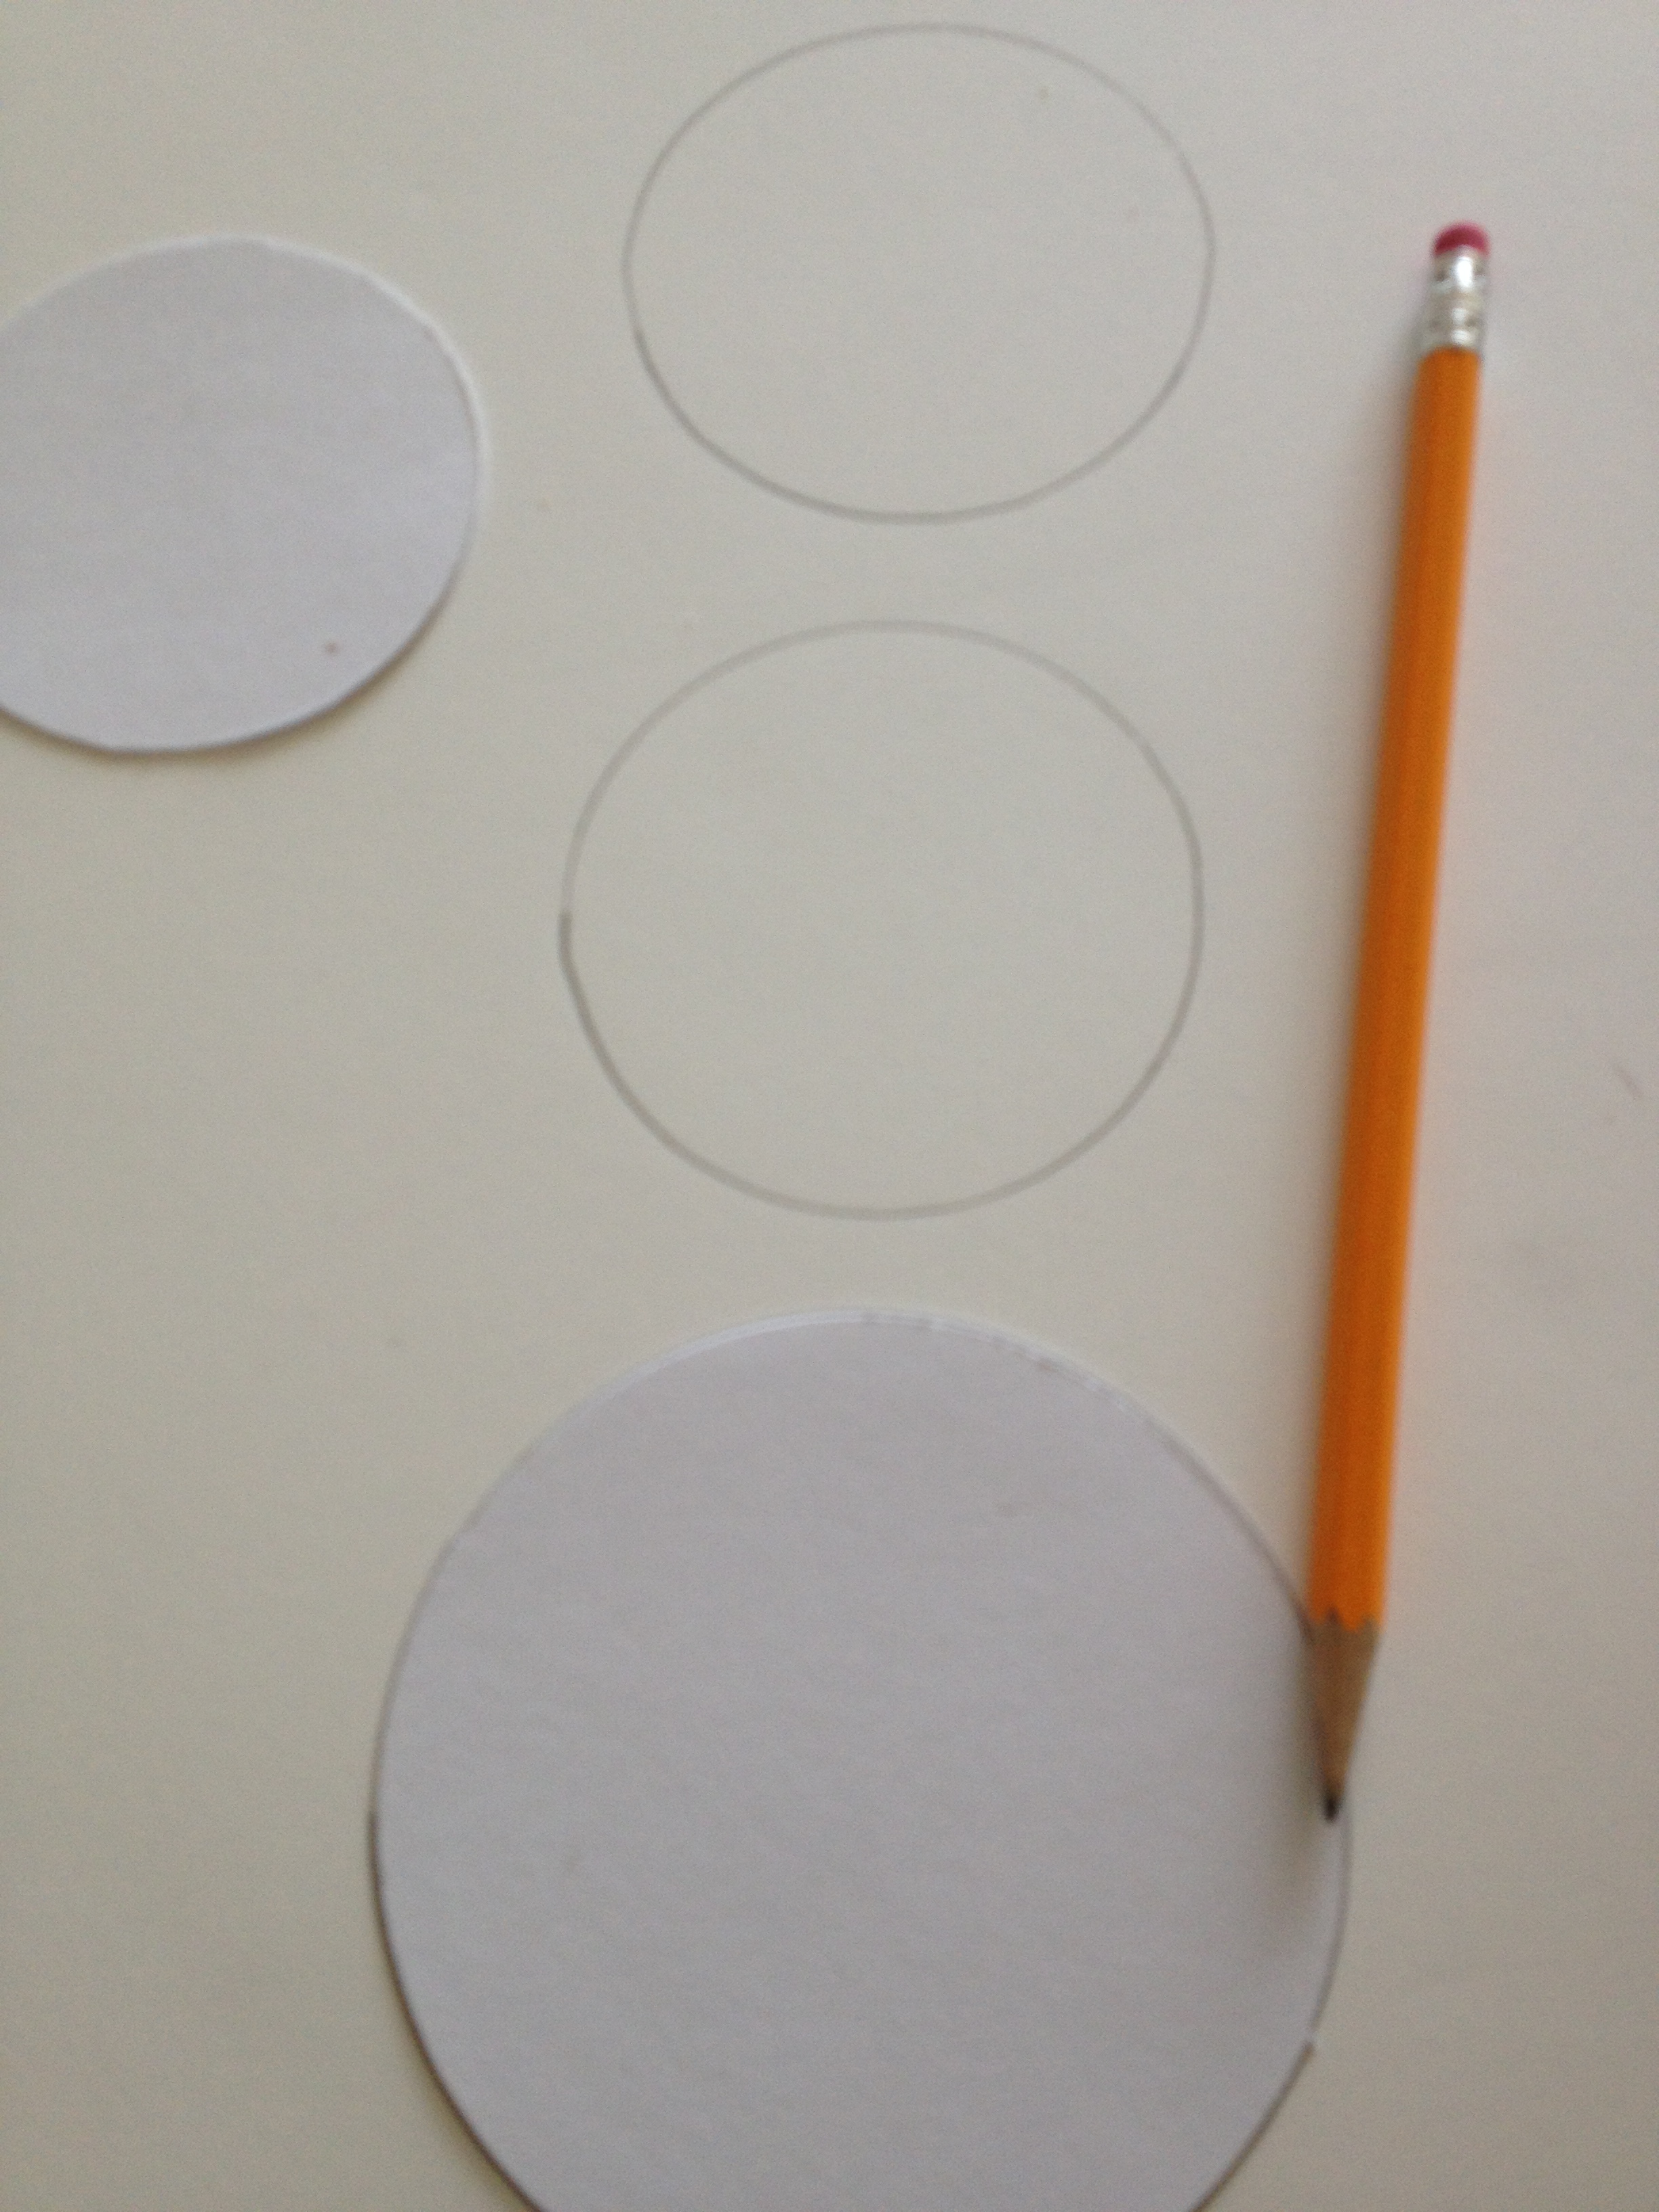
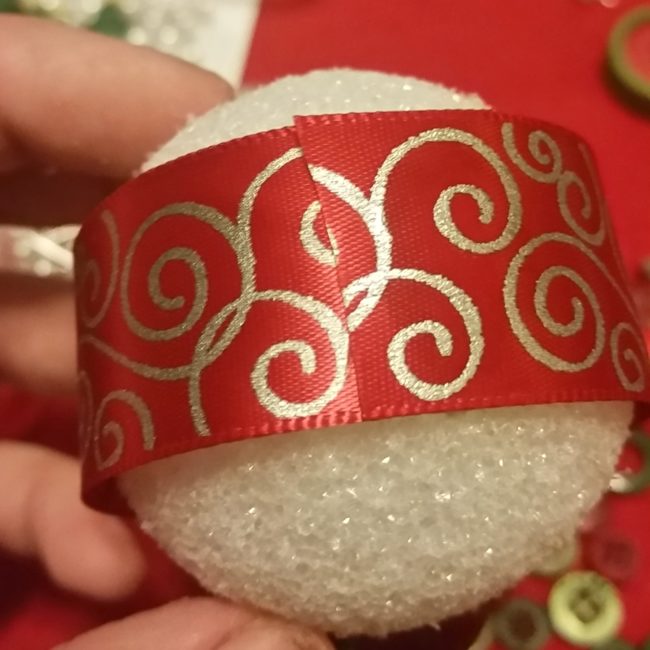
To start making your embroidery hoop Christmas card holder, lay your embroidery hoop on your fabric and trace around the outside edge of the hoop. Don’t trace right along the edge of the hoop, since you want the fabric circle to be bigger than the embroidery hoop. The circle doesn’t need to be perfect. You will need two fabric circles. I used a canvas drop cloth that I already had, but you could also use a cotton fabric or even burlap. You don’t want the fabric to have too much stretch though, since it needs to hold the weight of the buttons and the cards firmly.
Cut out the circles of fabric, and then cut one circle in half. Don’t waste too much time trying to get the cuts perfect. You won’t even be able to tell if they are or not once the project is finished!

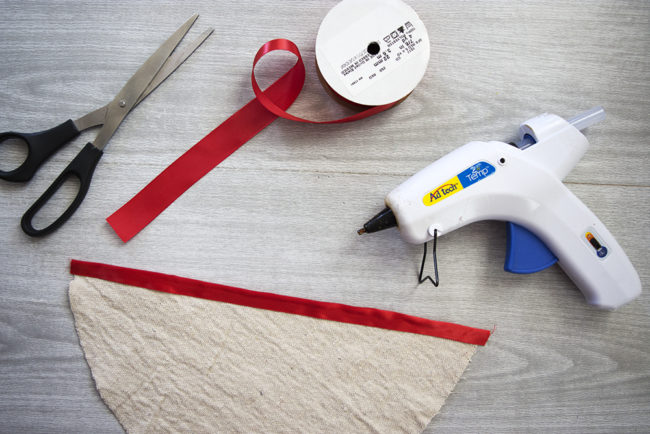
Step two:
Finish the straight cut edge of your half circle by gluing ribbon to the edge and folding it over.
Step three:
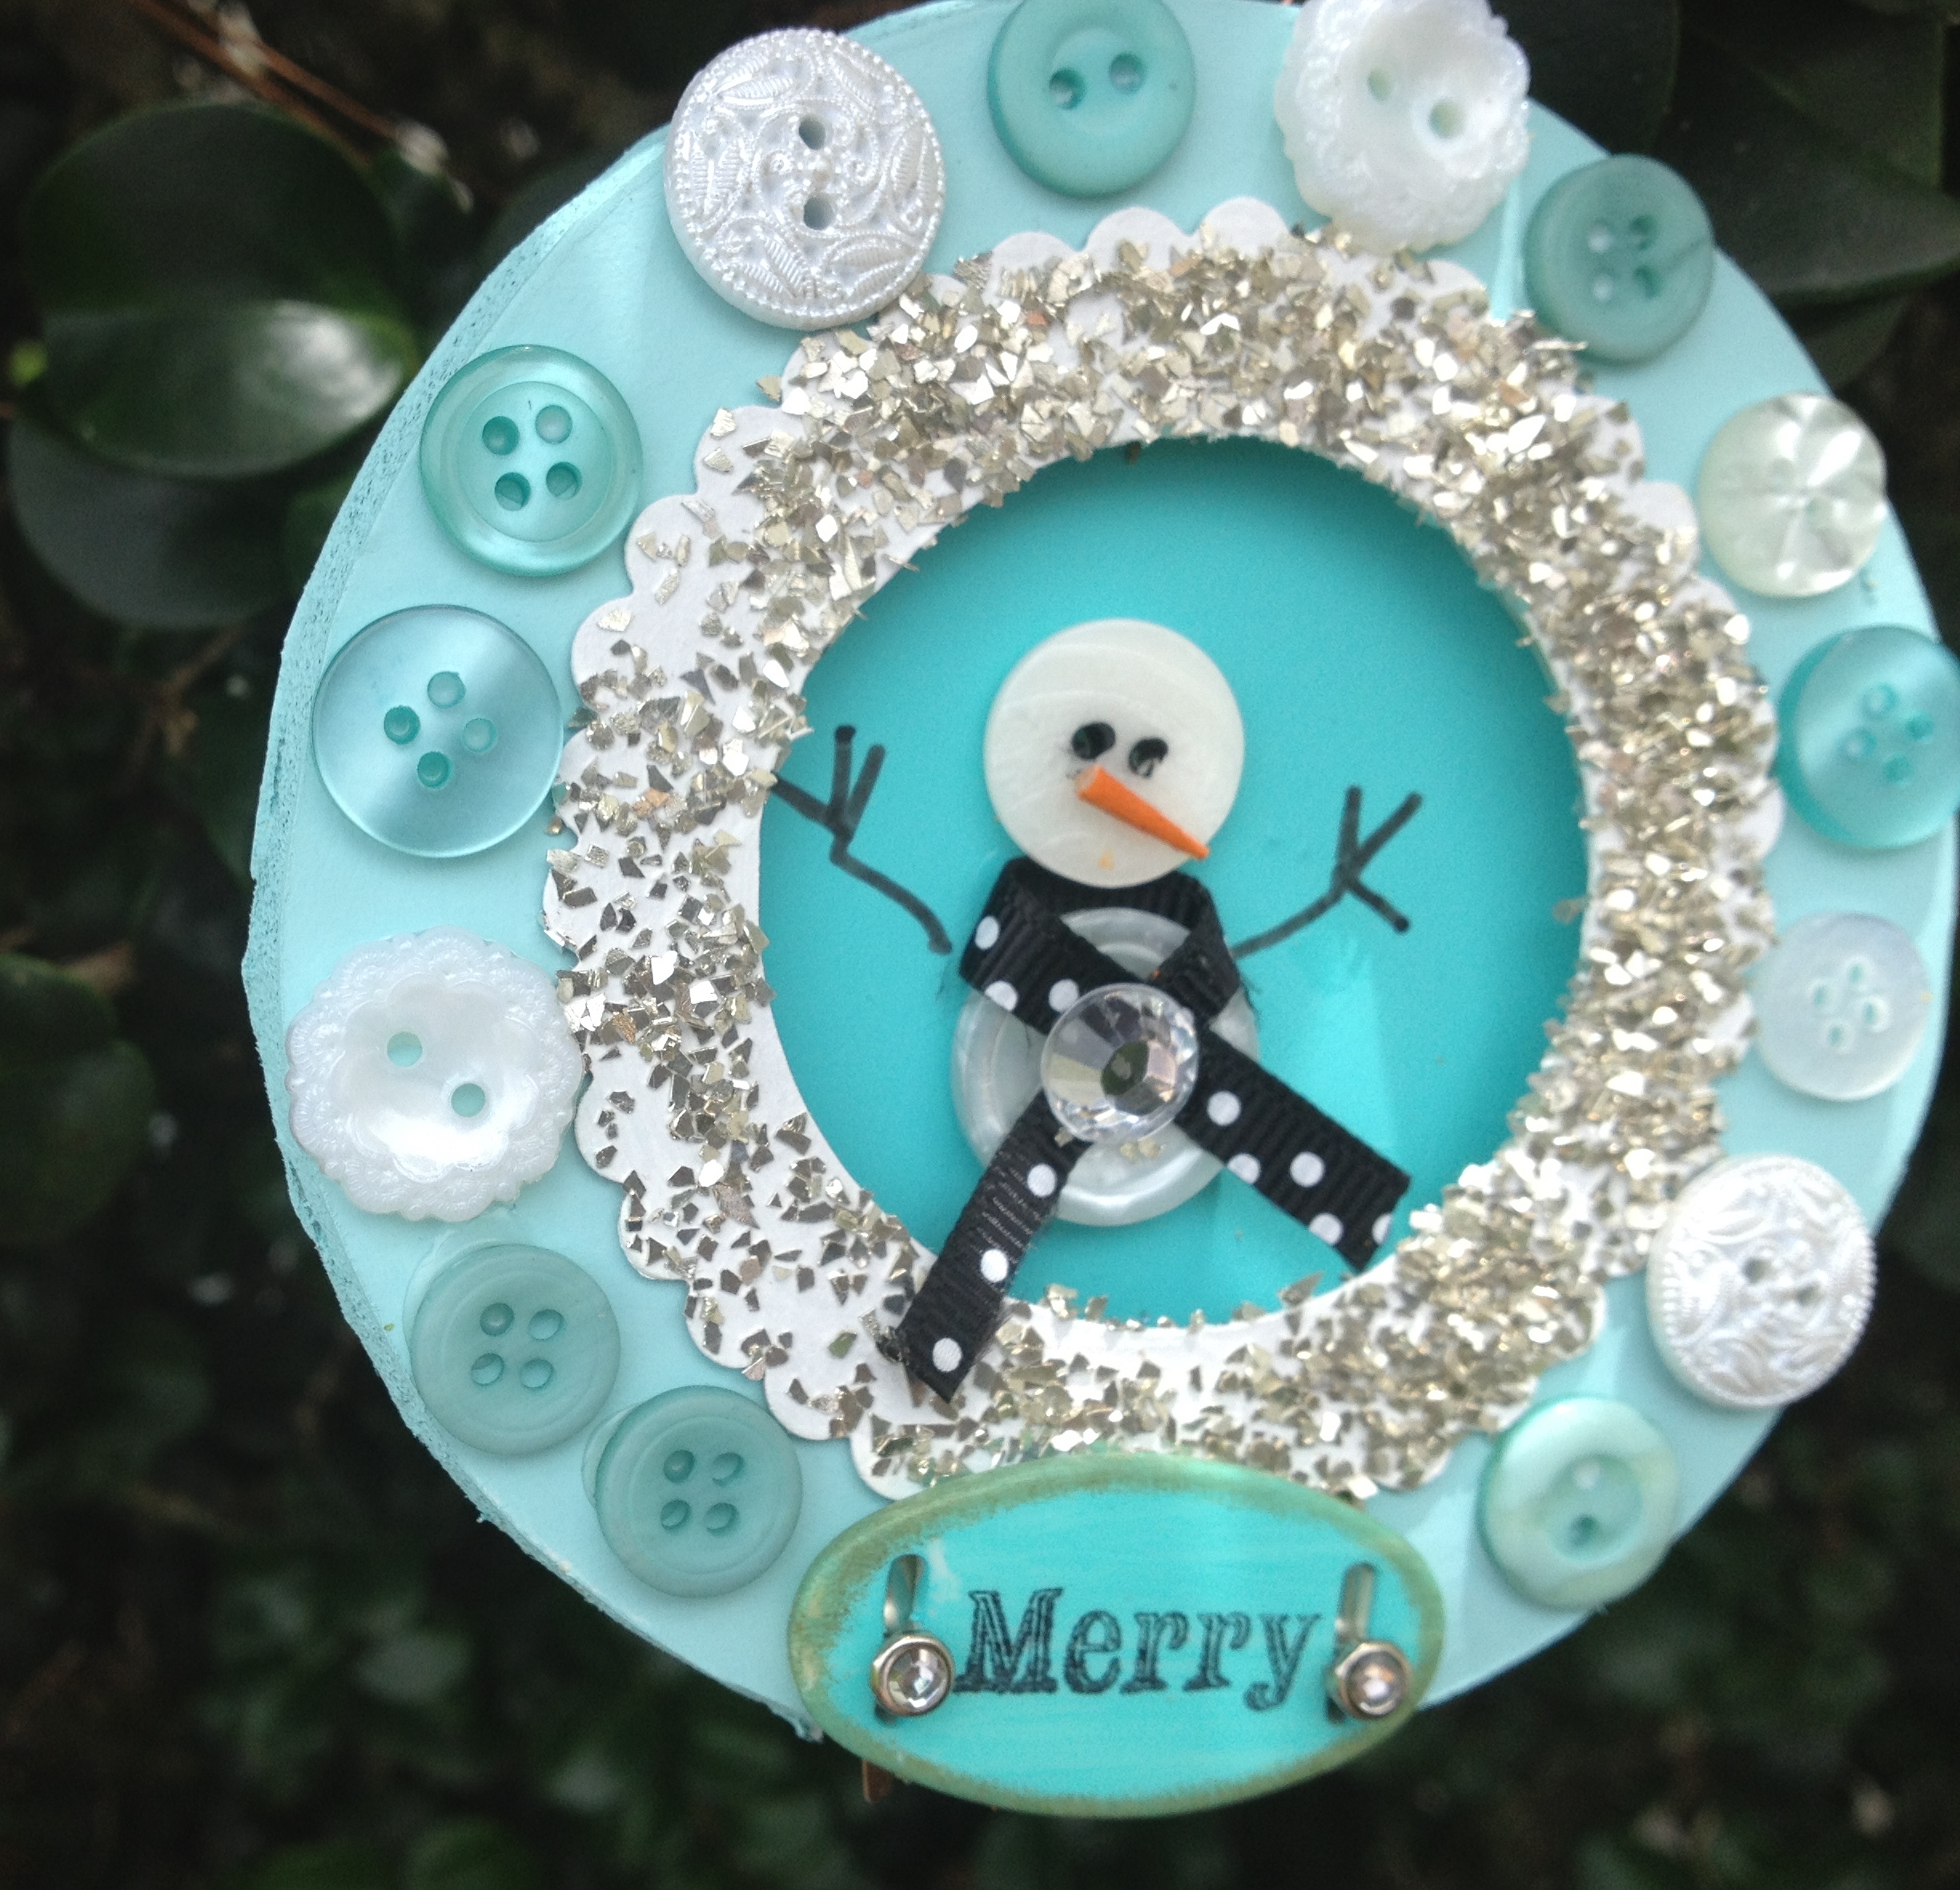
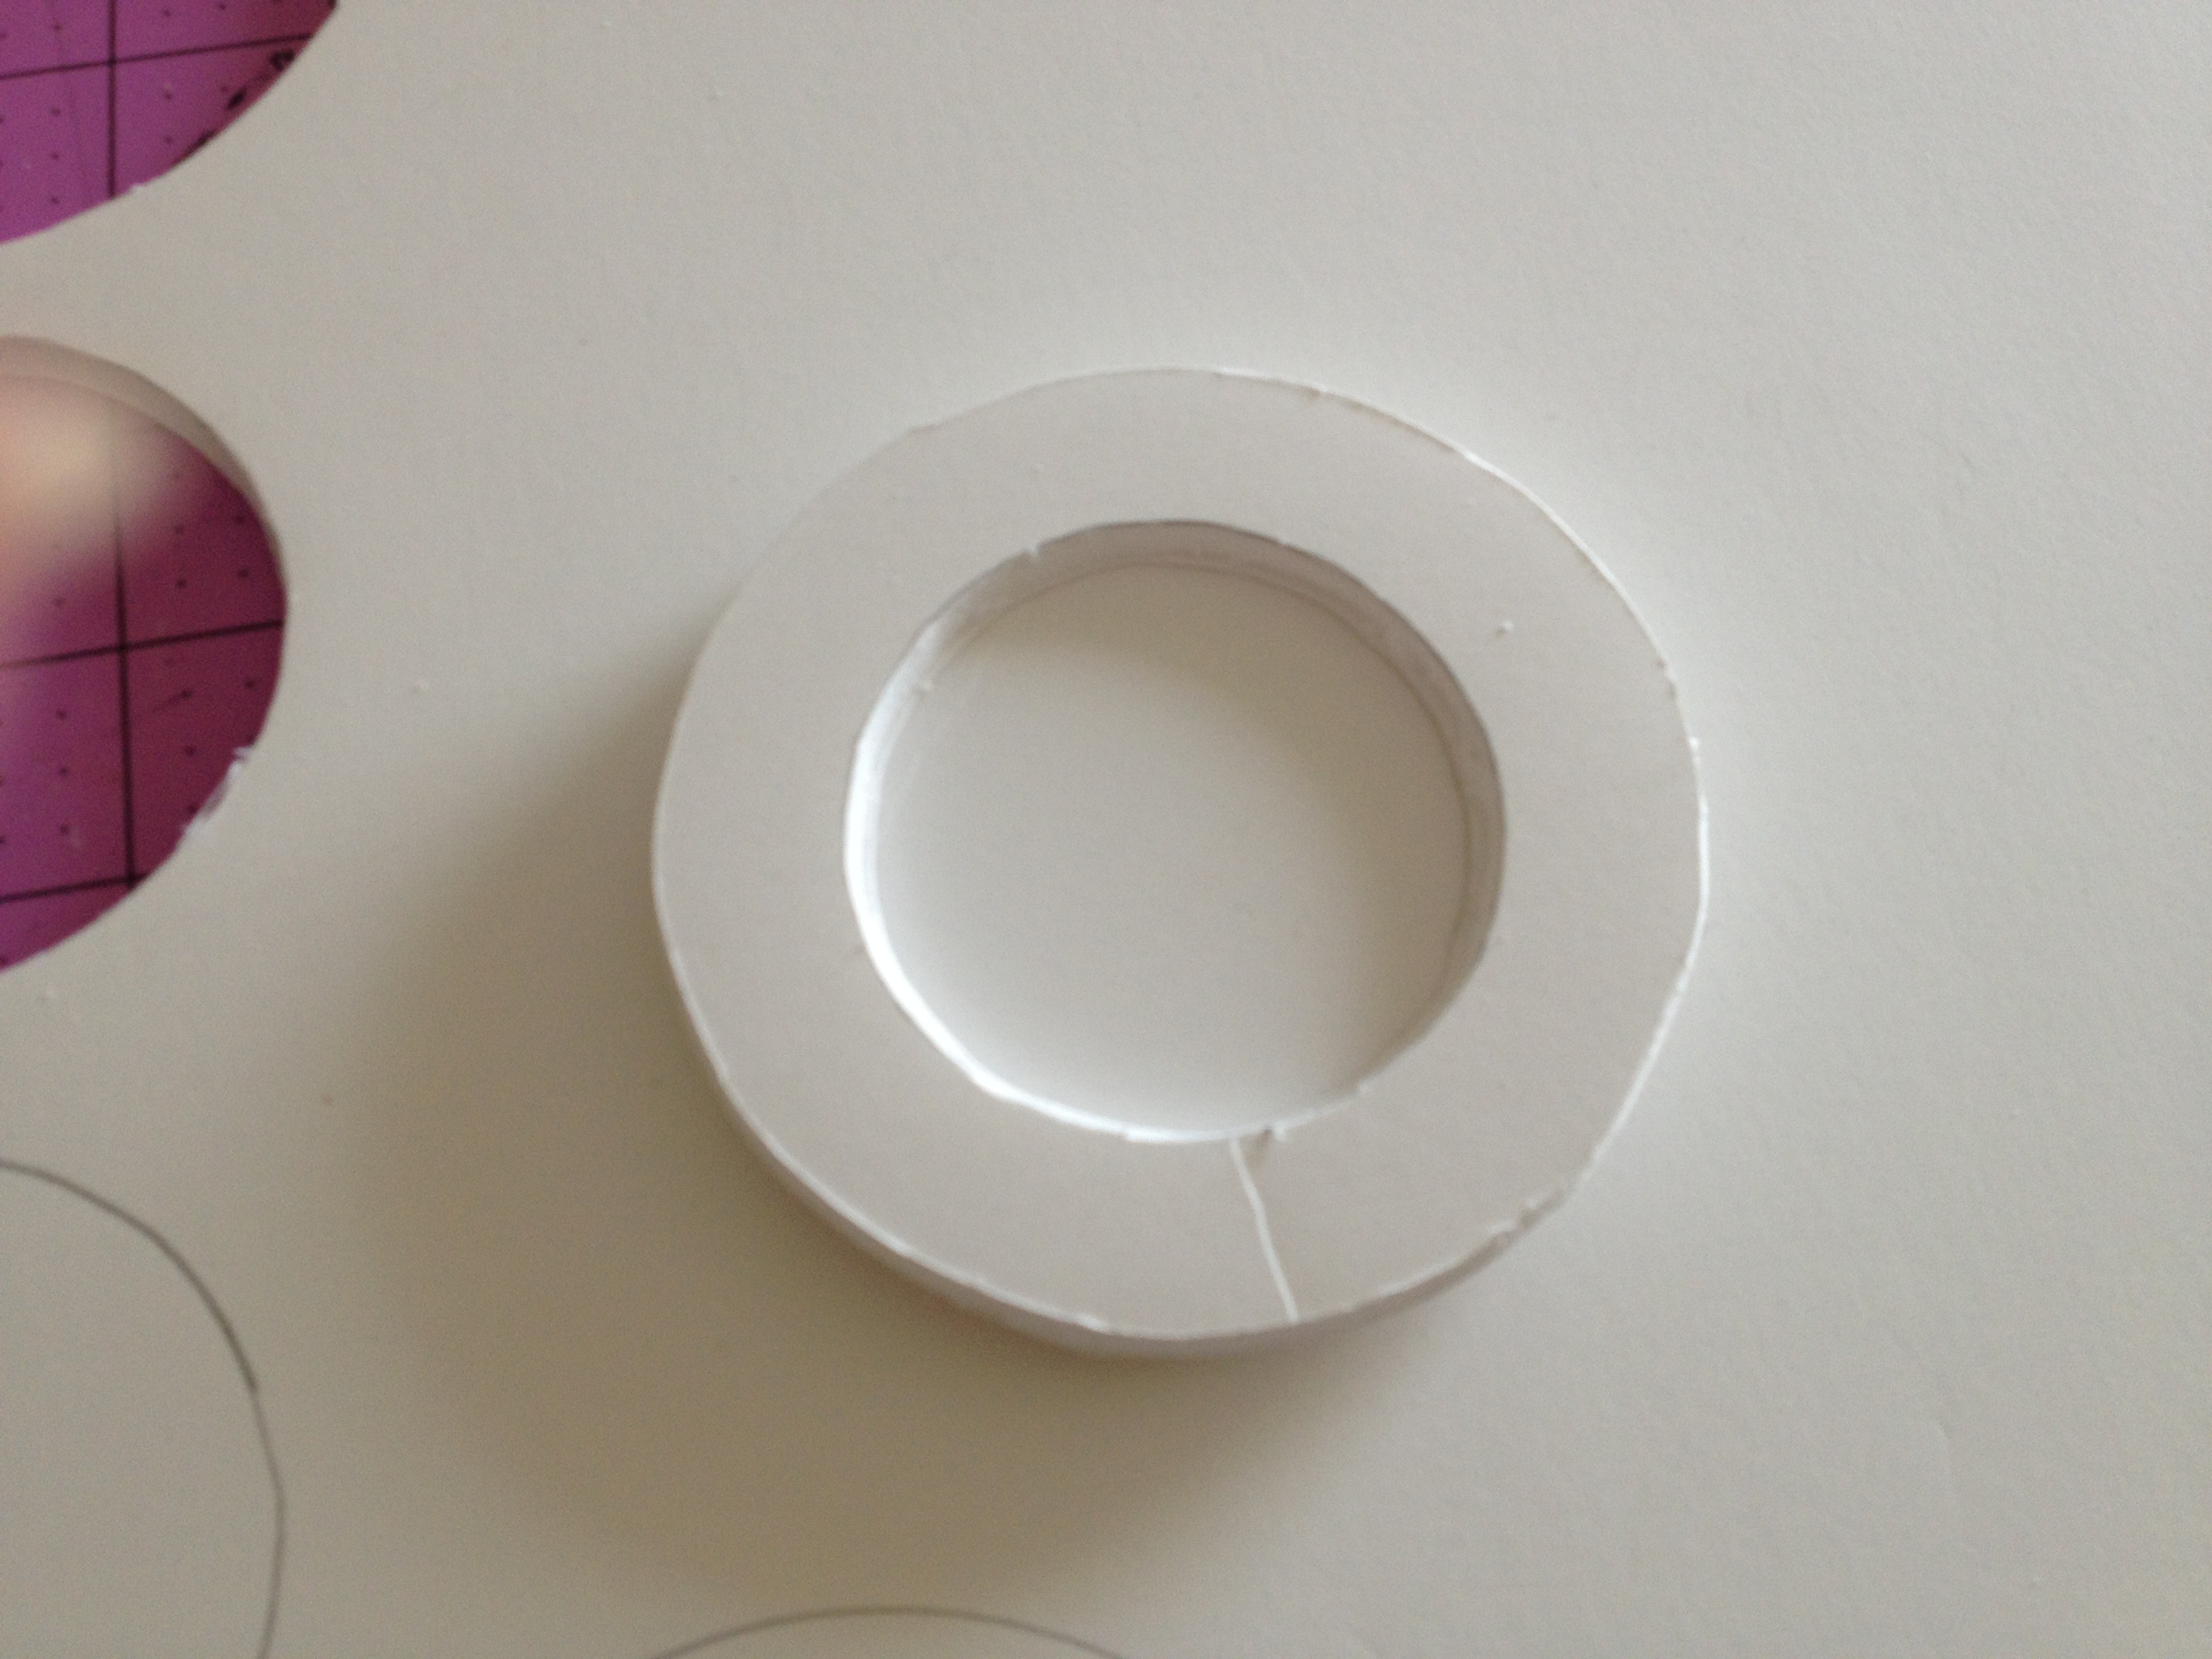
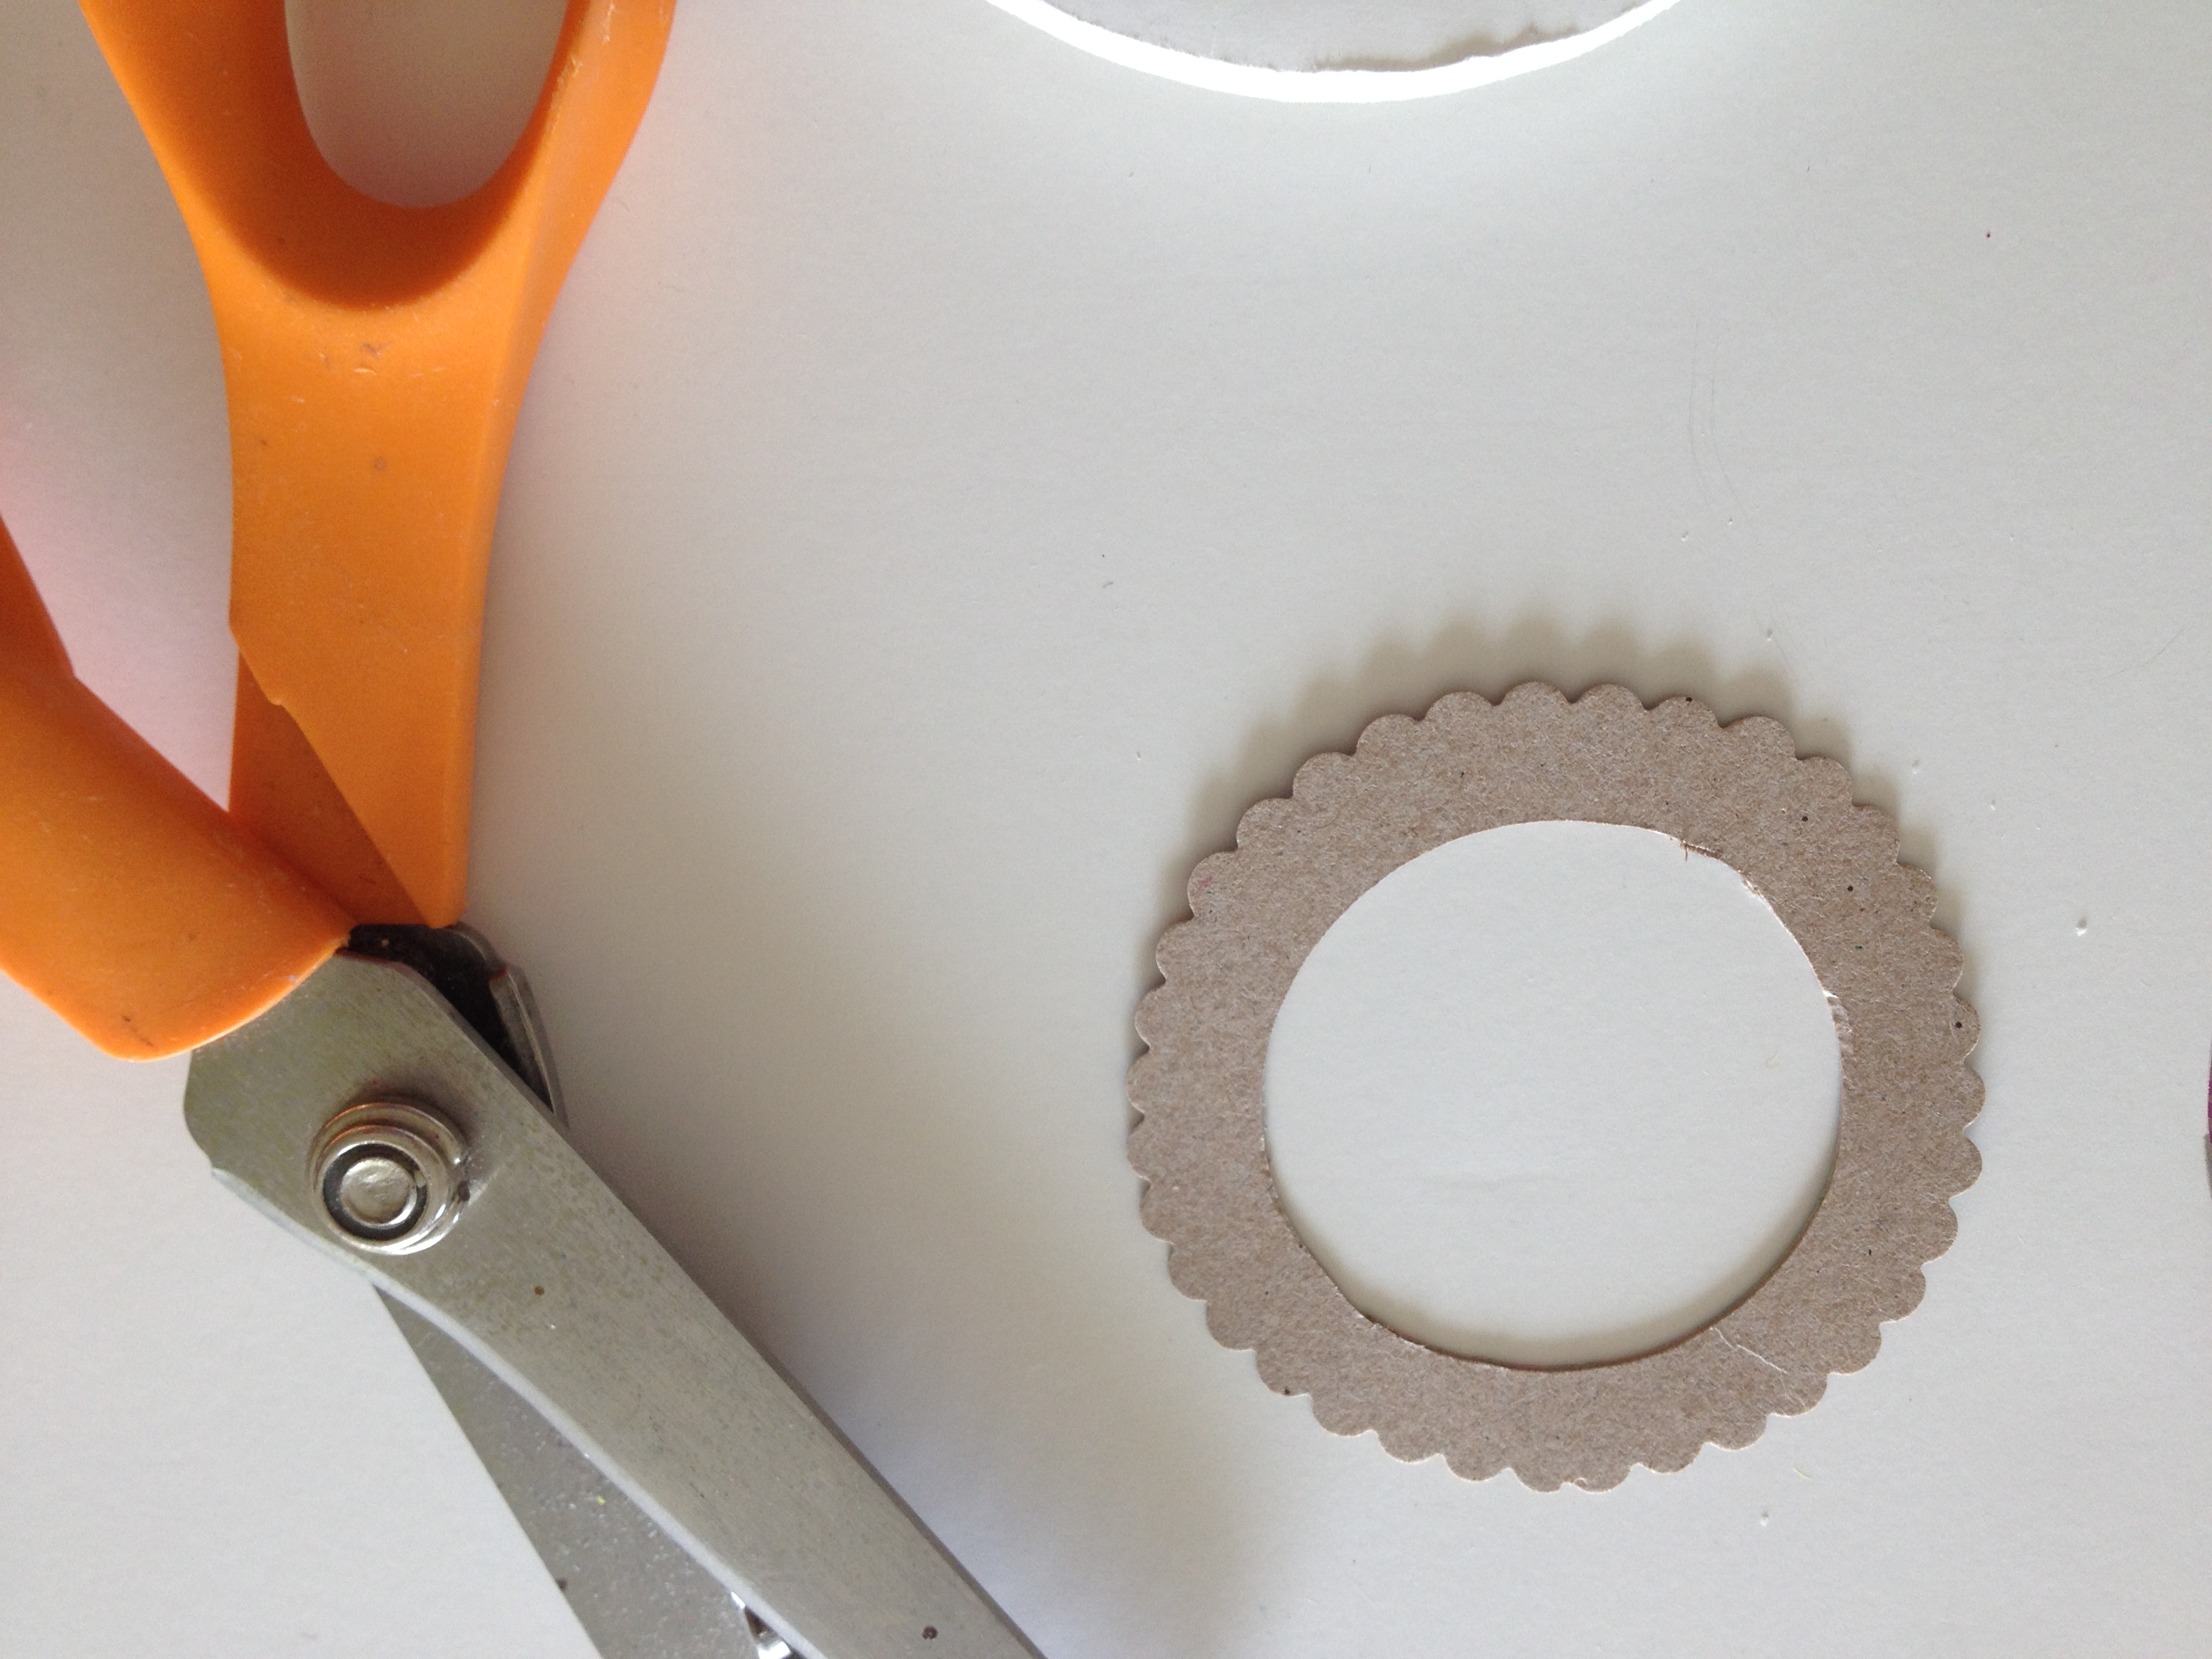
Trace a small circle onto the half circle of fabric. I used a wide mouth mason jar lid to trace the circle for my wreath.It was a perfect size. You can make your wreath bigger or smaller as desired.
Step four:
Stretch the half circle fabric piece into the embroidery hoop for stability. Sew green buttons around the circle that you traced on the fabric. Tie a knot in your string and start under the fabric. Bring the needle up through the button and back down into the fabric.
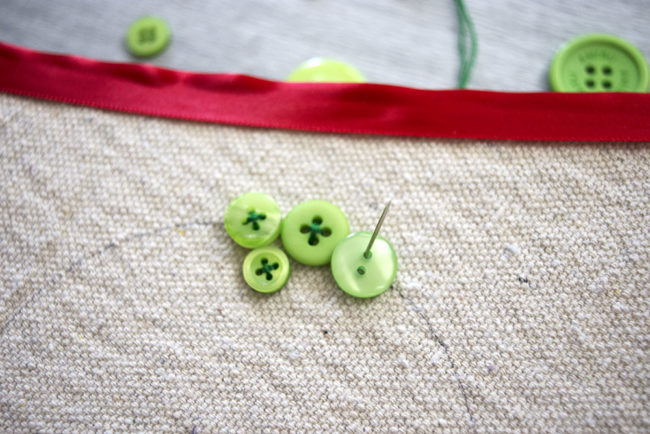
Repeat this step again so that your button is firmly attached to the fabric.

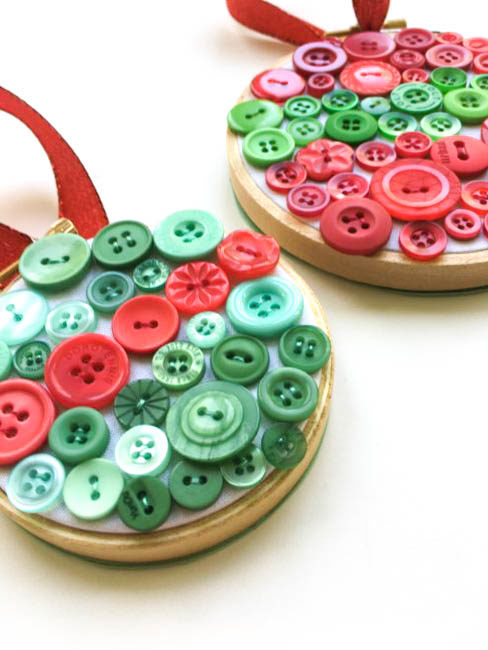
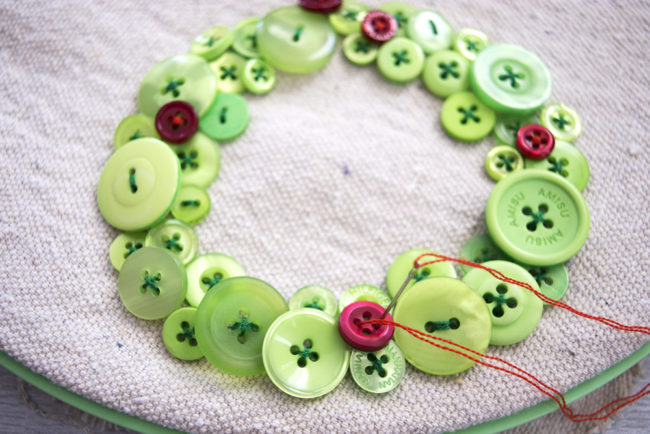
I used big buttons and small buttons around my wreath for some visual interest, and I used green buttons from both the Contemporary Christmas mix and the Button Bonanza Christmas Mix to vary the colors.
Step five:
Use a few small red buttons for berries in the wreath. Sew them randomly into the green buttons using the red thread.
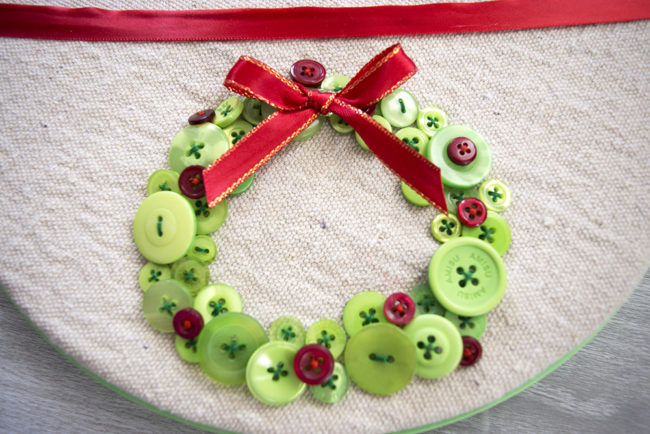
Step six:
Add a small red ribbon bow to the button wreath. You can sew the bow to the wreath with your red thread, or you can use hot glue to attach it.
Step seven:
Lay your button wreath half circle of fabric over the full circle you cut in step one, and stretch them into the embroidery hoop. This creates the pocket for your cards to go into. Trim any extra pieces of fabric on the back of the hoop. Hang your completed embroidery hoop Christmas card holder on your wall!
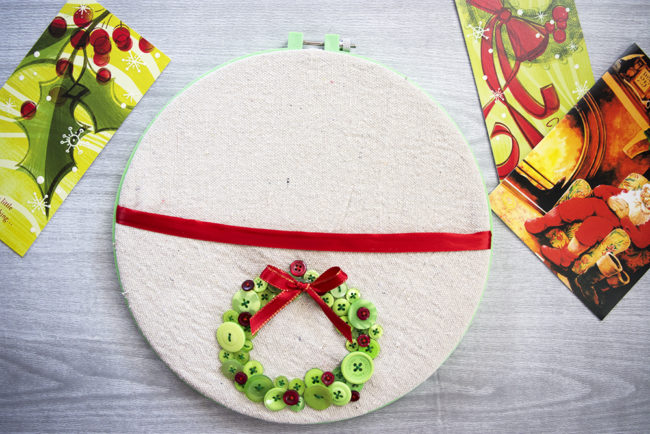
You can fit quite a few cards in one hoop, but if you typically get lots and lots of cards from your friends and family, you might want to make a couple of these fun hoops and hang them in a fun arrangement on the wall.
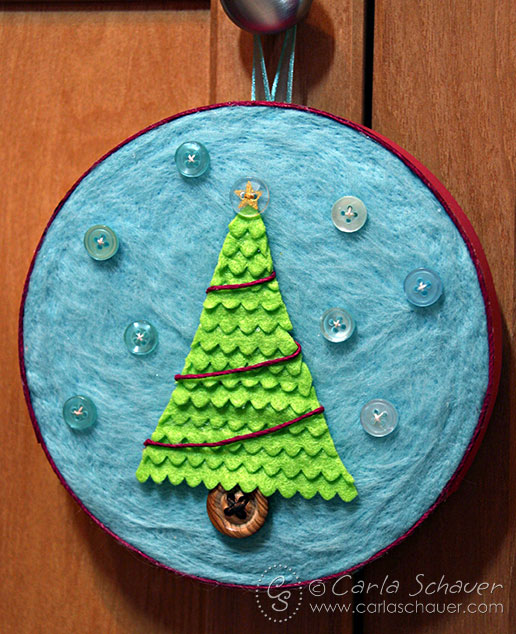
I think I will make two more hoops and put a Christmas tree shape on one, and perhaps some Christmas holly on another. The buttons are such a fun and cute way to add the colorful shapes to the fabric. Do you do any Christmas in July crafts? If Christmas in July isn’t your thing, this fun card holder can be customized to any time of the year! Create a fun button flower shape and hang it on the wall year round to hold other special occasion cards you might receive, or even just to hold your mail!

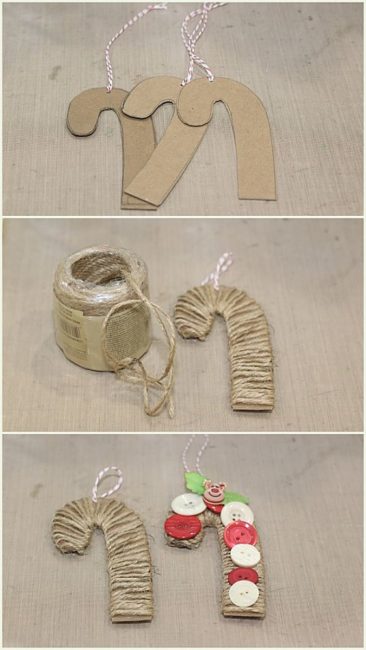 Instructions:
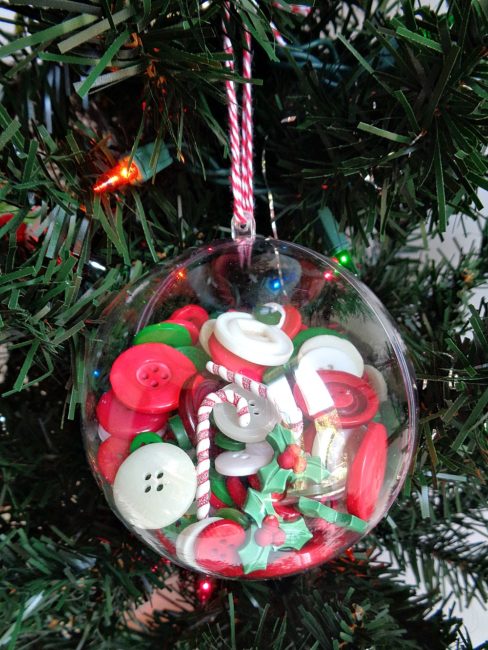
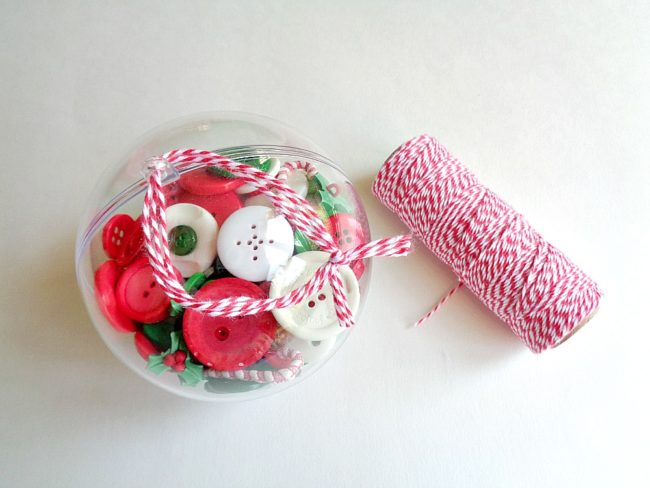
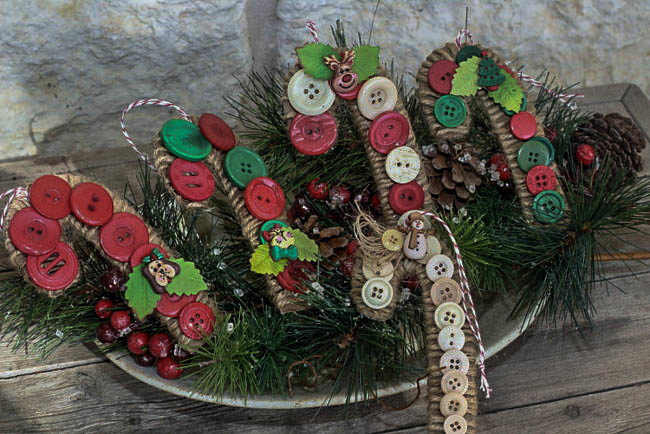
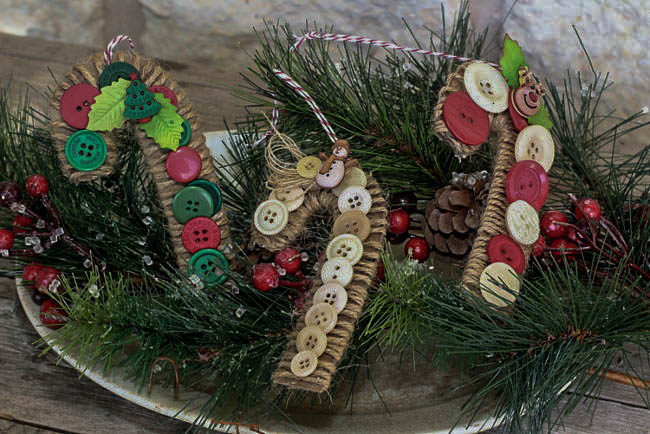 The candy canes are wrapped with jute loosely. Once the big buttons are adhered the jute is nice and secure.
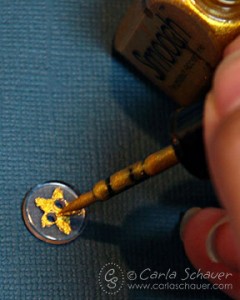
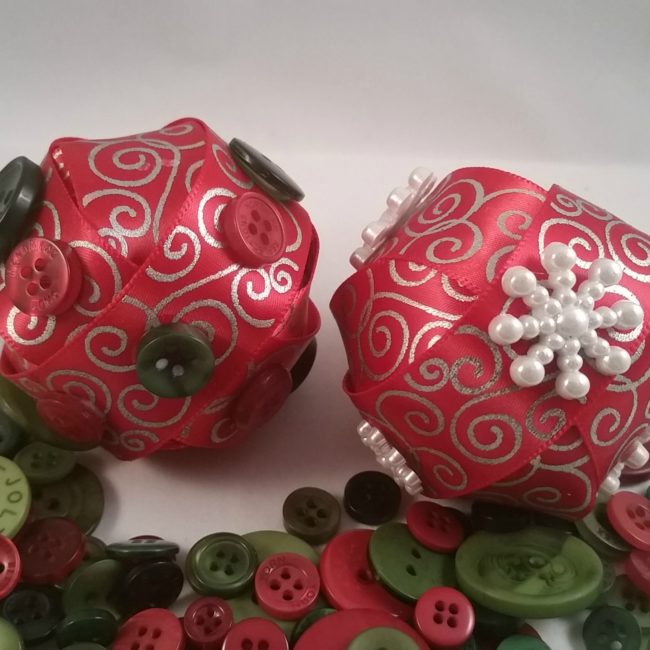
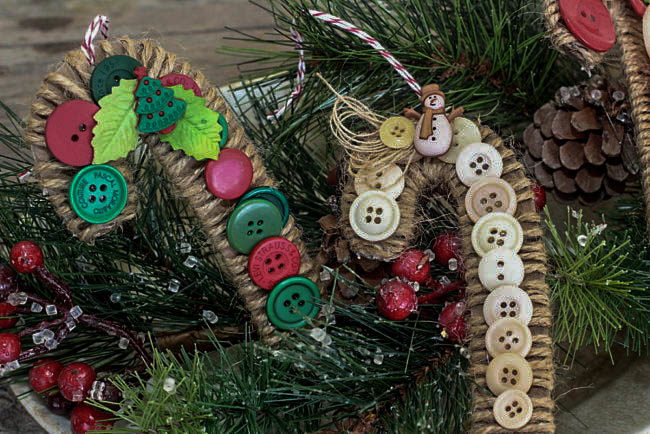 You may be familiar with our color mixes of flat buttons, but did you know that Buttons Galore & More also makes the cutest 3D buttons? Today, I’m using some called the Holiday Fun collection, that include snowmen, Christmas trees, stars, deer, and a cat and dog, just to name a few. They are so fun, just like their name! I snipped the shanks off and added these cute “Holiday Fun” buttons to the candy cane ornaments. Paper holly leaves are tucked in behind the “Holiday Fun” buttons.
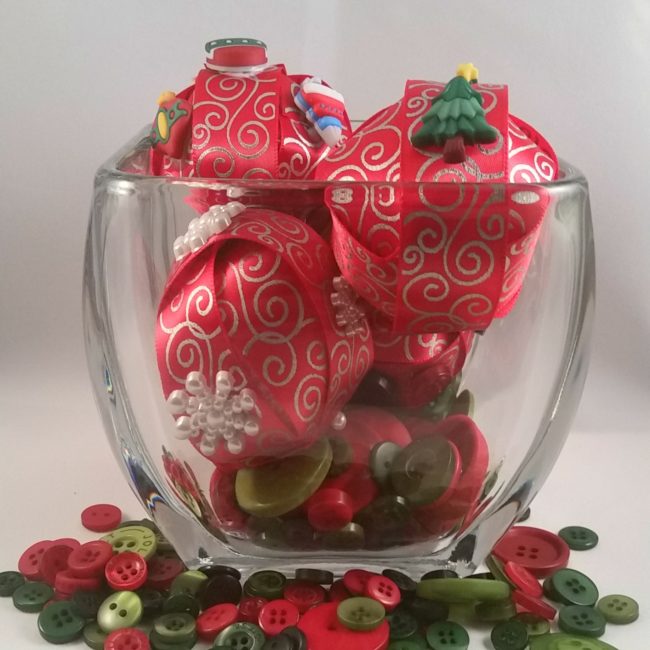
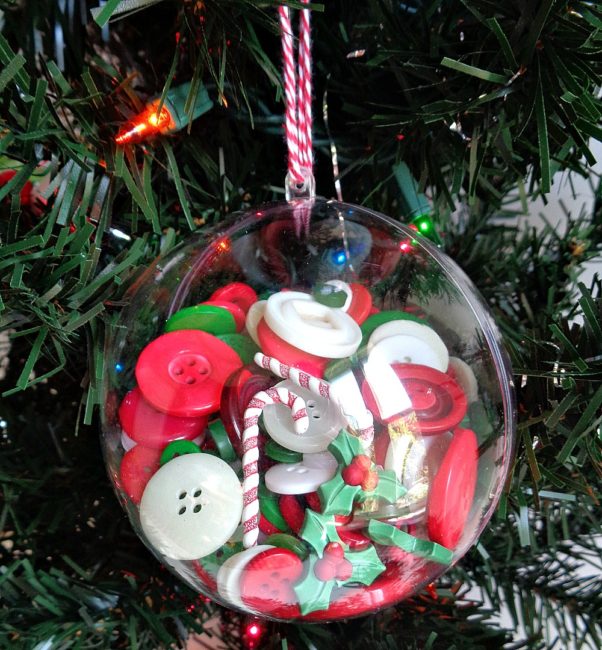
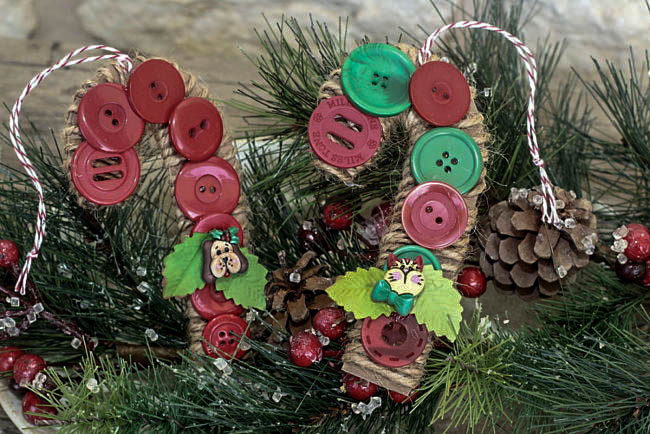 I’m looking forward to adding these handcrafted candy cane ornaments to my little Christmas tree this year, mixed with some real candy canes. That is sure to make everyone happy!