
Scrapbooking

A beloved, but horribly neglected department of my personal crafty output.
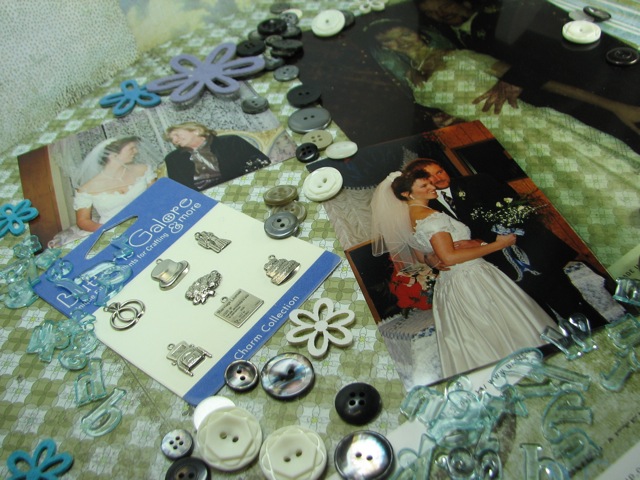
What follows is a fun and crafty filled post that helped bring my wedding memories into much more beautiful light and will, hopefully, inspire you to get your craft on as well.
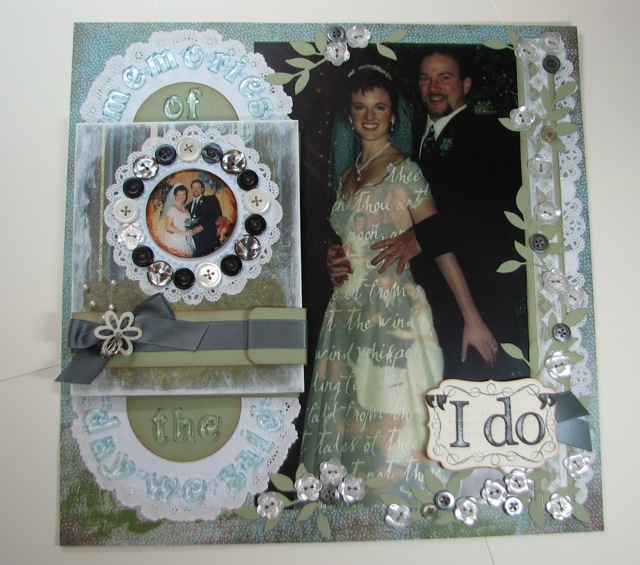
We’ll start with a quick “photo medallion,”…
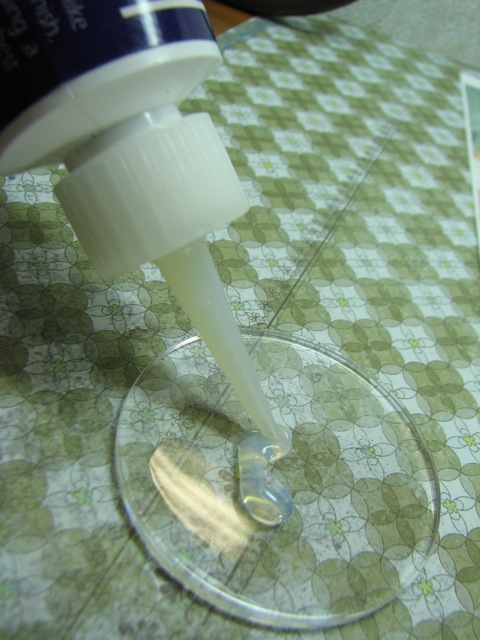
With a piece of acrylic, and some clear dimensional glue, I created a simple photo medallion with some left over laser printed photos I had made to insert into thank you cards. (You do not want to use inkjet printed photos for this technique.)
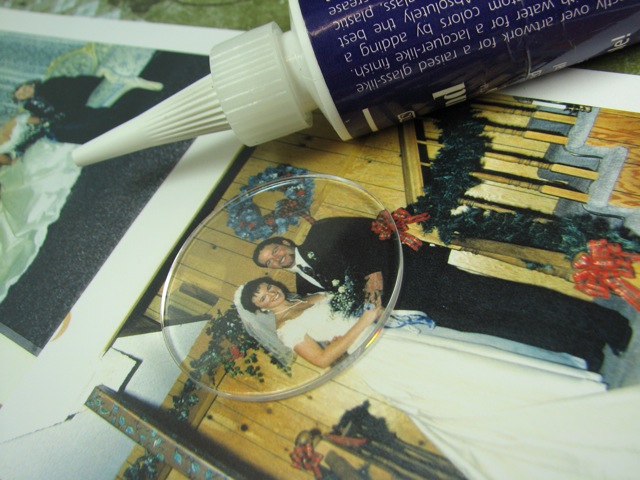
Clear glue is applied to the back of an acrylic circle…
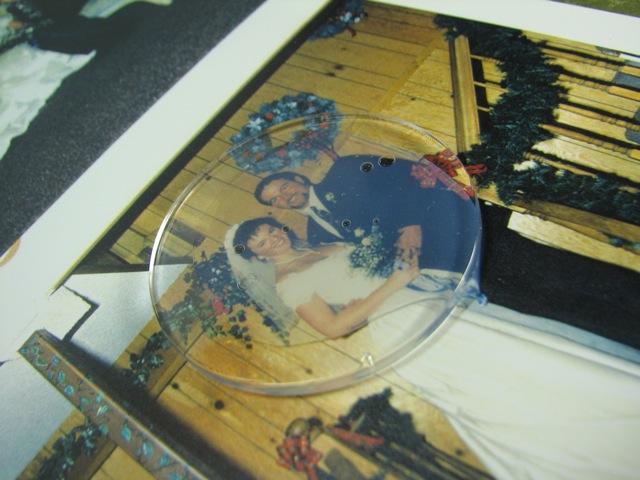
And then the entire acrylic piece is applied, GLUE SIDE DOWN, directly onto the picture. Don’t let the bubbles scare you – just lightly swirl the acrylic, applying pressure as you go and slowly press the excess outwards. Keep the pressure on until the plastic is stuck well onto your desired spot and then move away from your work station to allow for drying time.
Once dry, cut out the excess glue and image from your main shape. If there is excess glue on the top of the medallion, an alcohol prep pad will easily clean the plastic. Then buff with a soft cloth. (Avoid cotton, when using clear glue, as the tackiness can attract unwanted fuzz.)
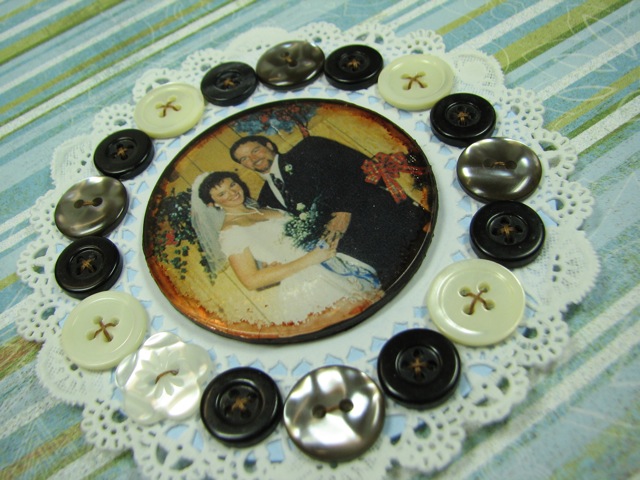
Finish the edges with alcohol ink and/or acrylic paint. I used both on this sample!
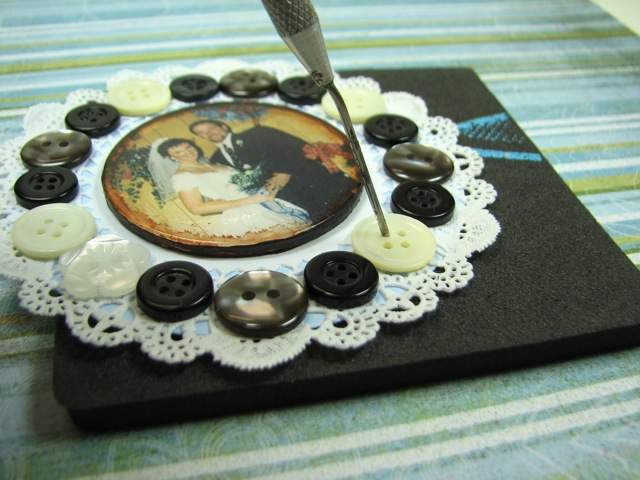
Set the medallion in a decorative paper frame and embellish with buttons. I prepared the button layout and then glued them down with Fabri-Tac.
Then with a soft punching mat, I pierced holes to coincide with my already glued buttons, to prepare for some easy stitching. (I just LOVES me some stitched BUTTONS!)
As a “home” for my lovely medallion, I made a SUPER easy mini book that will
hide {A LOT!} of pictures, but also add an exciting visual element to my single page lay out.
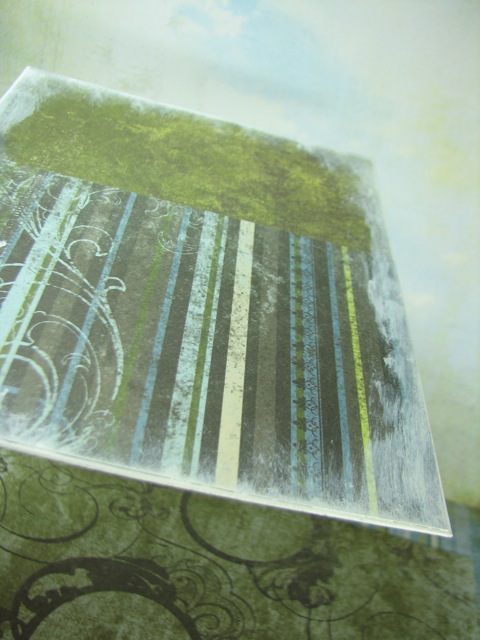
Using a piece of leftover {notice I didn’t say “hoarded”} chipboard, I prepped
my surface with acrylic paint….
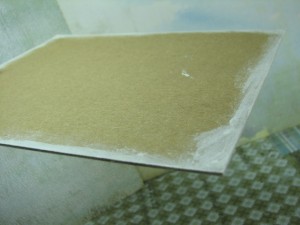
Then I added decorative paper to cover both sides of the chipboard. Once the paper is glued down, the edges are also sponged with white paint. Just in case my chipboard is not acid free, I want to have a nice barrier between my photos and any questionable surface.
This is the book from the inside – the back cover is regular card stock, so that it will have a lower profile on my scrapbook page.

Create an accordion of photos to adhere to the inside of the mini book, by laying out photos and coordinating the accumulation of pictures, front to back.
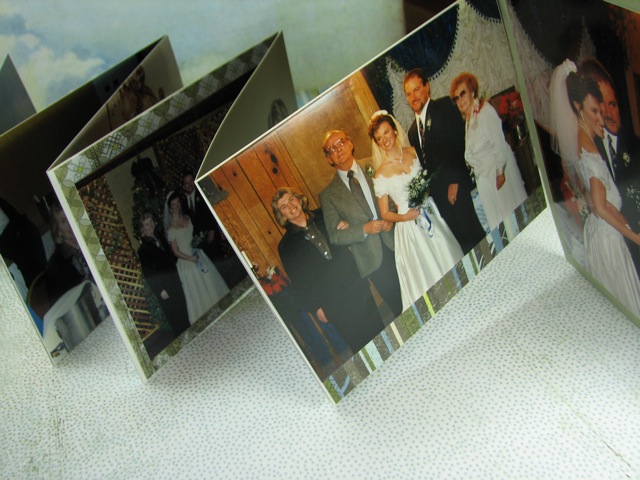
Secure with photo safe tape and attach pages in desired order. With a little planning, this is super easy and creates a great, skinny book that holds plenty of images.
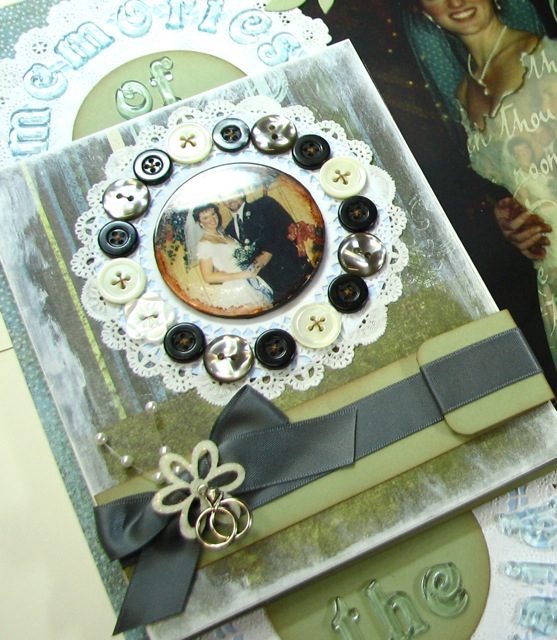
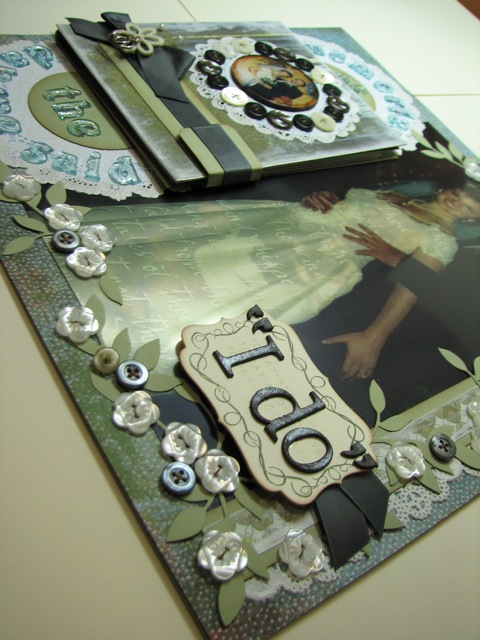
Here’s the fully embellished mini book! Buttons Galore & MORE, really does have more than buttons! Check out that great wedding ring charm and felt flower! {Yeowza!} They have all the craftiest treasures to make memories into WORKS OF ART!
I added a pull tab, so that once you open the book, you grab the tab to extend the accordion and then close it back down. I have a magnet hidden in the front cover to keep the book securely closed.
Once I place the layout in a scrapbook album, I’ll simply remove a square of plastic from behind the accordion book with a sharp knife and a mat (insert the mat between the plastic and the layout) and then glue the backside of the accordion book directly to the page but OVER the page protector. (It’s like a hidden PHOTO treasure!)
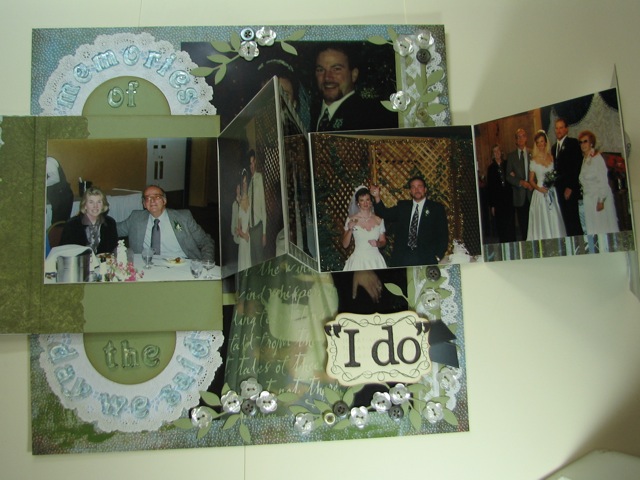
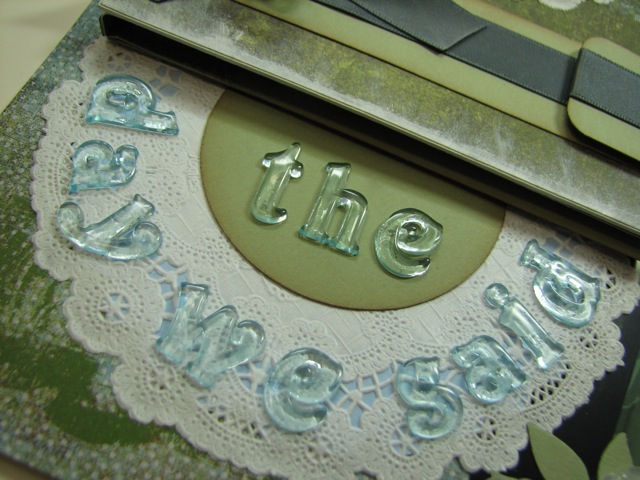
The day we said….
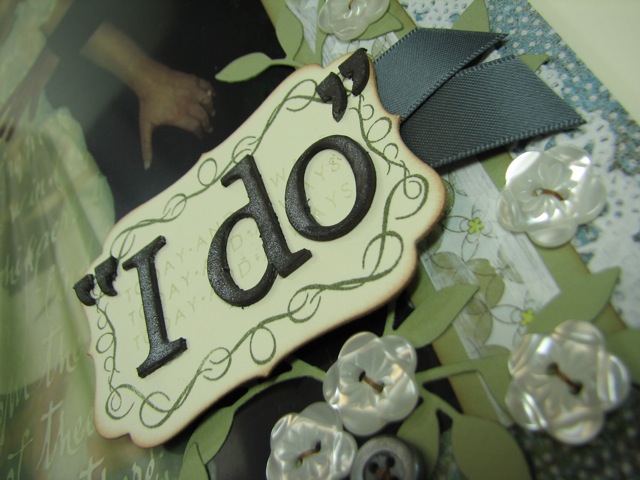
“I do”. {Sigh!}
Buttons can evoke so many feelings because they are FUN, nostalgic, decorative, beautiful, and downright FABULOUS for crafting! I hope I’ve inspired you to embellish your latest crafty ideas with a lot more creative possibility!
Elise Durenberger
Latest posts by Elise Durenberger (see all)
- Make Halloween Spider Decorations: Button-bodied spiders - October 15, 2012
- halloween wall art with buttons idea -DIY - September 19, 2012
- Make Faux Pierced Earrings : Button Fashion Craft with Cozy Brads - August 23, 2012
LOVE Elise’s work and style…such a wonderfully creative layout!
wowza!!! elise has done it again… this layout is just FANTASTIC!! looking forward to more buttony goodness from her in the future!!
Brilliant! Thanks for all te scrappy tips and gorgeous designs showcasing our friend the “button” and it’s creative counterparts. Those flower buttons are teh JUICIEST around……I could use them by the pound!
Fabulous design and outcome…everything is better with buttons!
Love this layout! Great buttons. Thanks the inspiration!
Elise always makes the MOST awesome items :)