
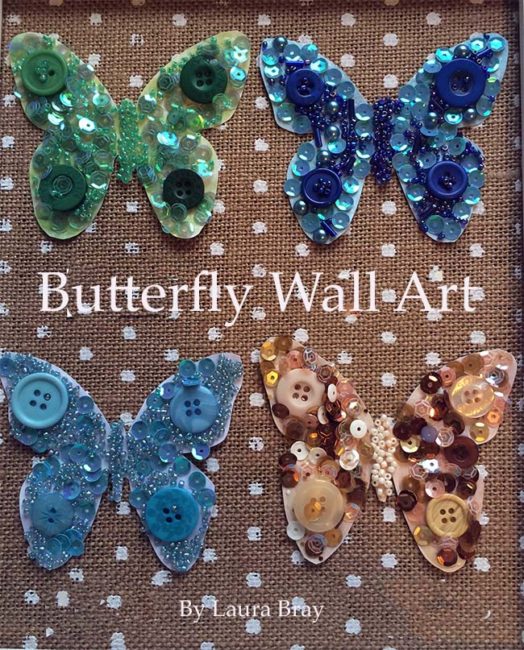
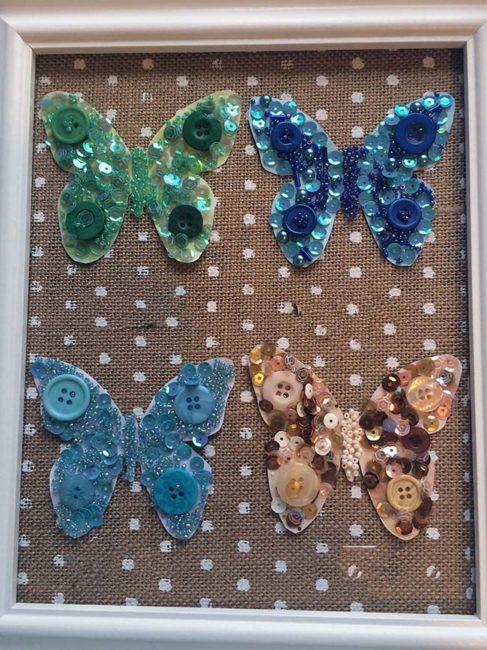
 Hi! It’s guest designer, Laura Bray. Are you in need of a little spring joy during this long winter? How about creating some cute, button encrusted butterflies to be used in wall art? These would also be really cute on gift wrap, pins, or hair clips too! Here’s how to make them…
Supplies:
• Embellishment bottles and kits in the colors of your choice.
• Cardstock paper in colors that match your buttons colors.
• PVC glue
For framed artwork:
• White 8” x 10” frame
• Decorative scrapbook paper
• PVC glue
To create butterflies:
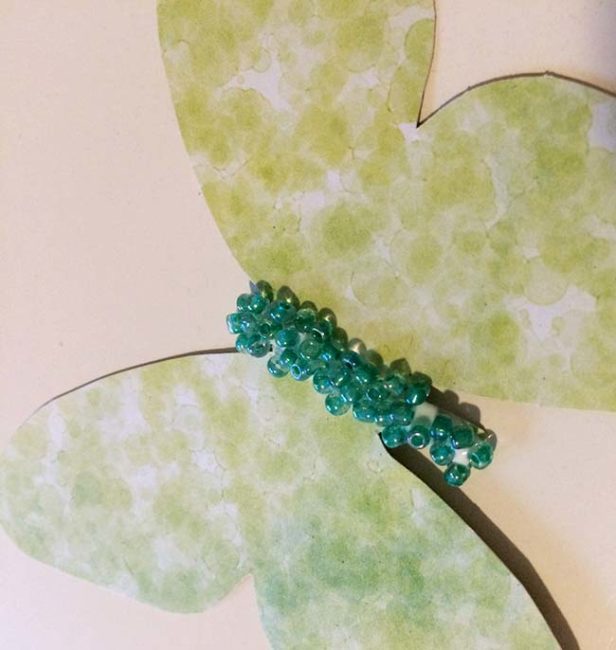
- From paper, cut butterfly shapes out. I drew my own, but you can also use a stencil or a die and die cut machine.
- Apply a line of glue down the “body” of the butterfly. Glue mini beads into place. Allow to dry completely
- Apply a thick layer of glue onto the front of the paper butterfly wings. Glue buttons on to the paper. Shake beads and sequins over the butterfly to fill in any spaces between the buttons.
- To create a framed art piece, cut the decorative scrapbook paper to size to fit your frame. Remove the frame’s glass, and glue down the butterflies. Allow them to dry completely before hanging.
The following two tabs change content below.

Admin1
Latest posts by Admin1 (see all)
- Magical Wall Art for Kids Room - July 19, 2019
- Little Firecracker Layout - June 28, 2019
- Patriotic Rosettes - June 27, 2019
No comments yet.