
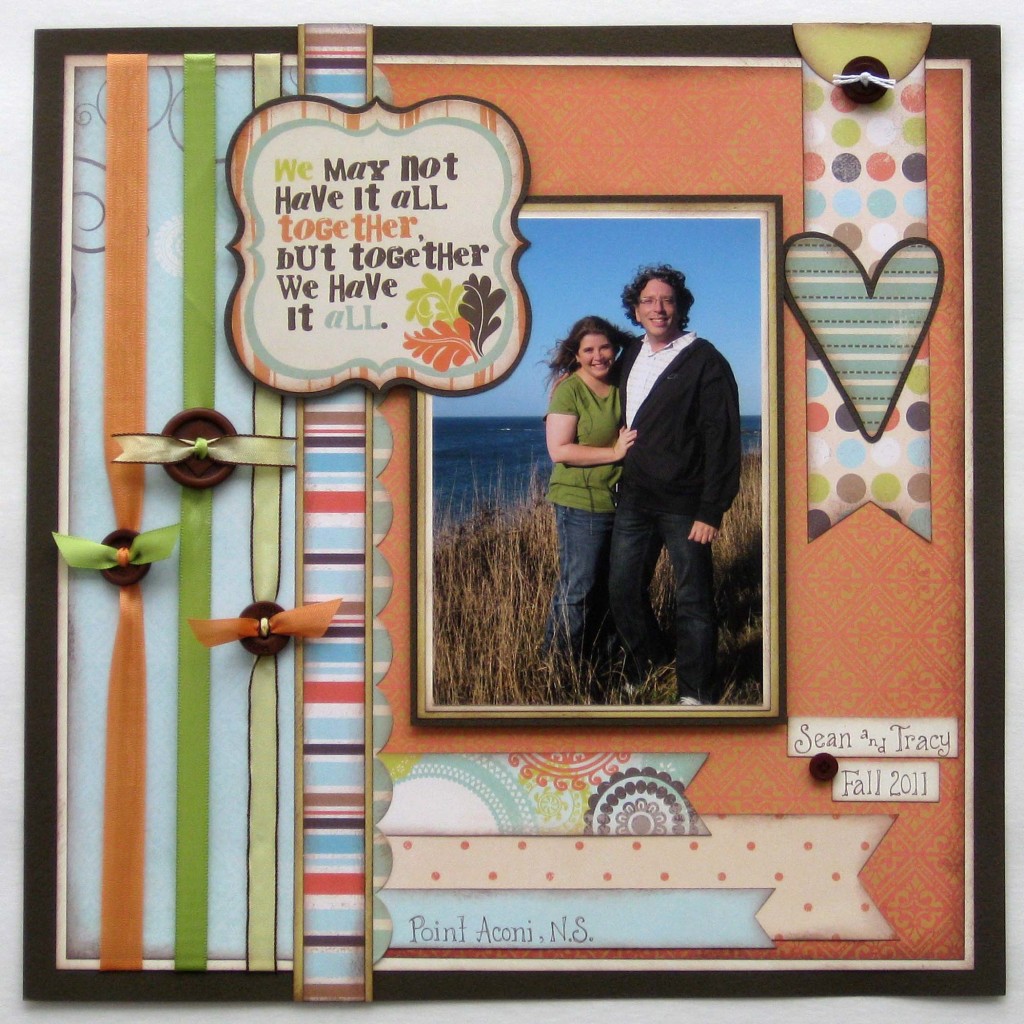
I have always loved to use buttons on my layouts as the perfect accent or as part of a border, like in this layout. But my process doesn’t start there. When I create a layout I always start with the photo. Everything from that point on should accentuate your photo. In this tutorial you will see step by step, the process that I go through when I create a layout.
The photo is of my husband and I, taken in Point Aconi Nova Scotia. When you look at a photo to scrapbook, you must choose what it is that you want to bring out. In this case I wanted to bring out he and I. So when I chose the patterned papers I made sure I have something that pulled the green in my shirt, and the his dark jacket. Black was a little too harsh to add to this layout, so I chose a chocolate brown instead. The other colors in the pattern also bring out the background.
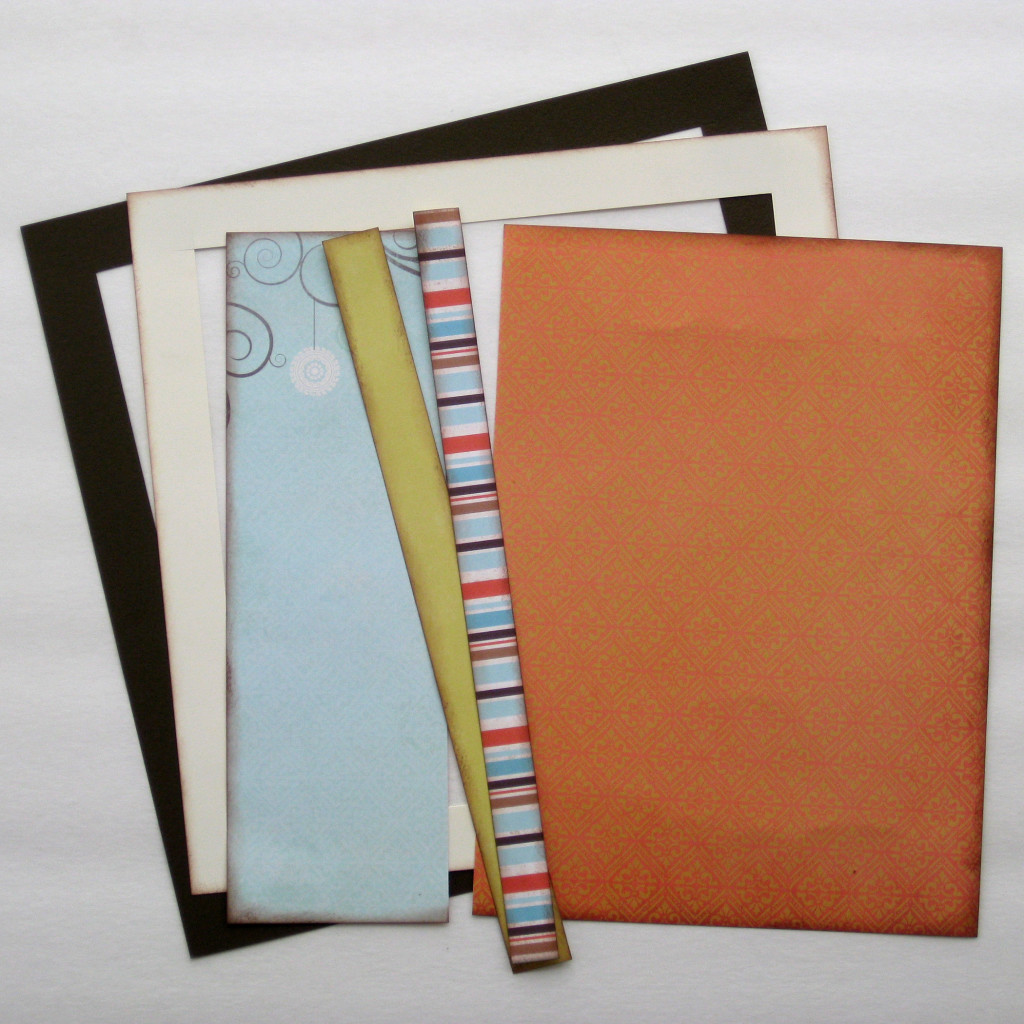
So here is a look at the papers I chose for the background, all cut and ready to go. Another trick that you may notice in the photo below, is that when I can, I will cut the middle out of the large pieces of paper. I like such a layered look, that I felt like I was wasting paper all the time. Paper that can be used for matting photos, titles or journal blocks.
In this next photo you will see that I have adhered some of the layers together, but not all of them. I have also cut my pieces of ribbon that are going to be used to create your button border. You will need 3 strips that are about 14″ long, and 3 shorts pieces that are about 4″ long.
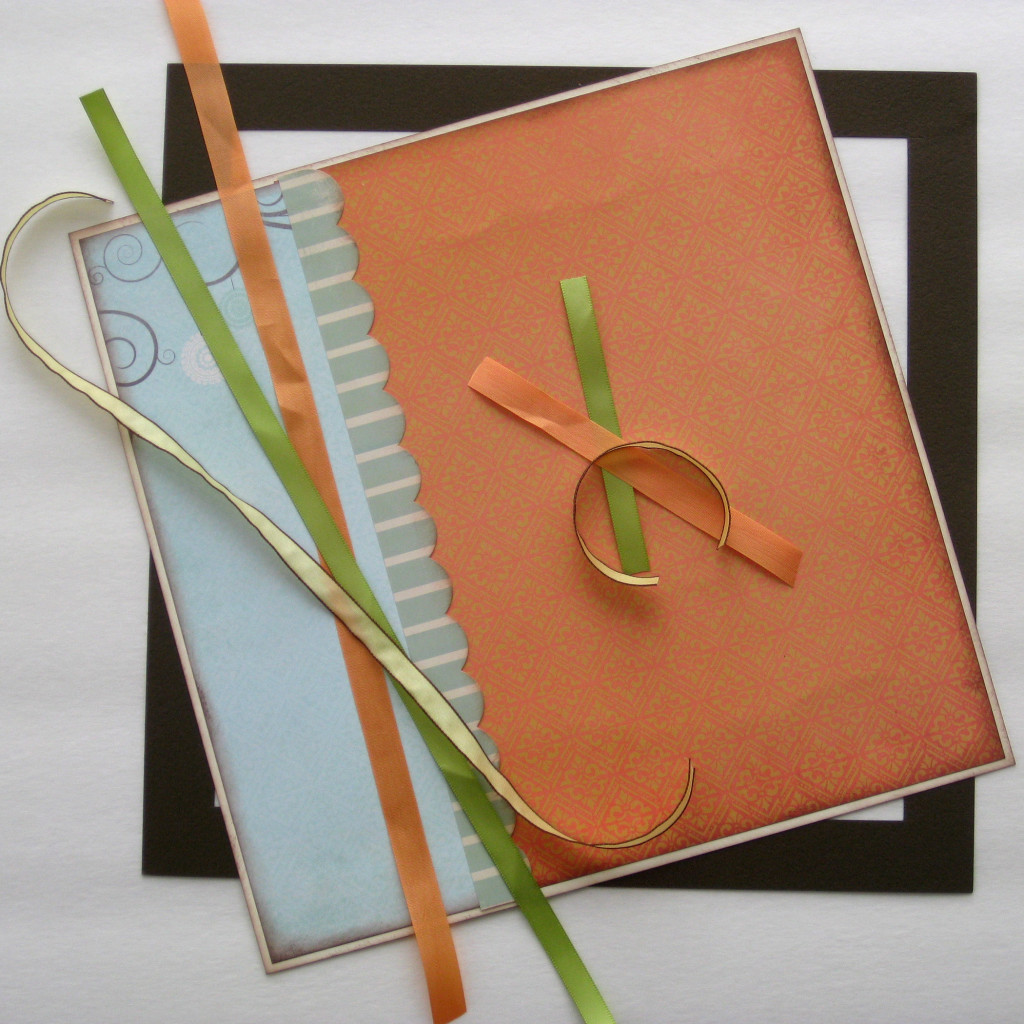
You are going to adhere the 3 long pieces of ribbon in back of your layout. I tried to get them an equal distance apart. Then you are going to string your chosen buttons, one on each ribbon.
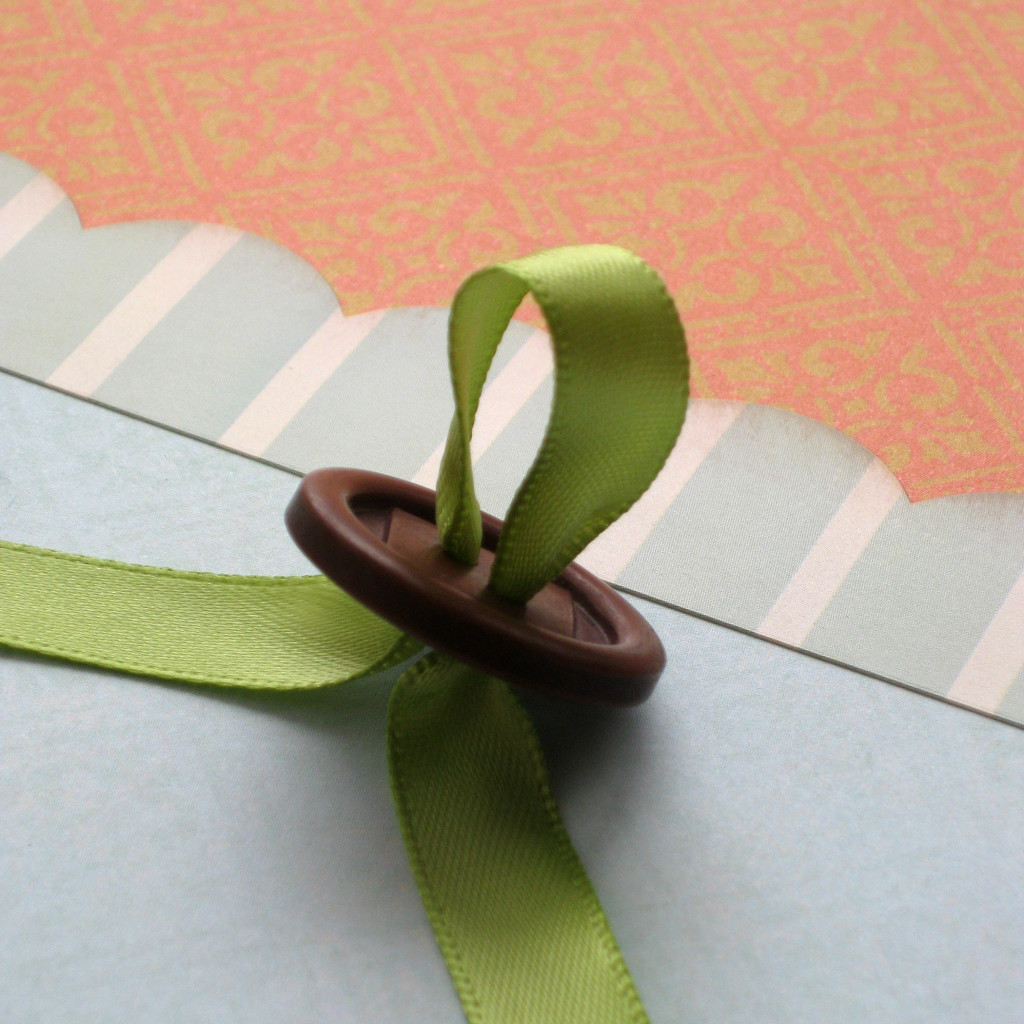
Here is a close up image of the ribbon strung through the button. Bring the button to the approximate area that you would like it to end up when you are finished. As in the photo, leave the ribbon loose in the front.
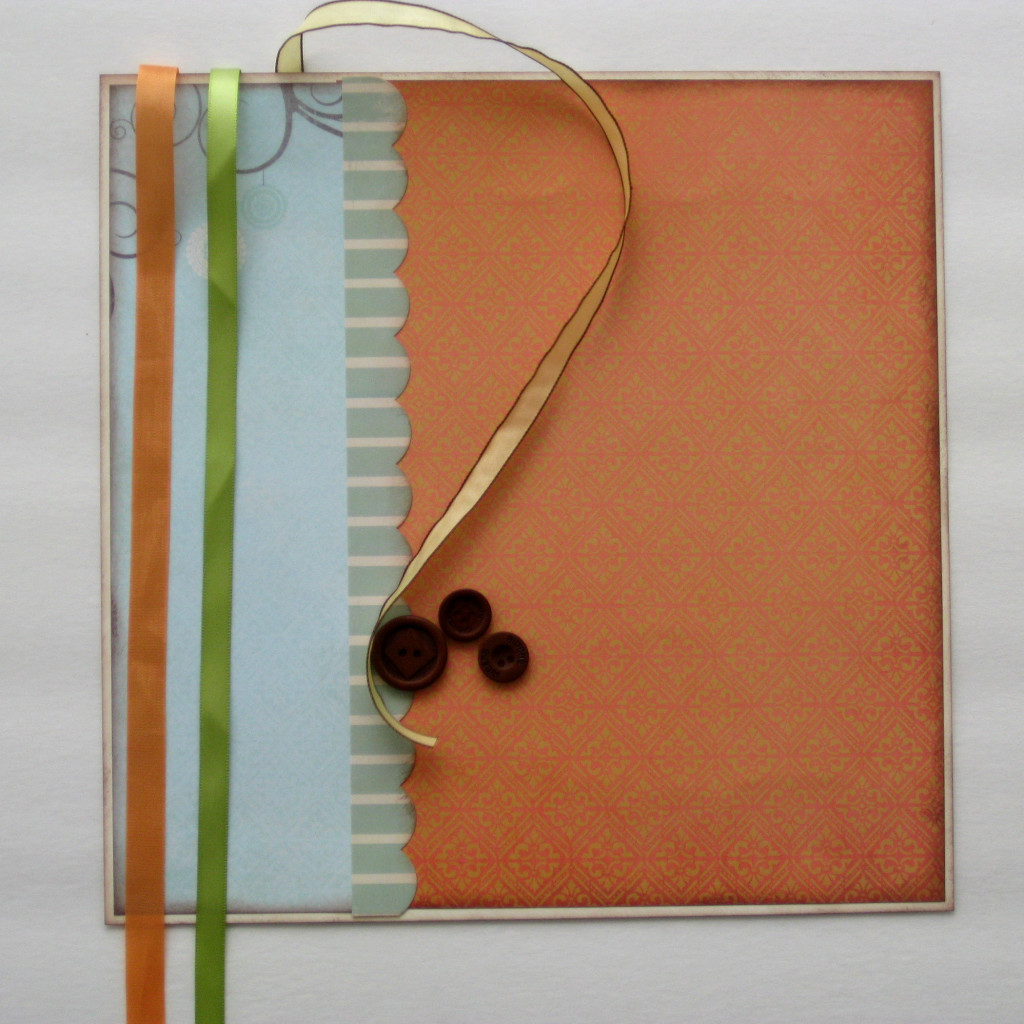
Take one of your smaller pieces of ribbon and tie it in a knot to keep it in place. This can be done without tying the small piece in a knot. I did end up untying the knot in the end before trimming so that the green ribbon showed over top of the yellow.
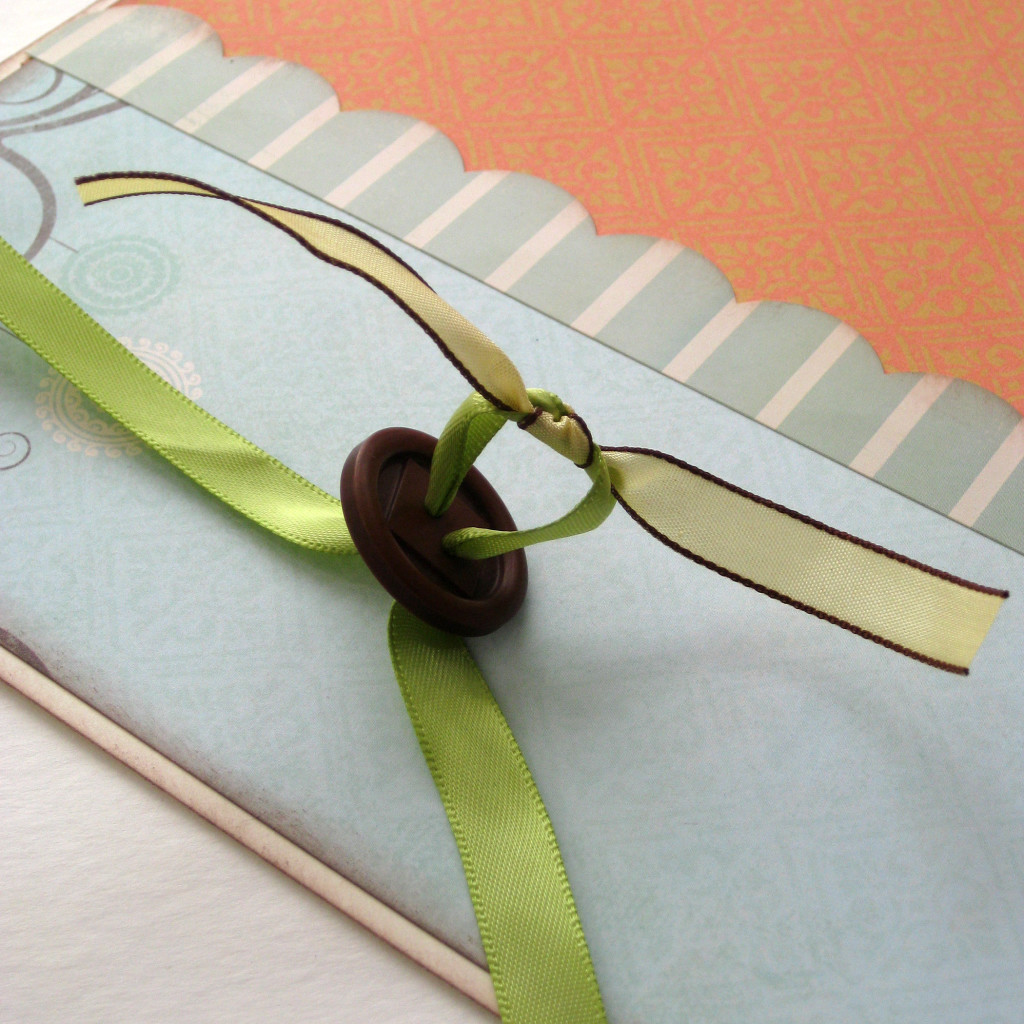
Pull the ribbon tight, untie if you’d like and I also adhered the back of the button to the layout to keep it in place. Repeat this for the other 2 ribbons and buttons.

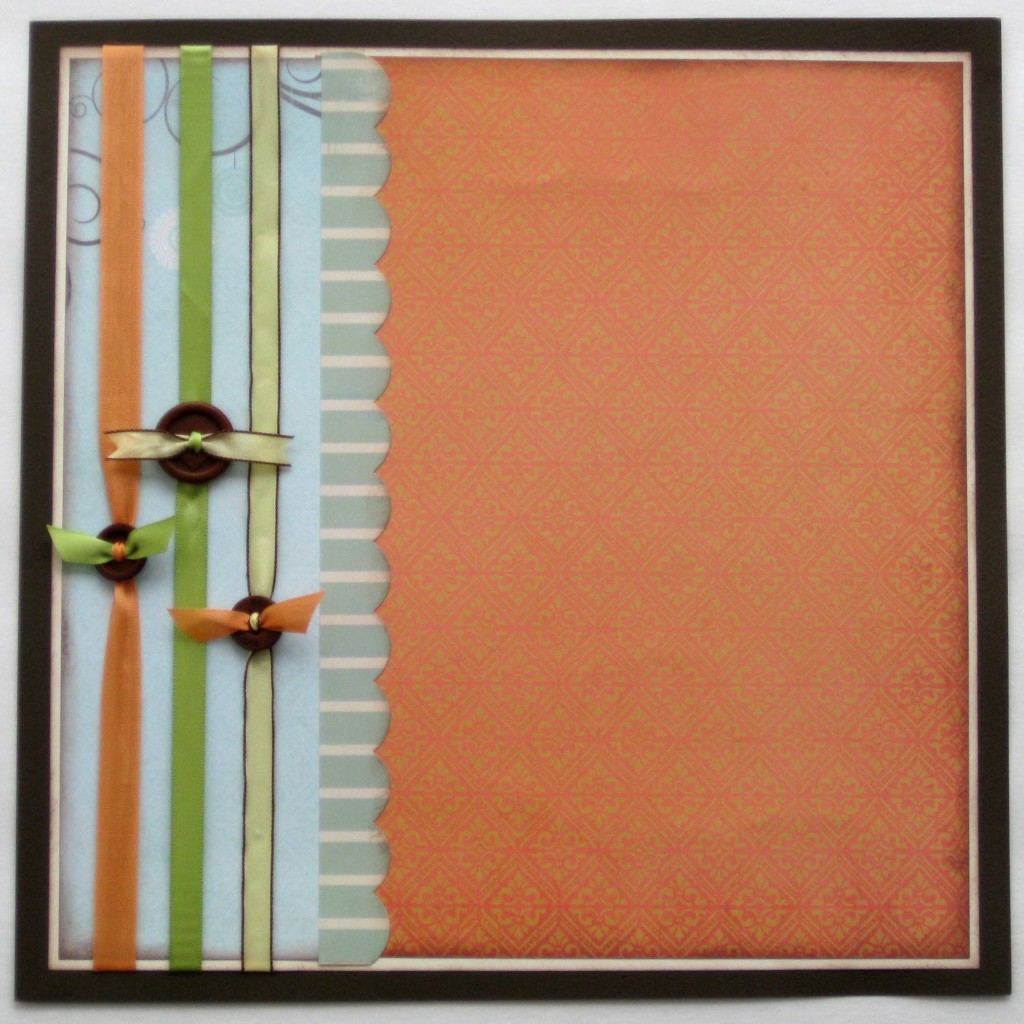
Once you have your ribbon and buttons in place you can add that back layer of cardstock. I also trimmed the small pieces of ribbon to clean them up a bit.
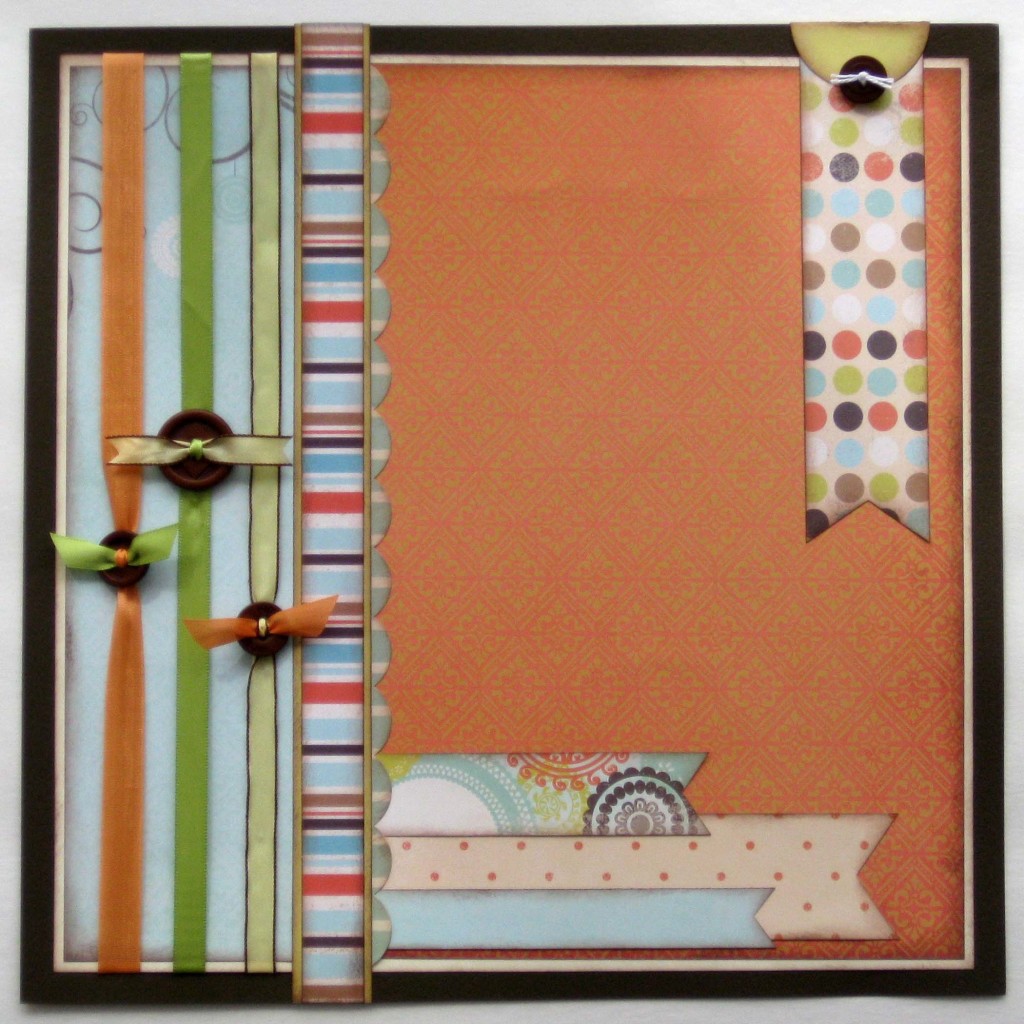
In my next step, I added some more pattern accents. I added the layered strip border up the same side as the ribbons. I also added simple flag accents to the bottom of the layout and the top right hand corner. I used a 1.75″ circle punch for the half circle at the top of the polka dot flag. I also added one more chocolate button with just a simple twine tied through it.
Now to add the final elements. My photo is matted 3 times, in cream, green and brown. I used 3D pop dots to adhere the photo to the layout. I then added the title, which happened to be a coordinating stick embellishment. I matted it in brown cardstock and adhered it to the layout, slightly overlapping onto the photo. I also added a couple of tiny journal strips and the heart embellishment.
The patterned papers and coordinating embellishments I used are by Fancy Pants, the Summer’s End Collection.
Latest posts by Tracy McLennon (see all)
- Altered Tea Box - February 3, 2014
- “Hello” Scrapbook Layout - January 25, 2014
- Winter Button Layout - January 6, 2014
That is a neat way to tie a button, I’ll definitely have to try that. Fun layout incorporating lots of great patterns.
Hi Tracy!,
As usual, I absolutely love your layout! I am also loving the tutorial that has been added! The Buttons are a wonderful touch. I just love the way you have tied them on! I also love buttons, and will hopefully be using more of them. Especially after seeing the wonderful layout!
Thanks for sharing, love your work!
Sue O