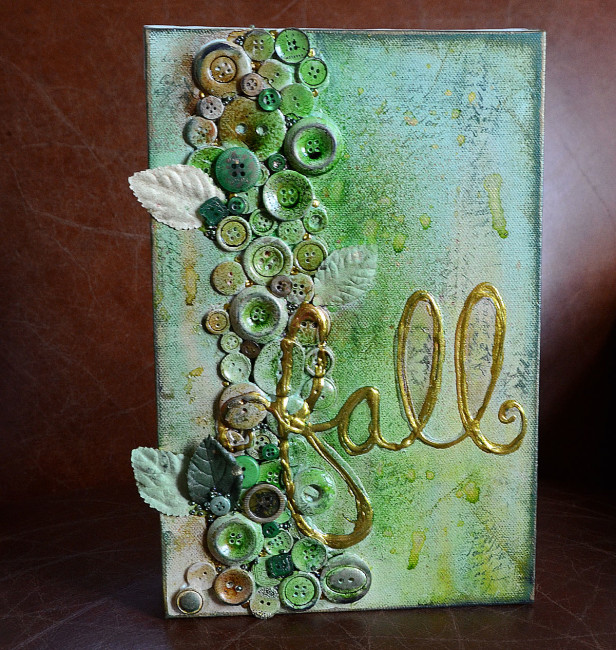
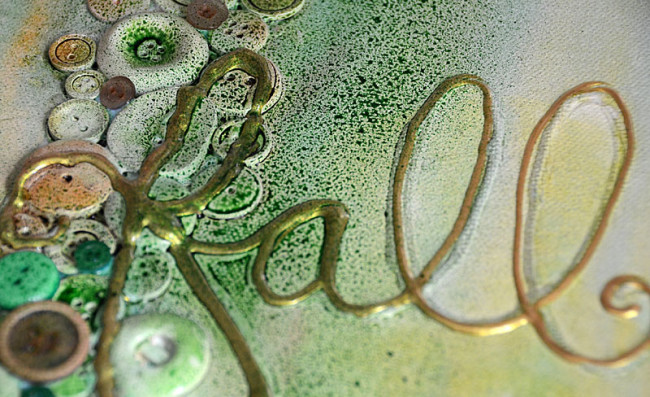
Fall is here, and it’s time to change out the summer decor for something more autumnal. May Flaum is joining us today with the perfect mixed media canvas to change the season on your walls in style. – editor
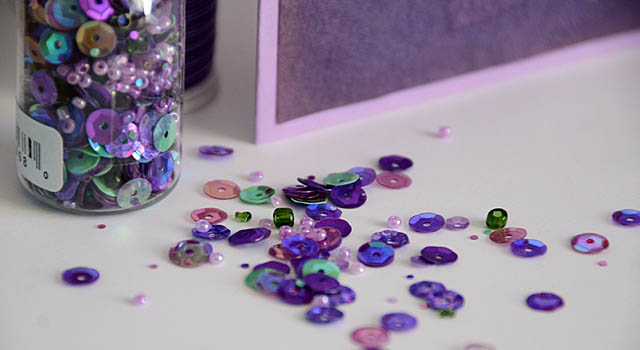
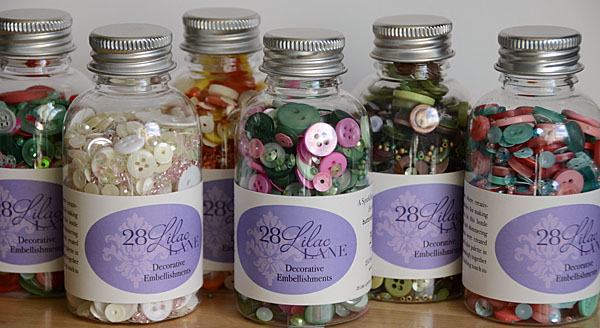
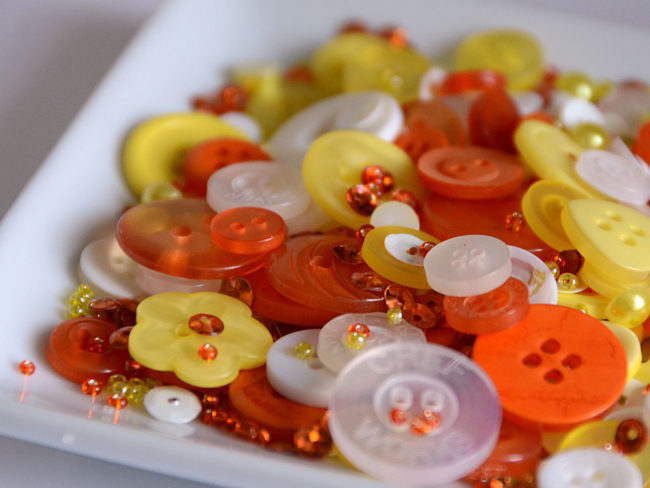
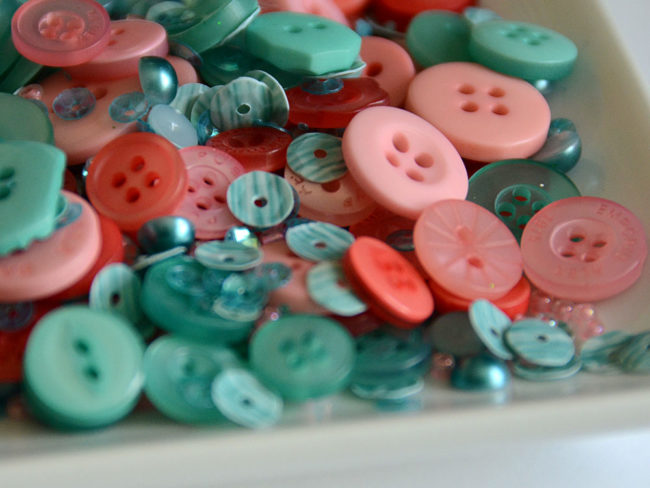
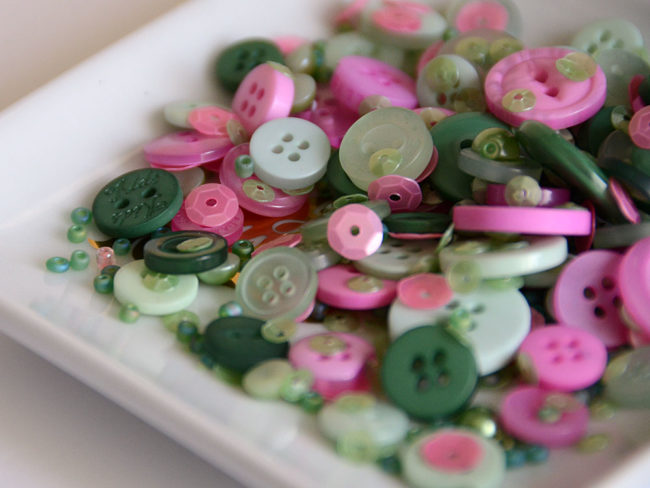
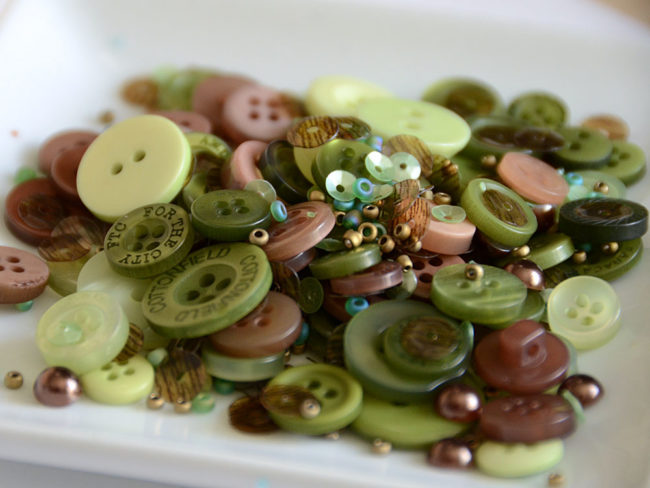
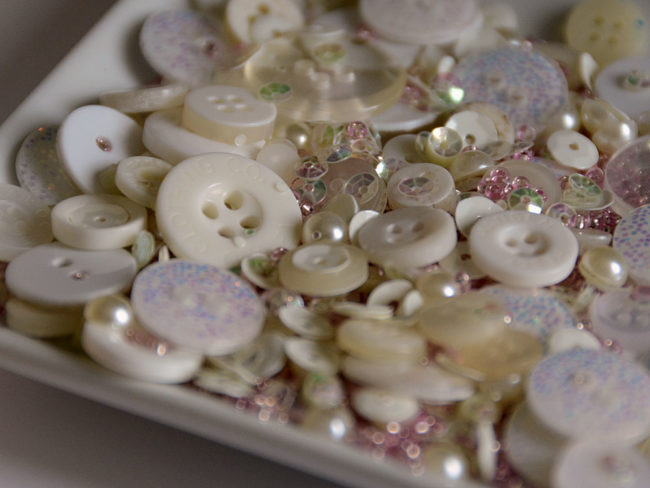
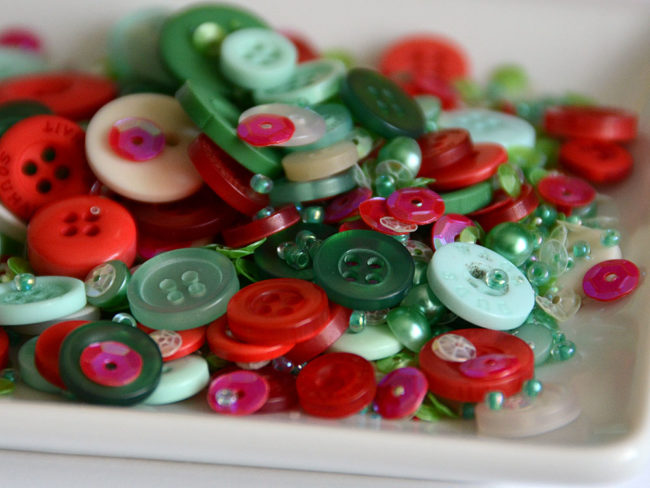
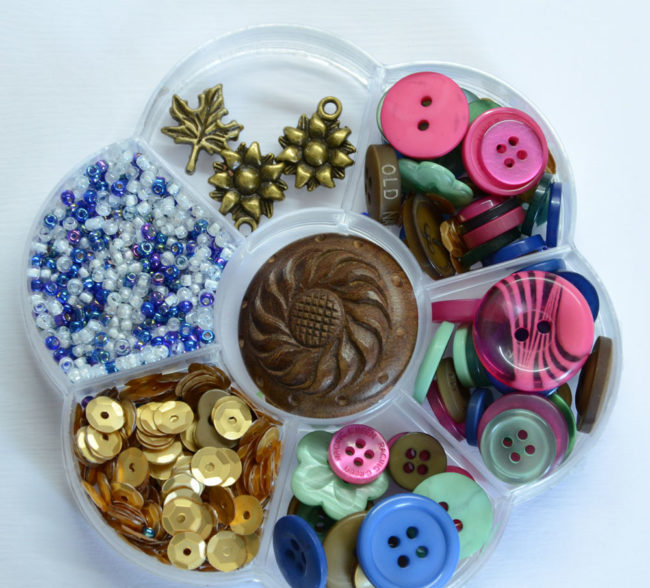
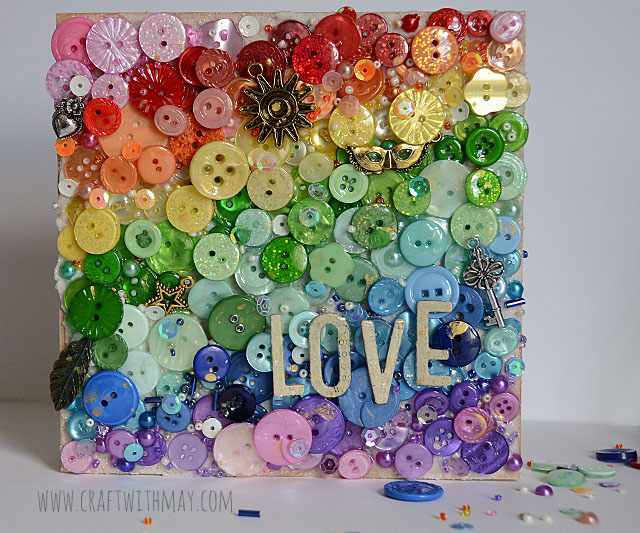
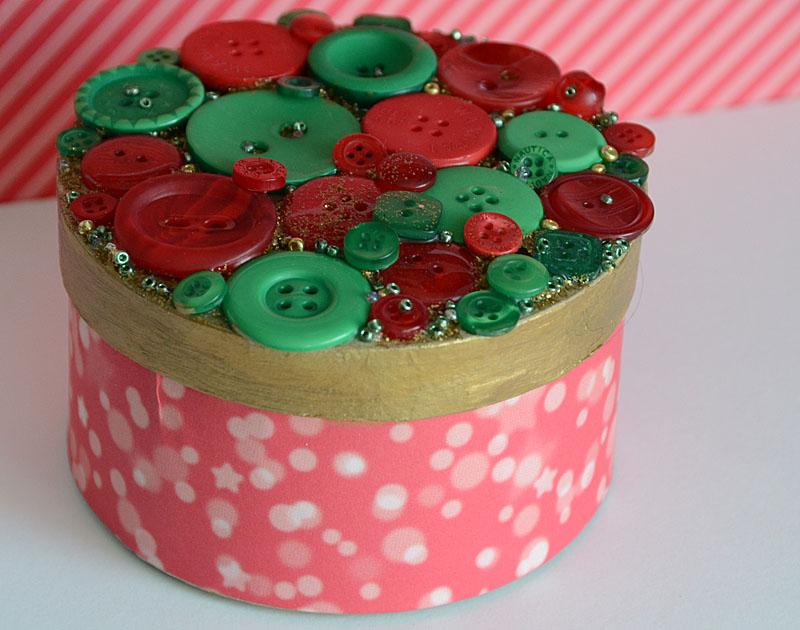
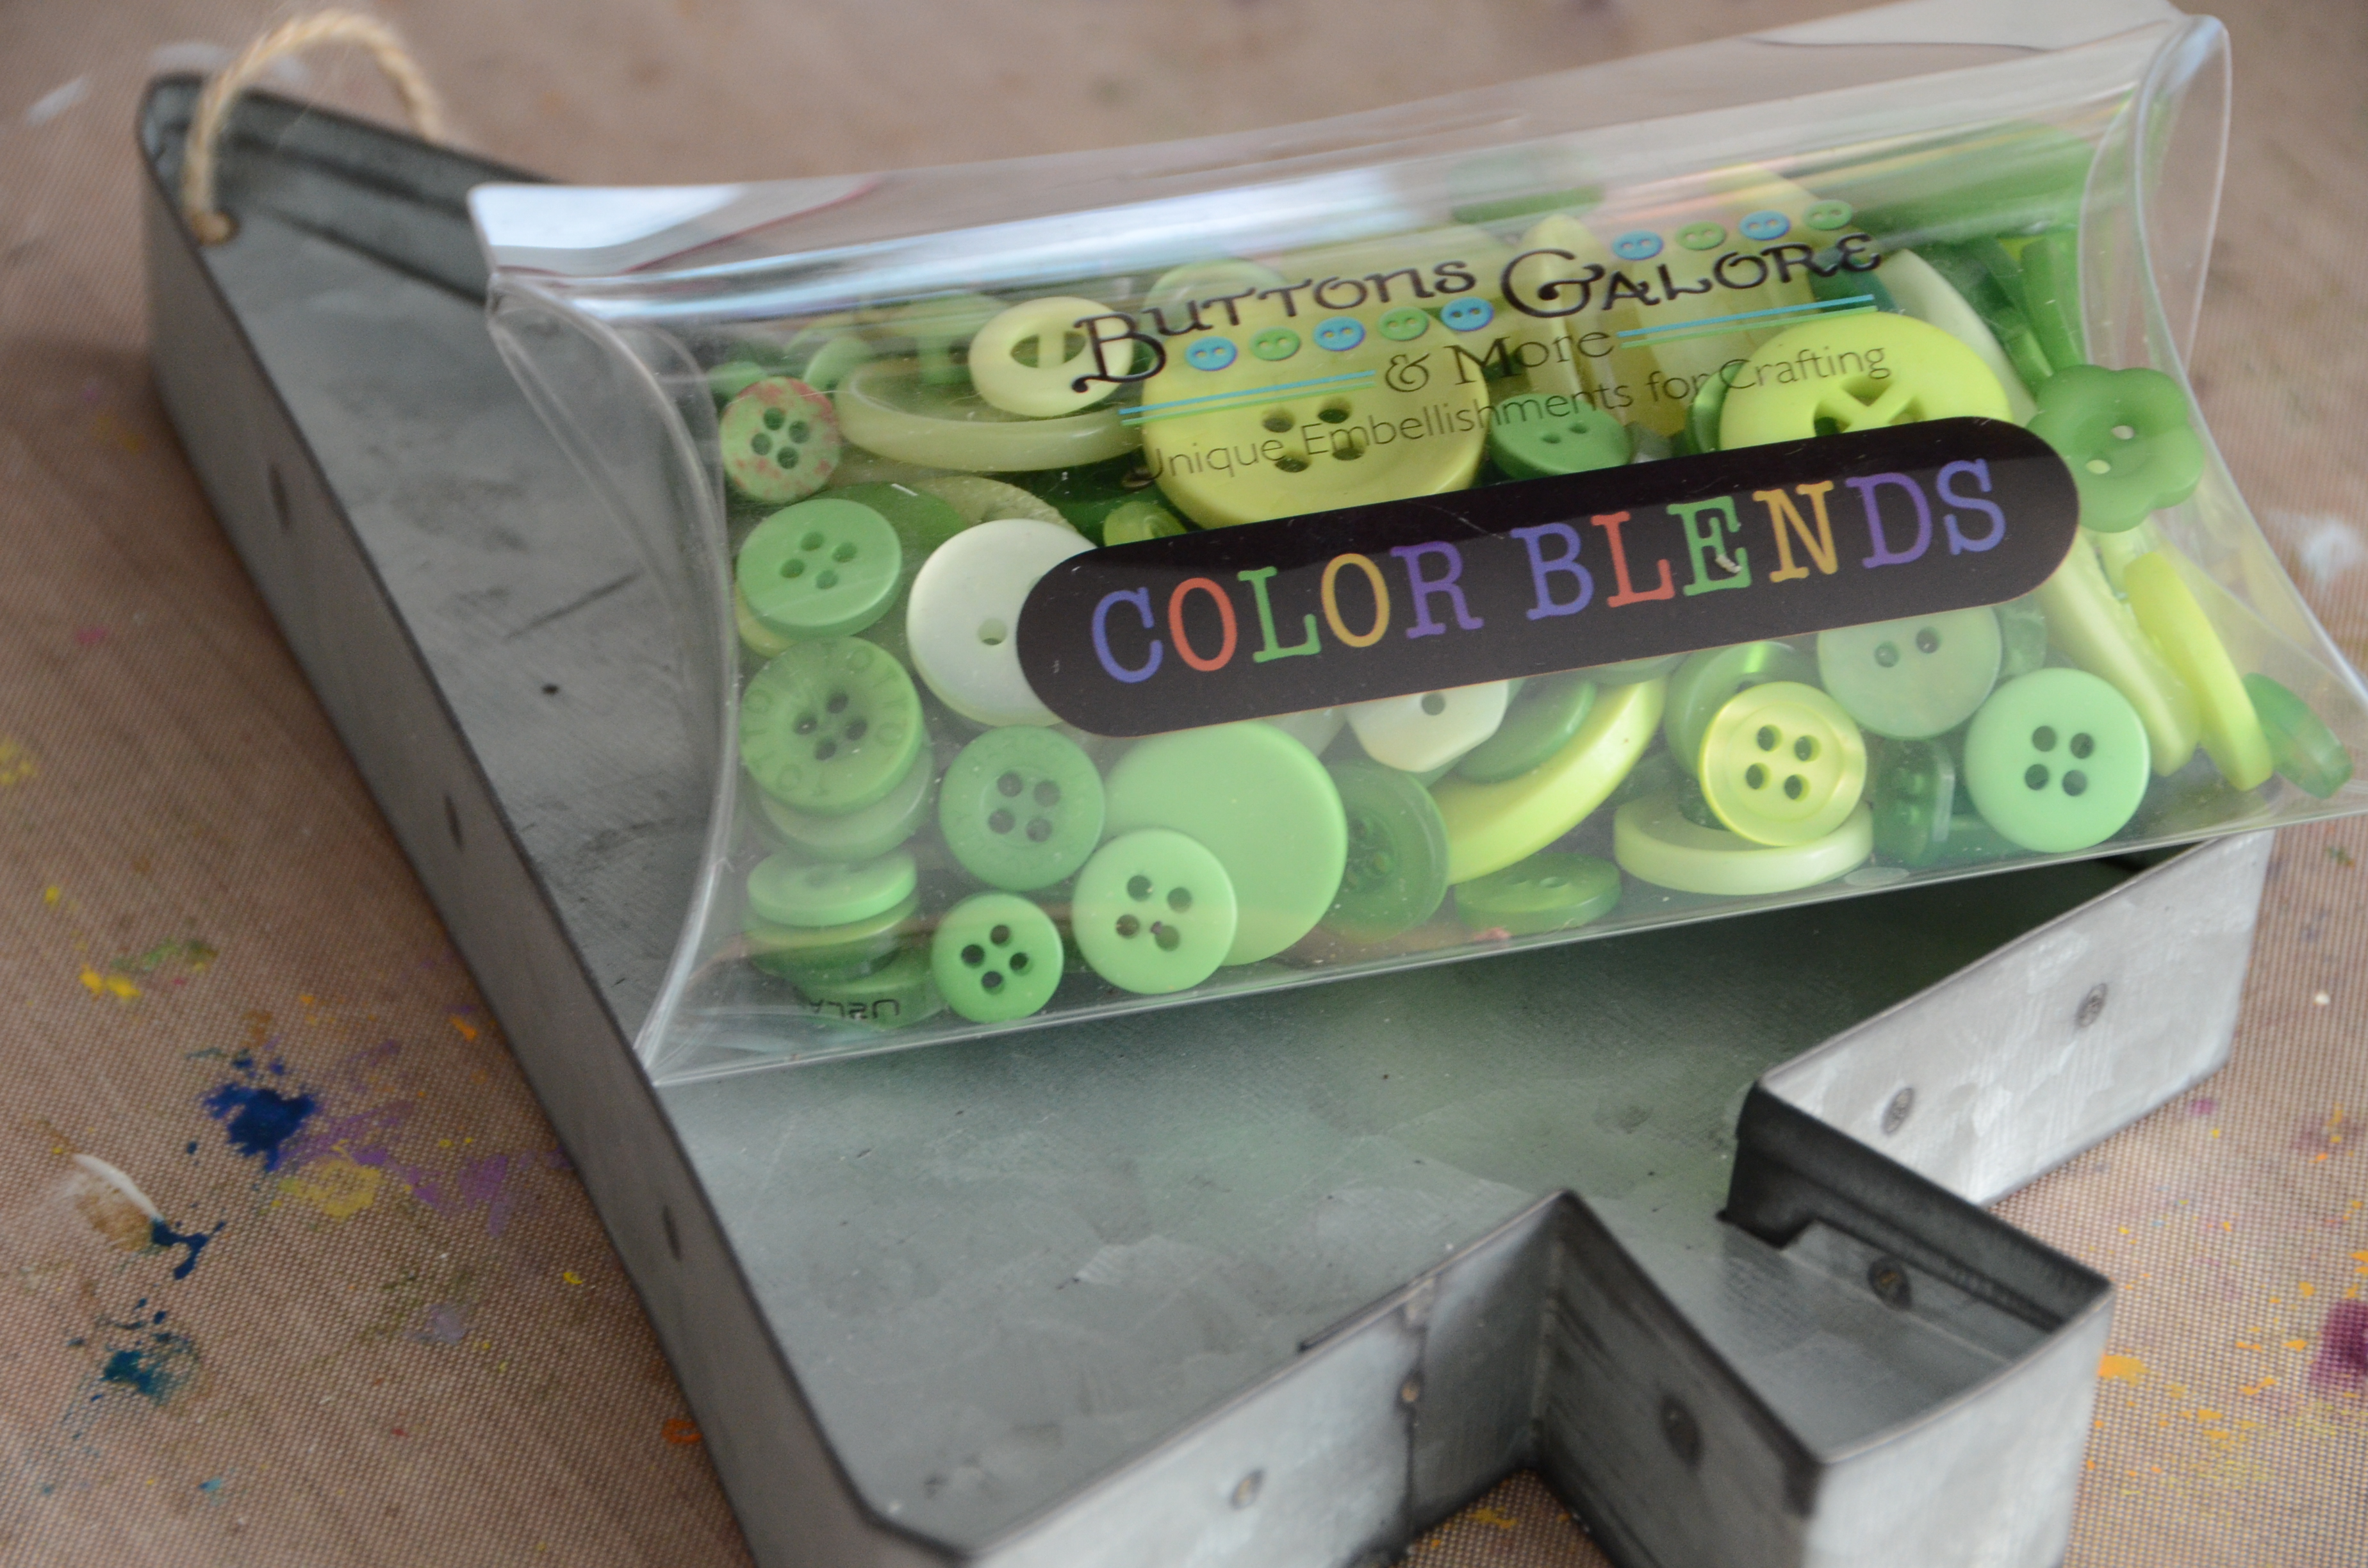
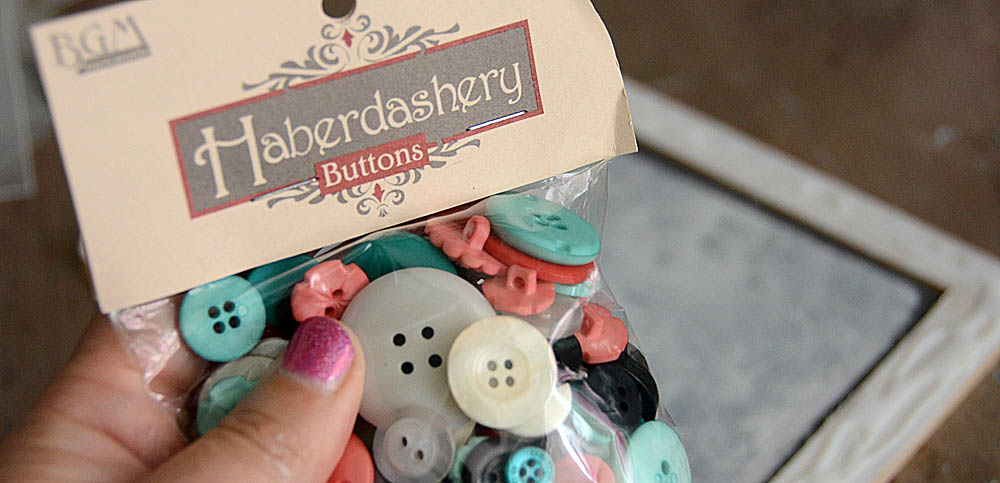
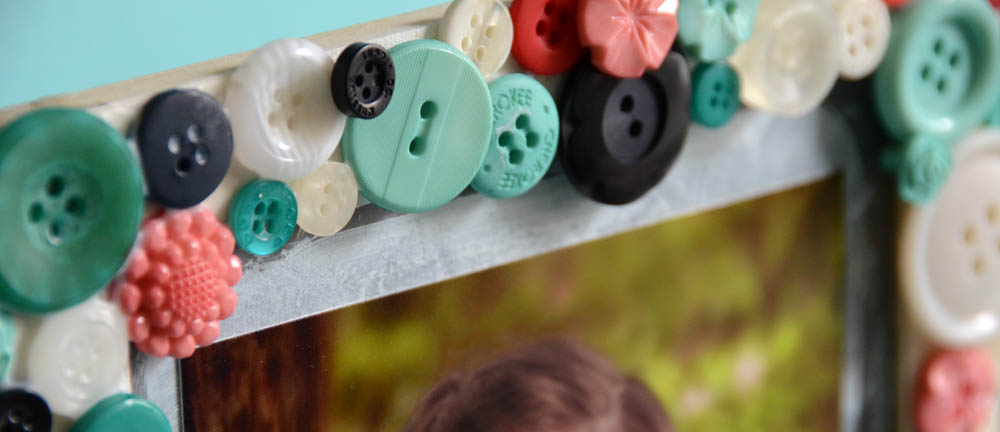
The beauty of this project is that it can be any color, subject, or size. Even better? It will allow you to use whatever color of buttons you happen to have a lot of! In this example I am working with the Ivory button bonanza bag, however I more often use a mix of buttons (often colors I don’t like or get too many of!). Everything is coated with gesso – so you can truly work with any colors you have!
Supplies:
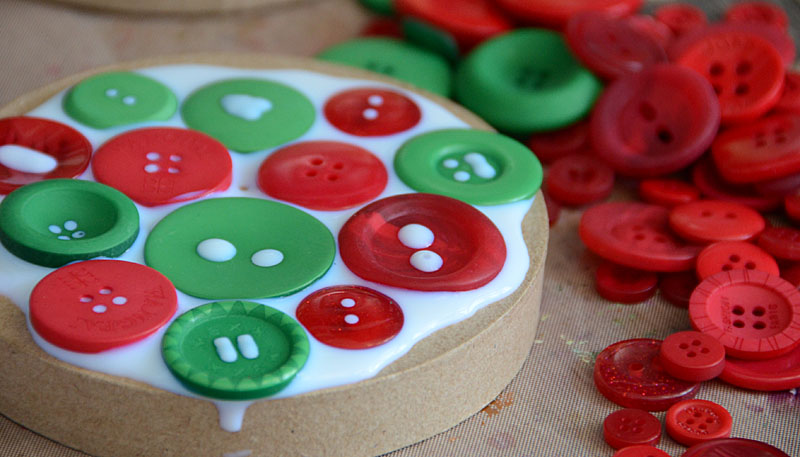
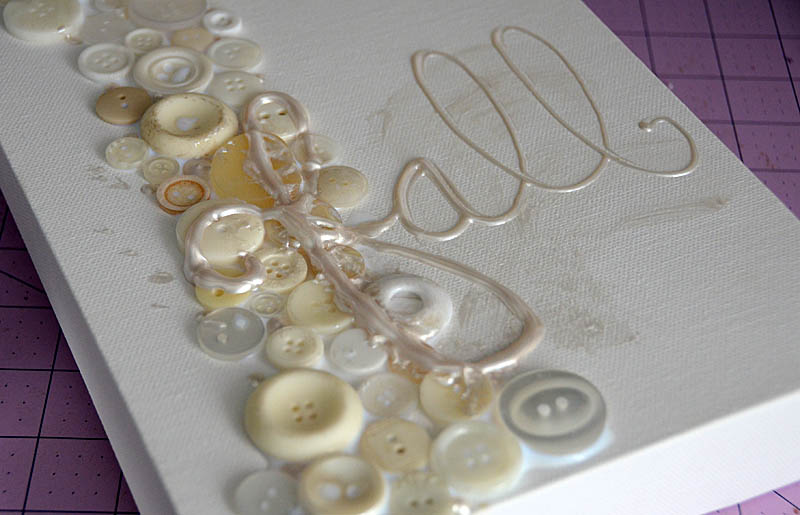
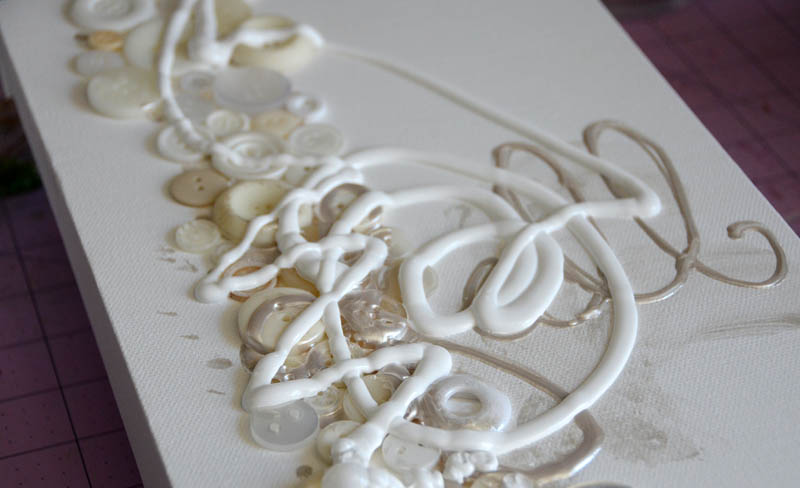
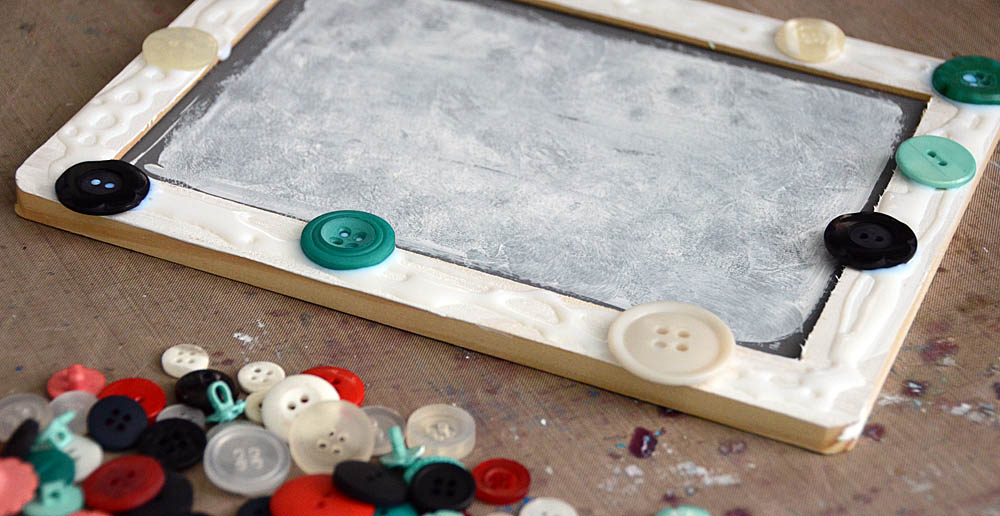
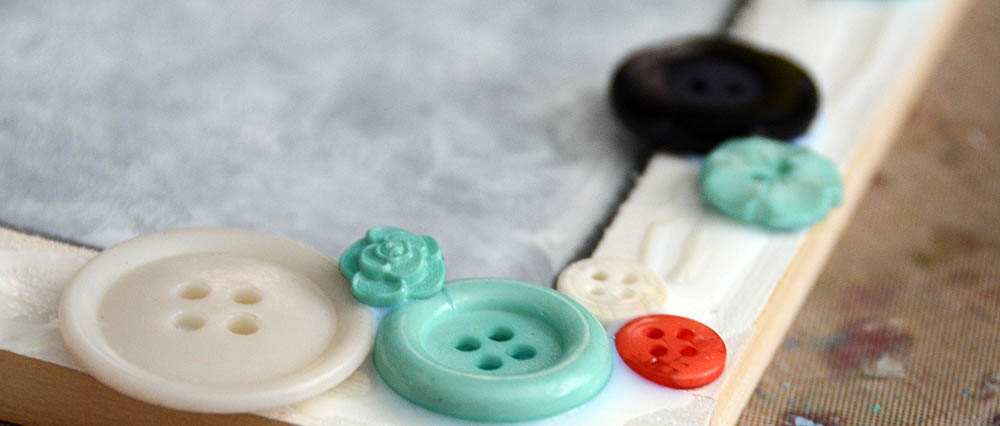
Step 1: Apply a generous amount of liquid adhesive in the area you wish to place your buttons. Add more as needed.
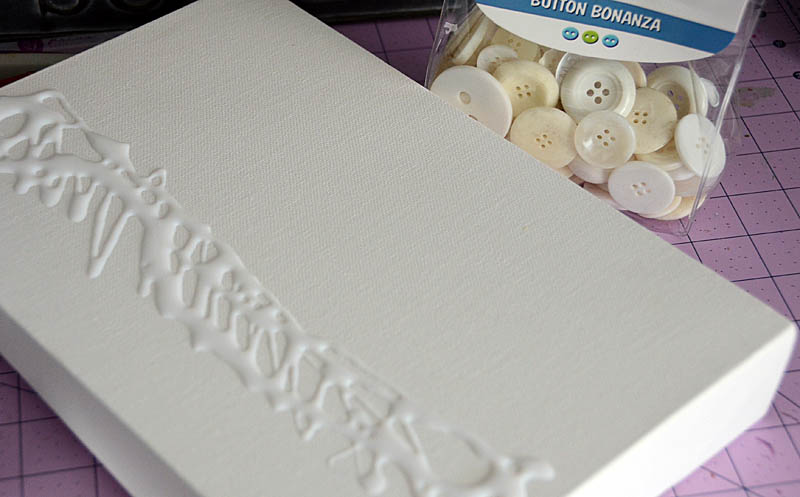
Step 2: Add buttons, beginning with larger ones and working smaller.

Note: From this step forward, you will need to let the project dry completely between every step.
Step 3: Using a dimensional liquid product such as gel medium or a white or pearl dimensional paint pen, write your word.

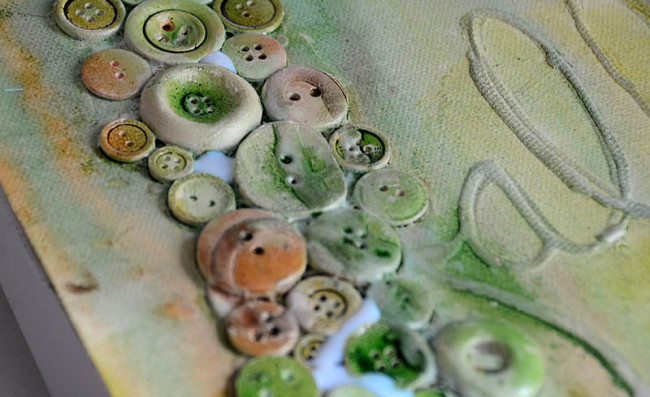
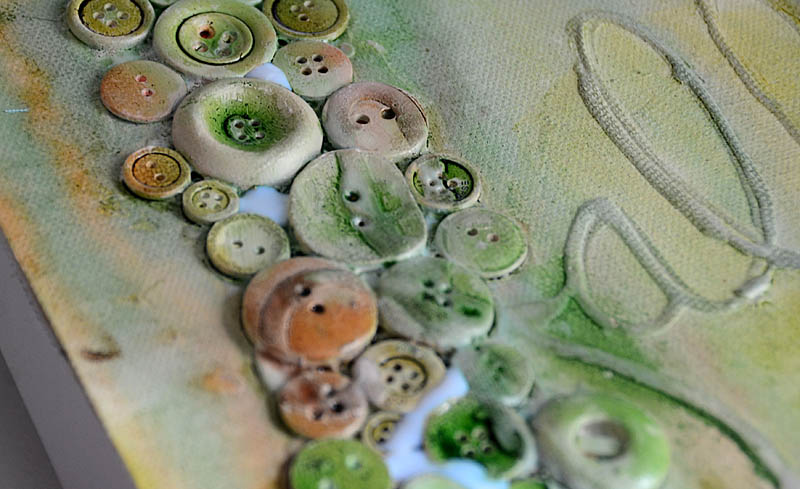
Step 4: Apply a good amount of gesso over the entire surface and work in so that everything is fully covered.

Step 5: Mist colors of your choice across canvas. Allow to dry and repeat this process until satisfied. If you’d like them to “run” then tilt canvas up on one side while wet.
Note: Depending on the brand(s) used and properties of your spray ink/colors results may vary. Don’t be afraid to repeat step 5 many times! If you don’t have sprays/mists, feel free to use any color media you have on hand such as watercolor or acrylic paint as a substitution!

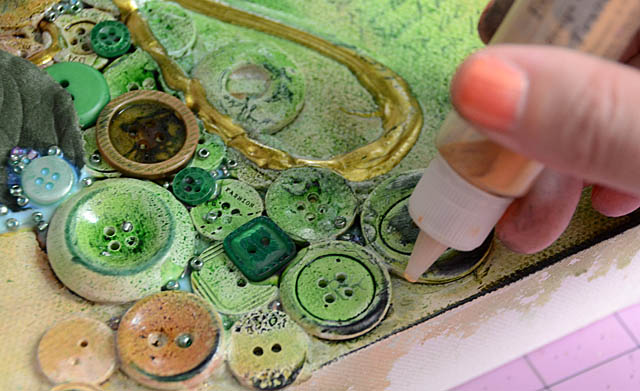
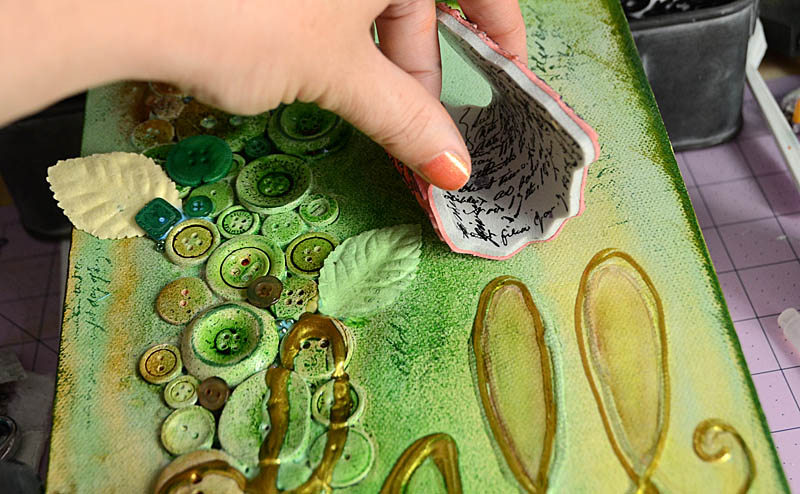
Step 6: Apply liquid adhesive in spots and gaps where you can add more buttons. Then add buttons in colors that compliment your design, as well as leaves or other elements that you’d like to feature.
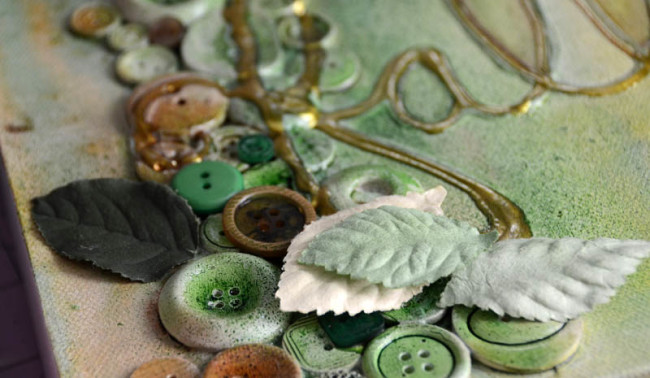 Step 7: Go over your word with gold dimensional paint or a pen to help it stand out, and spray a bit more color in a bold or dark color if desired.
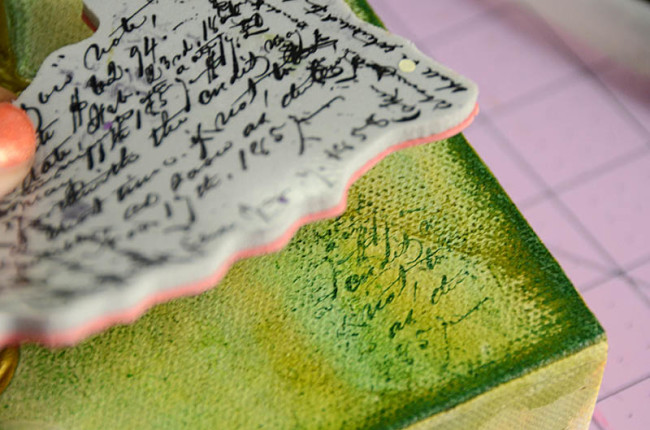
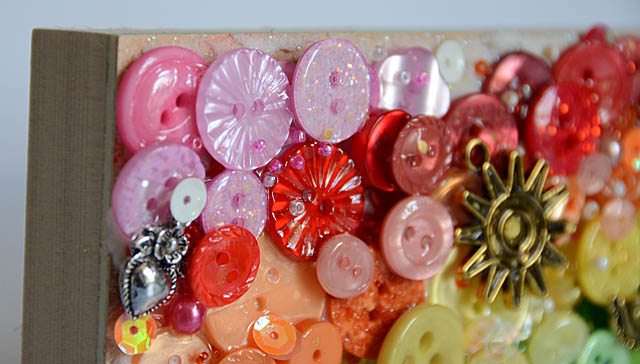
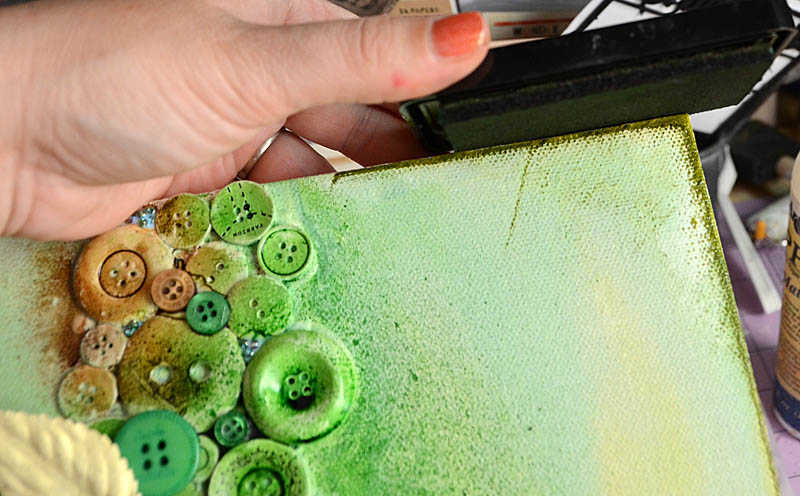
Step 8: Use a permanent ink pad and ink the edges of your canvas. If desired, repeat this with multiple colors. For this canvas I used a dark green and a black.

Step 9: Use a script or other design stamp and permanent ink, and stamp randomly around the canvas. This works best with an unmounted rubber stamp, and adds a lot of depth to the project.

Step 10: Finish project by adding any finishing touches such as dots of gold paint, pearls, beads, rhinestones, and more.
What I love most about this project is that you can customize it so many ways, and for any size or theme you like. It’s a great way to use leftover buttons and other supplies you may have sitting around. I hope you give it a try!


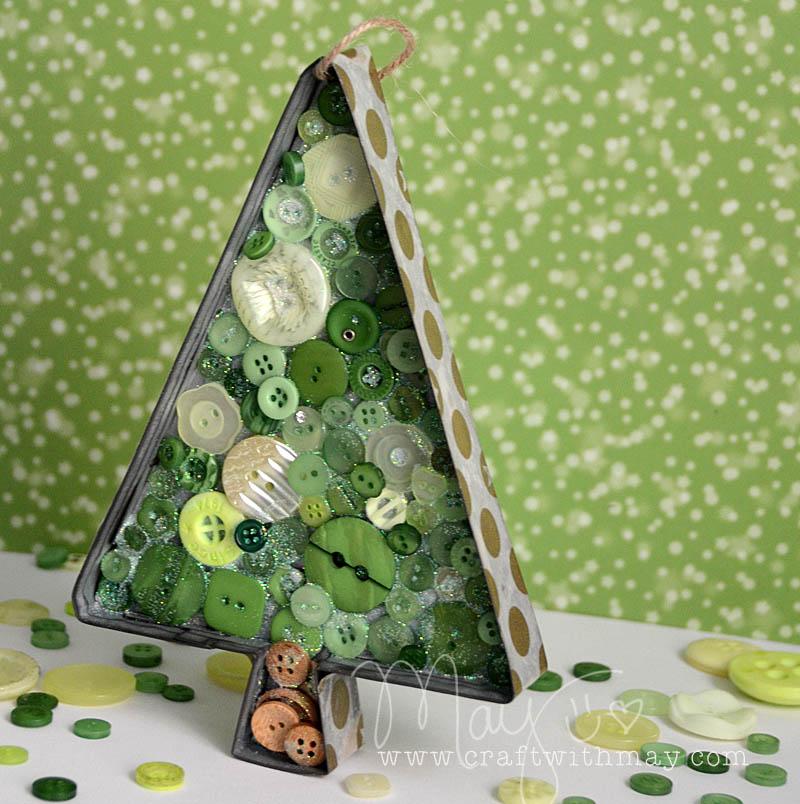
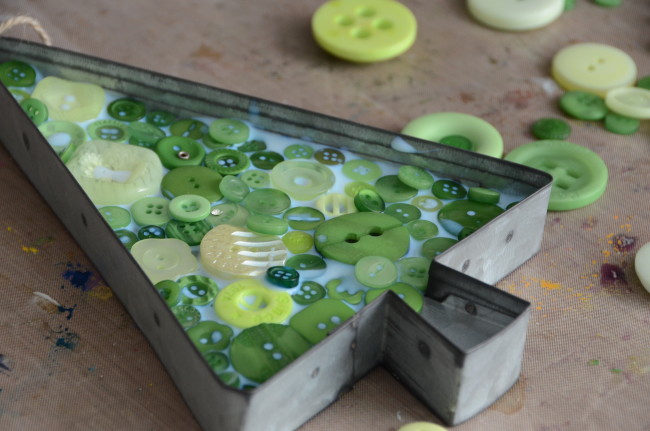 Step 3: Fill the shape with buttons! I used wood buttons for my trunk, and the beautiful green buttons all over the tree area.
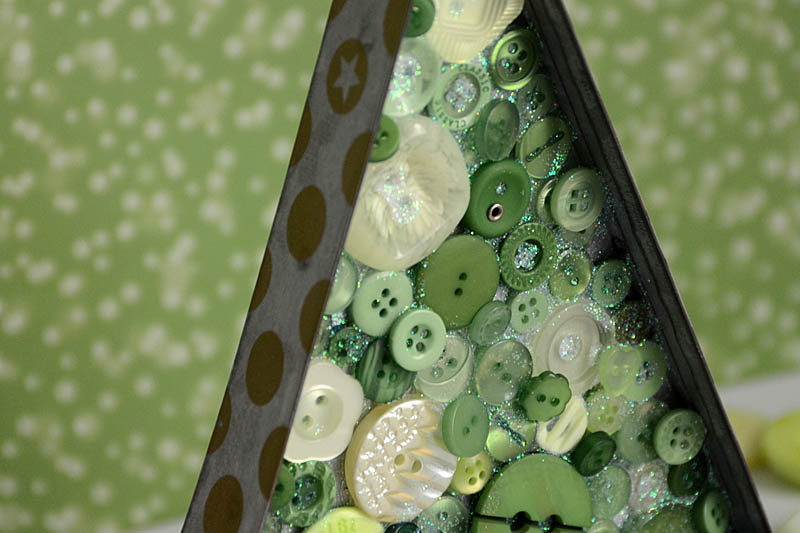


