
Step One – Alter a Wood Button
Step Two – Create an Anklet with the Altered Wood Button.
First off, I love to alter things – so to alter a wood button was not outside my comfort range. At first, I was nervous but it just adds such a nice touch, and really accented the beads perfectly.
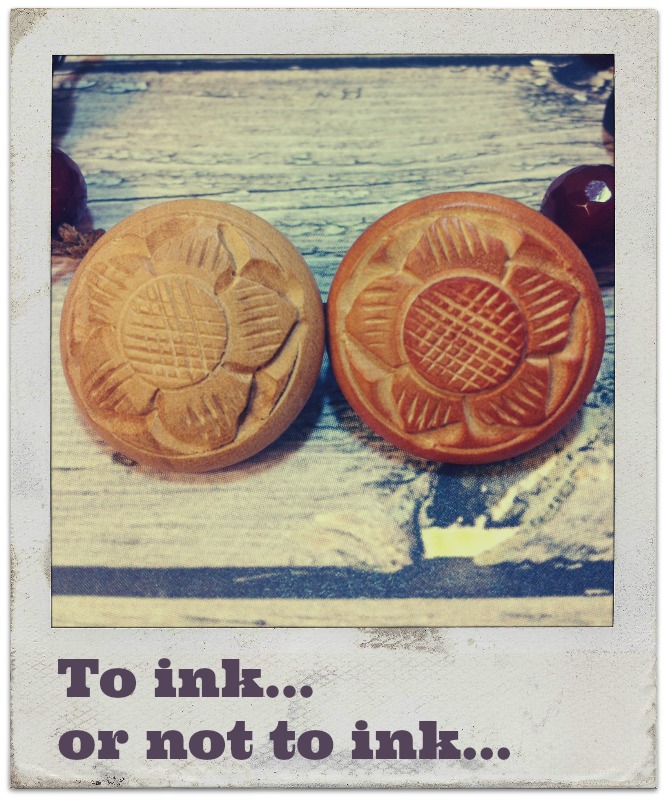
Do you really need to ask the question, to ink or not to ink? I mean really, don’t you just want everything to have your personal touch, a little added color? Buttons Galore has a variety of Carved Wooden Buttons and they are just little canvasses, waiting for you to create.
Supplies for Altered Wooden Button Anklet
You will need a Carved Wooden Button and some Rustic Coconut Shell Buttons.
Additional supplies include hemp and beads, as well as ink, glaze, and applicator (Tsukineko/Imagine Crafts). The beads I used are faceted Carnelian beads.
Directions
Altering the Wooden Button
- Dab Stazon Ink on button with an Ink Blusher. You really need to use a permanent ink that will not run or bleed. I like to buff off any excess with a paper towel.
- Seal the button with a finishing glaze. I used Creative Medium. This doesn’t get tacky – it’s perfect.

Creating the Ankle Bracelet
- Measure your ankle so that you can determine how large you want your anklet. Triple this measurement.
- Double your hemp and place the folded end through your Carved Wooden Button shank slightly. Pull the loose ends through this loop. Give yourself about 1/4″ of space and make a knot.
- Add a bead. Knot.
- Add a Coconut Shell Button. I take one of the strands and go up from underneath the button, then I take the other strand and go down through the top. This secures the button and prevents it from twirling around.
- Repeat until you have reached your desired length.
- Finish off with a loop. Make sure this look is large enough to accommodate the diameter of your Wooden Button.
- I like to wrap a segment of the bracelet with the remaining length. I loop around the bracelet and bring the end through the loop, doing this several times, then tie a knot in the end of each strand – just to secure everything. You can also put a little nail polish on the ends of the knots.
I hope you enjoyed this tutorial. With some different beads and buttons, you could really create so many different styles. With a little ink and glaze, you can really create a perfect match for any outfit.
See more of my creations on my own blog, My Card Party.
Thanks for joining me today. Since today is Independence Day, I want to wish all my American friends a safe and happy fourth. There is nothing quite like celebrating your freedom with the ones you love.

Latest posts by Allie Gower (see all)
- Buttons Galore 2014 Valentine Round Up - February 1, 2014
- BeBunni Blue Birthday Card - December 26, 2013
- CHRISTMAS DIY: Colorful Buttons for Doll Stockings - December 10, 2013
No comments yet.